If you just happen to have the perfect spot for a swinging bench, whether that’s a tree limb or porch rafter, then you must get to building one ASAP. This project has been on my list ever since we moved in seeing as we have a great big strong branch that would work for a swing.
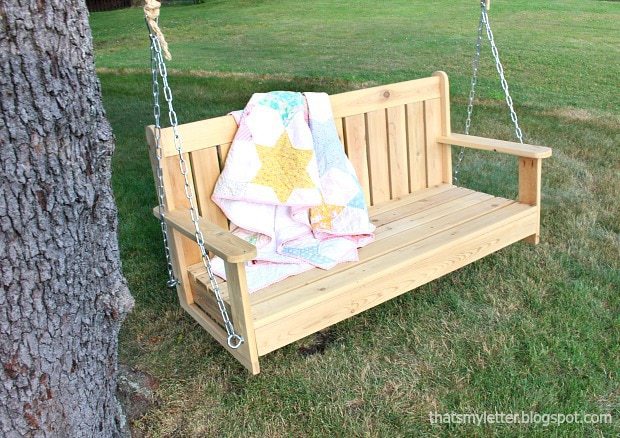
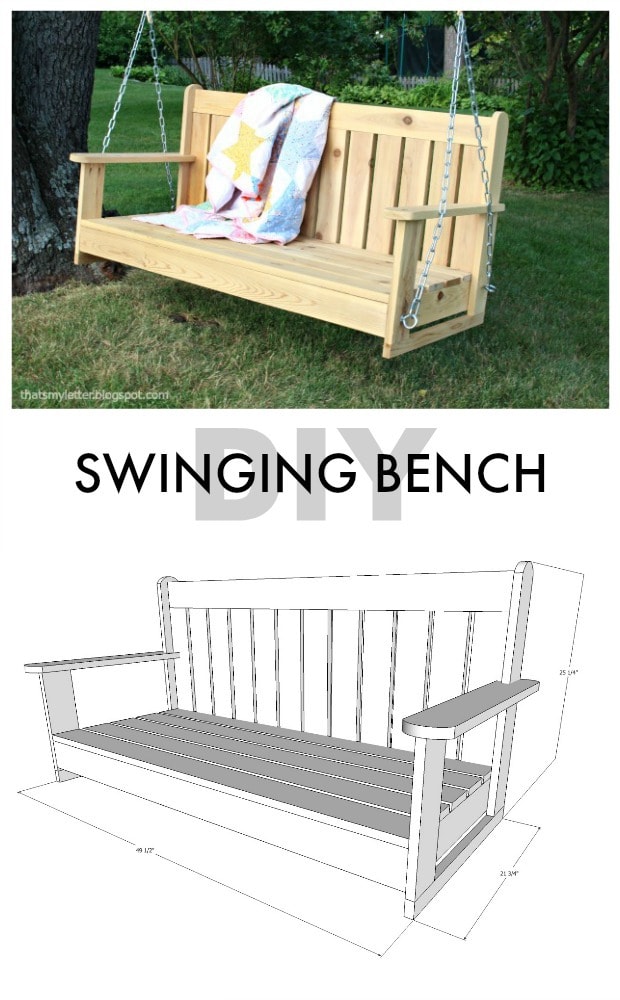
A DIY tutorial to build a cedar swinging bench. Make a beautiful cedar swinging bench for exterior use with my free plans.
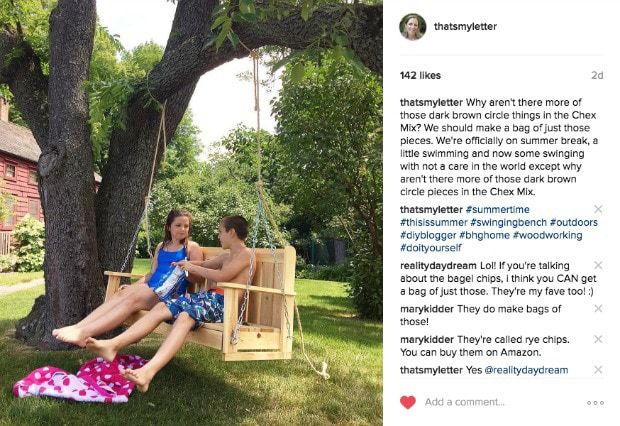
And I’m finally getting around to building and sharing the free plans for this cedar swinging bench. If you follow me on Instagram then you’ve already seen the bench in action (if not follow me here for sneak peeks and project inspiration). My kids have really taken a liking to this new piece of furniture. It’s getting great use and fits nicely in its new home.
I used almost all 1×4 cedar boards for this swinging bench and left the wood natural to grey out in the elements.
* This post contains affiliate links below, by clicking on an affiliate link and making a purchase I may receive a tiny commission. This small commission helps me keep this site full of free content so I thank you for your support. *
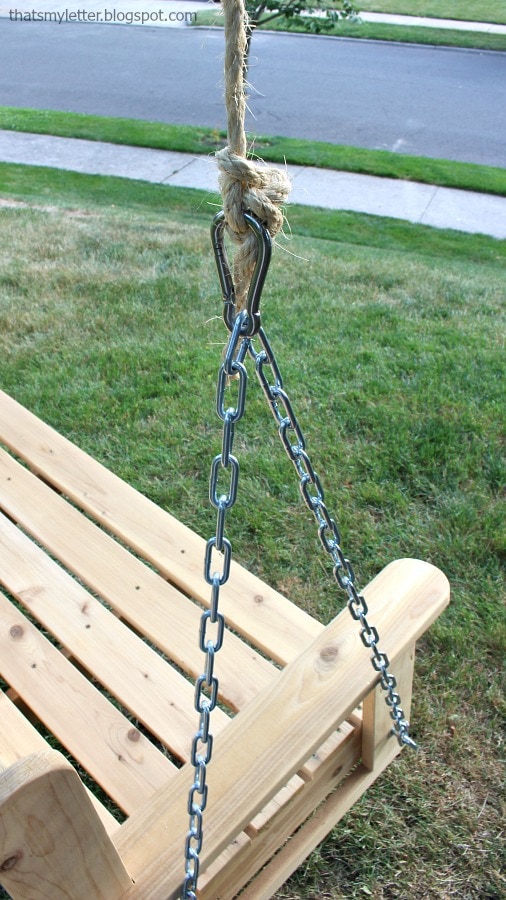
We have a giant tree with a horizontal limb that was truly meant for a swinging bench. I used a bowline knot both up around the tree and at the chain connection with spring loaded carabiner. On the bench arms I used long screw eyes with locking quick links to connect the  chain.
Be sure to read through the entire build before beginning and always follow all safety precautions when operating power tools.
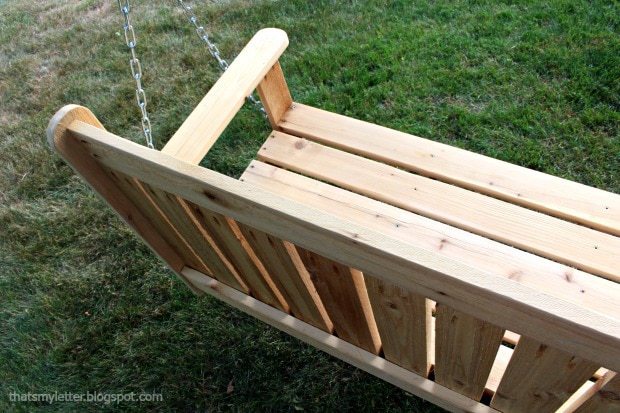
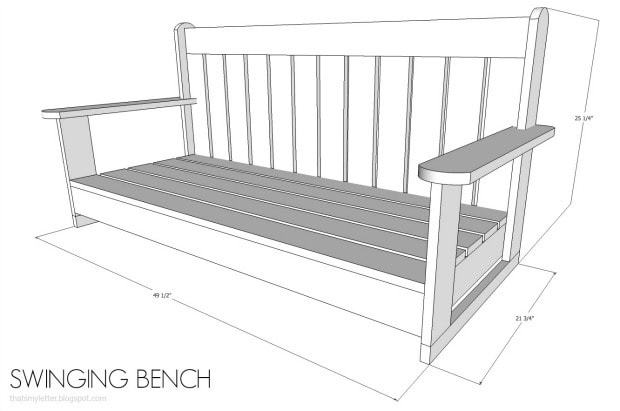
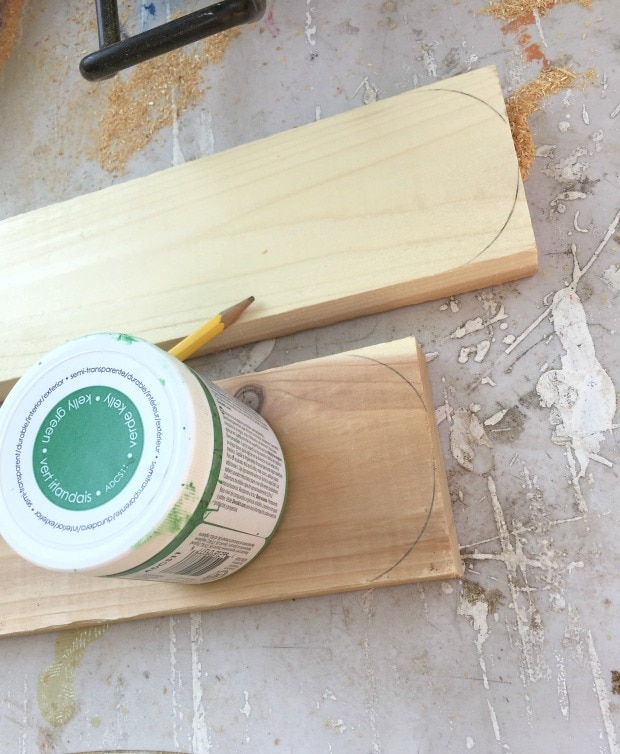
To make the curved edges on the arm rests trace around a small paint jar and then use a jigsaw to cut out the curve.
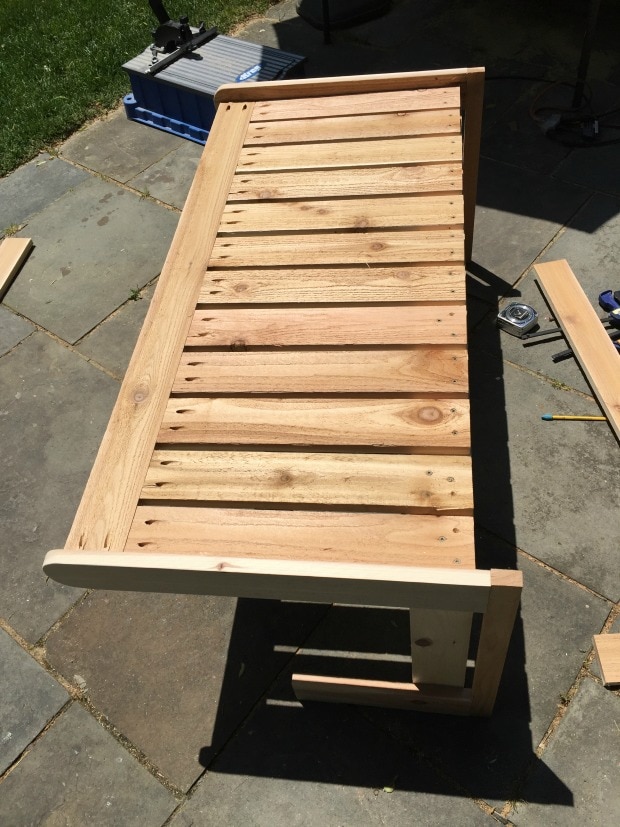
I suggest attaching the arms in as many places as you can for added strength and support. Use pocket holes at the back side and countersunk screws on the interior frame.
Your hanging method will depend on your situation, just be sure it’s sound and secure.





This turned out REALLY beautiful, Jaime!! Thanks for sharing the plans, you are SO awesome!
This is just gorgeous, Jaime!
I dont know how to convert to a word document, and the last thing I can read on the cut list is 2-1×2 @ 213/4″ (arm base support).
Can you tell me what comes after that. I see half of something, but can’t read it and don’t know if anything is beneath that.
Hi Michelle, thank you for alerting me to the cut off plans. I will reformat and upload shortly. In the meanwhile after the arm base support is 2 – 1×4 @ 23 1/4″ (arms) and that is the last item in the cut list. My apologies for the format issues. Good luck with your project.
What are the dia of the screws you used to attach boards to the end. My boards keep splitting 🙁
Hi Chris, I believe the screws are #8 but you could use #6 or predrill to prevent splitting.
Try your drill in reverse first to start and then forward. The wood won’t split. Pre-drilling works but adds a step.
everything on your cut list states 4″ but your diagrams show 3 1/2″. Might want to get that fixed because your spacing will be off on the back. Overall length is 48″ but if you use the 4″ width for the slats the overall length will 50″
Hi Lonnie, the cut list is written in nominal sizes (as you would find the lumber in the store). The diagrams are actual sizes. For example a 1×4 is the nominal size, the actual size is 3/4″ x 3 1/2″.
the list of board to be cut has been cut short . could you send me the full list of boards lengths an widths
I can’t download the plans. It just keeps spinning.
Hi John, I checked the link and it works fine: https://drive.google.com/file/d/0B85dRd-BoH0wMWthSnMtMUF1WkE/view?usp=sharing Maybe try opening in a different browser.
If I were to make this 6′ long, would you suggest going to 2 x 4 material or will 1 x 4 be enough?
Hi Rob, 1×4 is fine for the seat and back but I would consider 2x for the arms since that’s where the weight pulls. Also I’d add an additional cross support under the seat.
Cut list calls for back slats to be 18″ but assembly diagrams show 19″. Which measurement is correct?
Thanks for catching that Bruce, 19″ is correct.
Are the back slats 18″ or 19″?
Sorry. Missed the response
Having two different length ‘drops’ from the branch will make the bench swing crookedly. I expect the drops need to be approx. the same length. I don’t know how you would approach this given the sloped branch. Any suggestions? I have the same existing condition on the tree branch I’m planning to use.
Hey, I see that this build is a few years old. I am wondering why there isn’t exact locations to place the Eye Bolts, I see that the front eye bolt should be…lets say 2″ and the rear will have to be a lag type eye bolt. Also, perhaps if the lower 2″ board was a 2x4x 26″ it would have been easier to install the chains to allow
I built mine Porch Swing out of 1.25 x 6 Cedar cut down to 5 inch. Looks really great
Great design! I did make some changes though. The bottom frame seemed light to me so i made it out of 1-1/4 x 4 . I did the same for the rail across the top of the back and arm rests.
I changed the eye bolts to trailer tie downs (1200 lbs capacity) so nothing sticks out.
I also put a 15 degree slant on the back for added comfort.
If i build another one, I think i will fit the slats for the back into a groove cut out of the top rail with a DADO blade. Less work and easier to fit.
Thank you Peter, love your modifications. Thanks for sharing your tips, I know my readers appreciate real life experiences.
I built 4 more. I tried the slot in the top rail of the back but it didn’t leave enough wood left over for a secure fit. Everyone loves them and I’m making mods as I go. I put a little arm rest in the middle on the last one. Looks good. Thanks again for you great design.