A whopper of a project post packed with lots of details on how to build a cedar fence gate. If you’re looking to make a fence gate for your yard you’ve come to the right place. I’m sharing all the steps, sources and plans down below.
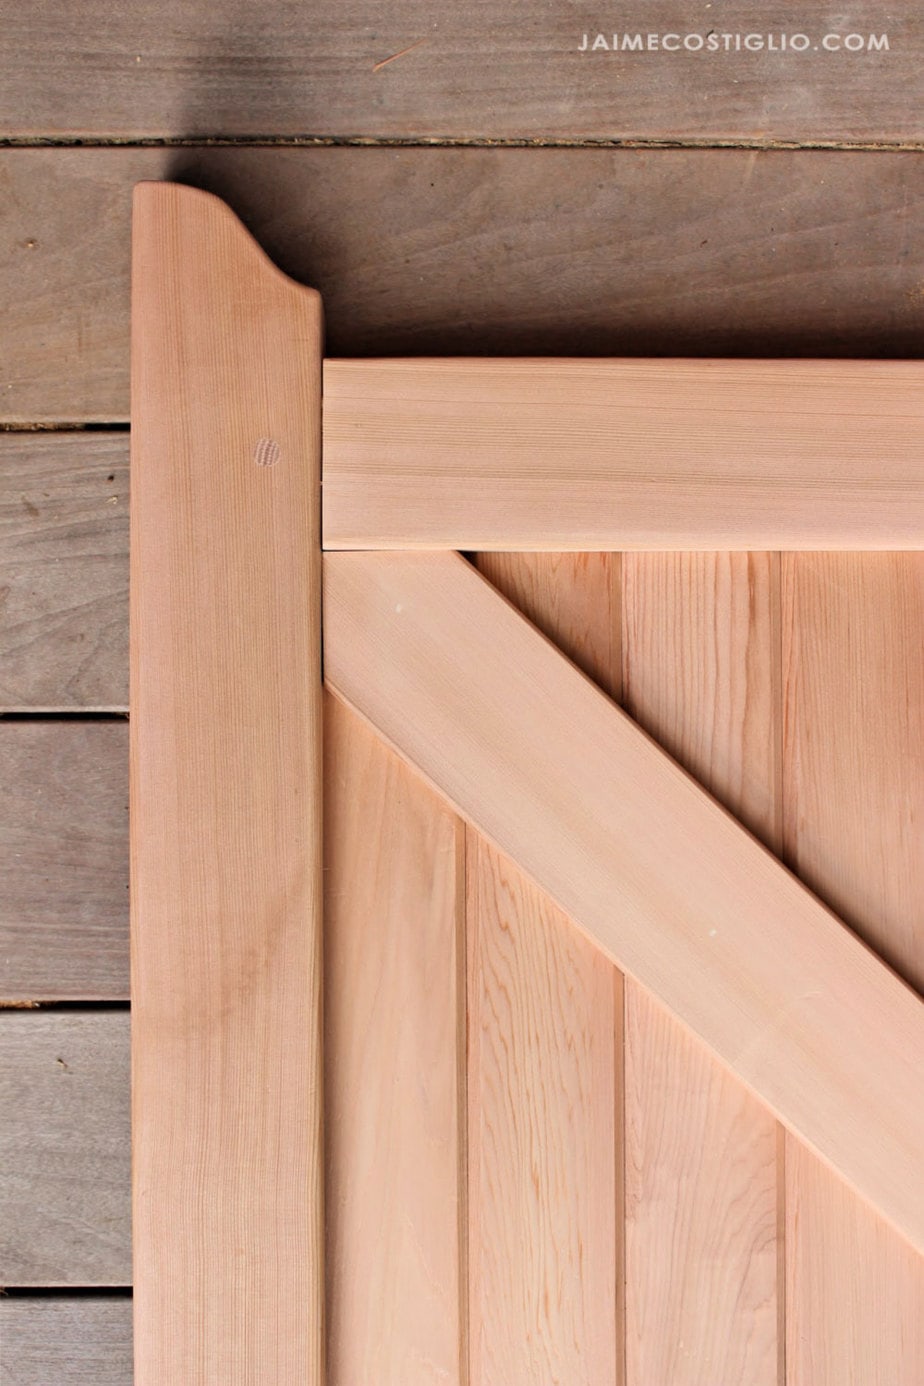
A DIY tutorial to build a cedar fence gate with tongue and groove panel. Add beauty to your exterior with this solid cedar gate using my plans.
When your friend asks for a solid cedar fence gate to replace an existing rotted gate you say yes because that is a fun challenge. And then you scour the internet looking for inspiration and tutorials because you want to do it right. I did find a few good starting points from fellow DIYers and online sources listed below.

Good Gate Resources:
- Mortise and tenon gate from Julie @ Sawdust Girl
- Garden gate from Shelly @ 100 Things 2 Do
- Ways to Build a Strong Fence Gate
- Mortise & Tenon Joint for Gate
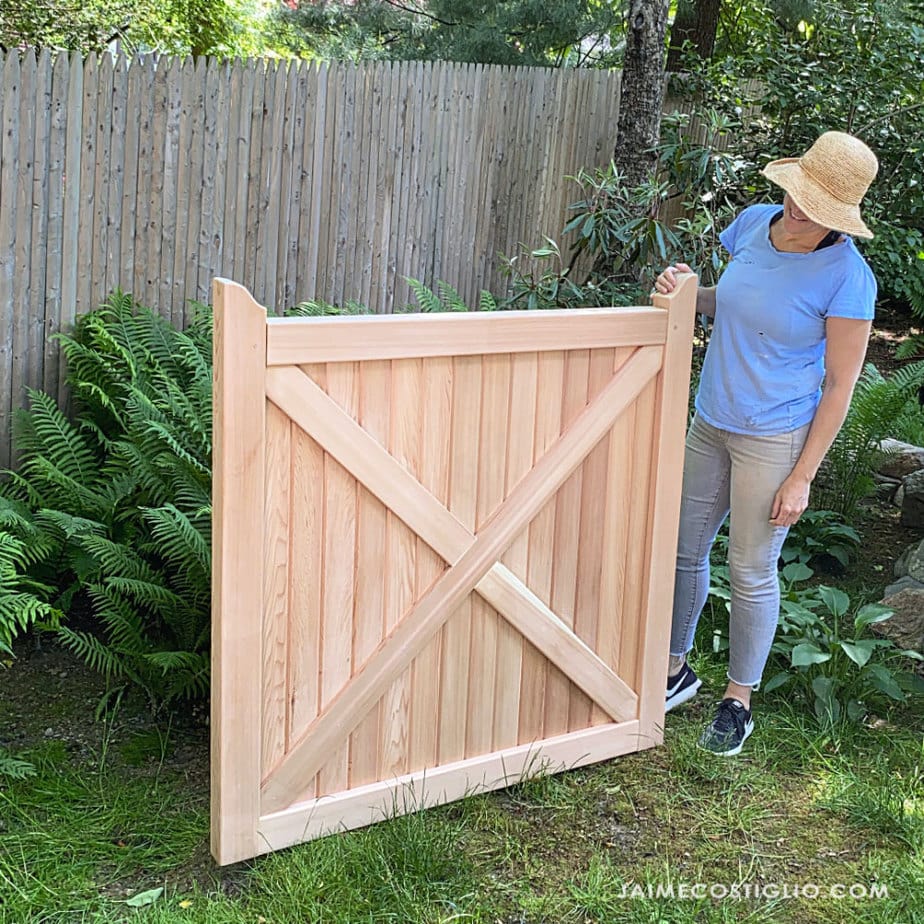
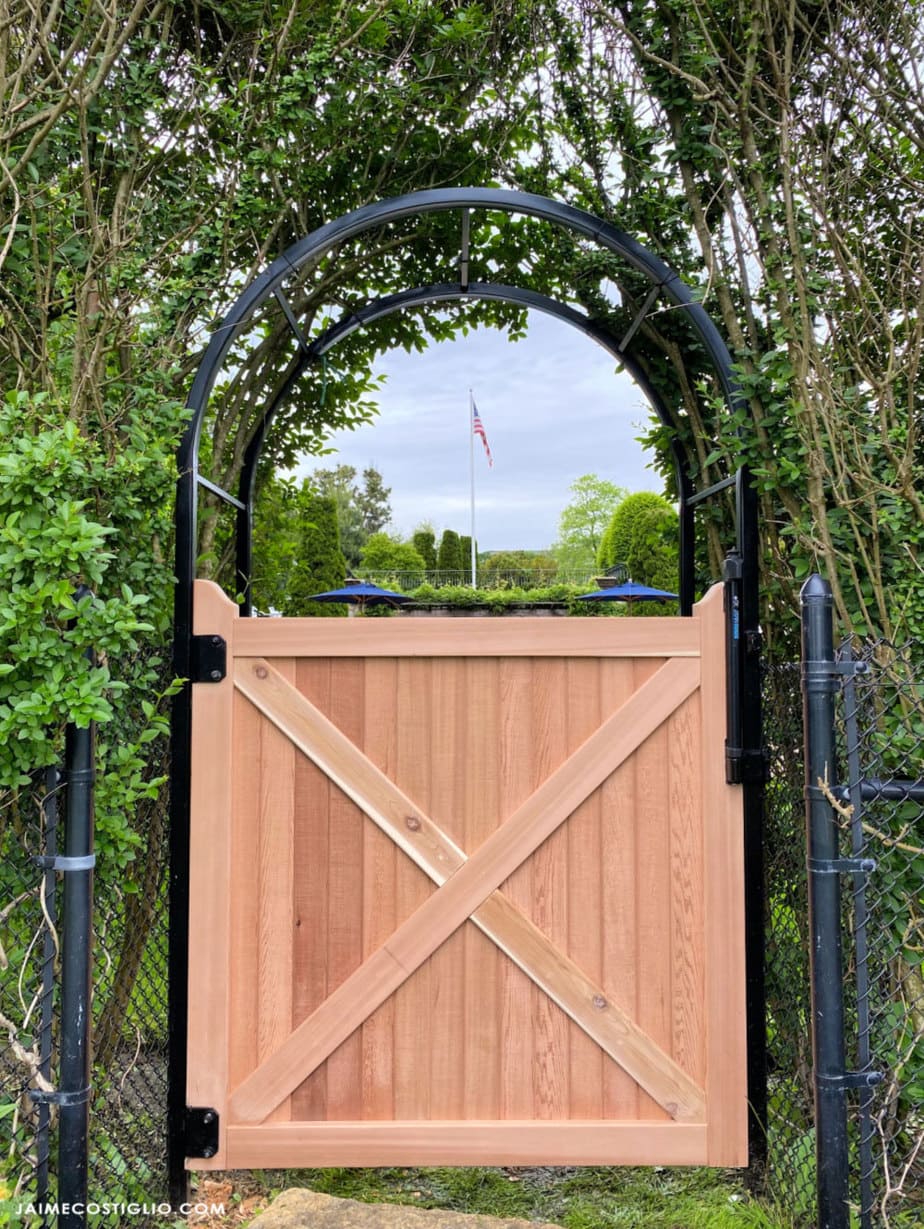
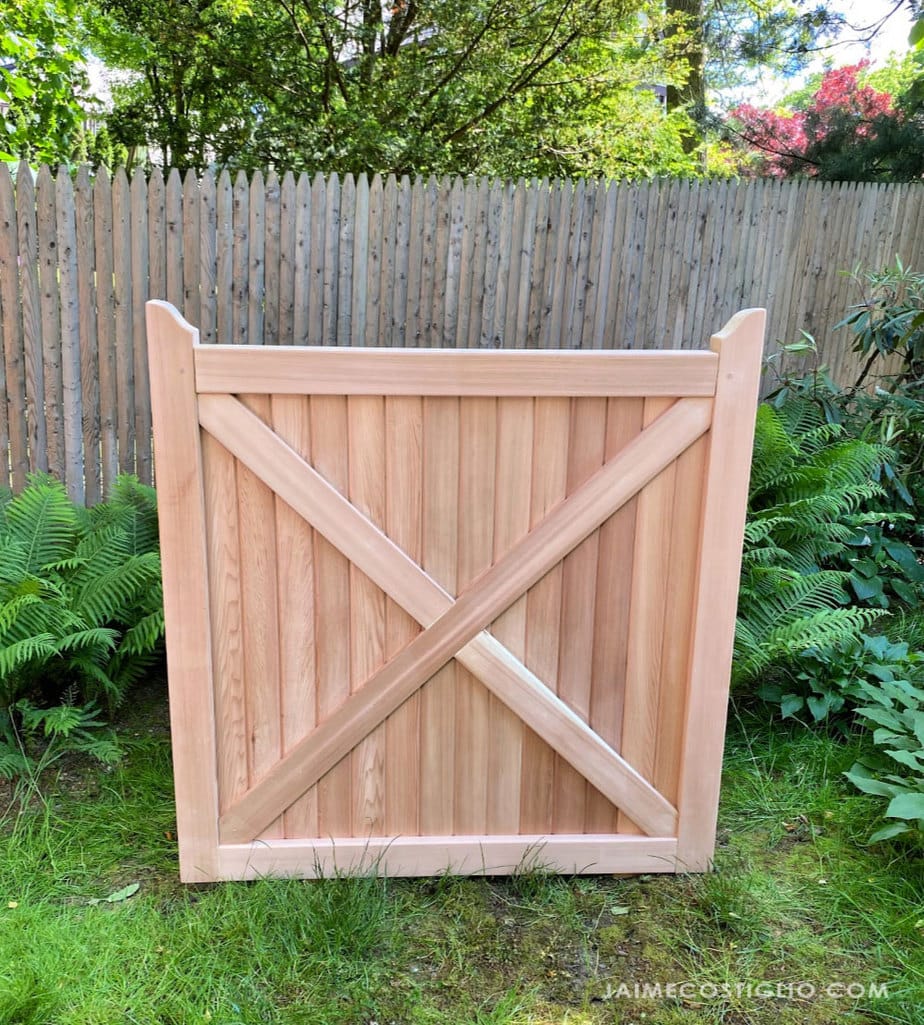
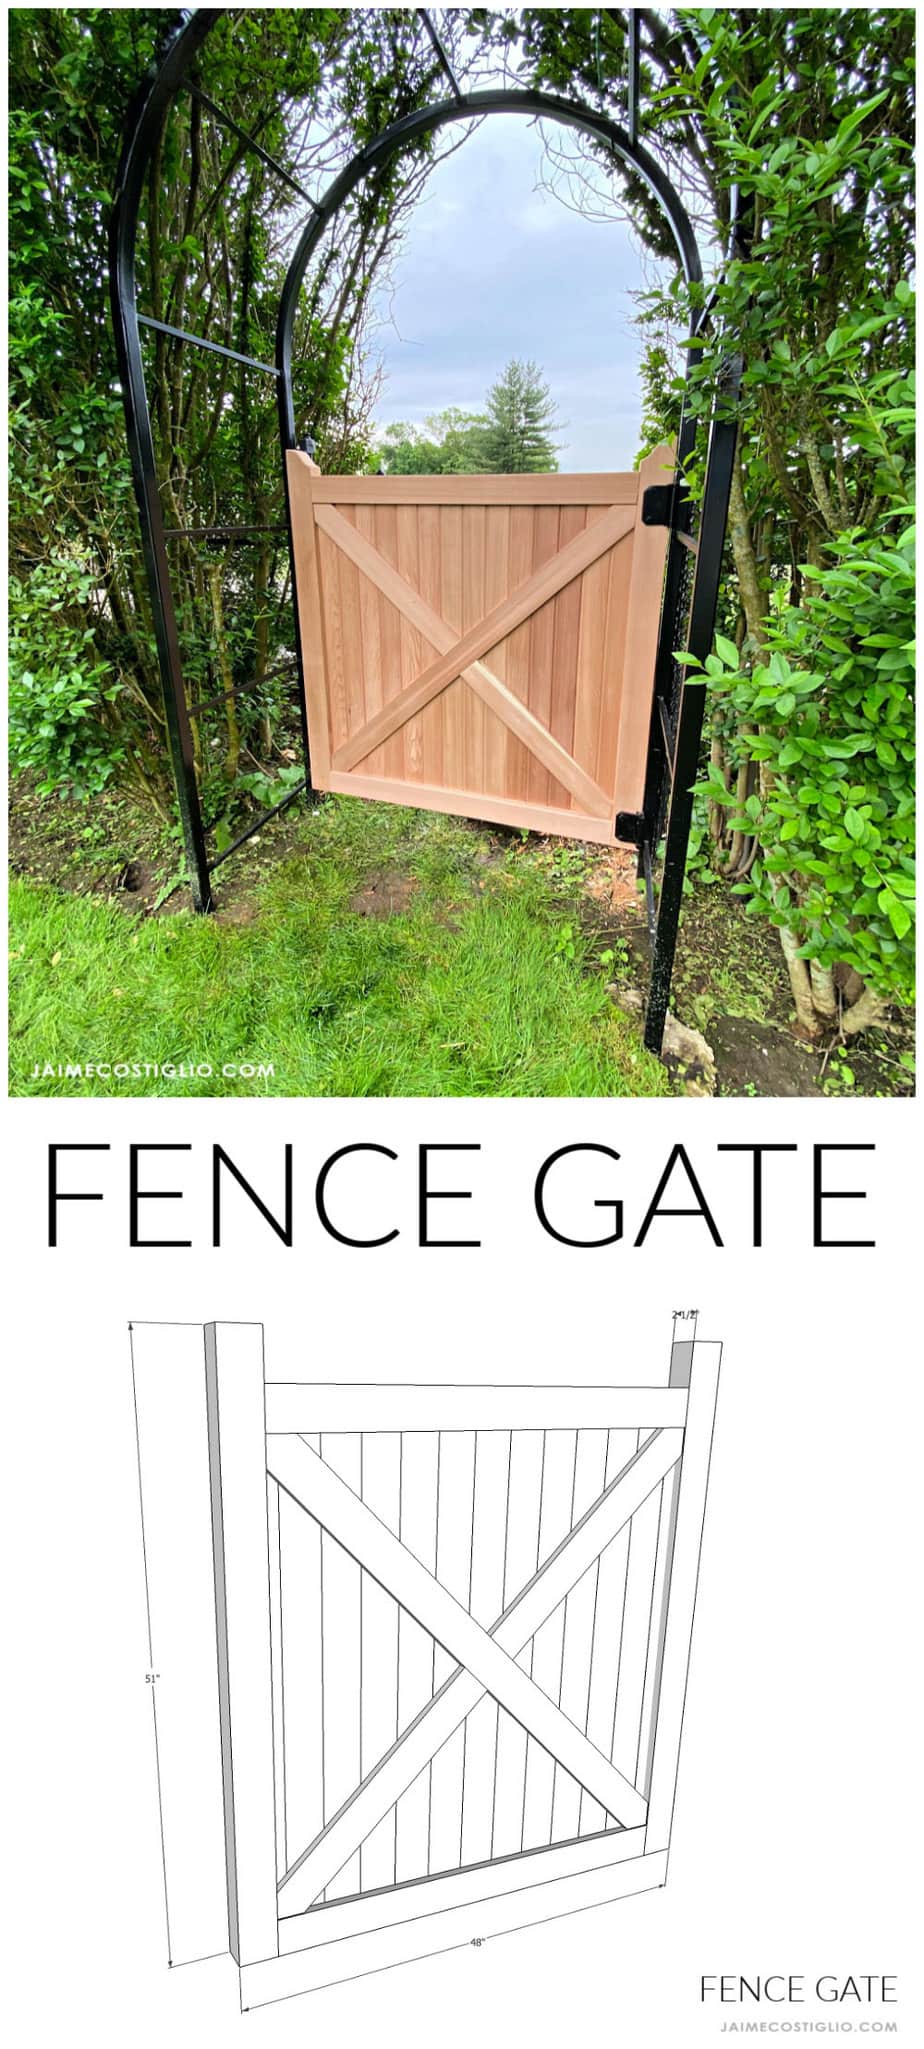
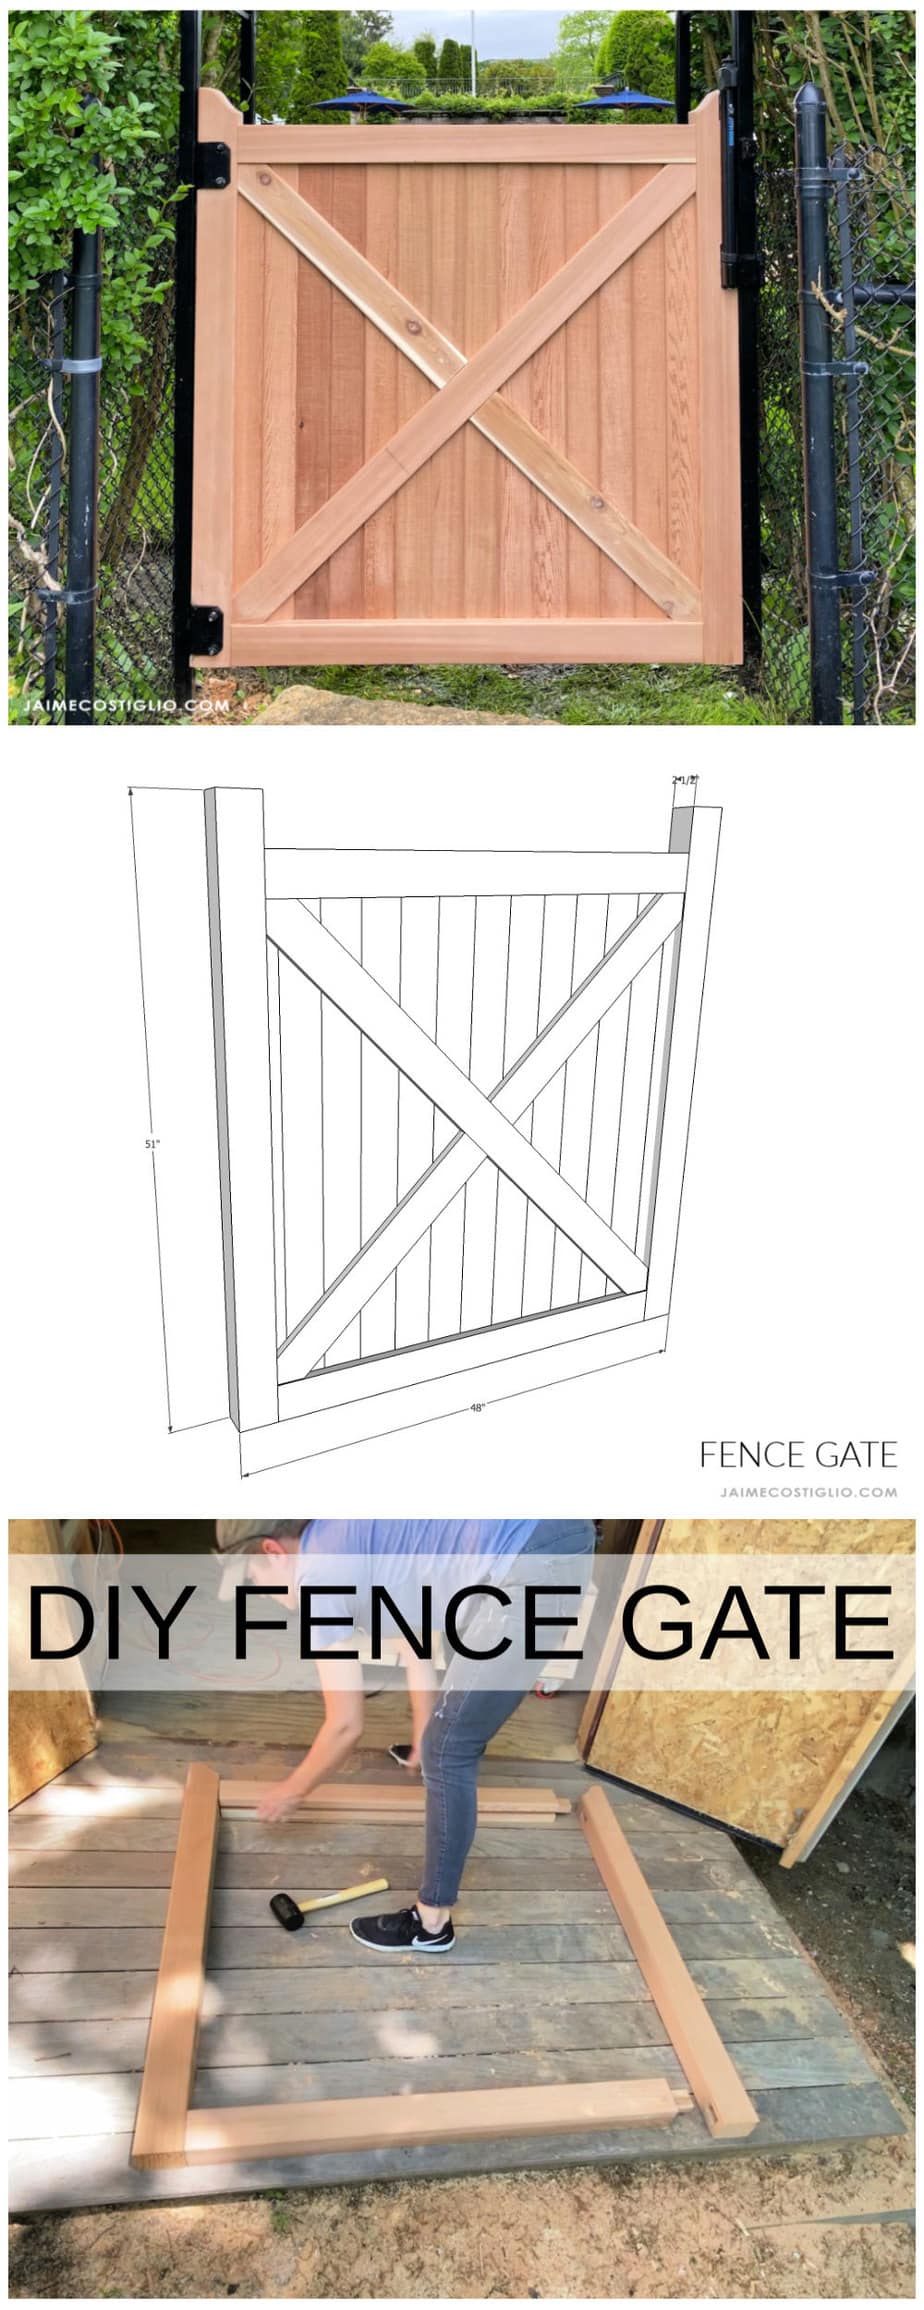
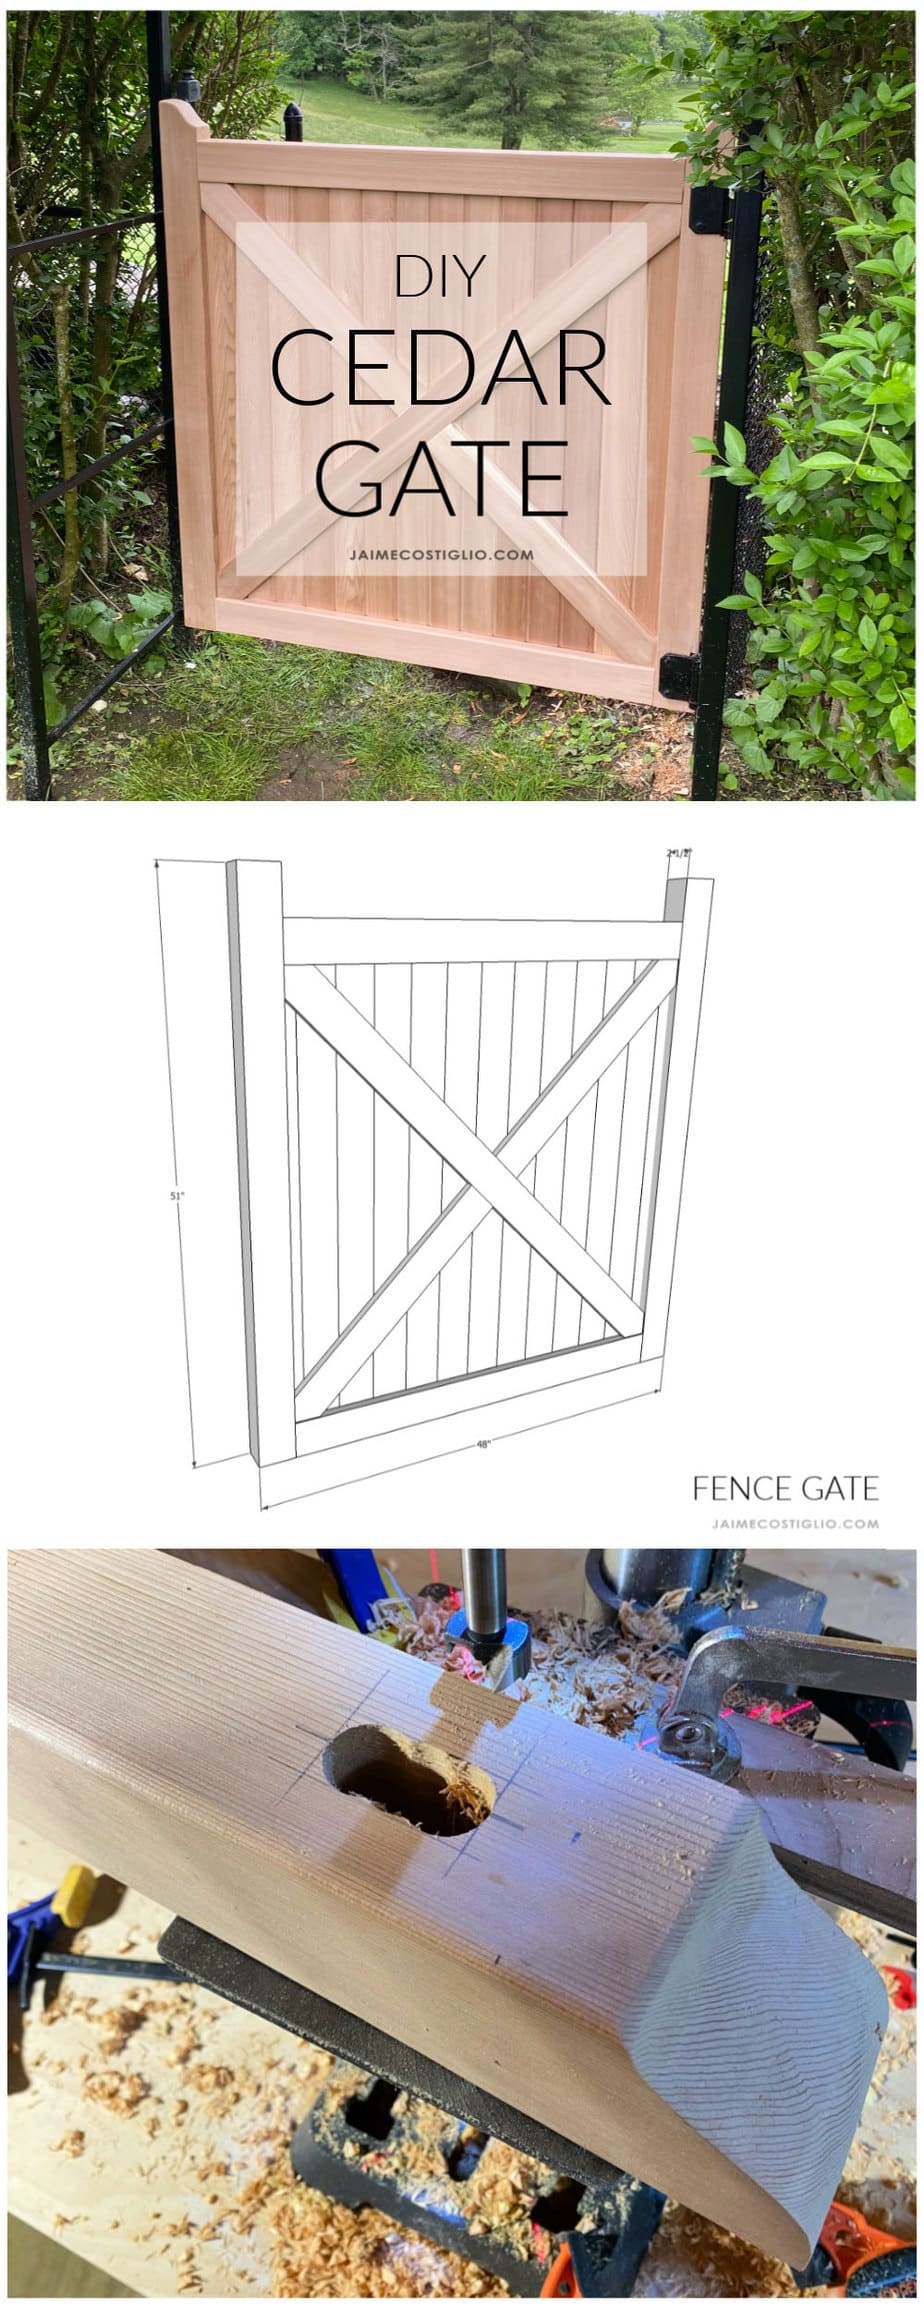
In the end I compiled all of their information to build this cedar fence gate to fit my specifications and design requirements. Check out this beauty built of solid cedar with no screws!
And just a note in all these photos the cedar is unfinished. Ultimately this gate will be painted white to coordinate with the existing fencing in the yard.
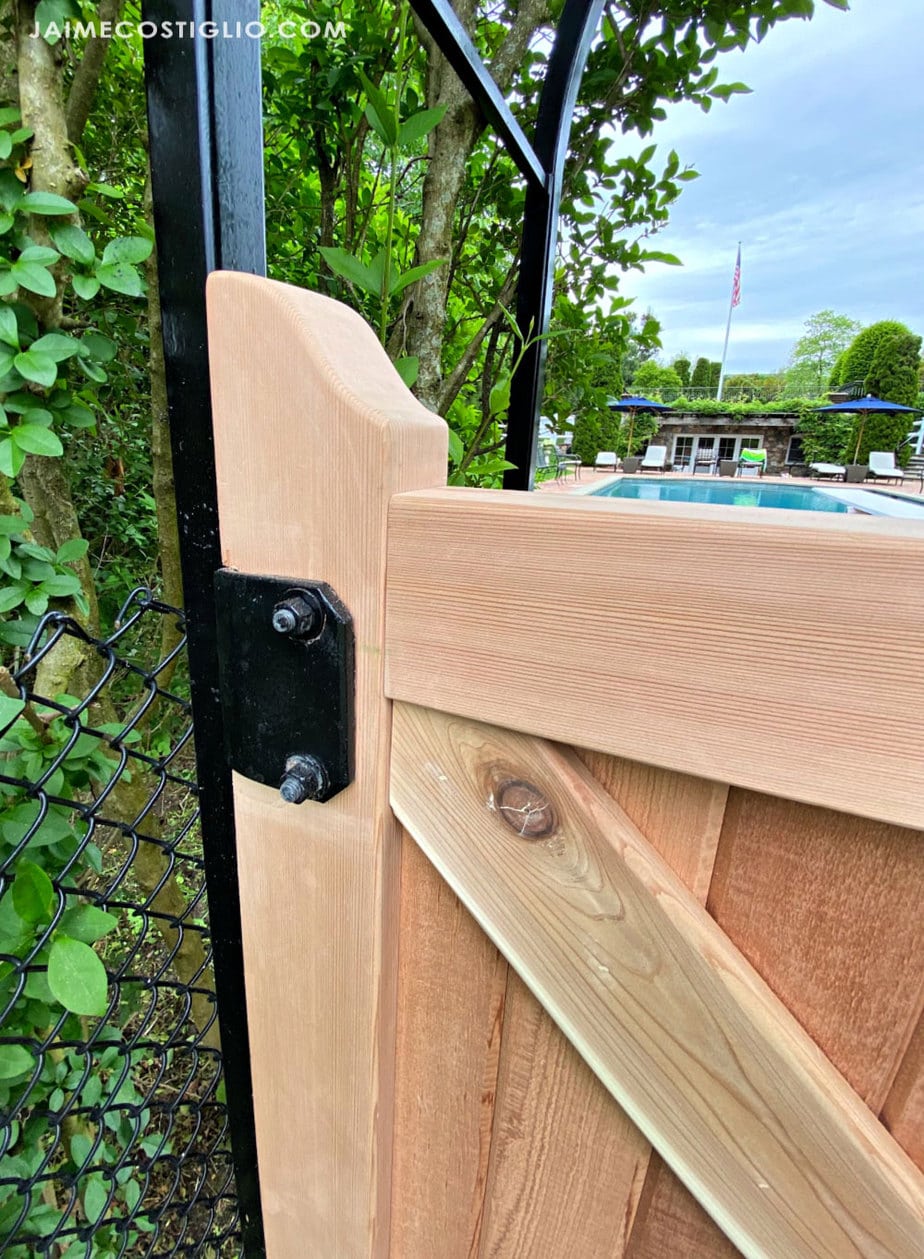
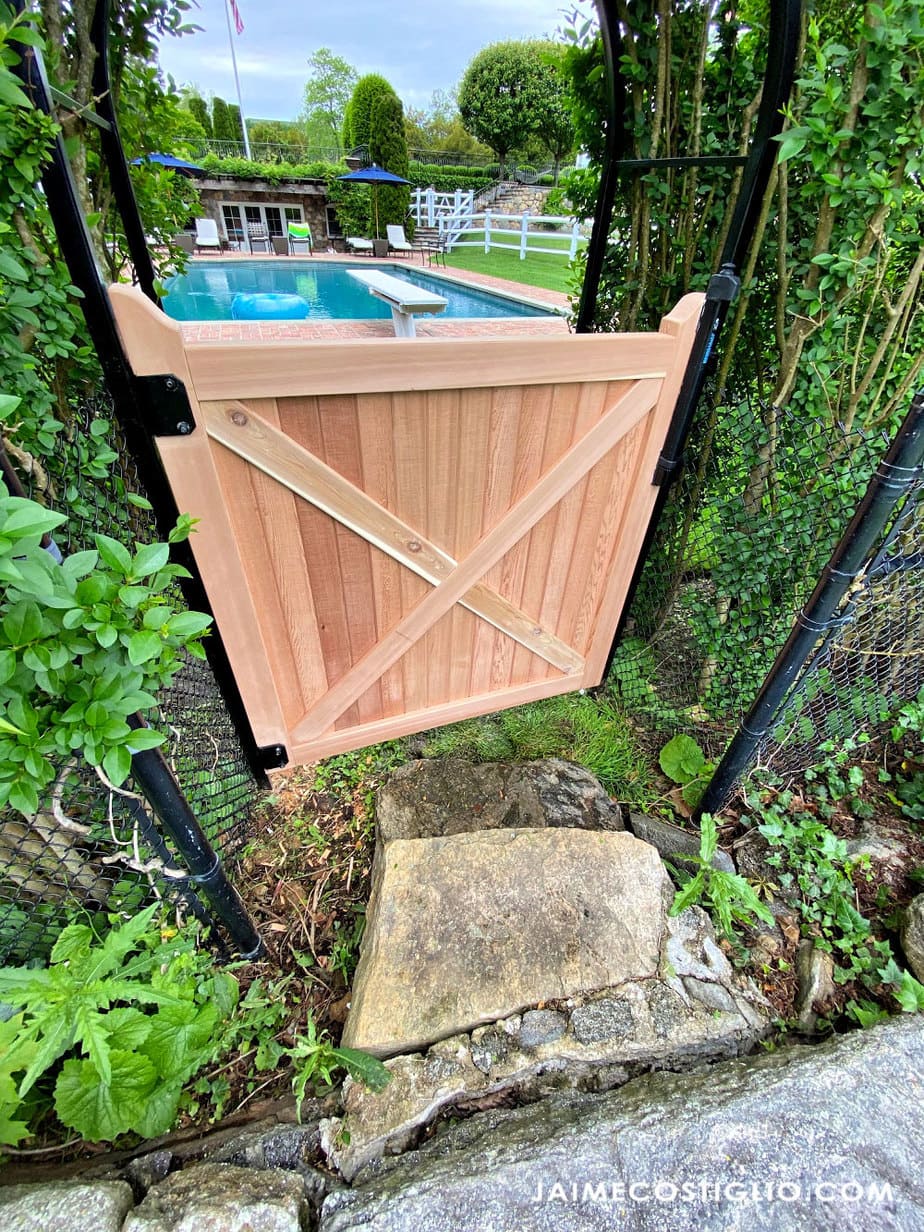
This cedar gate is a little gem of perfection nestled in between a black metal arch that is an access point into the backyard. I love the curved arch with the diagonal x design and little curved detail on the gate posts.
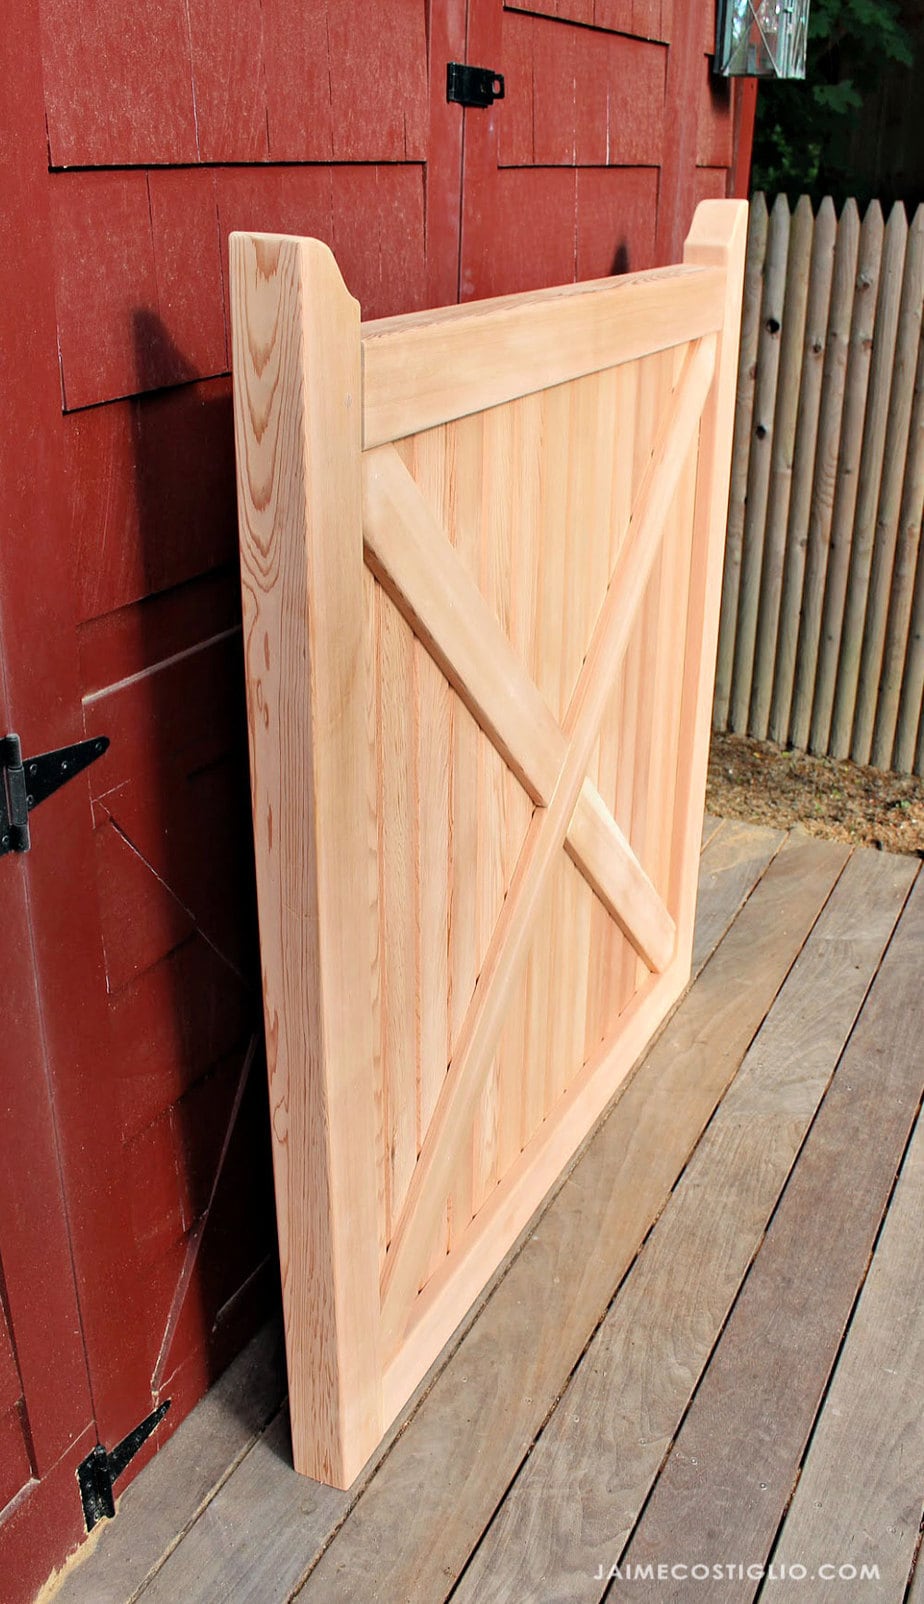
Cedar Gate Details:
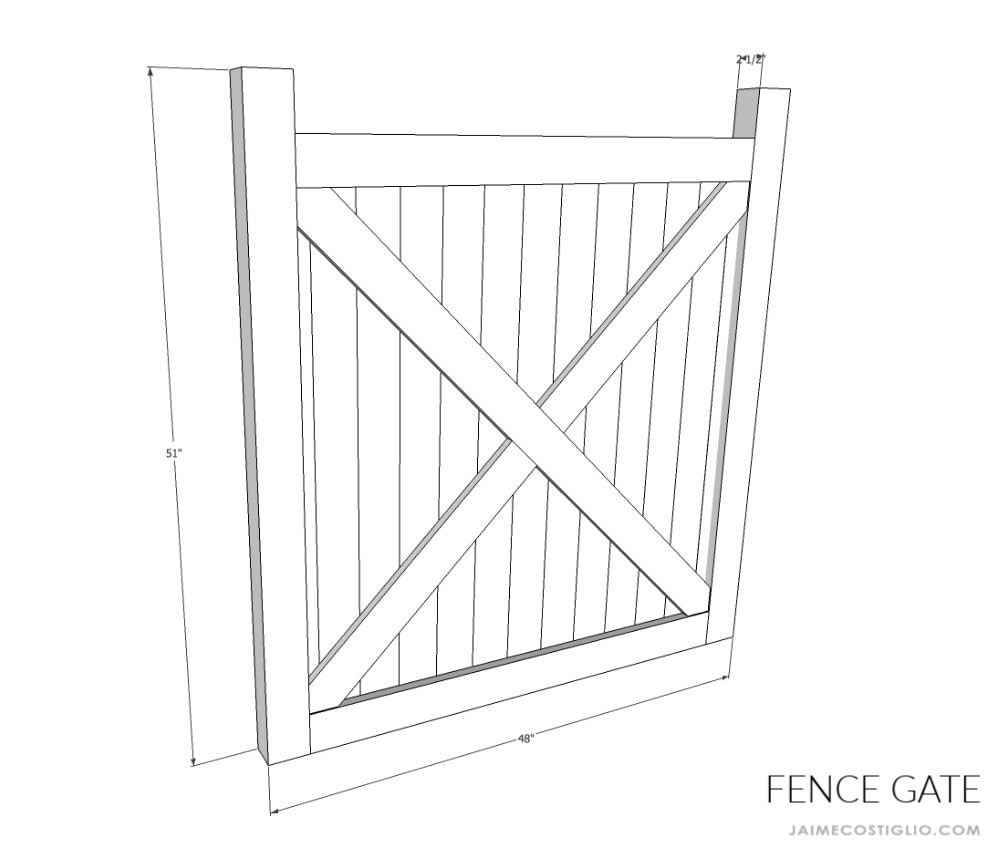
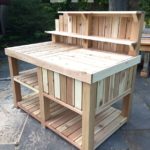
- Built to fit existing hinges in frame. Thickness is 2 1/2″.
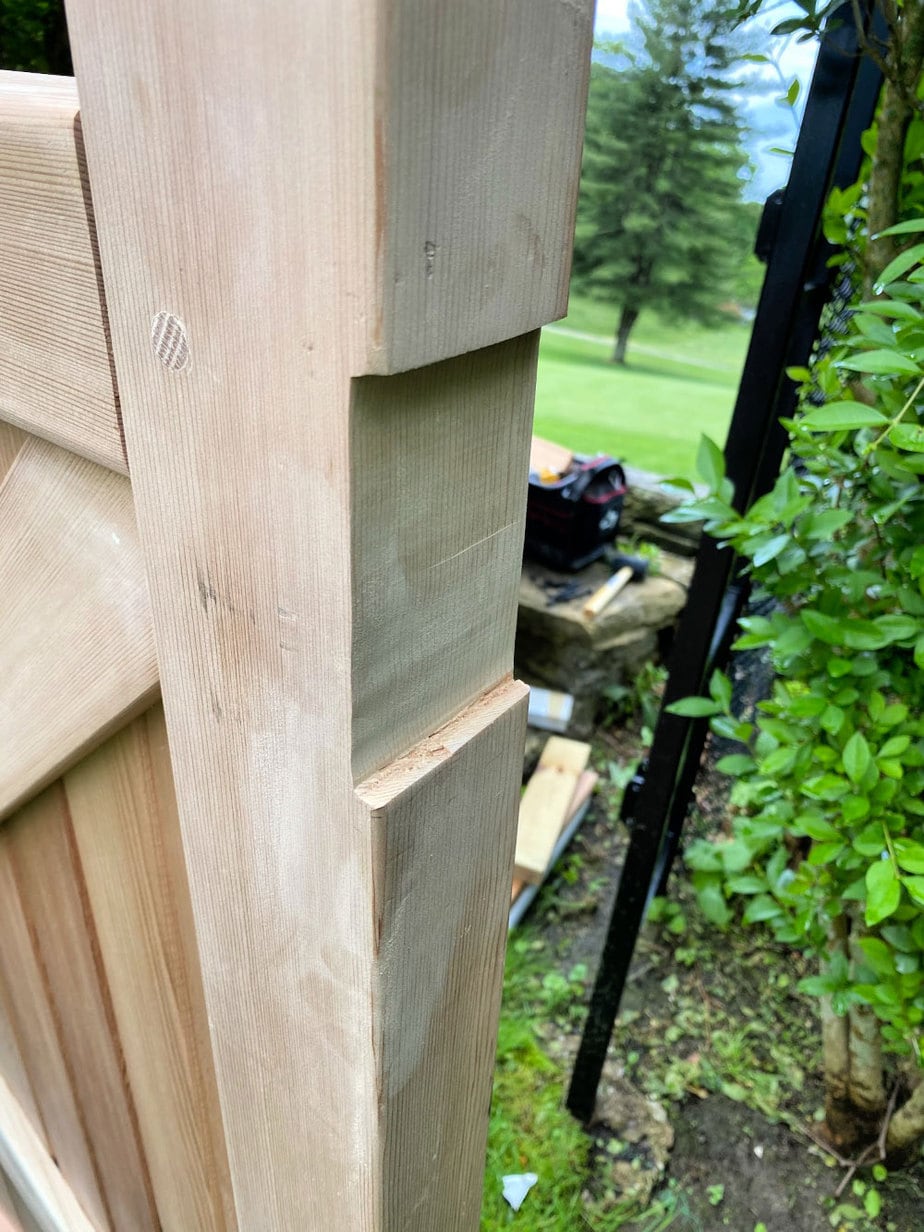
- Mortise & tenon joinery.
- Solid floating center panel of tongue & groove cedar.
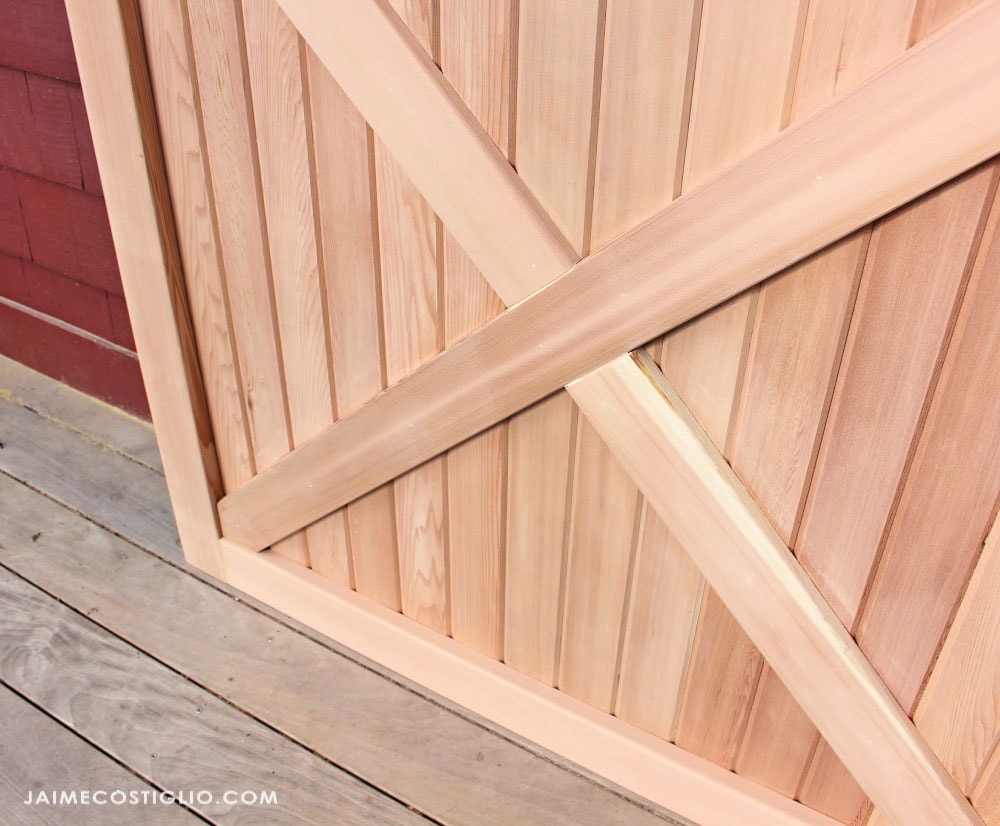
- X detail on front and back.
- Weep holes drilled into base rail to allow for drainage.
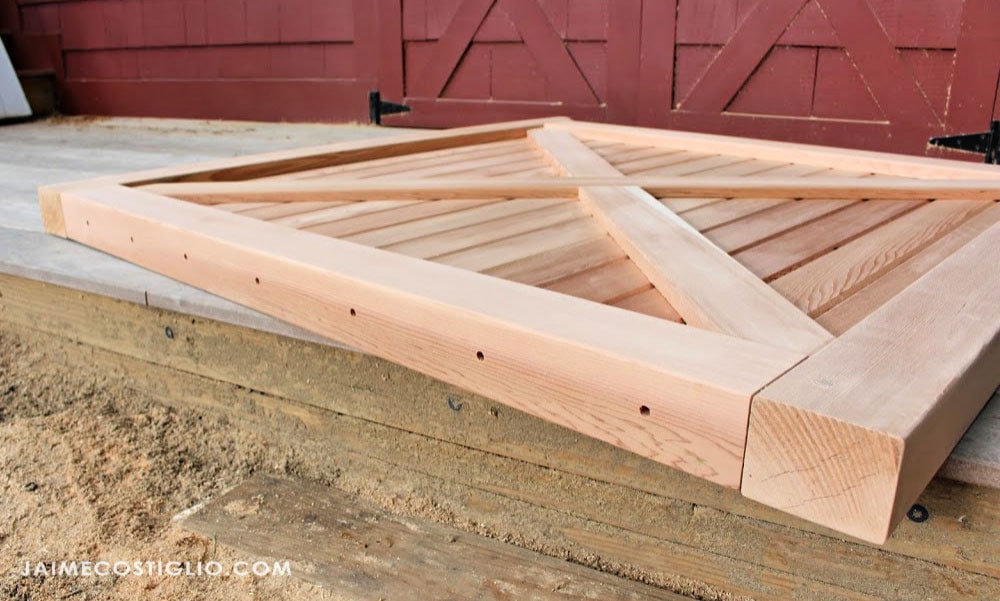
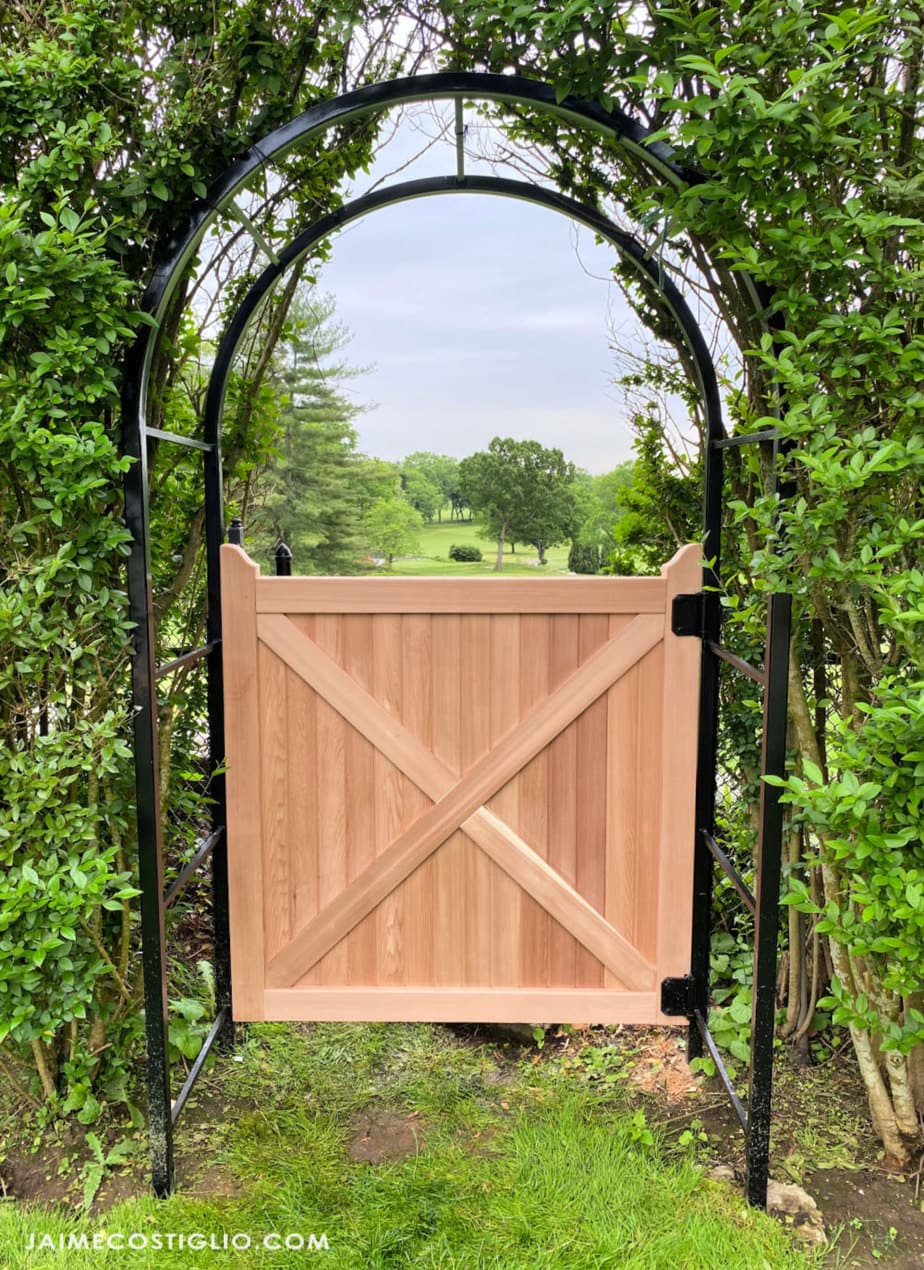
Truth be told this is my first building project using mortise and tenon joinery. I tend to shy away from intense woodworking skills that require such precision and skill but I’m so glad I forced myself to learn a new skill. You can bet I will definitely use this type of joinery again some day.
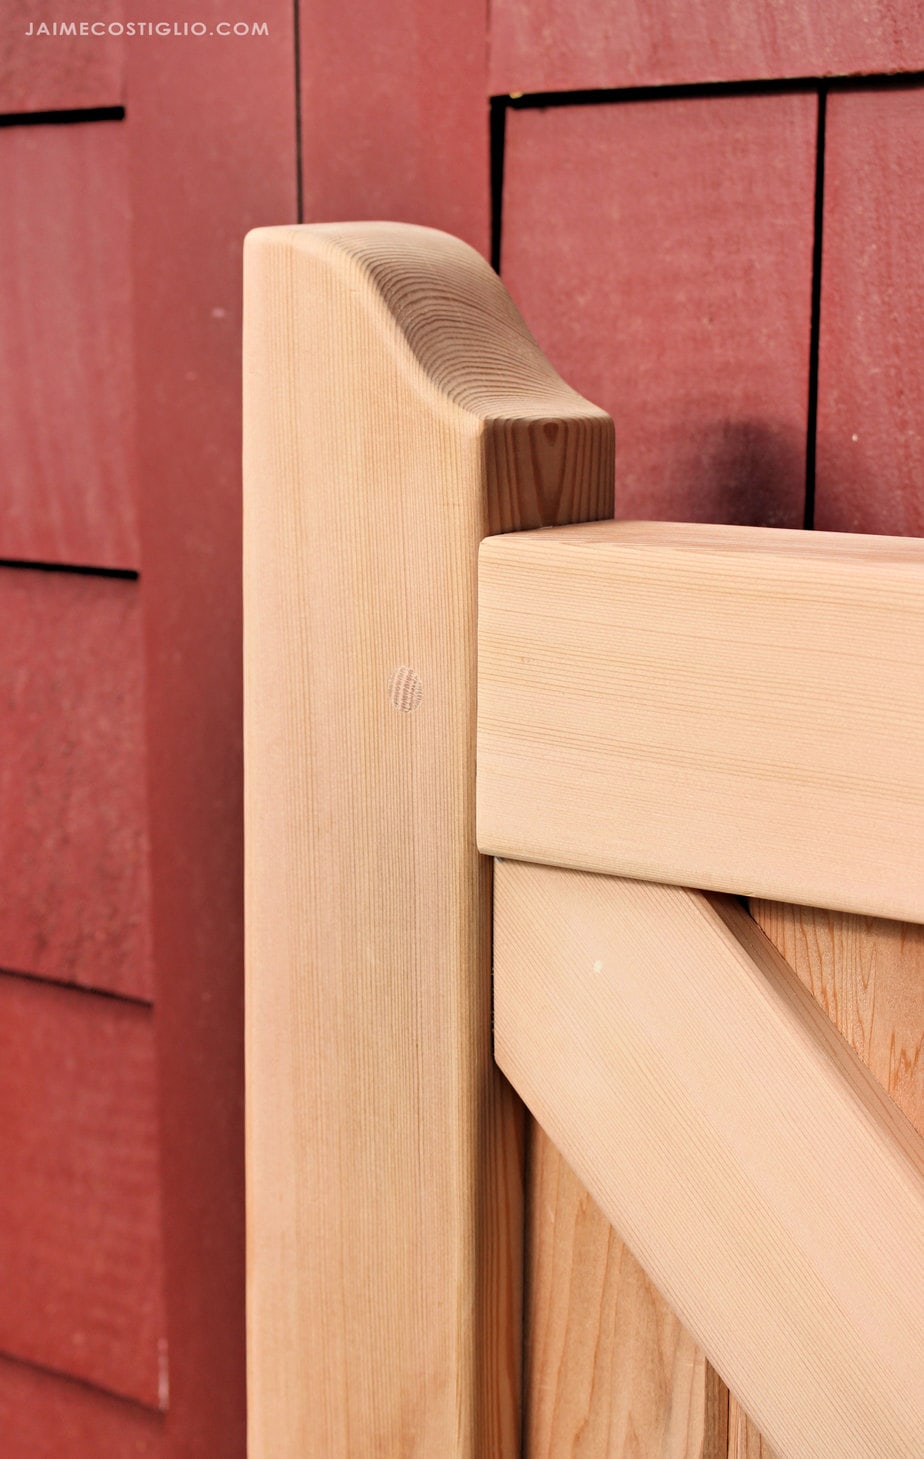
Letting the cedar wood speak for itself is worth the effort. Look at that combination of the curved post, dowel pin and joint. It’s mouth watering!!
Be sure to read through my building notes down below. I’m sharing tips and details in this post you don’t want to miss.
Click here for the printable PDF plans for the cedar fence gate.
Supplies:
- 2 – 4x4x8 cedar (rip down to 3 ½” x 2 ½” actual size)
- 7 – 1×4 tongue & groove cedar
- 3 – 1×4 cedar
- ½” dowel
- marine grade adhesive sealant
- chisel
- rubber mallet
- router & slot cutter router bit & chamfer bit
- drill press & ¾” forstner bit, ½” forstner bit
- drill
- table saw
- miter saw
- multi-tool with flush cut bit
- nail gun & 1 ¼” brad nails
Making the Tenons:
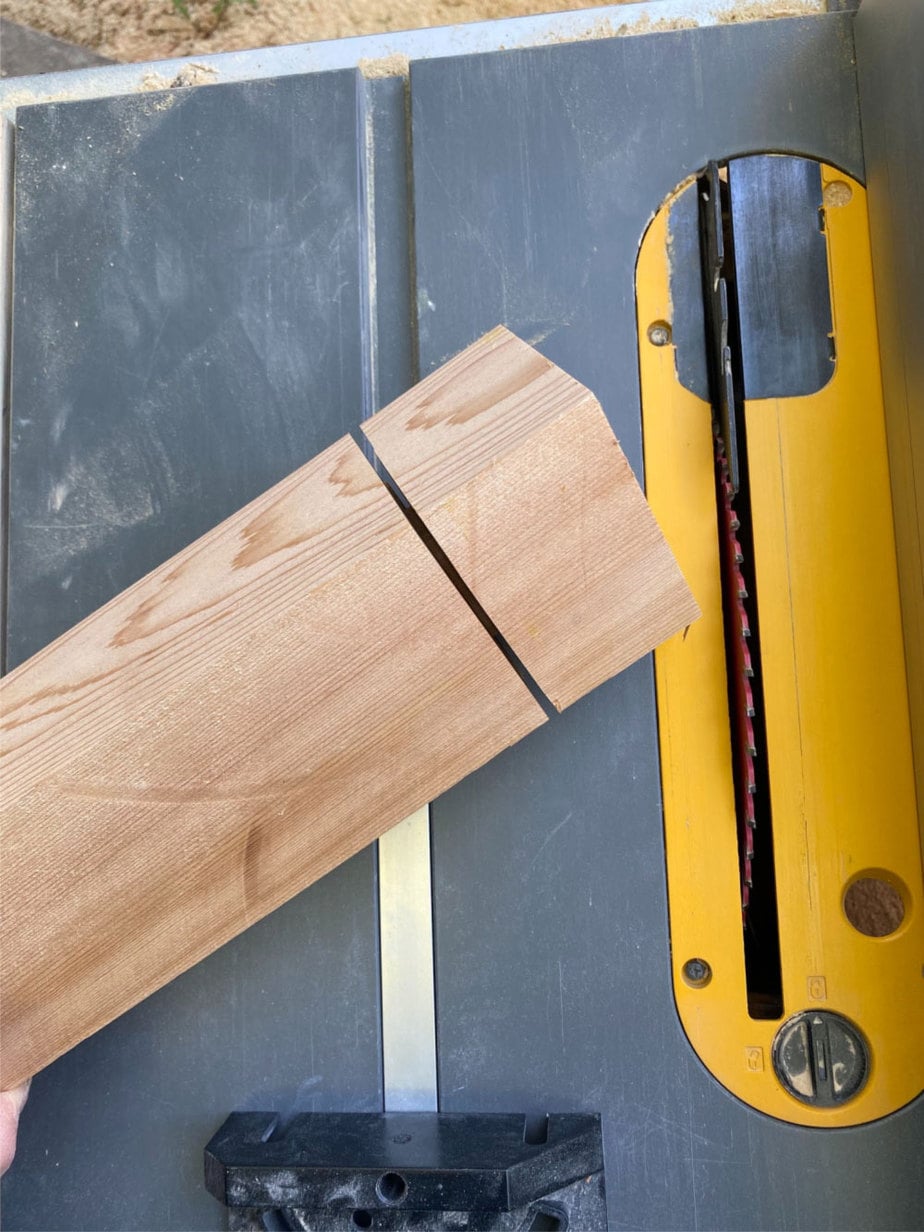
Begin by making the tenons in the rails. I used my table saw and set the depth at 7/8″ on all four faces. I found this site to be a great reference for sizing mortise and tenon joints.
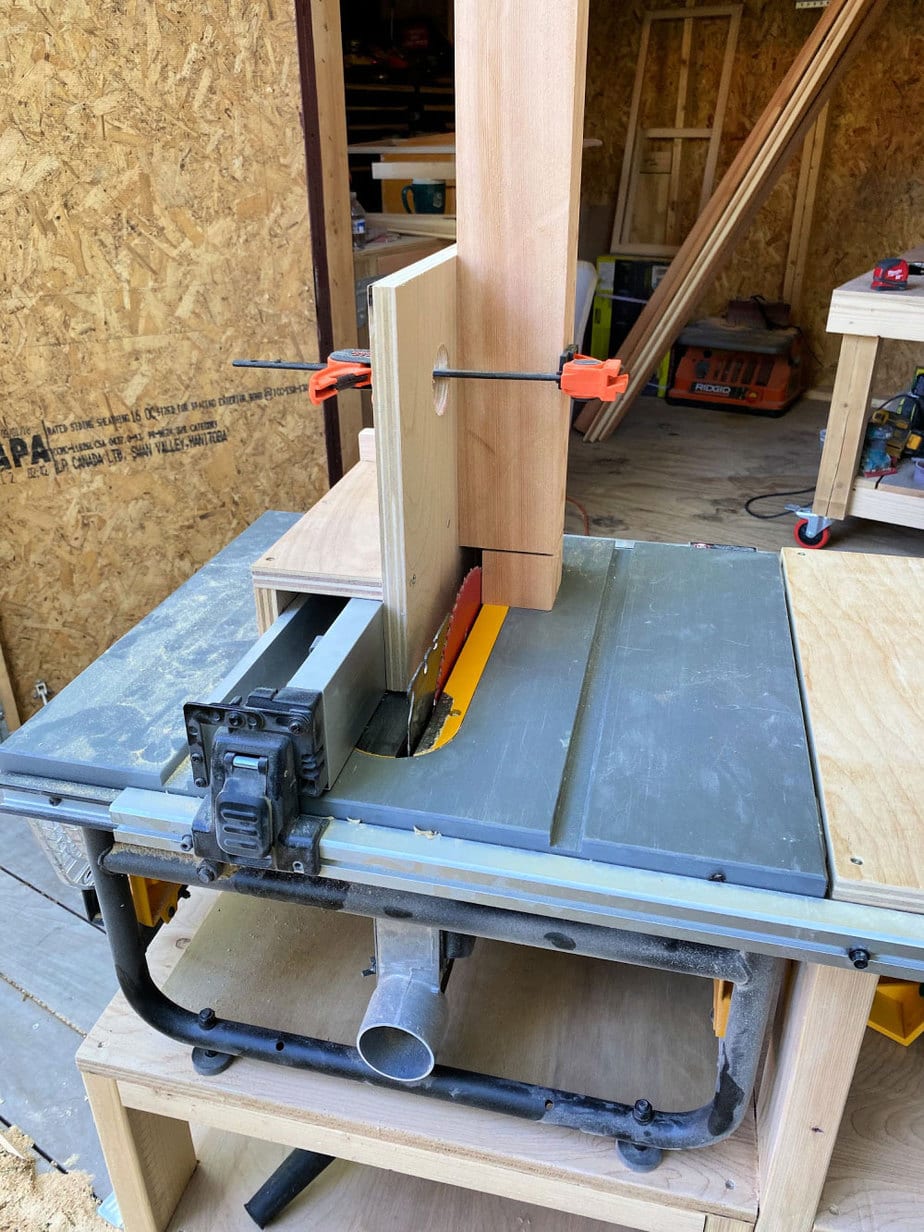
Now cut the cheeks. To do this on the table saw I made a tenoning jig similar to Tamar’s tutorial here. There are lots of tenon jigs out there, make one that best suits your saw and tenon needs.
Cutting the Channels:
Once the tenons have been cut now use the table saw again to cut the channels in the rails for the tongue and groove boards to rest. In addition I highly suggest making weep holes in the bottom rail. I used the drill press with a 1/2″ Forster bit and drilled multiple holes into the channel and out the bottom of the rail. These weep holes allow moisture to escape.
Making the Mortises:
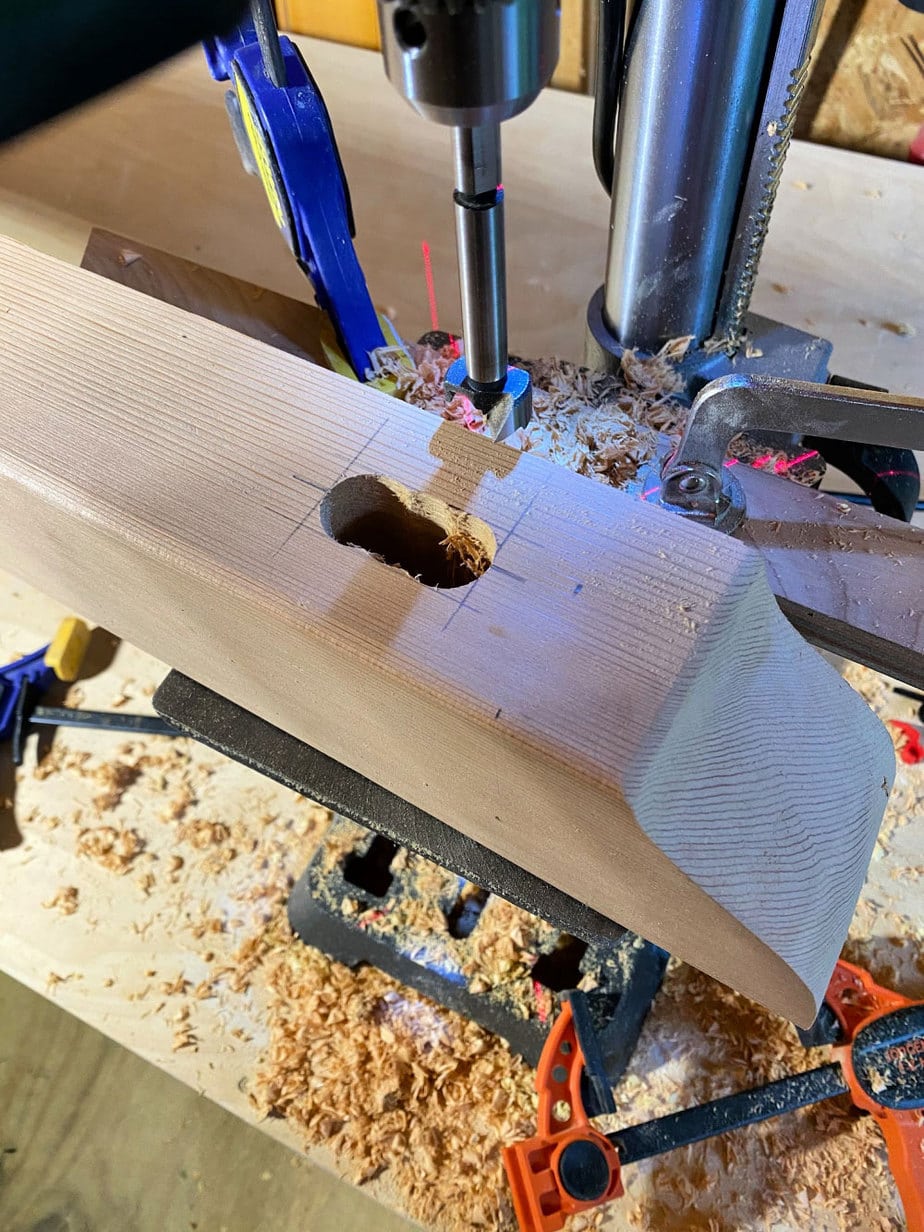
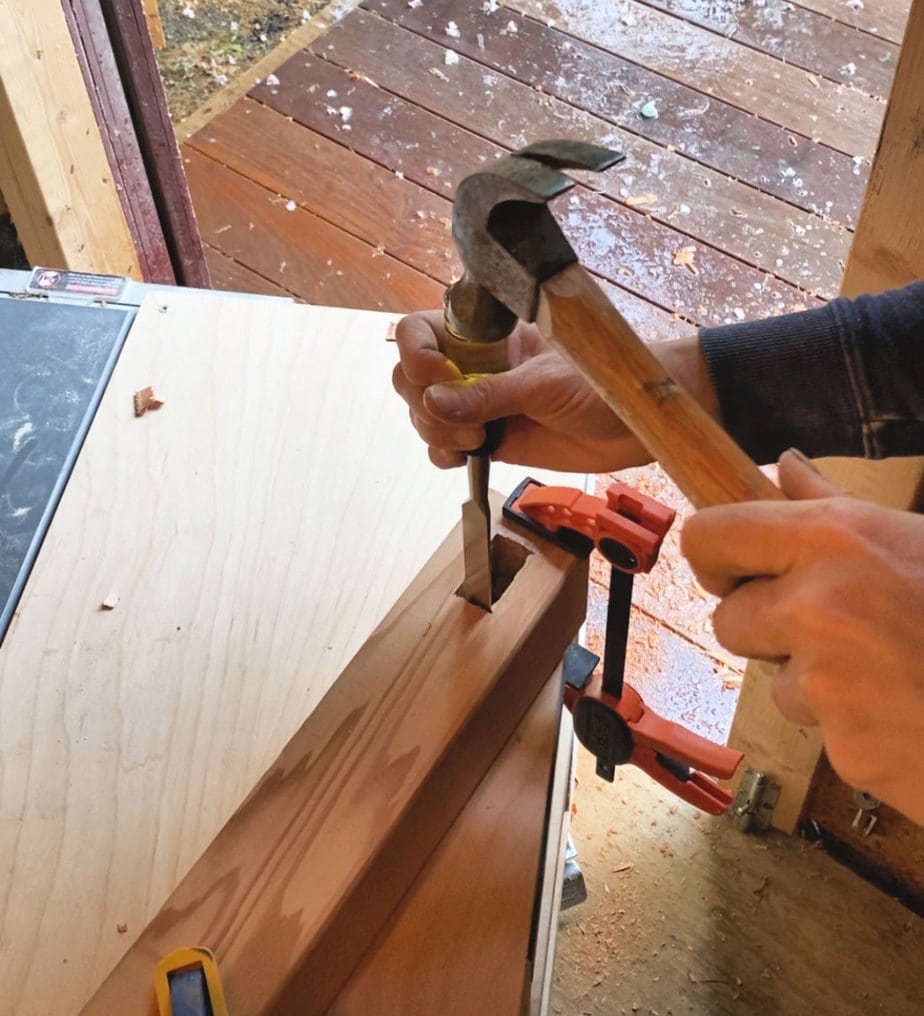
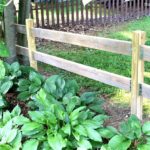
Again there are a bazillion YouTube videos on how to make mortises but I opted to use the drill press with a 3/4″ Forster bit. Then I moved over to a mallet (or hammer since I couldn’t find my mallet at this point) and chisel to square up the mortises.
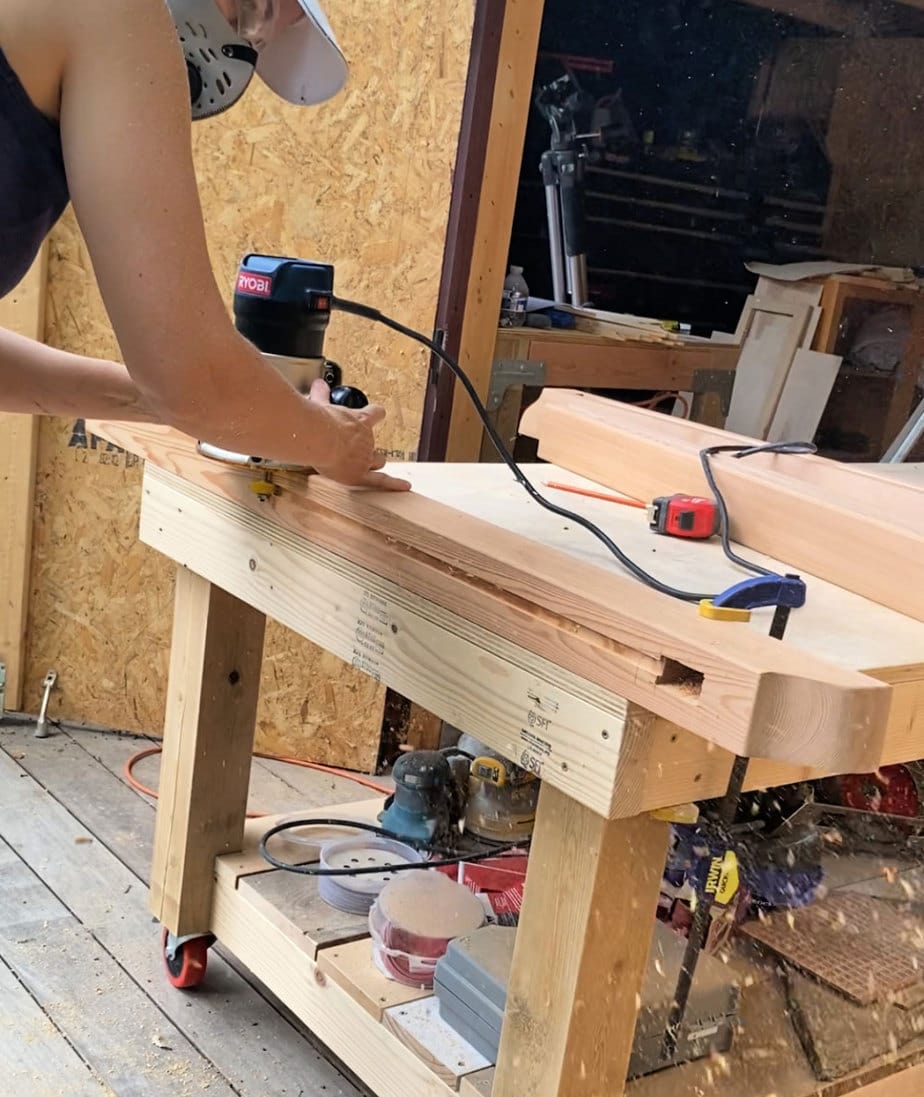
Once the mortises are complete then cut the channels in the posts. Here I used a slot cutting bit in my router. Yes I know a router is supposed to go left to right but I did read somewhere that it can go either way if you are cutting on the interior. At any rate the channels are cut from mortise to mortise.
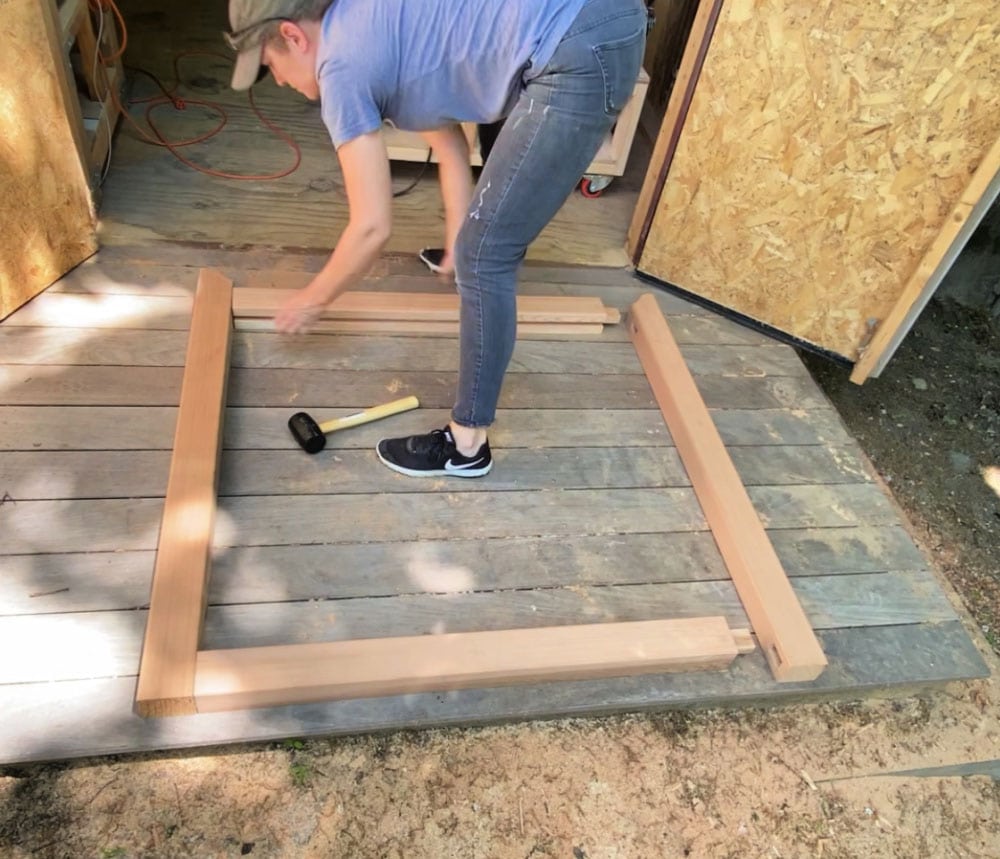
Gate Dry Fit
Naturally you will be testing the fit of the mortise and tenons as you go along but I suggest one last final dry fit of all four posts before assembly. You can also determine the placement of the tongue & groove especially the end boards that may need a little trimming depending on your gate width.
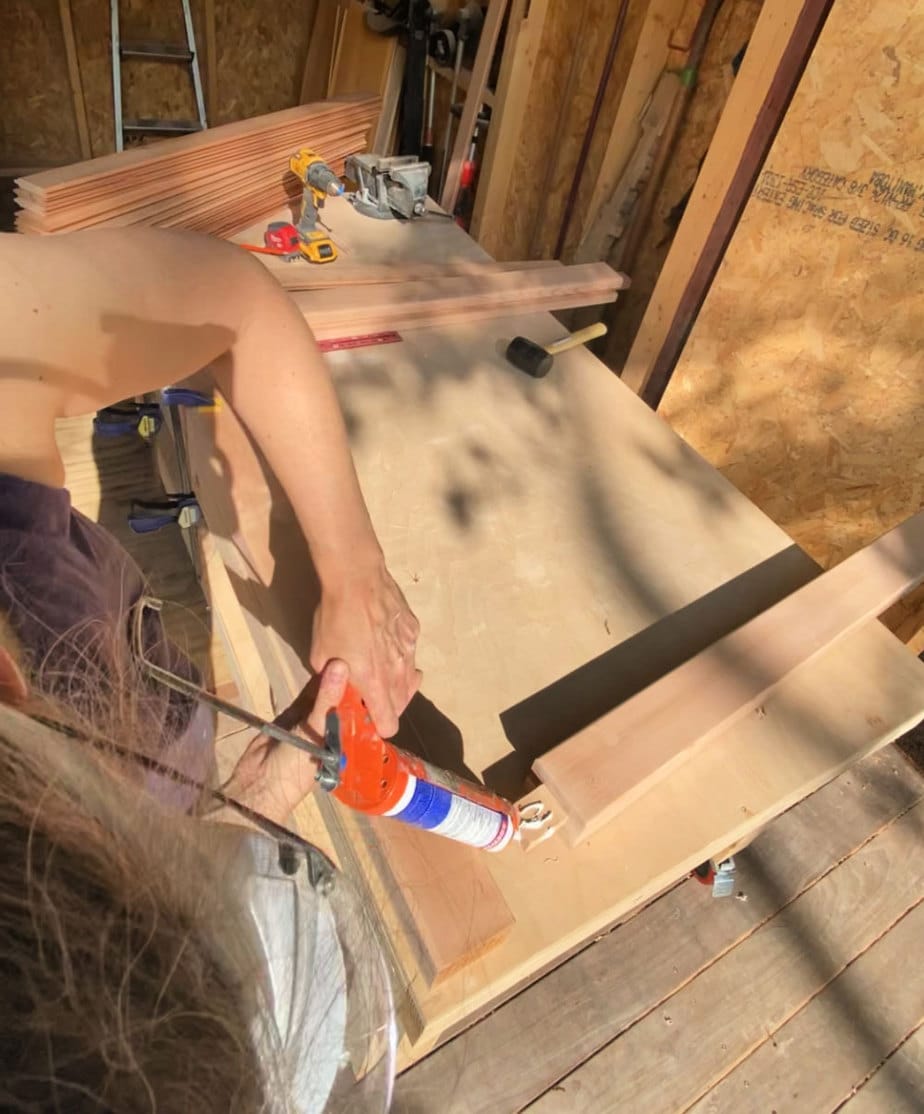
Gate Assembly
For this mortise and tenon joinery I opted to use a marine grade adhesive sealant on the tenons. Probably not necessary but better to be safe than sorry and it helps prolong the gate life. Apply the adhesive to the tenon and use the mallet to tap into position.
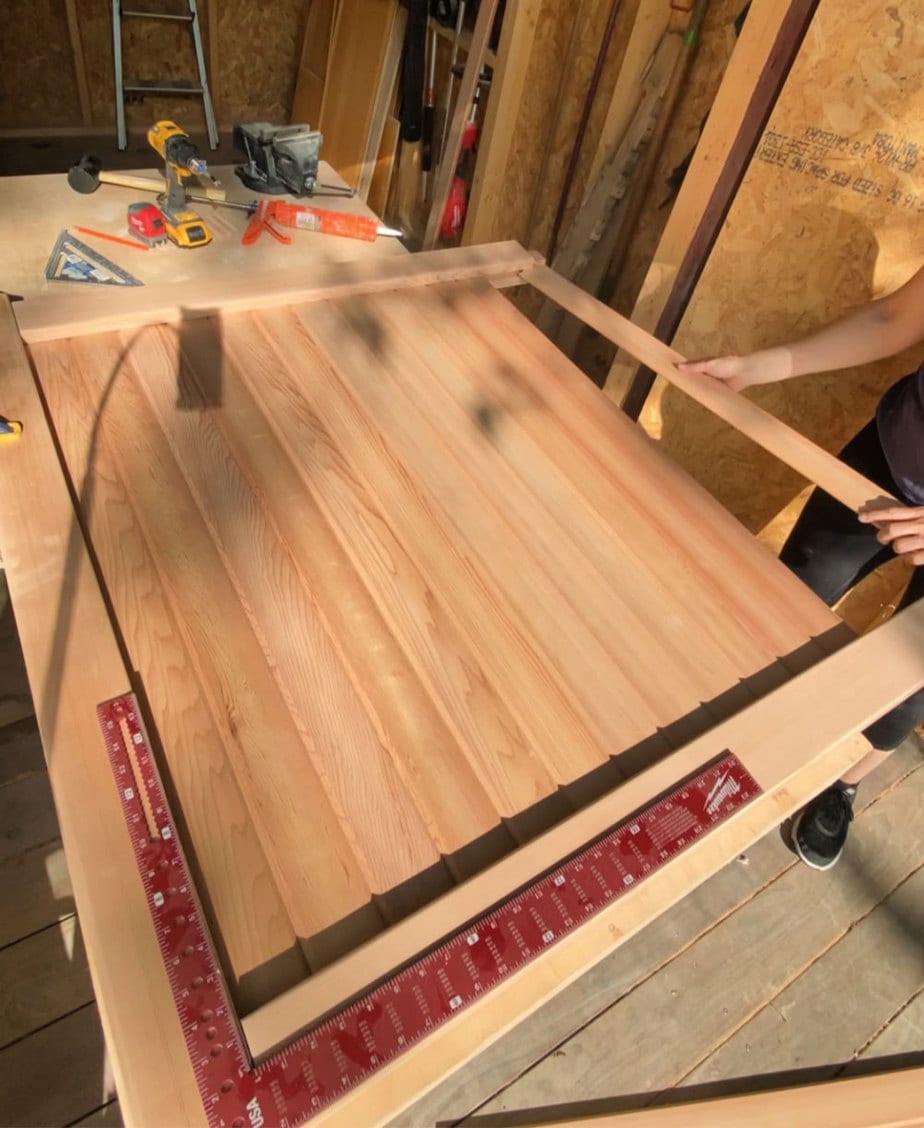
Then slide the tongue and groove boards into the channels.
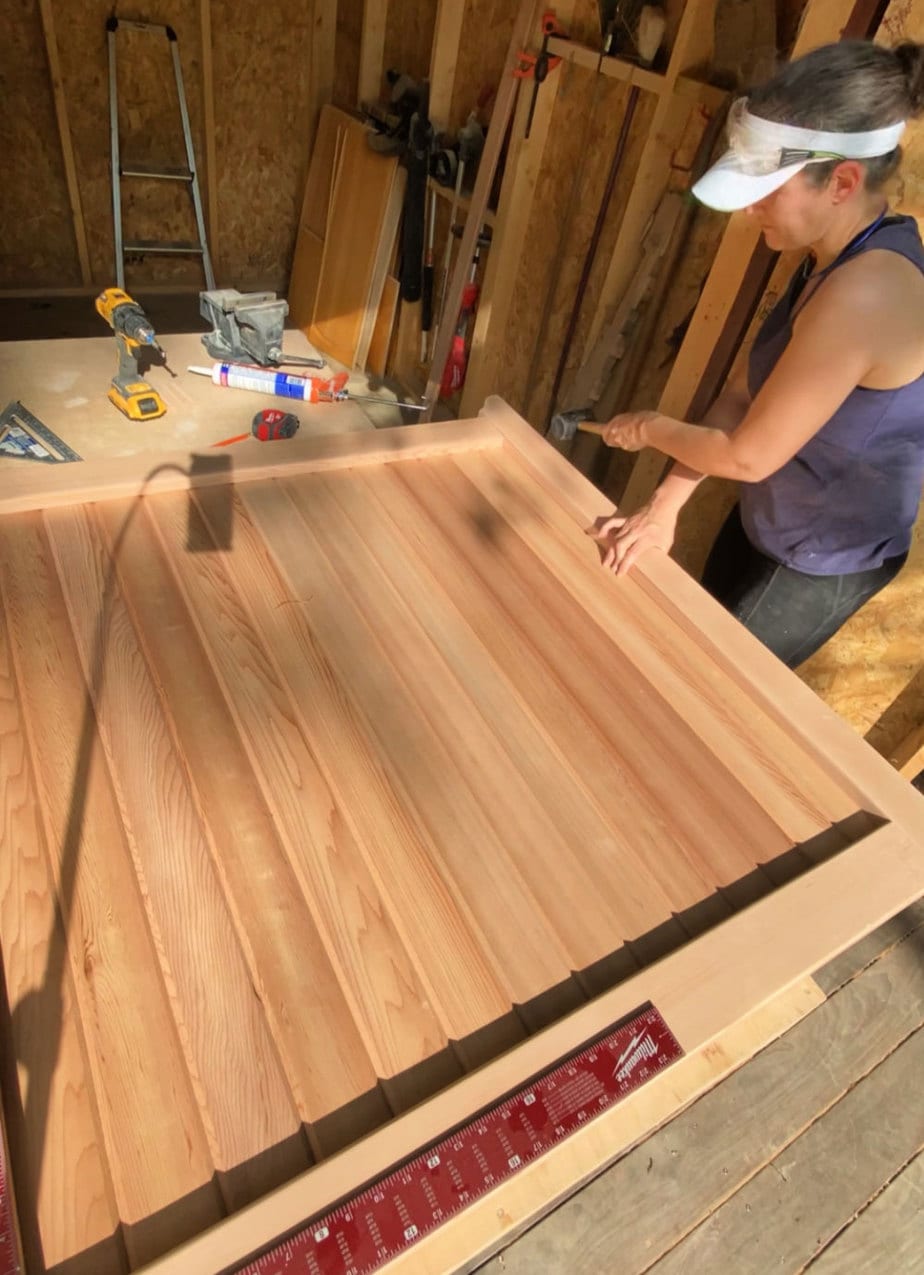
Lastly apply adhesive to the other tenons and tap the final post into position. Check for square and attach clamps while the adhesive dries. I let it sit in the clamps overnight.
Adding Dowels to Cedar Gate:
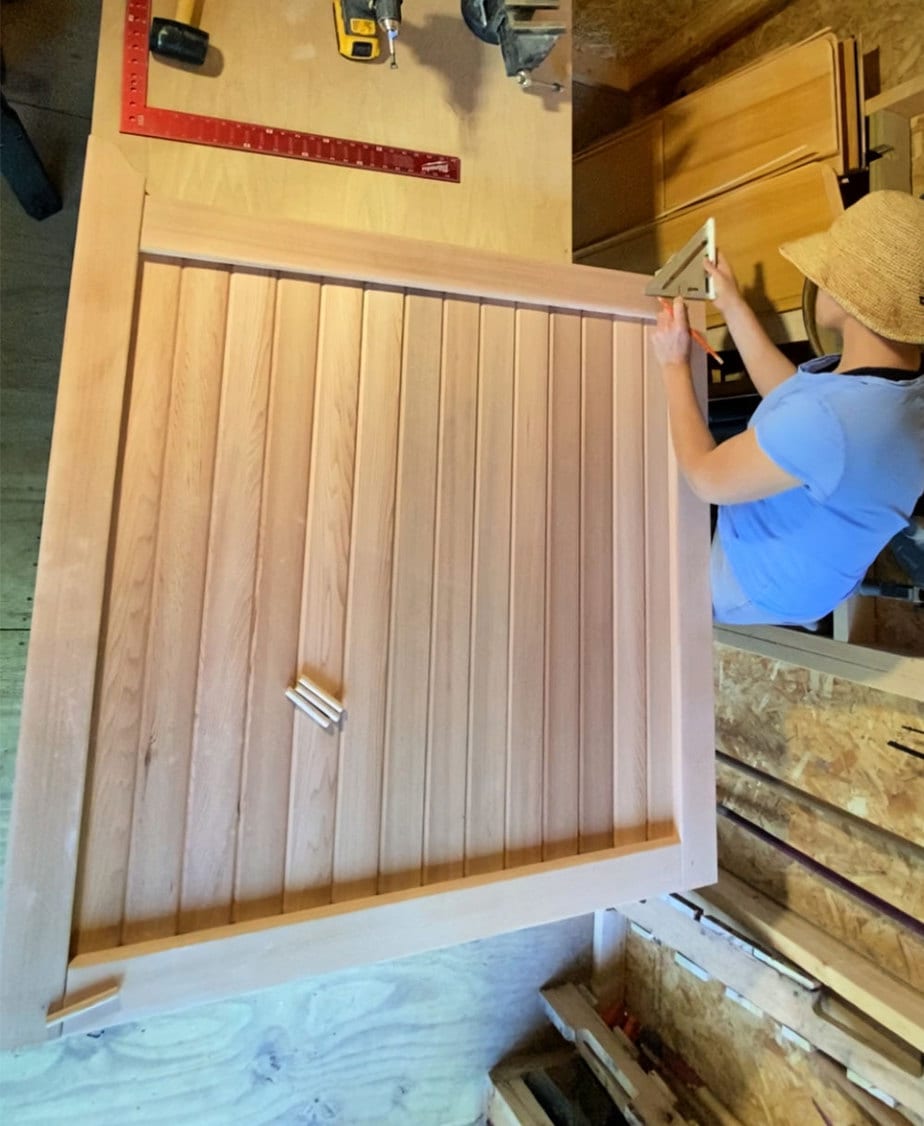
Mark the position of the dowels and predrill a hole using a 1/2″ Forster bit about 2″ deep. I did add some adhesive into the hole first and then used the mallet to tap the dowel into position.
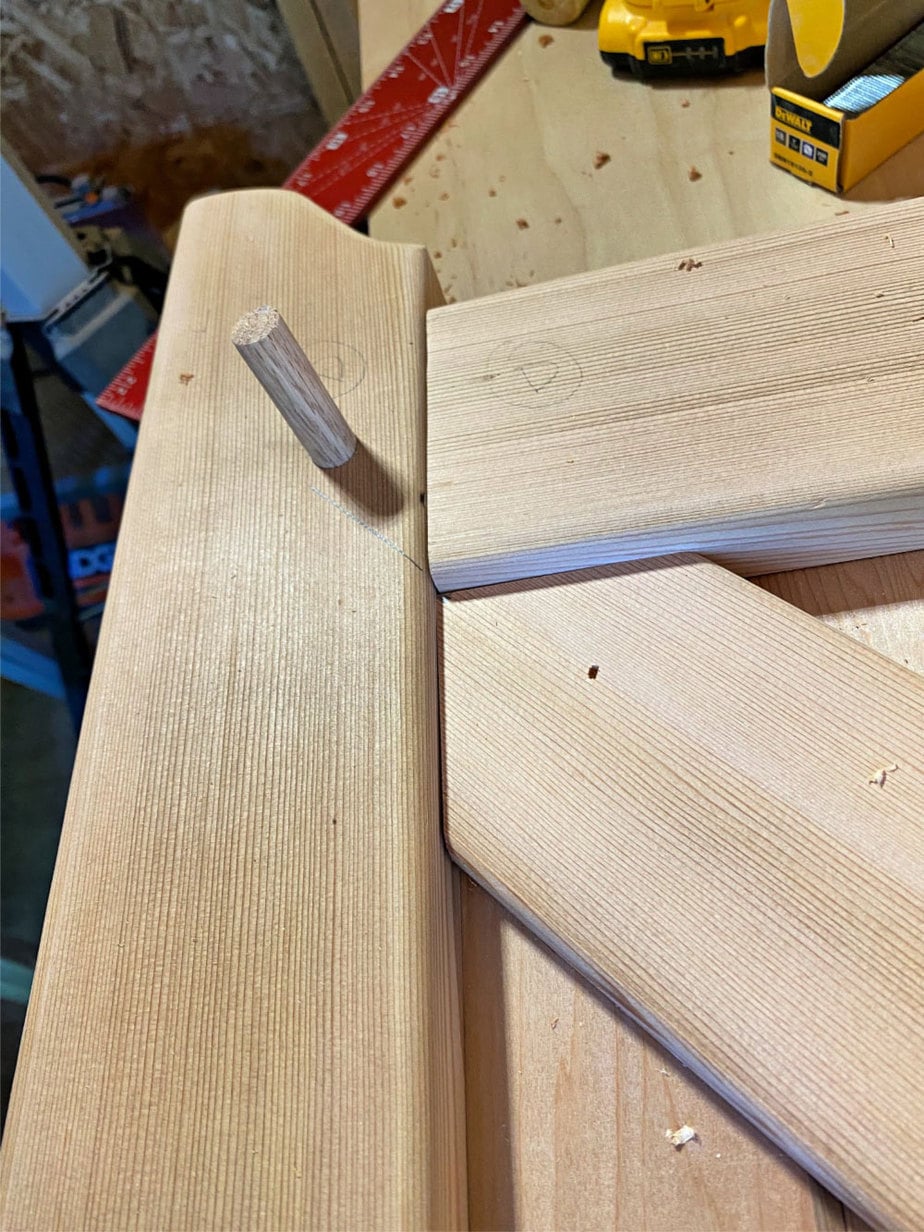
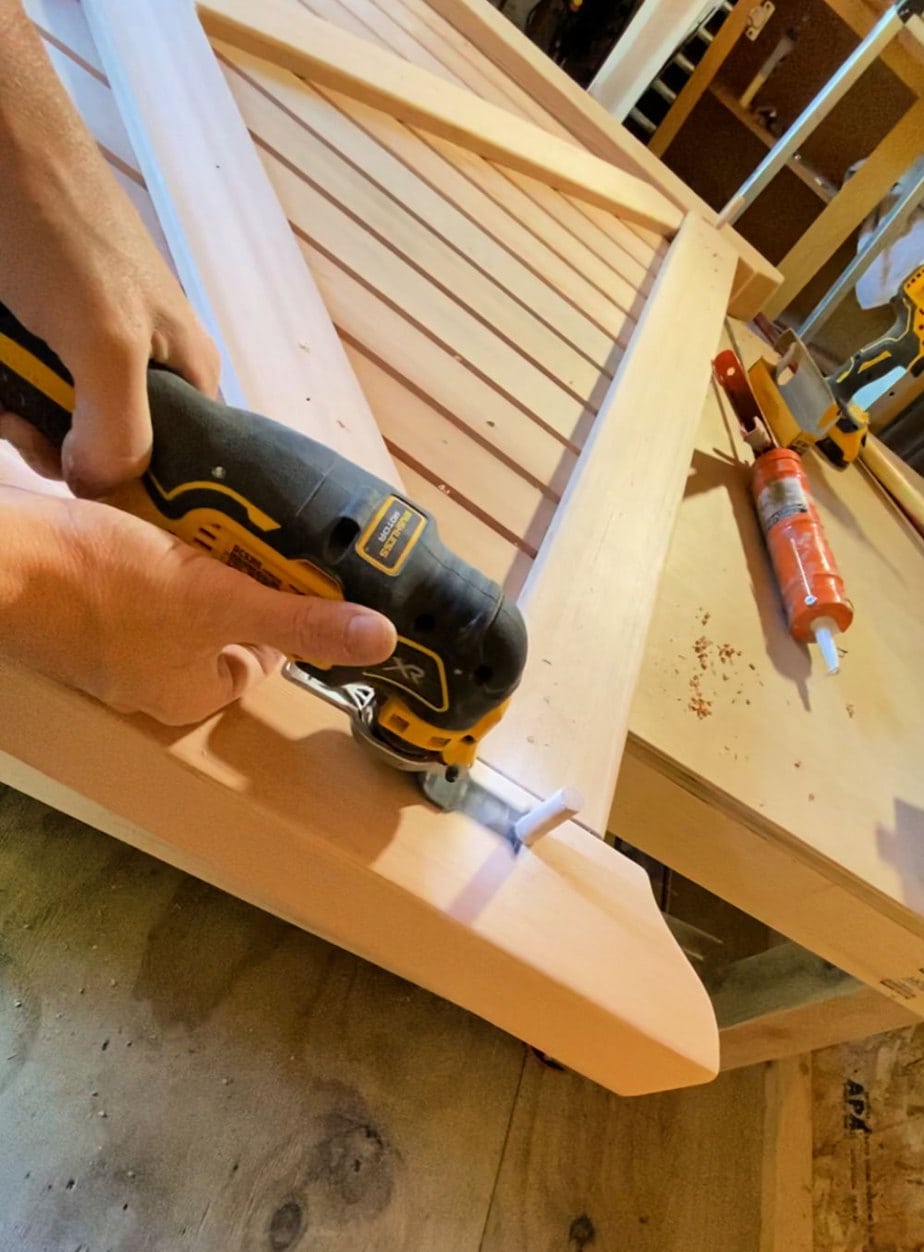
Let the adhesive dry and then cut off the excess dowel using a multi-tool fitted with a flush cut bit.
Diagonal X Detail:
Last but not least cut the X diagonal pieces and attach using a bit of adhesive and 1 1/4″ brad nails. Start with the long single board first.
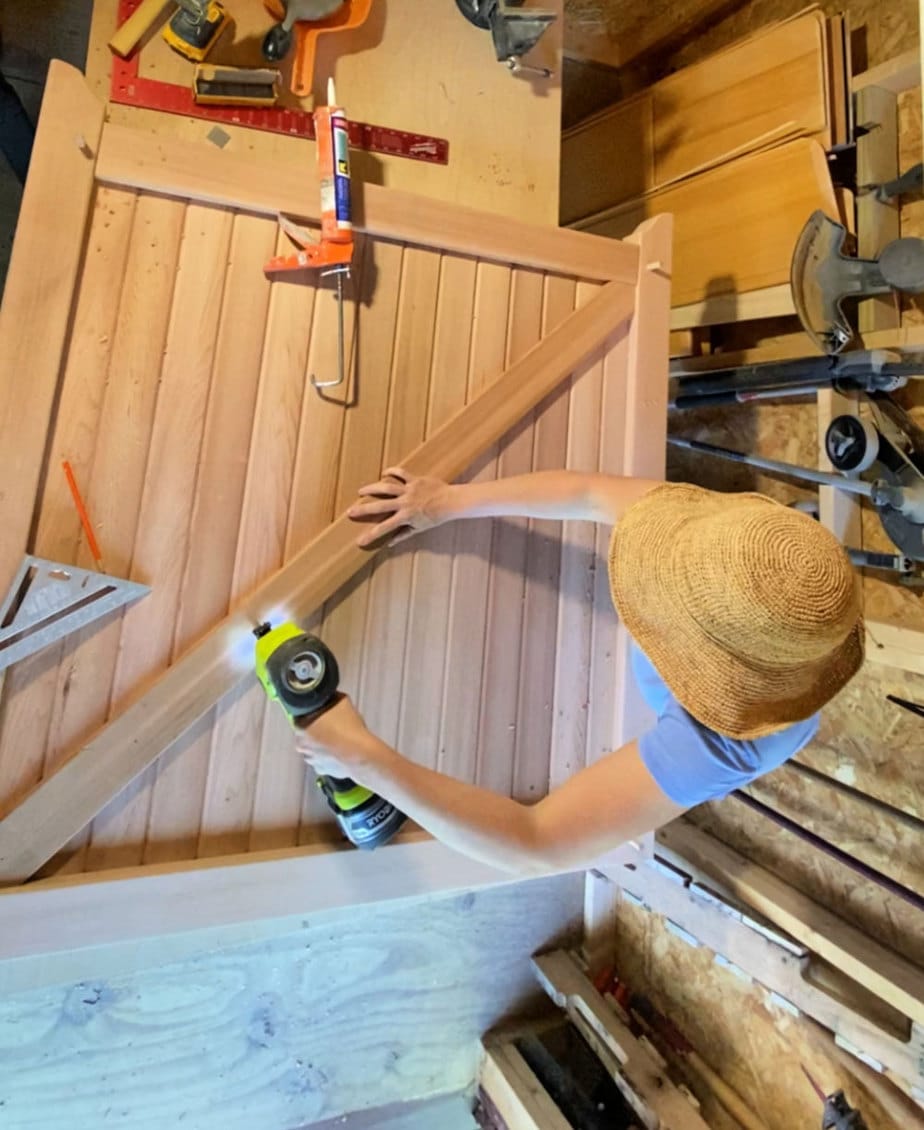
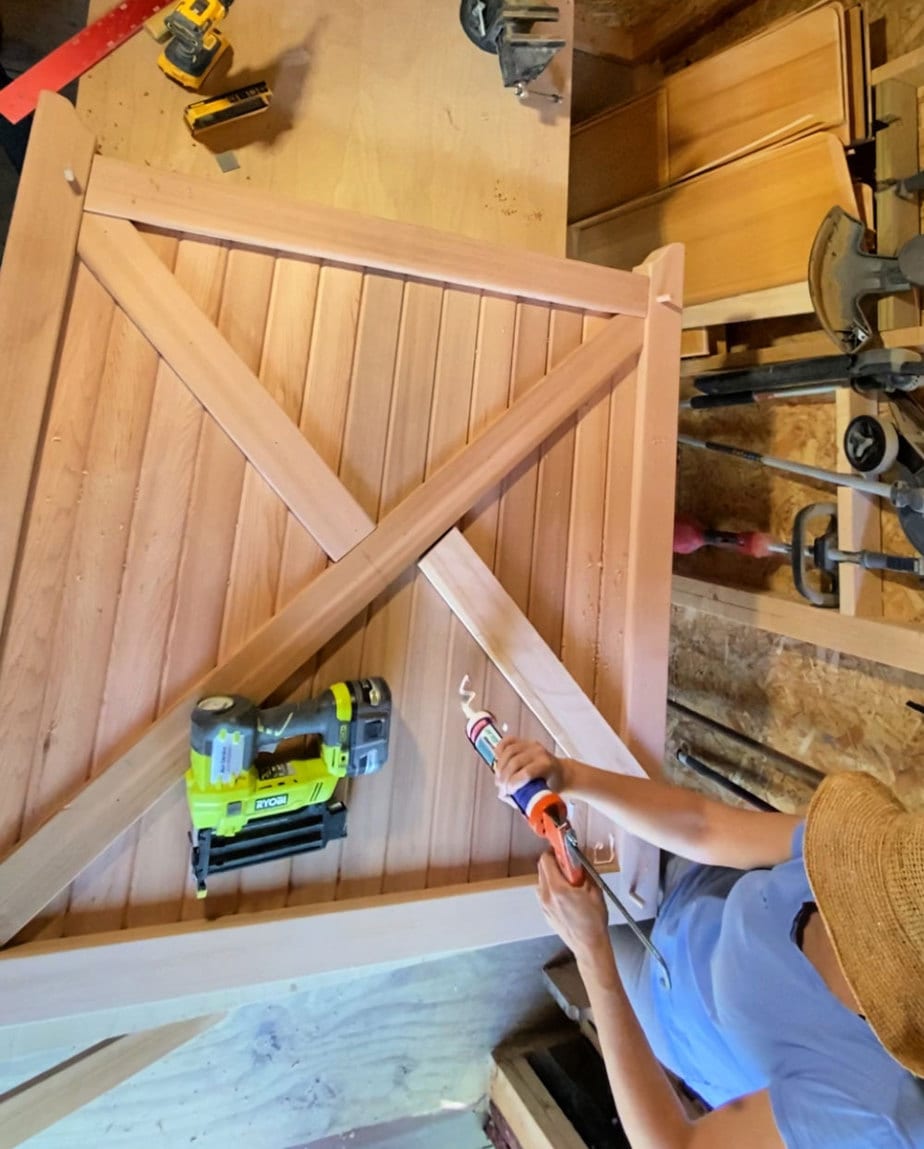
And then attach the shorter cross boards. Repeat this process on both sides.
Finishing:
For this installation I had to router out inset areas for the hinges to sit.
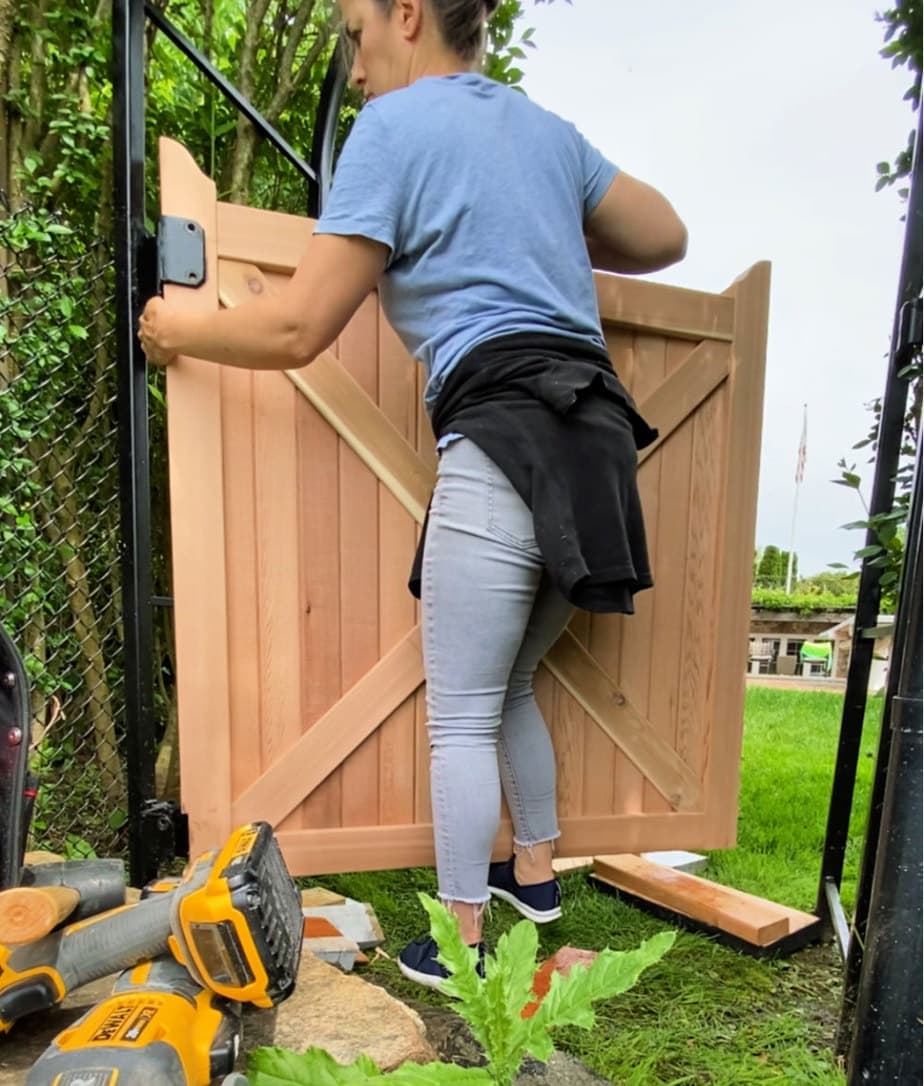
I used scrap pieces to hold the gate up in position in the hinges while I checked for level and plumb.
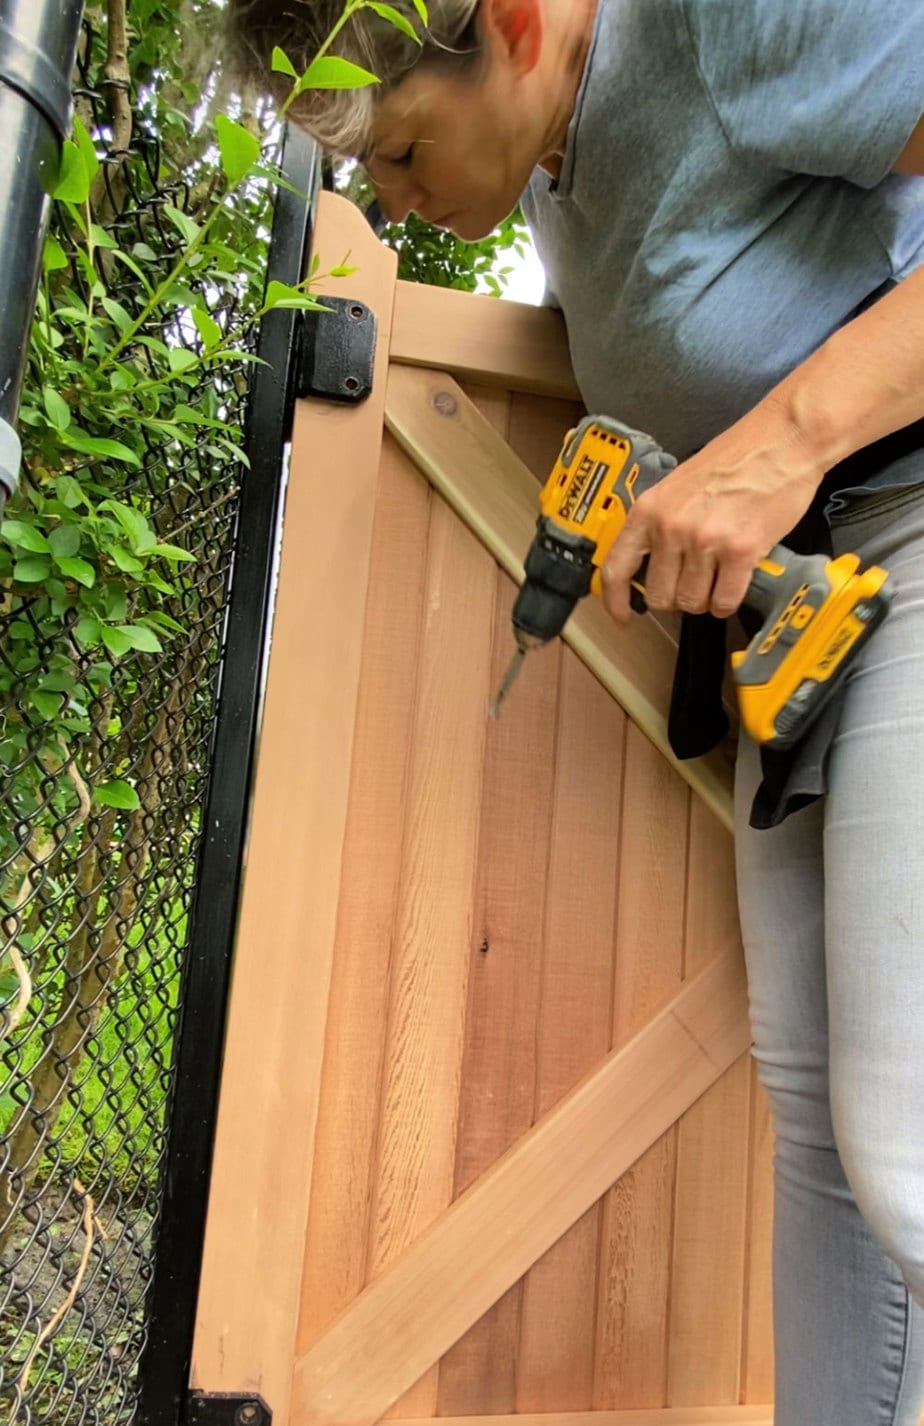
Once positioned correctly I predrilled holes for the bolts. These hinges were already attached to the arched frame and the bottom hinge is spring loaded to ensure the gate closes. Then I slide the bolt through and tightened the washer and nut.
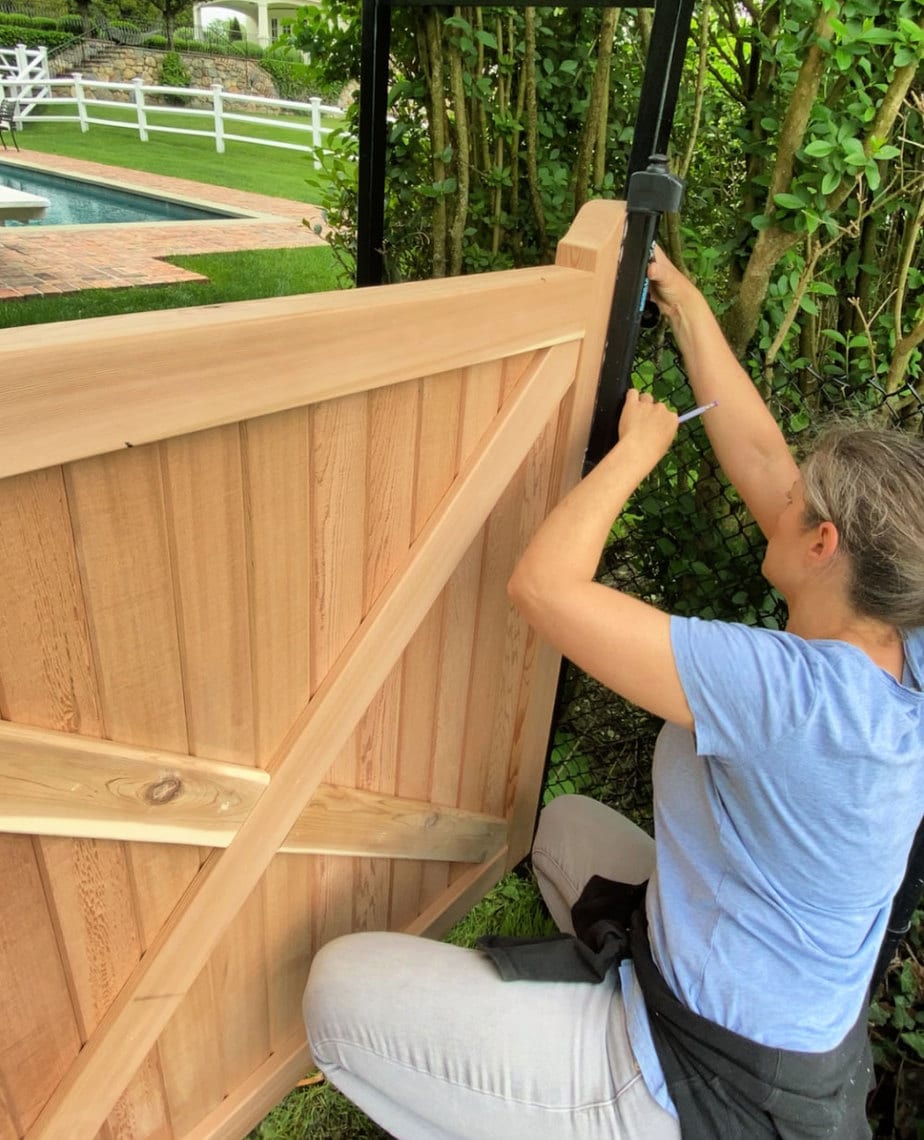
Lastly I attached the magnetic latch closure. I used the latch from the old rotten gate because I knew it fit the mechanism on the metal frame and it was still working properly.
Thanks for joining me for this cedar fence gate project. Please leave any questions in the comments below and be sure to follow me on social media for sneak peeks, tools and project inspiration:
Instagram / Pinterest / Facebook / Youtube / Twitter
SHOP THIS PROJECT:


nice job, lot of work though but beautiful result
Very nice! Appreciate the step by step to show how you arrived at such a beautiful gate.
Thank you Jim, it was so fun to build!
Nice to see a true craft build. This beautiful gate will last for many years. Well done!