• Home
  • Blog
  • About
  • Contact
    • Disclosure
    • Privacy Policy
  • SHOP
  • Widget area for main menu

    • Email
    • Facebook
    • Instagram
    • Pinterest
    • Twitter
    • YouTube
  • Skip to primary navigation
  • Skip to main content
  • Skip to primary sidebar

Jaime Costiglio

build - paint - sew

  • BUILD
    • BEDS
    • BENCHES
    • DESKS
    • DRESSERS
    • GAMES & TOYS
    • SCRAP WOOD
    • SHELVES
    • STORAGE
    • TABLES
  • TOOLS
  • PAINT
    • CRAFTS
    • FURNITURE
    • HOME DECOR
  • SEW
    • GIFTS
    • HOME DECOR
    • POUCHES
  • HANDBUILT HOLIDAY
    • 2021
    • 2019
    • 2018
    • 2017
    • 2016
    • 2015
    • 2014
    • 2013
  • GIFTS
    • BABIES
    • KIDS
    • FOR HER
    • FOR HIM
    • TEACHERS
    • WEDDINGS
  • SEASONAL
    • 4TH OF JULY
    • FALL
    • HALLOWEEN
    • CHRISTMAS
    • SUMMER
    • SPRING
    • ST. PATRICK’S DAY
    • THANKSGIVING
    • VALENTINE’S DAY
    • WINTER
  • SALTBOX PROJECT
    • BATHROOMS
    • DINING ROOM
    • EXTERIOR
    • FAMILY ROOM
    • FOYER / MUDROOM
    • KIDS BEDROOMS
    • KITCHEN
    • LIVING ROOM
    • MASTER BEDROOM
    • PLAYROOM
  • SCROLL SAW

“B” is for Baby Shower

July 16, 2012

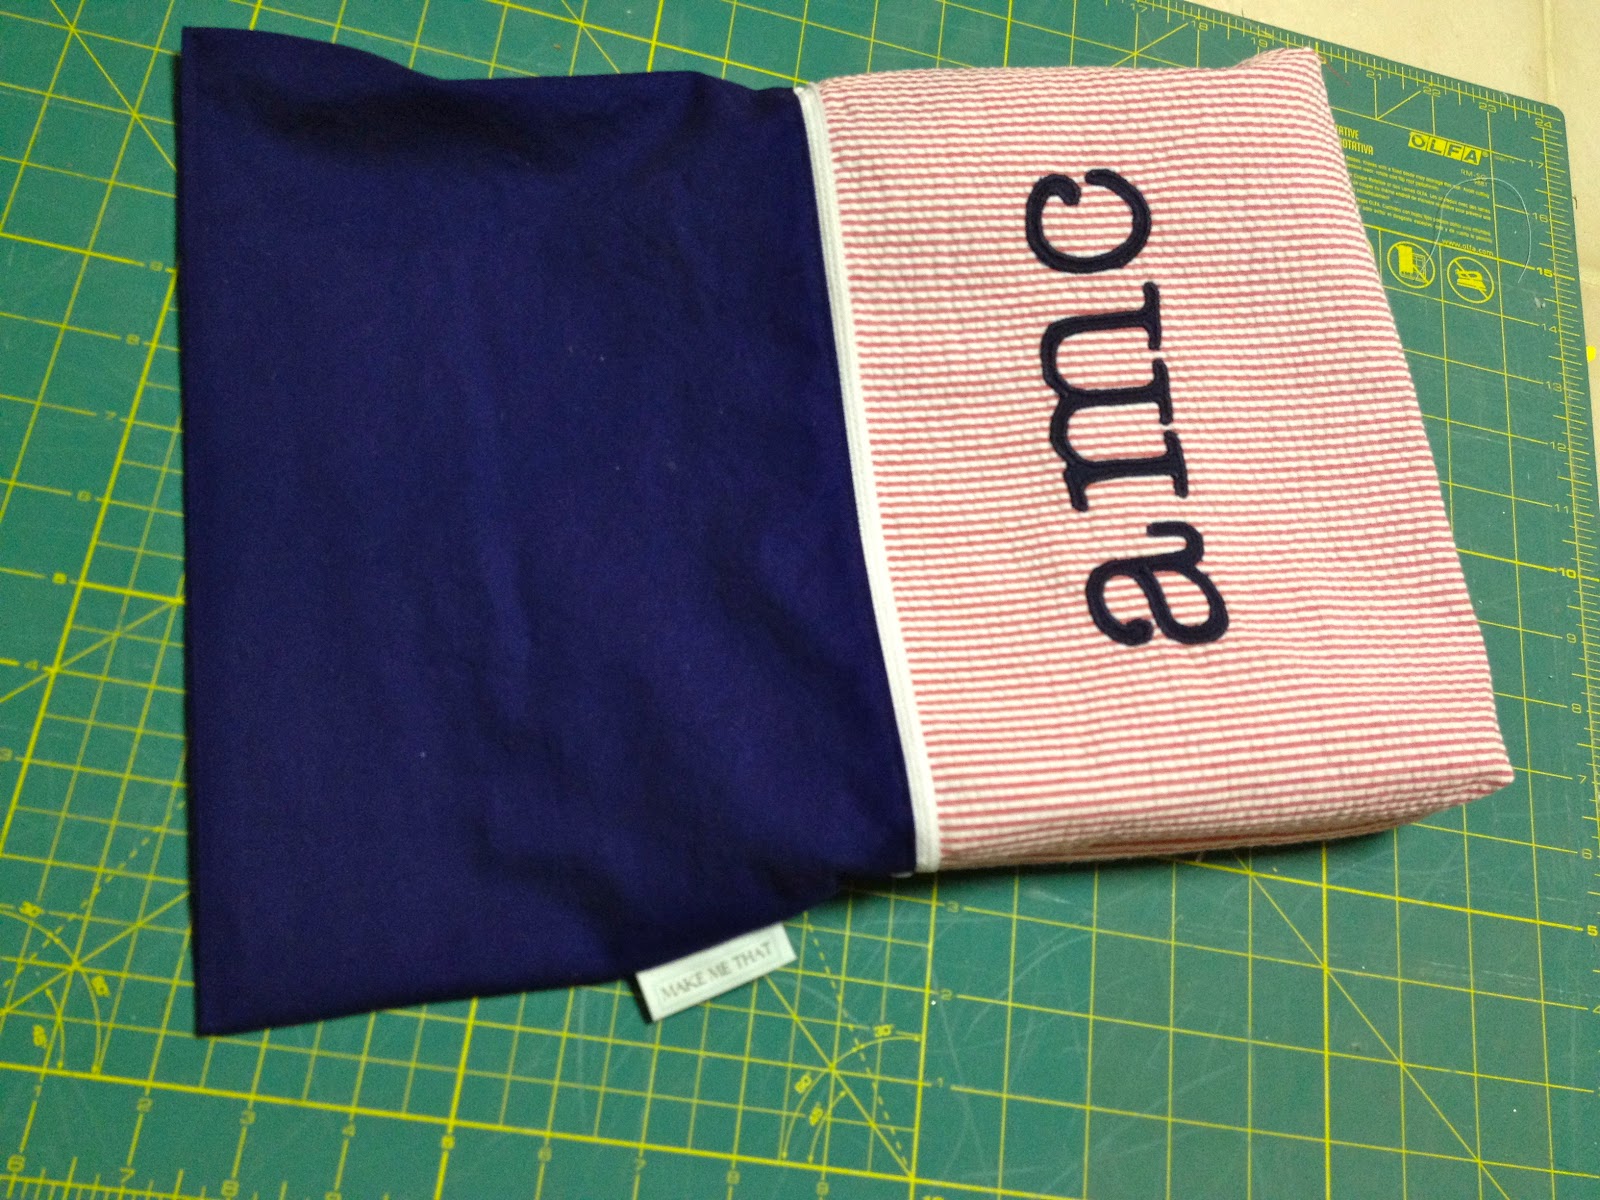
Sew: monogrammed seersucker pouches

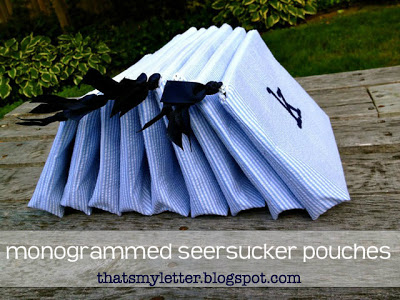
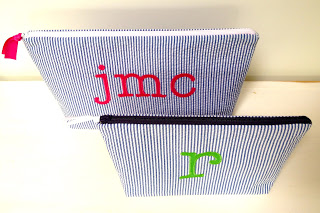
Party favors for a boy baby shower.

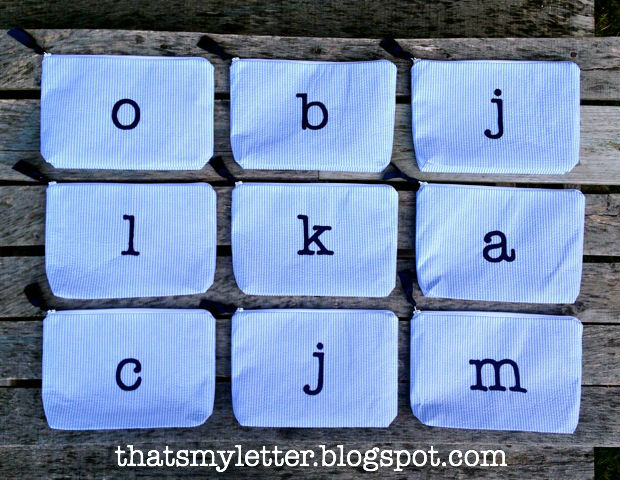
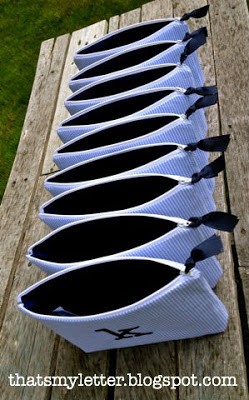
Light blue seersucker on the exterior with navy lining and monograms:

For more seersucker versions see these:
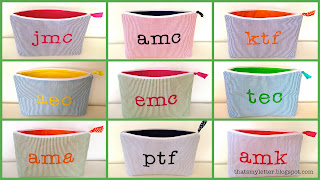
Or these light pink versions:
Or these too:
Here’s how I made the pouches:
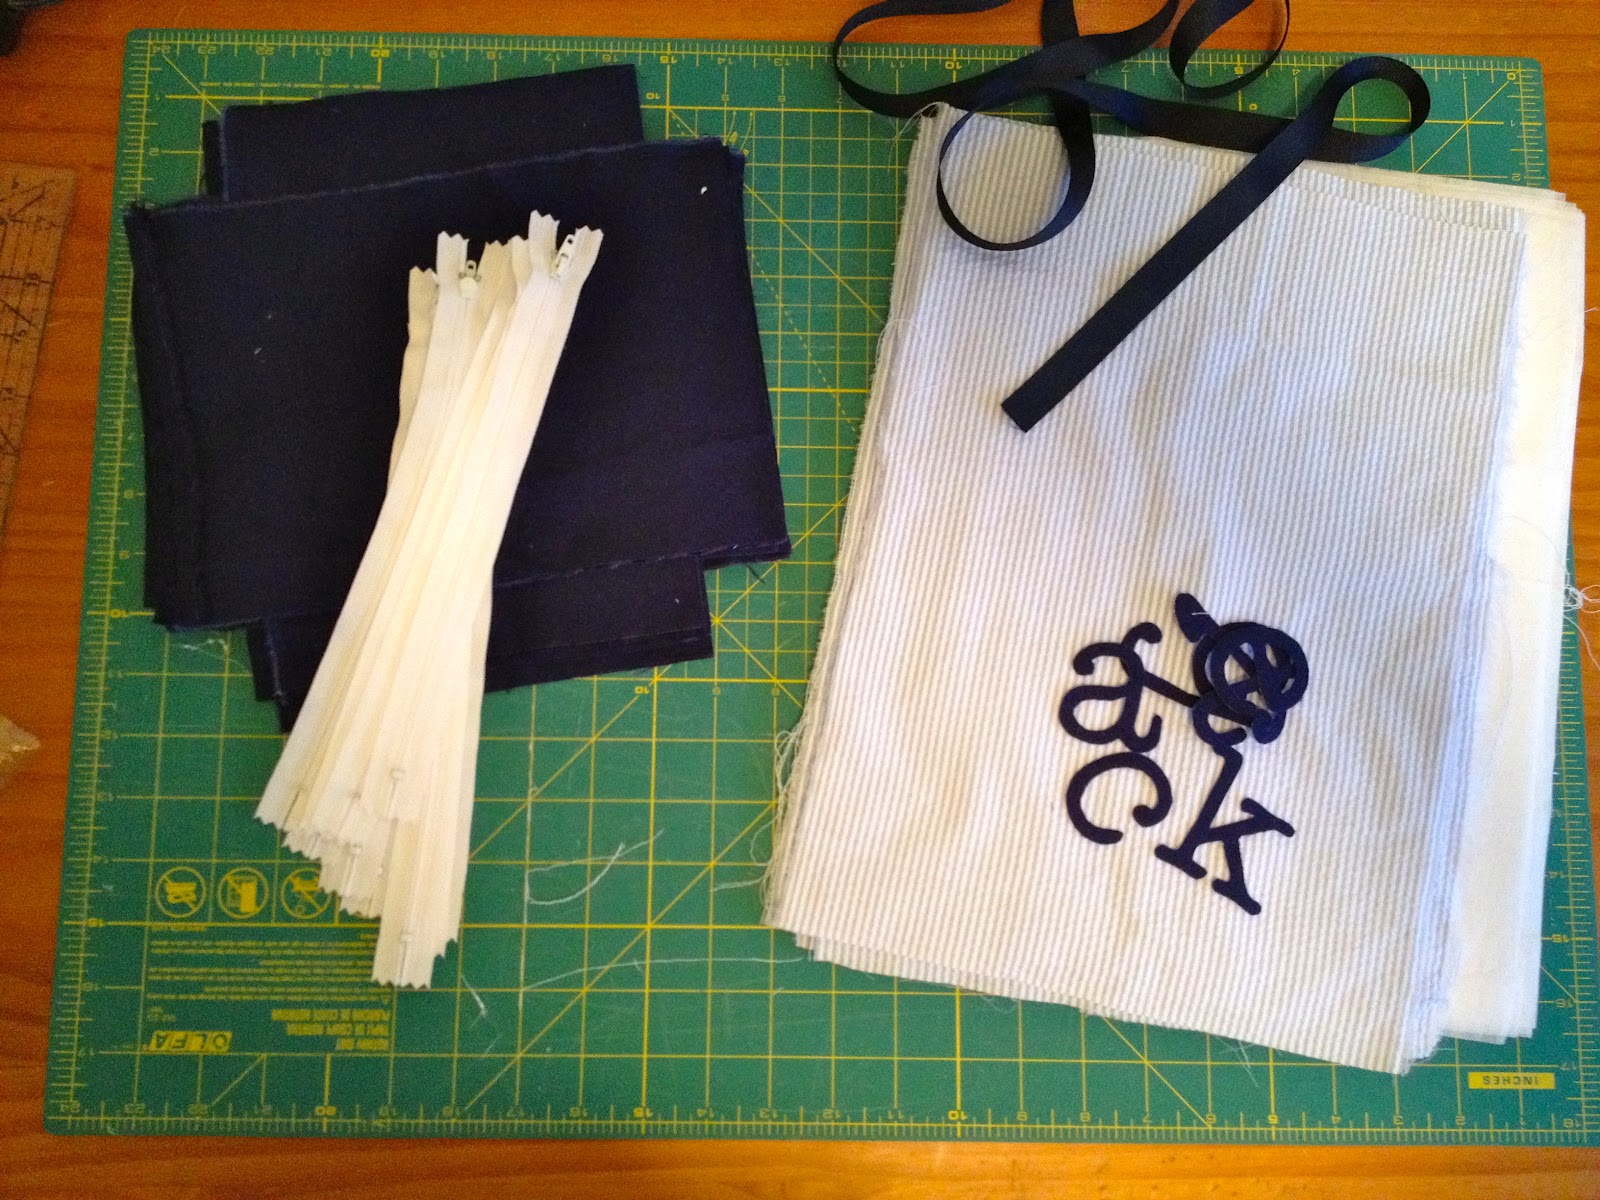
1. Supplies:
1 – light blue seersucker fabric @ 10″ x 14″
1 – med. fusible interfacing @ 10″ x 14″
2 -Kona nightfall navy fabric @ 10″ x 7″
1 – 9″ white zipper
navy letters
5/8″ navy grosgrain ribbon
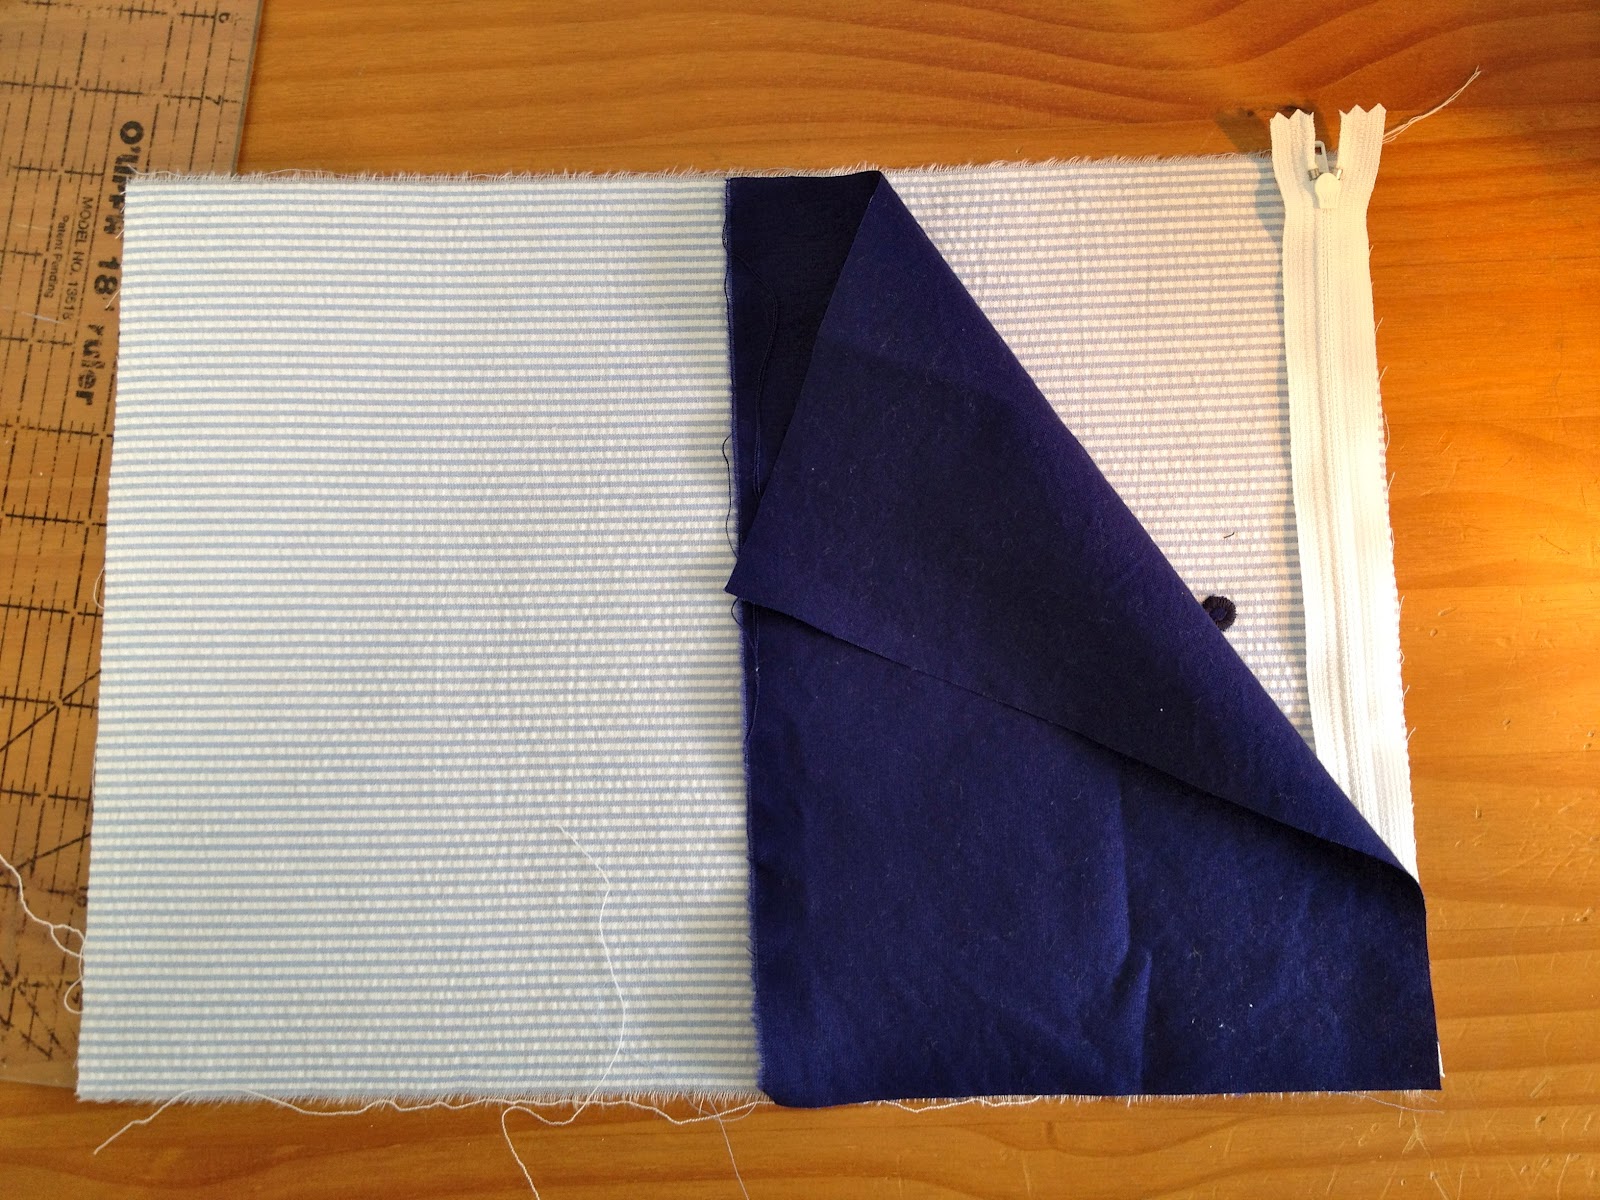
2. Fuse interfacing to wrong side of seersucker.
3. Pin letter centered on one half, zigzag stitch in place.
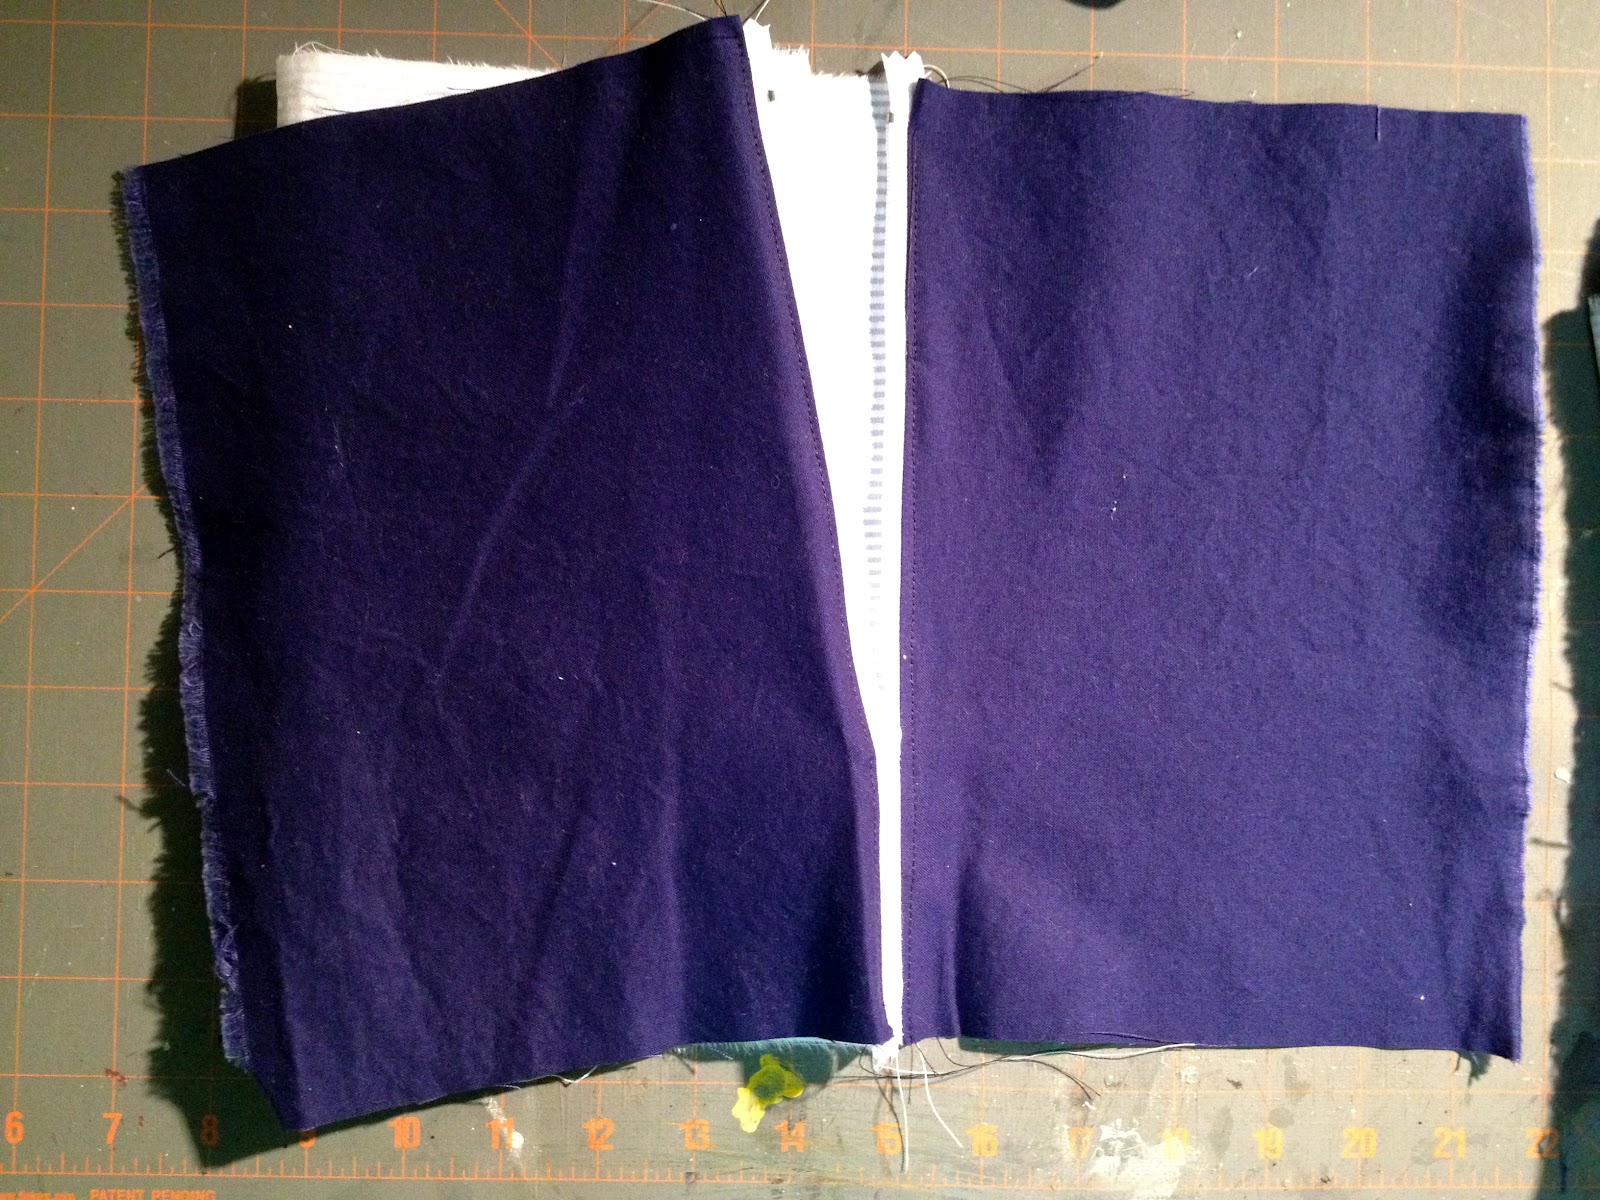
4. Place zipper face down on one end then one piece of lining, stitch:

5. Repeat for other side with other lining piece.
Top stitch lining down on interior to prevent from getting caught in zipper:

6. Right sides together sew side seams and miter corners:

7. Clip miters off to alleviate bulk:
8. Turn right side out, press raw edge of lining in 1/2″ and straight stitch closed:

9. Push lining down into pouch and press smooth.
I’m linking up to:
Whatcha Got Weekend @ Lolly Jane
SAS @ Funky Junk
DIY Fall Festival @ The DIY Showoff
Tutorials & Tips Tuesday @ Home Stories A to Z
Good Life @ A Beach Cottage
Transformation Thursday @ The Shabby Creek Cottage
Strut Your Stuff @ Somewhat Simple
Share Awesomeness Thur @ The 36th Avenue
Pretty Things Thursday @ Scissors & Spatulas
Flaunt it Friday @ Chic on a Shoestring
Frugal Friday @ The Shabby Nest
SAS @ Just a Girl
Remodelaholics Anonymous @ Remodelaholic
inspiration board @ Carolyns Homework
Textiles @ Freckled Laundry
Sunday Showcase Party @ Under the Table & Dreaming

You may also like...

  • DIY Wood Banner with Leather LetteringDIY Wood Banner with Leather Lettering
  • “L” is for Love“L” is for Love
  • “P” is for Paper Bags“P” is for Paper Bags
  • Cross Stitch Monogram Ornament PlacecardCross Stitch Monogram Ornament Placecard
Share this post:

Filed Under: DIY, FOR HER, GIFTS, GIFTS, POUCHES, SEW, SEWING3 Comments

Reader Interactions

Comments

  1. Pinspiring Leah says

    July 20, 2012 at 2:58 AM

    These are so fun! What a great idea as a shower favor. I must pin this as a future gift idea! I'm visiting from The Shabby Nest.

    http://pinspiring.blogspot.com

    Reply
  2. supermomnocape says

    July 20, 2012 at 12:07 PM

    Just dropping by from Freckled Laundry.

    What a great idea for a party favour! They are certainly something that will get used. I love having zippered bags to keep things in.

    Reply
  3. freckled laundry says

    August 2, 2012 at 9:53 PM

    You know I love your little pouches! I think that's an awesome boy baby shower favor. As always, thank you for sharing your lovely things over at my place! xo

    Reply

Leave a Reply Cancel reply

Your email address will not be published. Required fields are marked *

Primary Sidebar

Hi! I’m Jaime

Jaime Costiglio

Hello!

Thank you for stopping by.
Join me for lots of DIY.

Read more

Get new posts via email

Handbuilt Holiday: Gift Project Plans

handbuilt holiday gift project plans

Collection of DIY gift project plans to build.

The Home Depot Tool Prospective

THD Prospective

Tools to consider for the DIYer.

Archives

The Home Depot Logo
Copyright © 2023 Jaime Costiglio · Custom site by Moonsteam Design

Privacy Policy