This tool review post of the Ryobi trim router is sponsored by The Home Depot. A great compact cordless router with plenty of power.
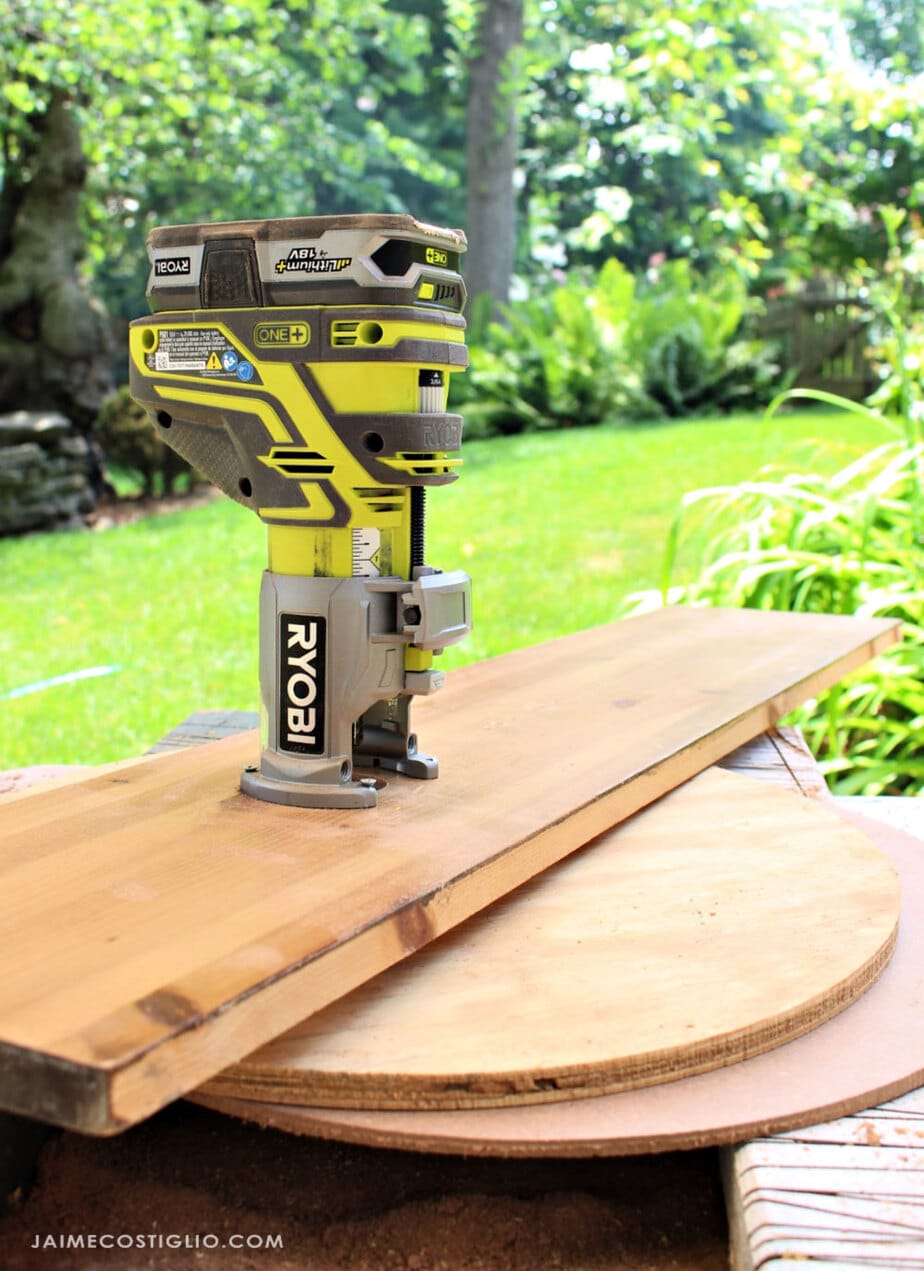
A tool review of the Ryobi cordless fixed base trim router. Make the perfect edge, cut circles, keyholes and more with this cordless trim router.
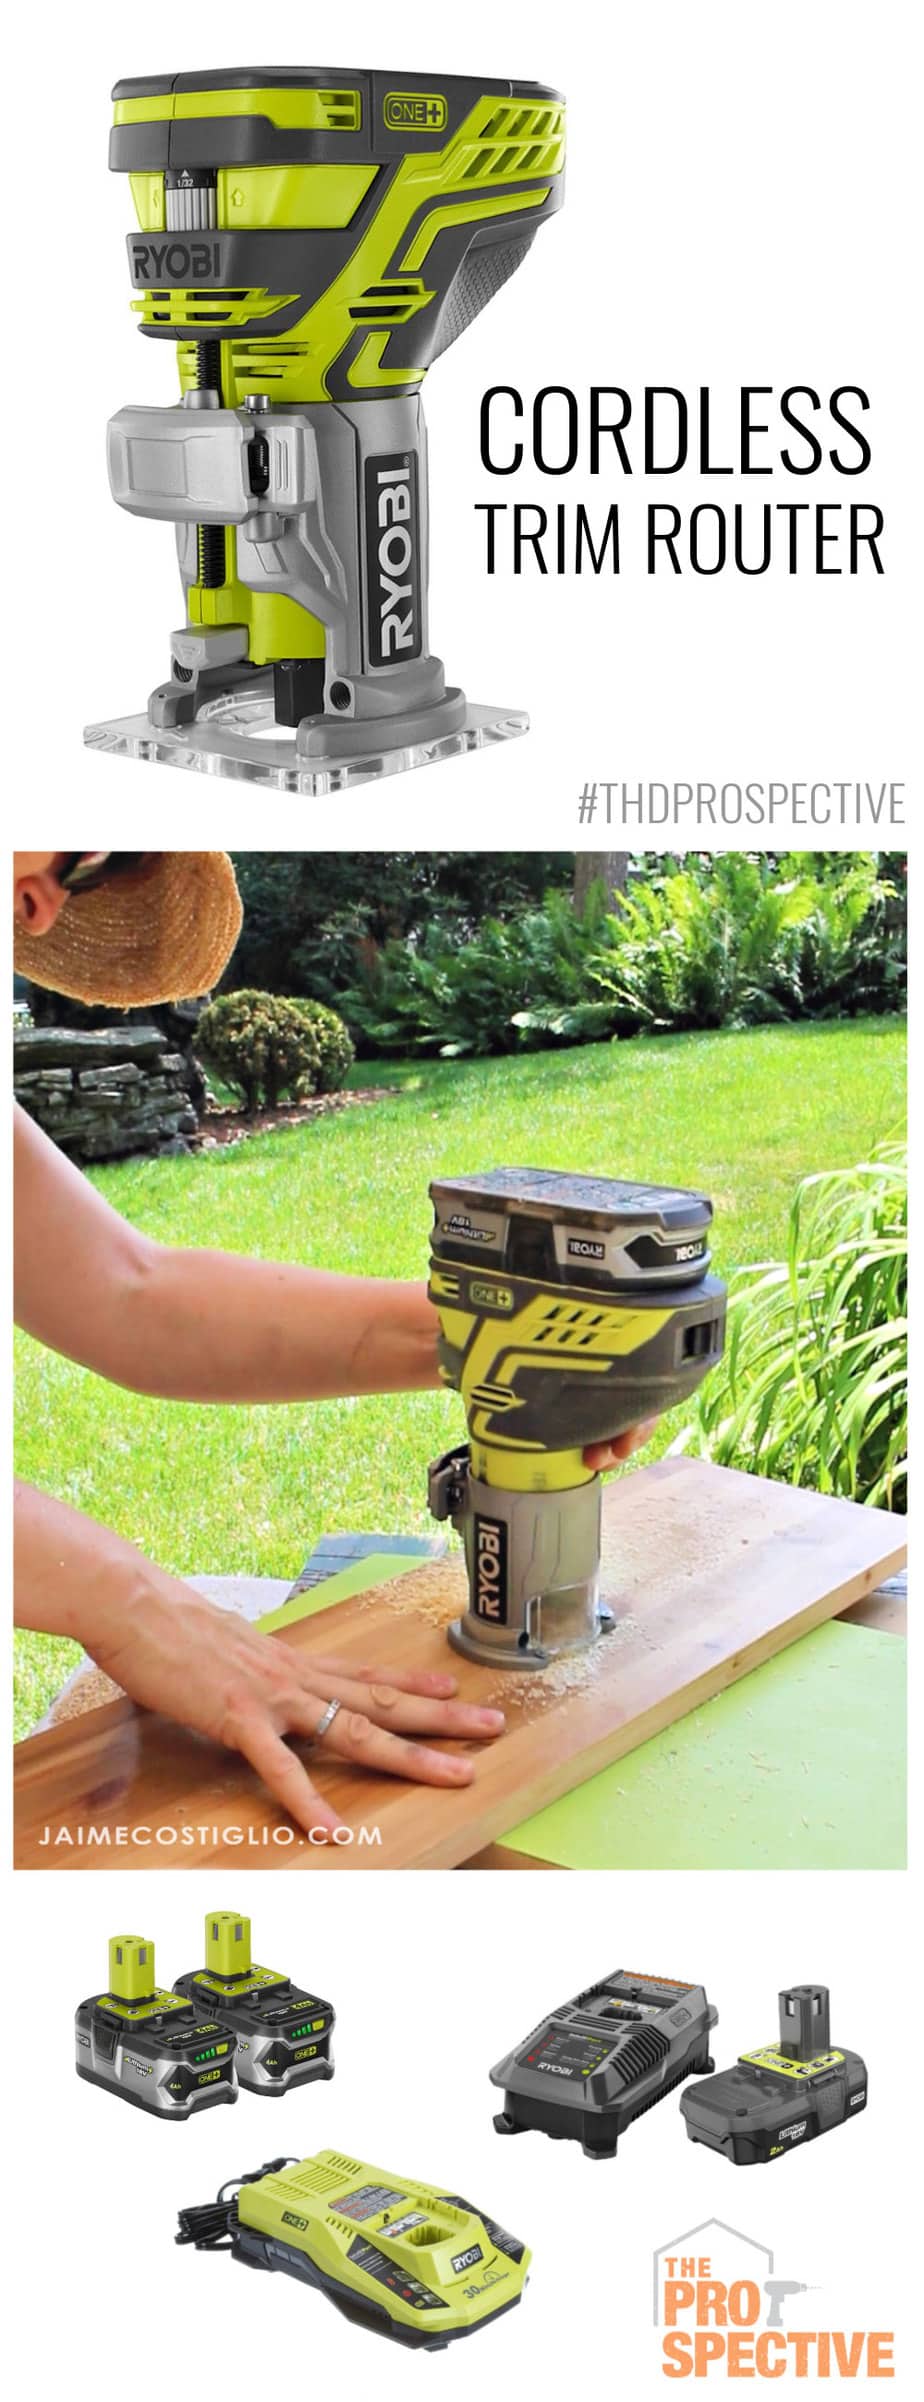
Truth be told I used to avoid using a router at all costs. They seemed intimidating and clunky and I never quite understood exactly why I needed one. That is until I finally got my hands on this Ryobi trim router a few years back and now I use it all the time. It runs off the same 18V One+ batteries used by all your other Ryobi tools, the world’s largest 18V tool system on the market.
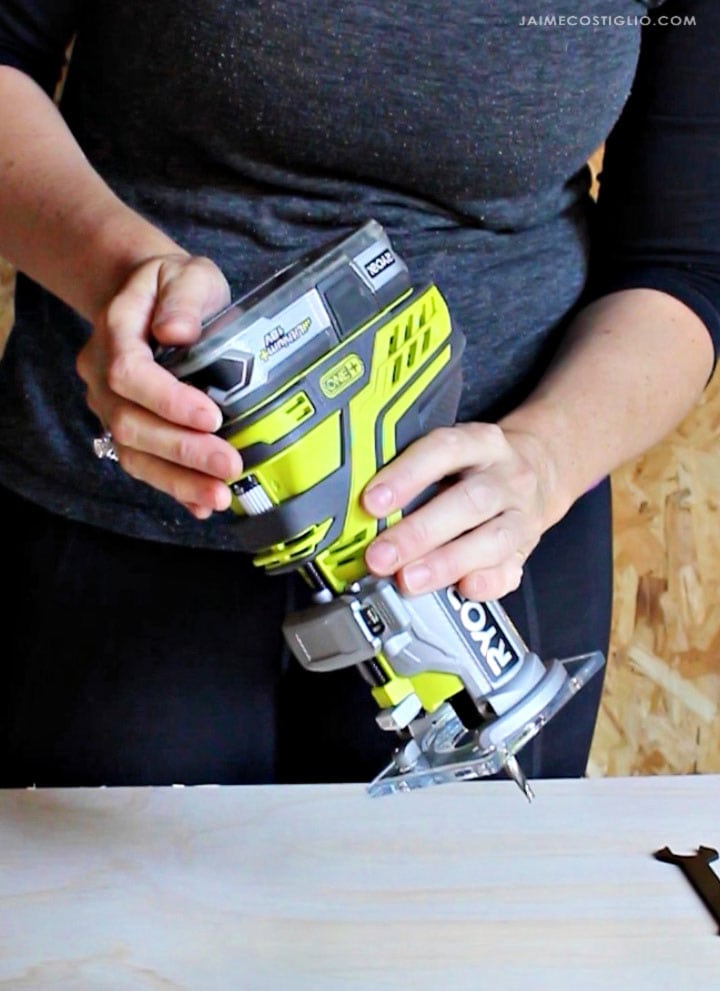
The compact design and clear plate keeps the cutting area free so you can see your workpiece. And having the weight of the motor and battery mounted up top means more control because that’s where your hand guides the router. Speaking of grip, the grey overmold gripzone provides comfort and secure handling. It’s quite a powerful little router with 29,000 RPM so you can trim and cut quickly.
Trim Router Features:
- overmold gripzone for comfort and secure handling
- 29,000 RPM
- compact design
- cordless battery operation
- tool free depth adjustment knob
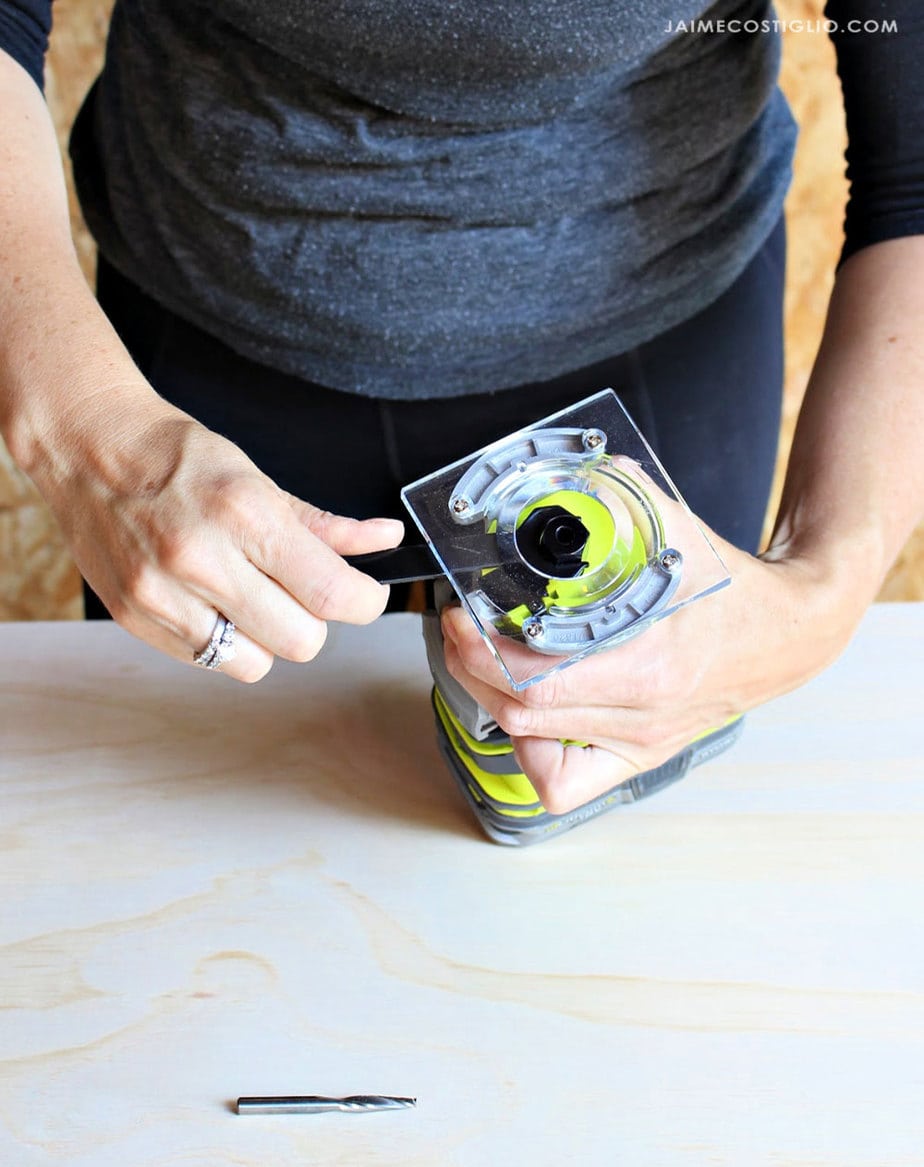
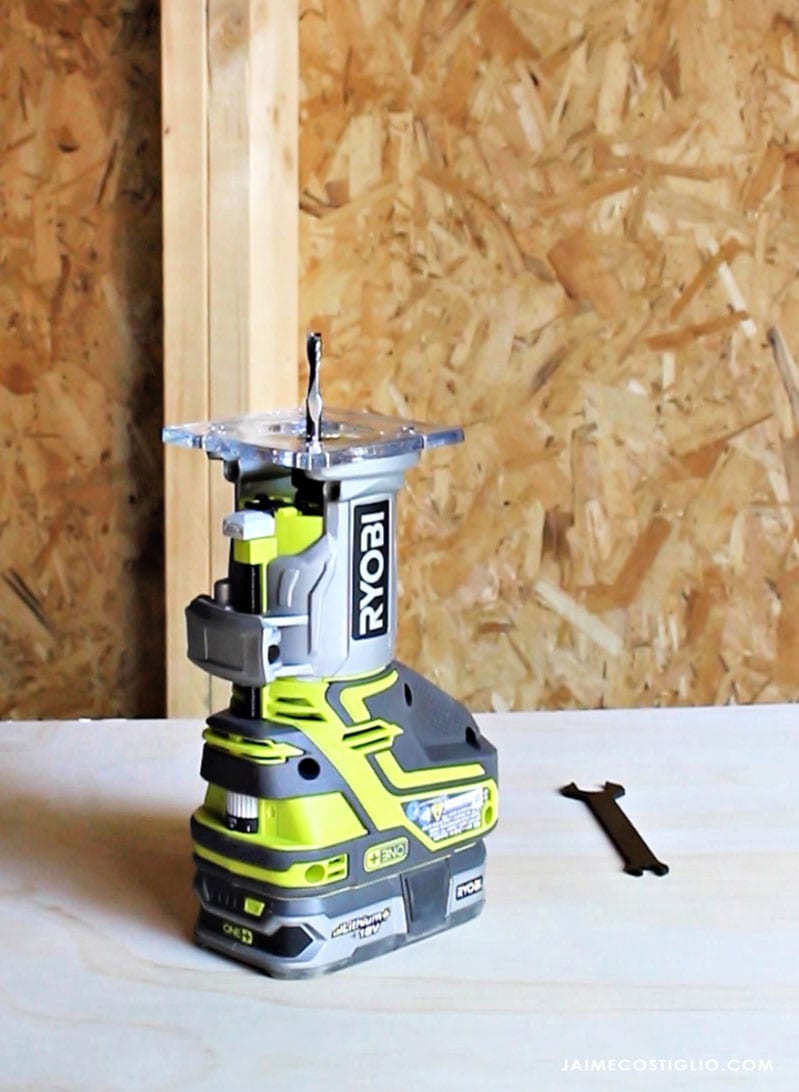
As you can see the compact design was definitely thought through both when the router is in use and not in use. The aluminum base is stable and accurate when routing and on the other end the battery base is super sturdy especially when changing bits. This Ryobi trim router is easily adjustable with a tool free depth adjustment knob. Simply release the locking latch and swivel the depth adjustment knob then lock the latch in place. The knob features a micro-adjusting dial for very specific settings.
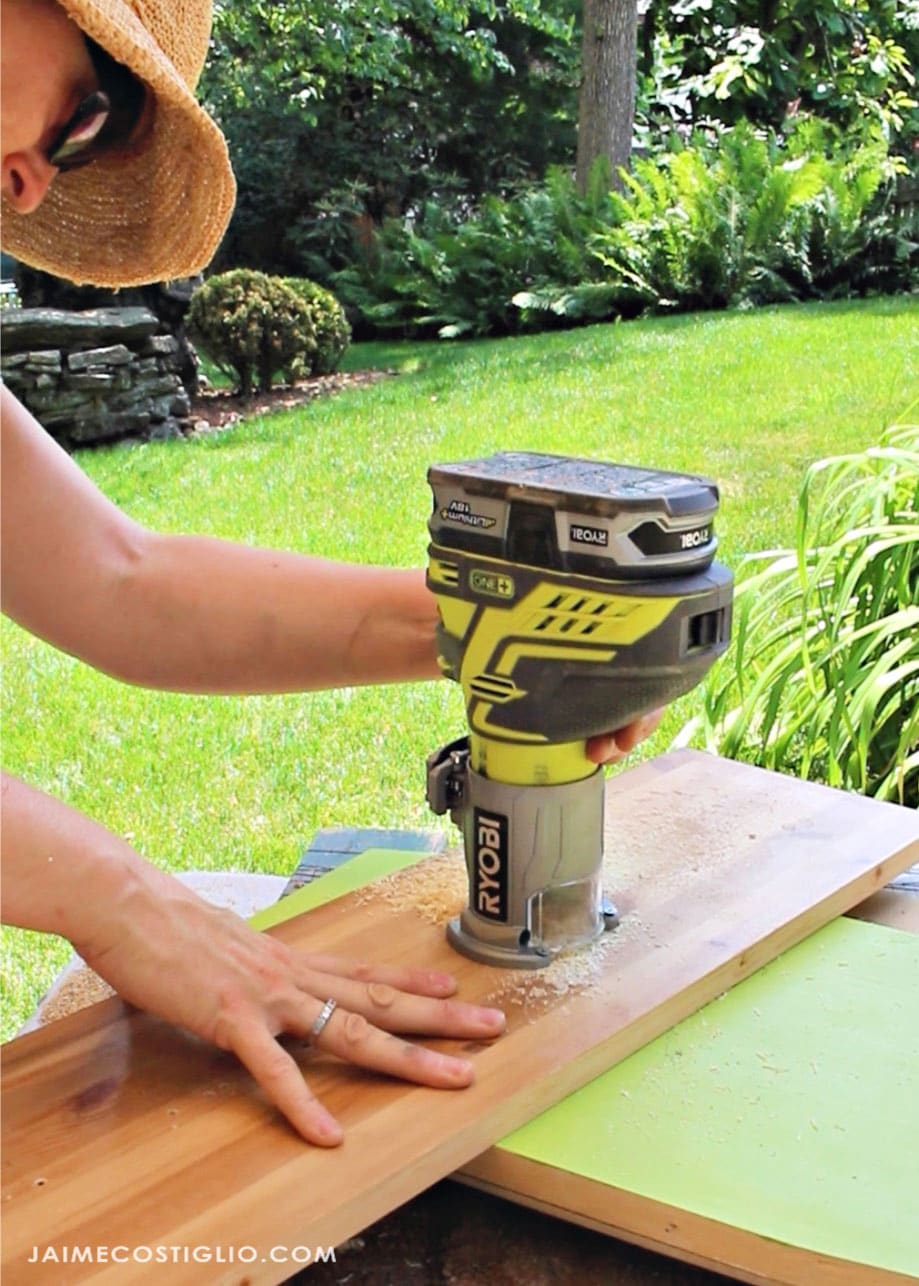
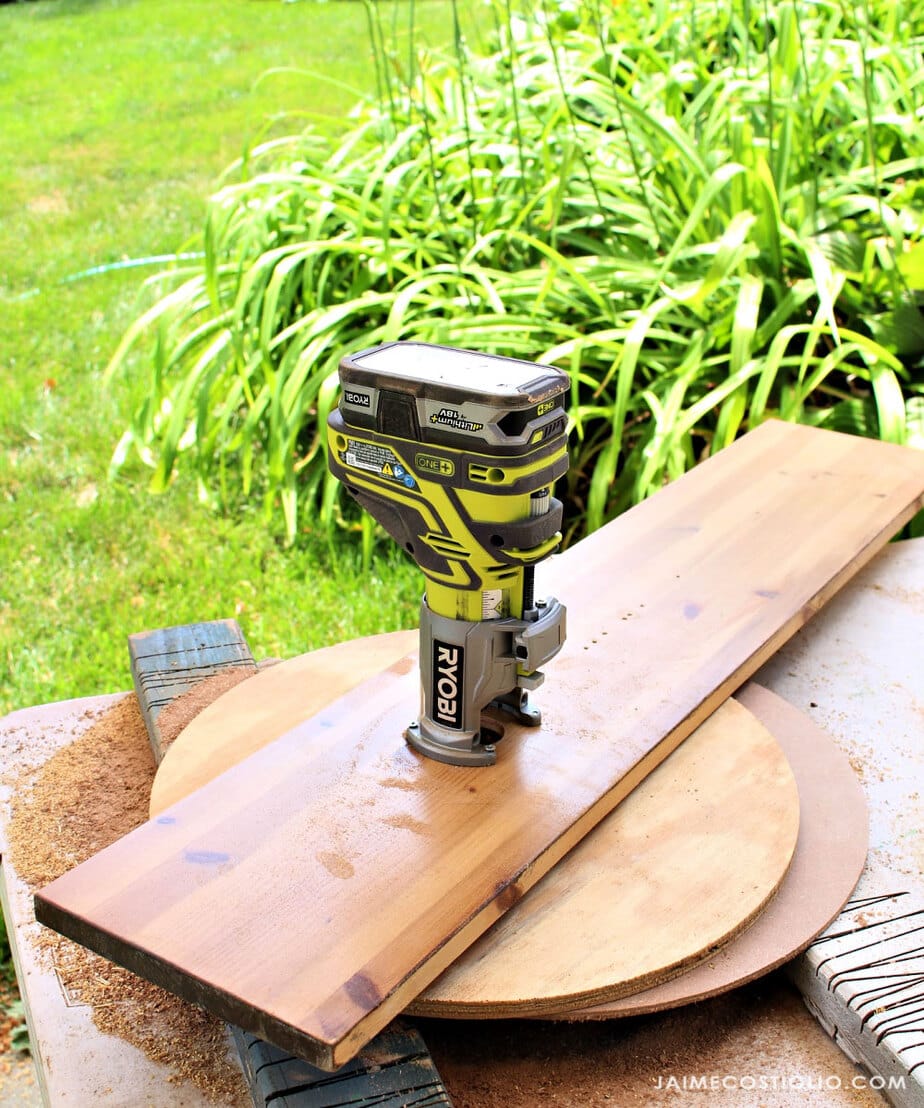
I mounted this trim router to a board to create a circle jig. Using a spiral upcut bit I can cut perfect circles with ease. And having the adjustable depth knob makes this application a breeze. When you’re using a circle jig you make multiple passes in the same groove increasing the depth about 1/4″ on every pass.
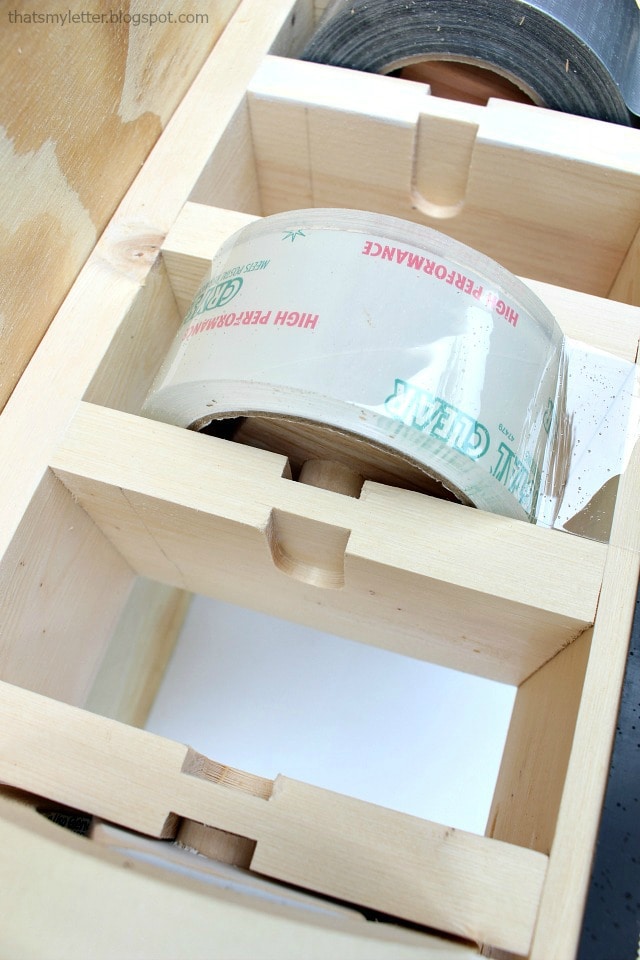
I also used this router to make 1/2″ grooves for my tape dispenser project here.
And the more classic approach for basic trim routing works great too. Whatever your project needs this little trim router makes a great addition to your tool arsenal.

Ryobi 18V One+ Batteries:
- lightweight and easily snap into position
- detach using quick-release latches on both sides
- can withstand frigid weather conditions
- on-board fuel gauge
Included in Trim Router Package:
- trim router
- collet wrench
- operator manual
The Ryobi 18V One+ trim router is available at The Home Depot here.
* I acknowledge that The Home Depot is partnering with me to participate in the promotional program THD Prospective. As a part of this program I am receiving compensation in the form of products and services for the purpose of promoting The Home Depot. All expressed opinions and experiences are my own words. My post complies with the Word Of Mouth Marketing Association (WOMMA) Ethics Code and applicable Trade Commission guidelines.




Would love to know exactly how you created the circle jig for the router (I’m looking to do same thing). What did you use to mount it to the board?
Hi David, the circle jig is just a 3/4″ thick board (about 8″ x 24″). Cut a hole near one end at center about 1 1/2″ in diameter (enough for the bit to spin freely). Then remove the clear plastic base on the router and use those same screws to attach the router to the board directly centered over the hole. Now measure from the center of the bit down the board to set your circle radius and predrill a hole in the board at center (you can see my board has numerous holes for a different sized circles). The hole needs to be big enough for a standard nail to rotate freely. Now drill a hole in the center of your circle piece and place the nail through your jig and into the circle piece then start routing. Make sure to pass in small increments about 1/8 – 1/4″ deep, you want to remove material in layers and not all at once. Hope that helps.