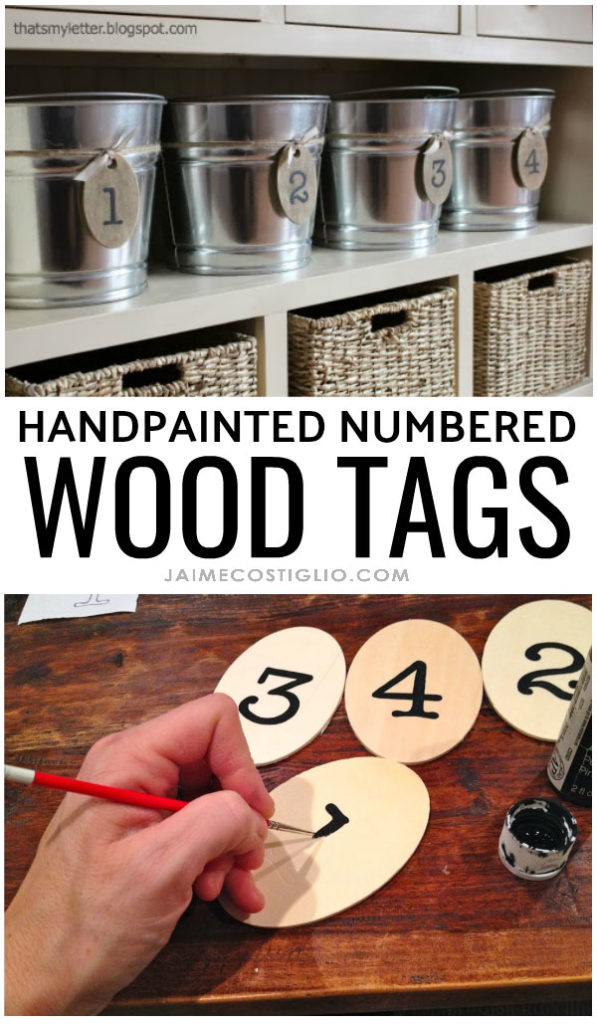
Adding small touches to your decor shows your attention to detail and in this case helps keep our mudroom space neat and organized. These handpainted numbered wood tags make a great addition to any basket or bin with a simple, pretty touch of charm.
A DIY tutorial to make handpainted numbered wood tags. Oval wood tags make a great addition to your decor and keep things labeled and organized.
Today I’m sharing how to make handpainted numbered wood tags using basic supplies and things you probably already have in your home. NO STENCILS. NO VINYL CUTTING MACHINE. A simple word document and black craft paint is all you need to get this project done.
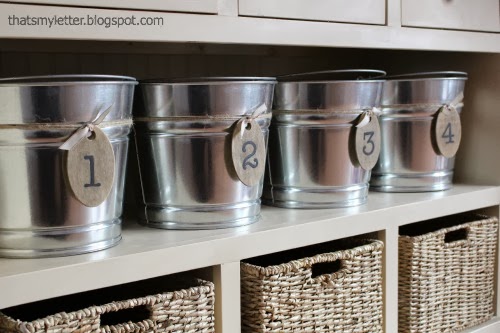
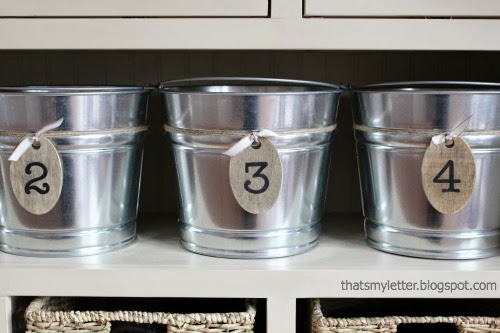
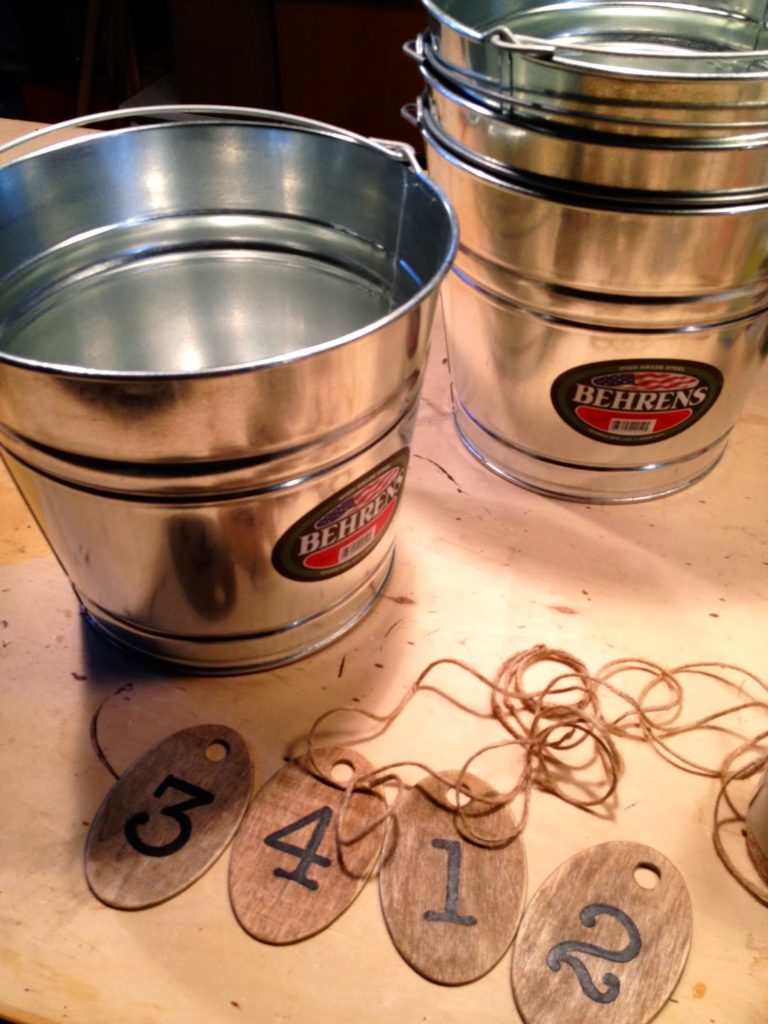
I made these numbered wood tags to label the galvanized buckets in our new mudroom console. My kids refer to birth order frequently so they know whose bucket belongs to who based on the order in which they were born. You could also use letters to correspond with names, anything that helps keep order and differentiate between buckets will work.
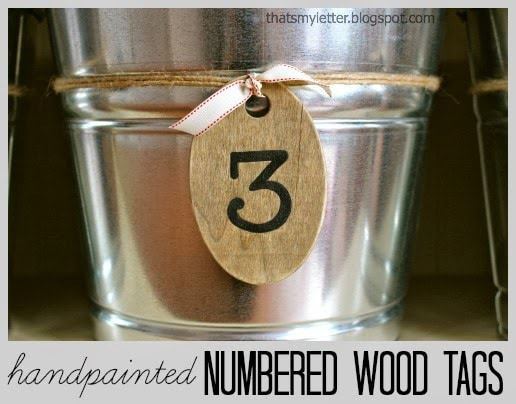
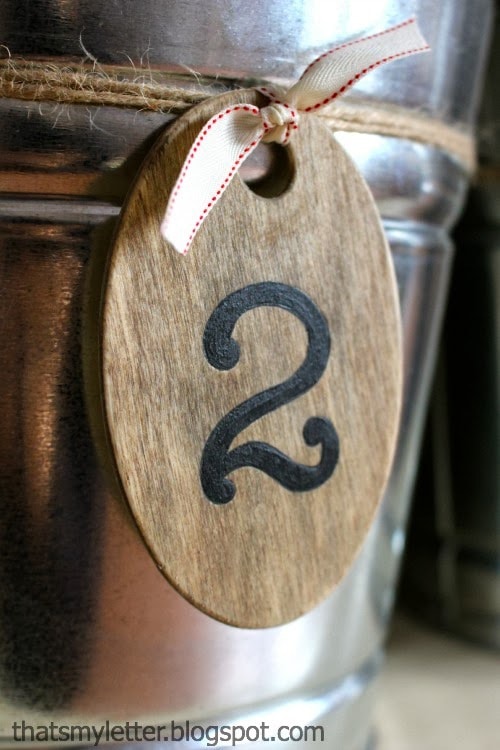
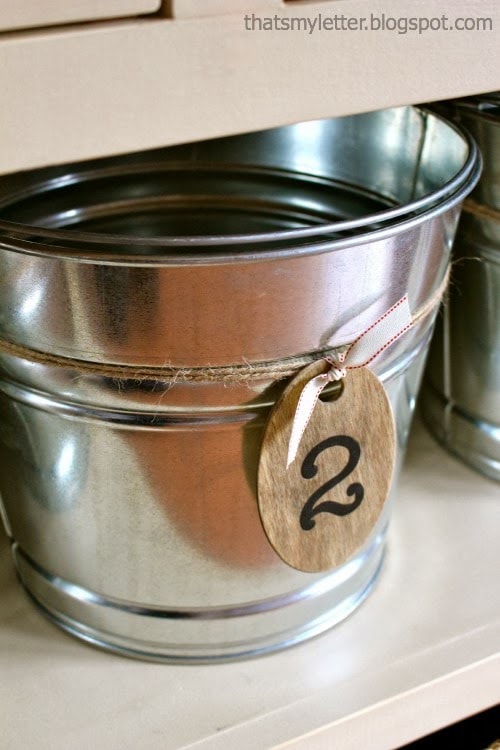
I love the contrast between the painted console, the shiny galvanized metal bucket and the stained wood. Attach the numbered wood tags to the buckets using jute string and then add a decorative grosgrain ribbon to keep the tag in position. An really inexpensive but beautiful decorative touch.
Below are the step by step instructions to make numbered wood tags. Read through entirely before beginning.
Supplies:
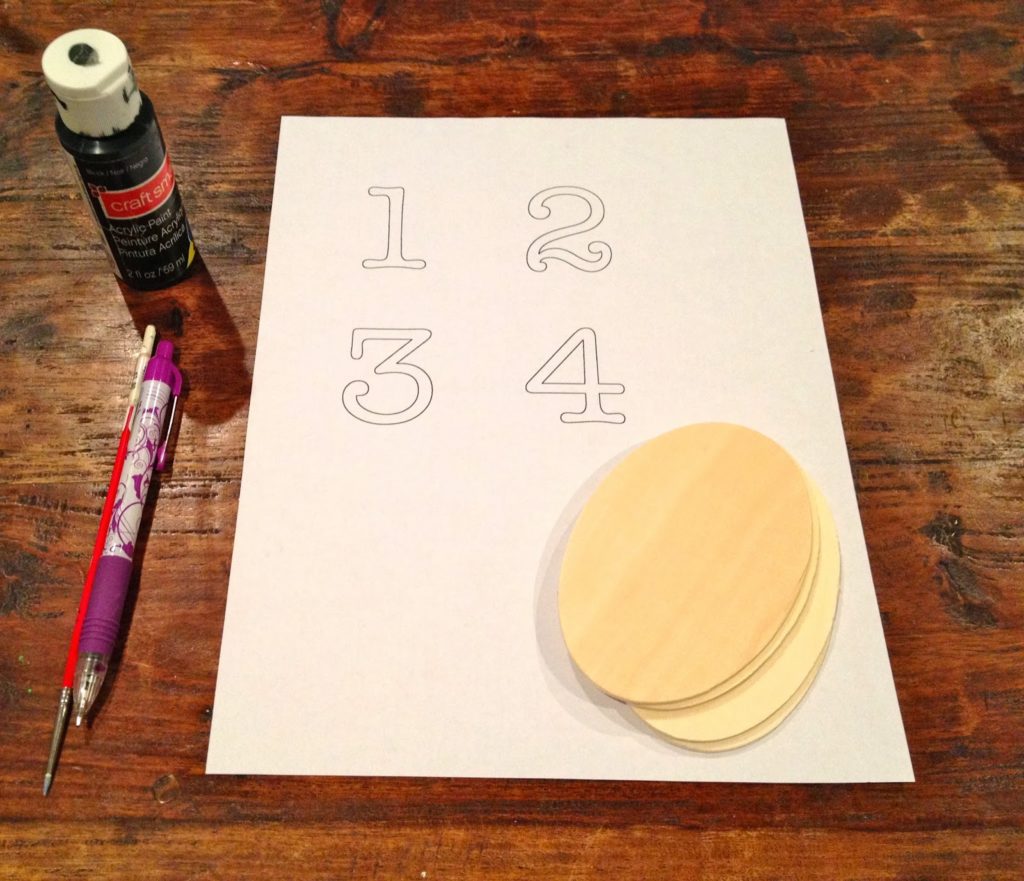
- oval wood craft tags (4.5″l x 3″w)
- black acrylic craft paint
- ballpoint pen
- small paint brush
- printout with numbers
Step 1: Print out numbers in a word document. I used American Typewriter font at 175 point.
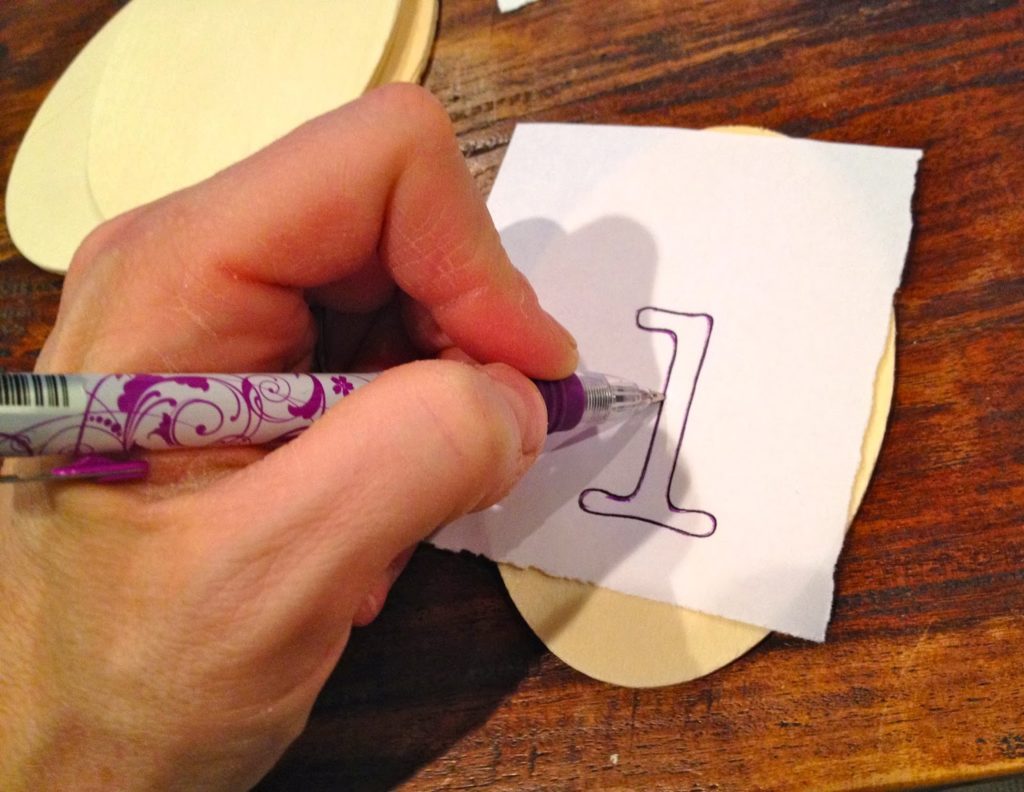
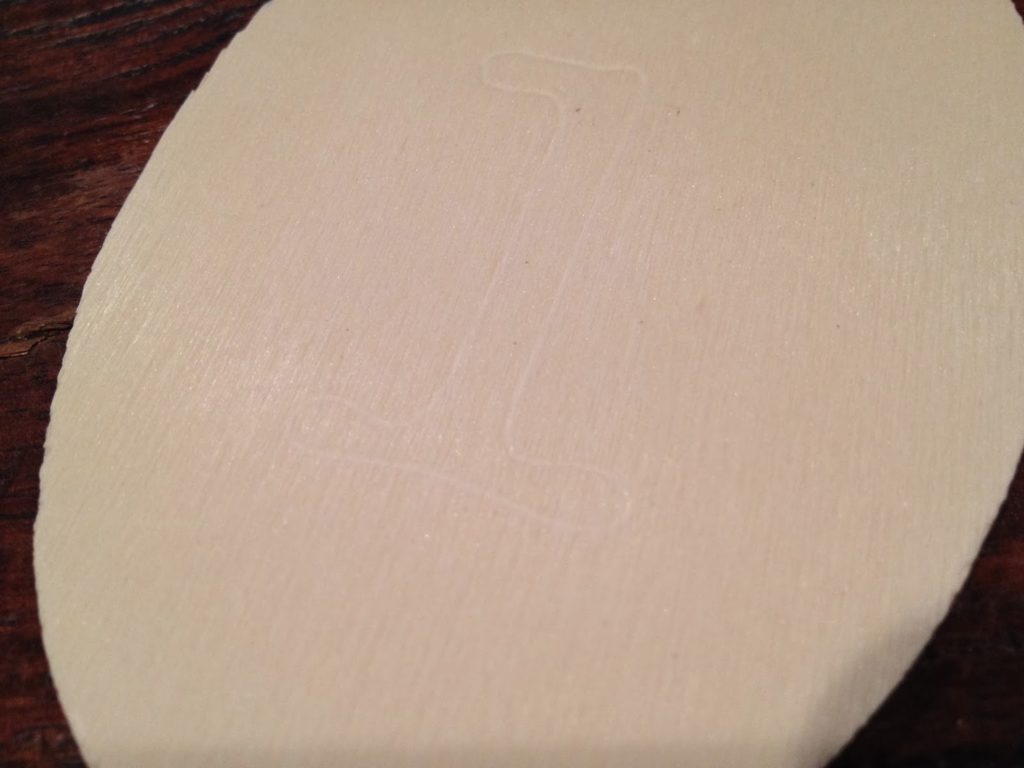
Step 2: Position printout on top of wood shape in center and trace the outline of number using a ballpoint pen with heavy pressure.
The pressure of the pen will leave an indent in the wood:
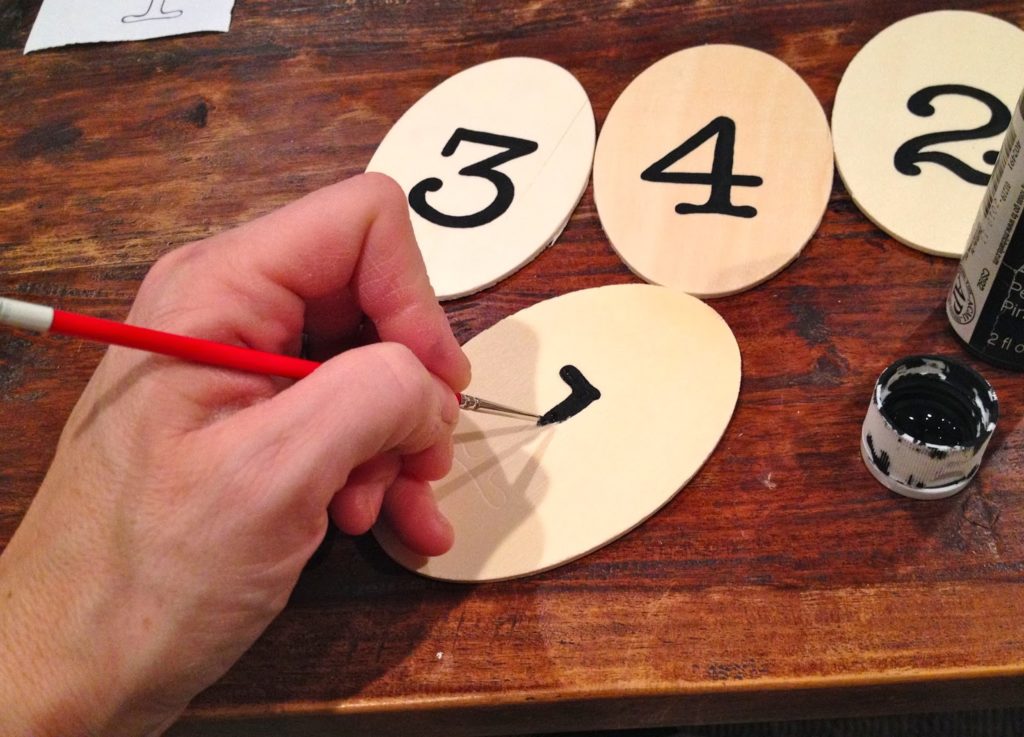
Step 3: Paint on and inside the indent.
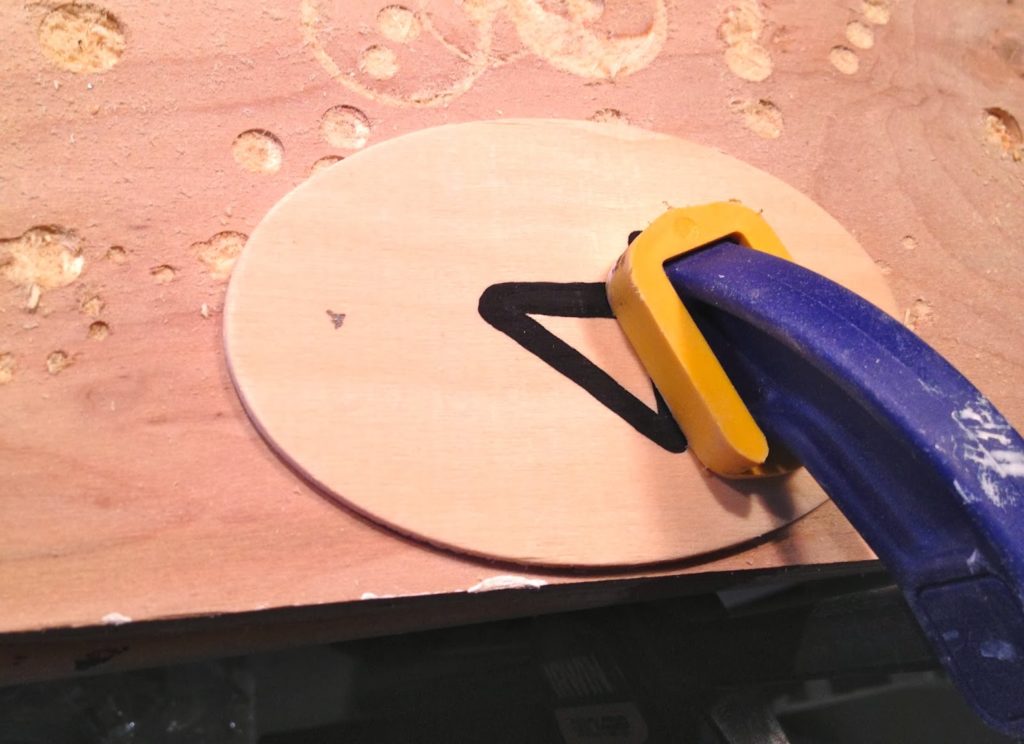
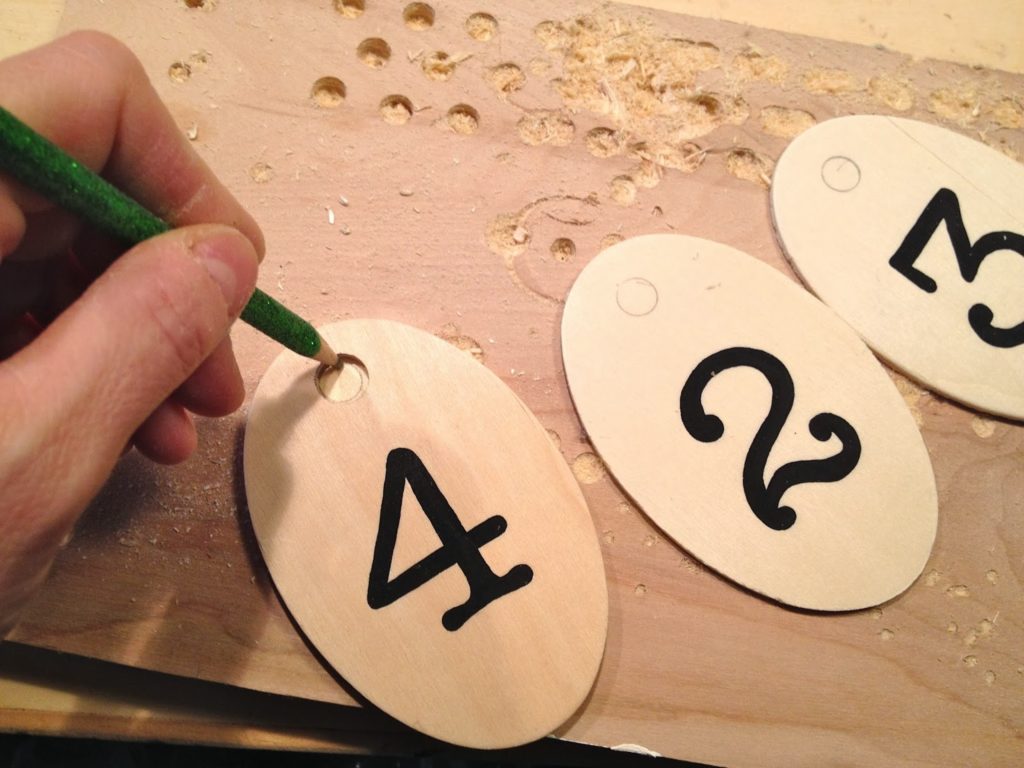
Step 4: Determine where you want the hole, mark with a pencil and clamp the wood tag on top of a scrap piece to your workbench.
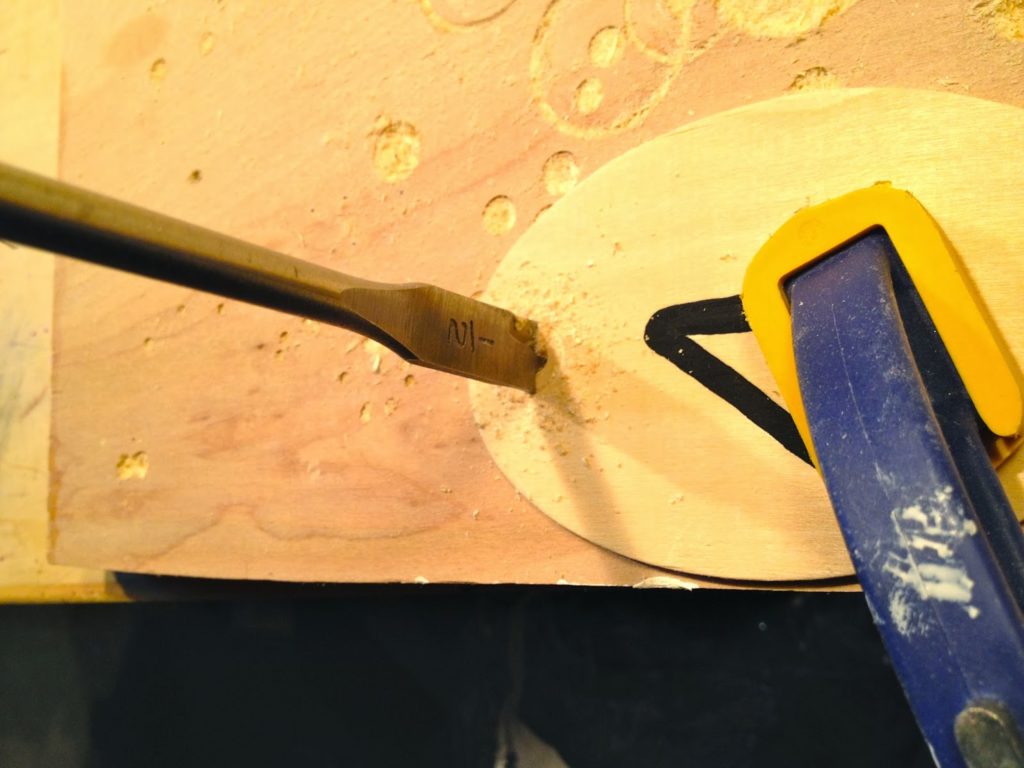
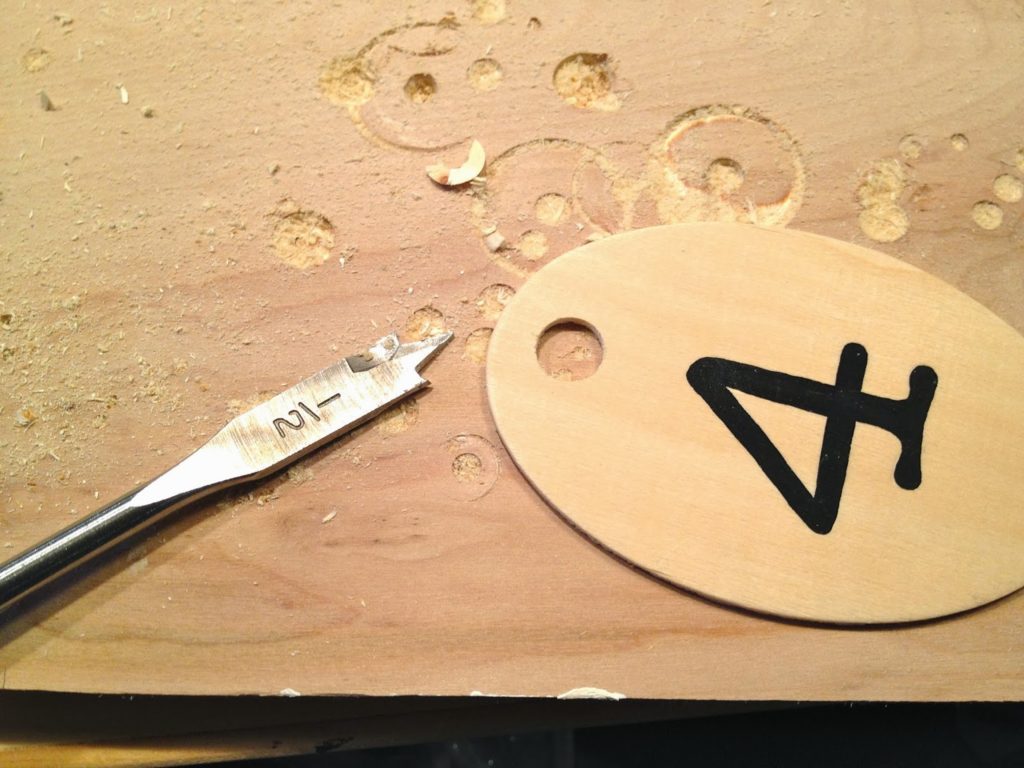
Step 5: Use a 1/2″ spade bit to make the hole.
Step 6: Place next tag underneath and trace the hole to get all holes in the same spot.
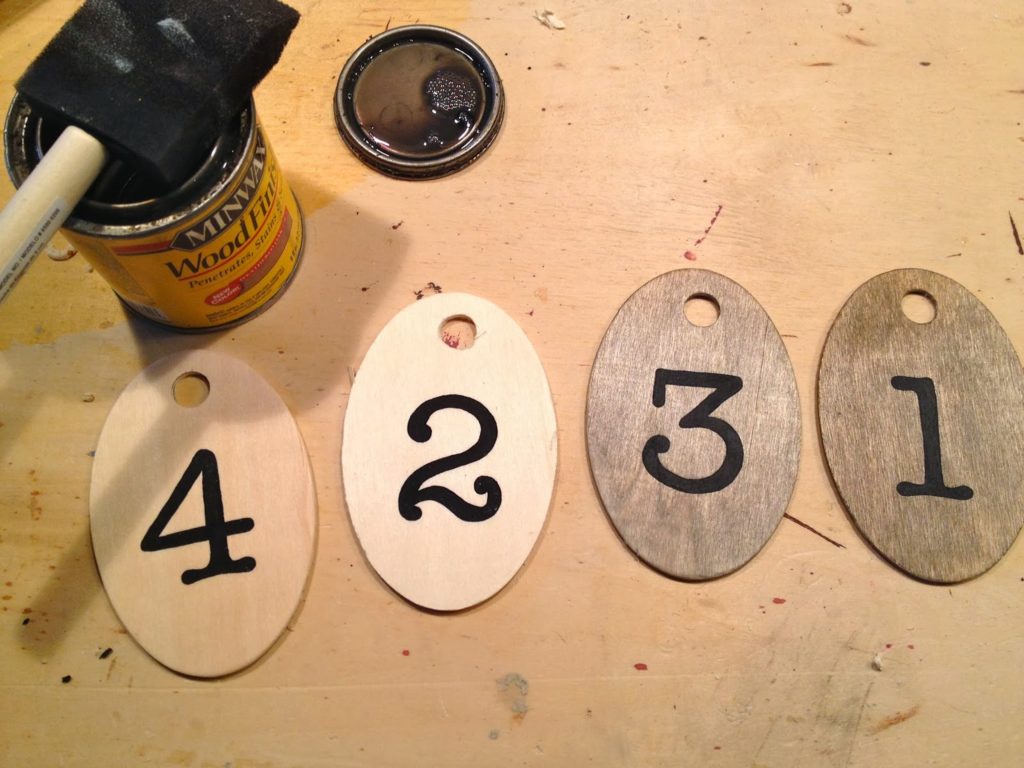
Step 7: Apply stain to wood tags.
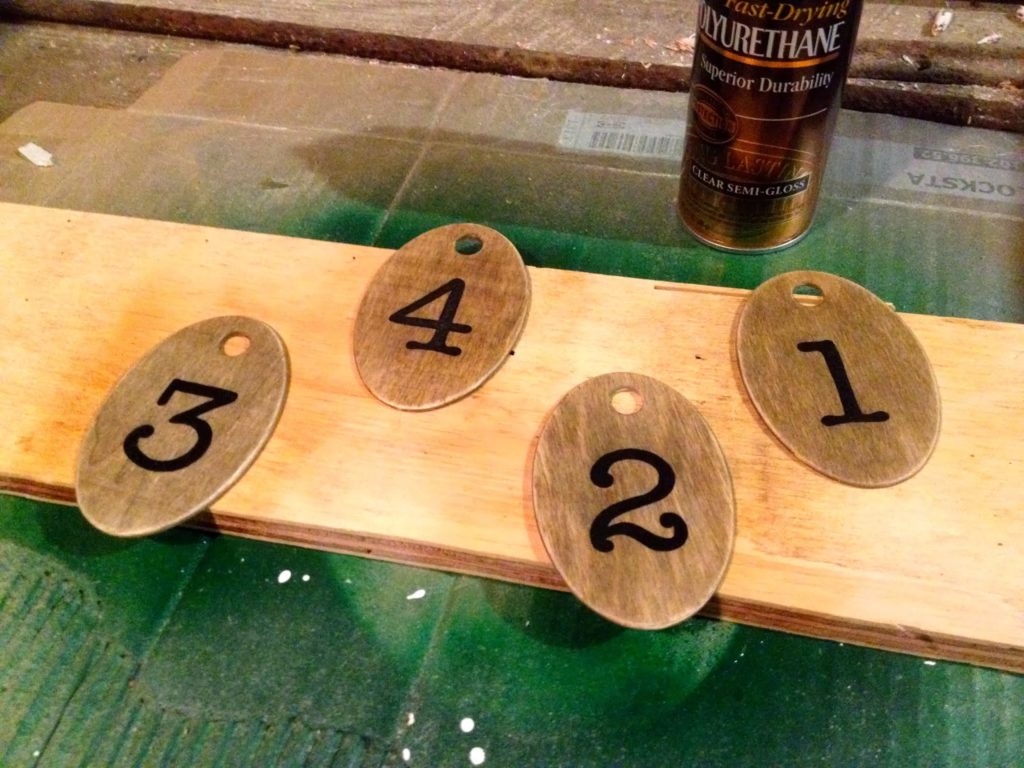
Step 8: Seal with clear semi-gloss poly spray.
Step 9: Attach to bucket using jute string and grosgrain ribbon.



Your tags are so cute and they look great on those little buckets!! Perfect for that beautiful cabinet too!!