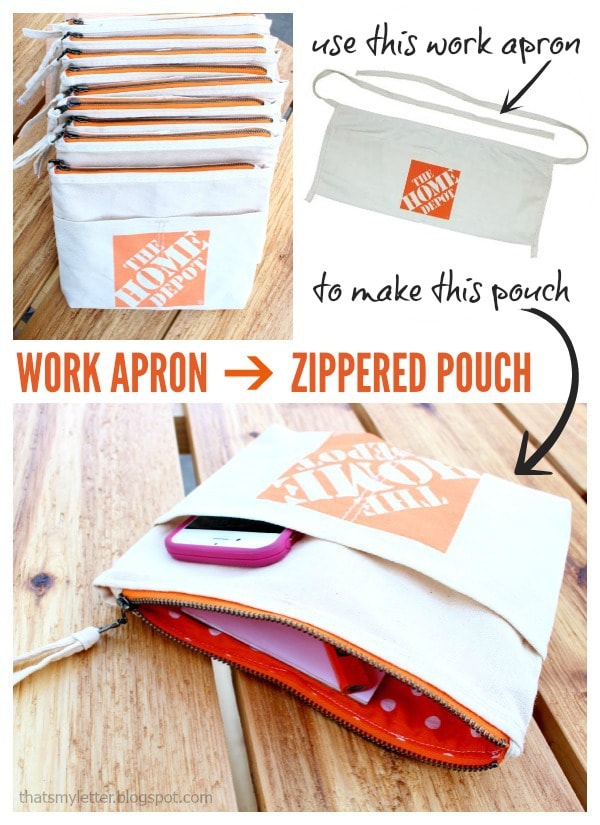
I’m always up for a fun repurpose project and today’s post is just that. I’m sharing how to take a work apron and make it into a zippered pouch.
A DIY tutorial to take a canvas work apron with pockets and make it into a zippered pouch. Repurposing and sewing in one useful project.
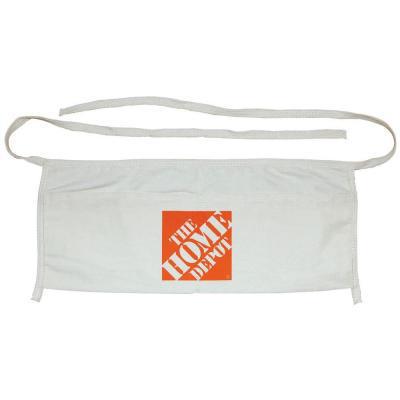
It’s no secret I like to build things but I equally like to sew, especially in the colder months when I can stay warm and cozy inside. Awhile back I made a quick trip to The Home Depot headquarters in Atlanta for the DIY Workshop kick off and amongst all the goodies they gave us was this work apron:
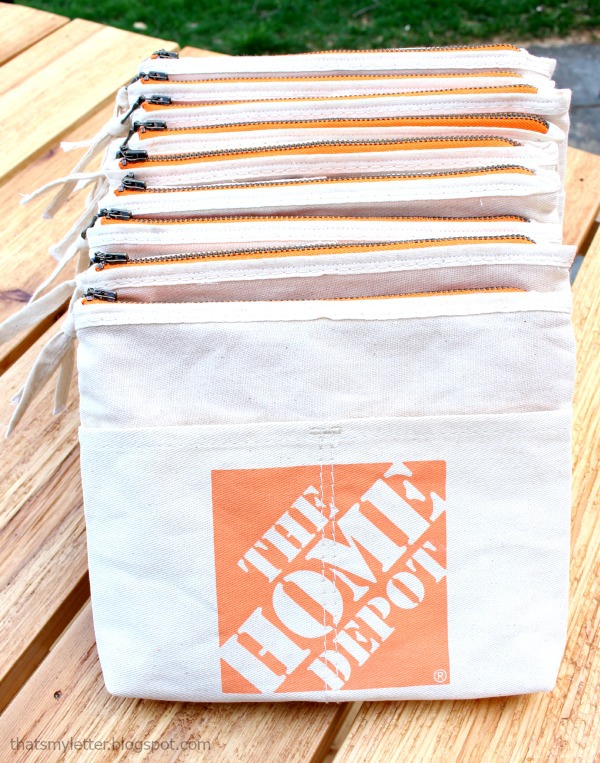
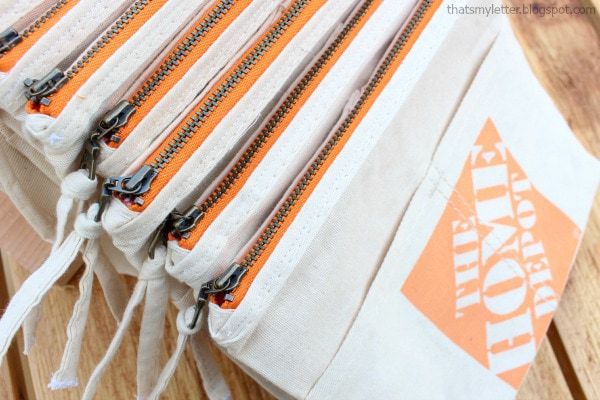
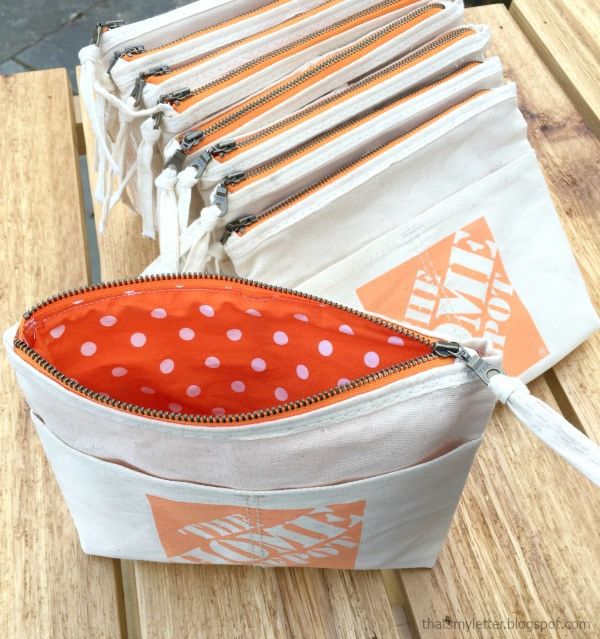
Super functional and lightweight, it’s great for woodworking, gardening, crafting and more but I got to thinking the canvas would make an awesome zippered pouch. These inexpensive work aprons are available at The Home Depot so I bought a few more and made some zippered pouches.
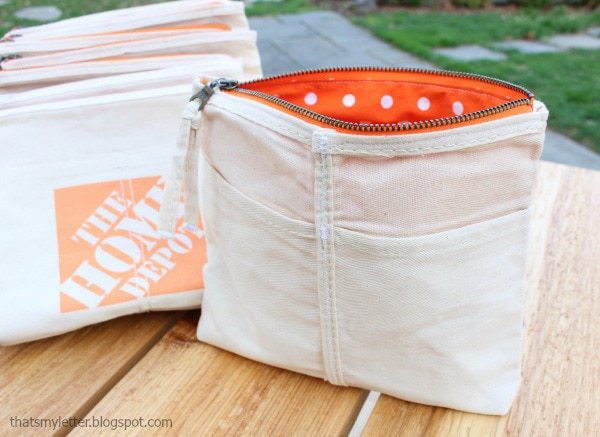
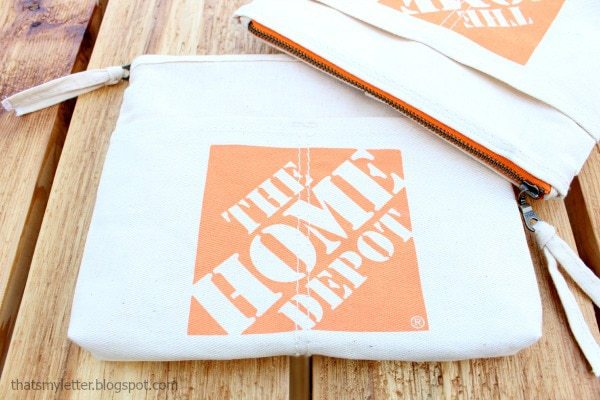
The apron already has two pockets so once you make it into a pouch the exterior of the pouch conveniently has four pockets (2 in front and 2 in back).
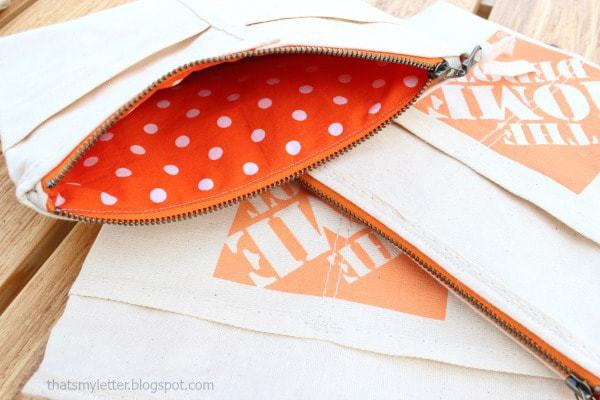
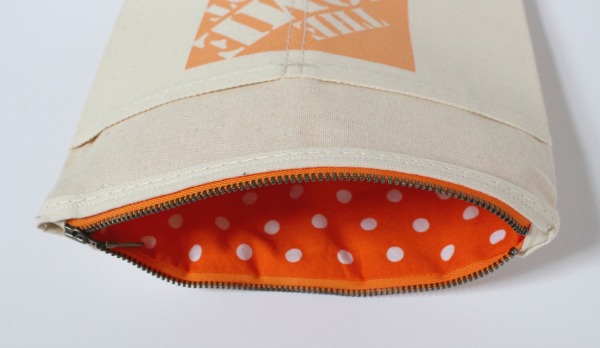
In keeping with The Home Depot orange color I opted to line the pouches with orange and white polka dot cotton fabric.
For the closure I used my favorite metal zippers with a donut pull from Jennie at Zip It. (She has the biggest and best selection of zippers and ships super fast too!)
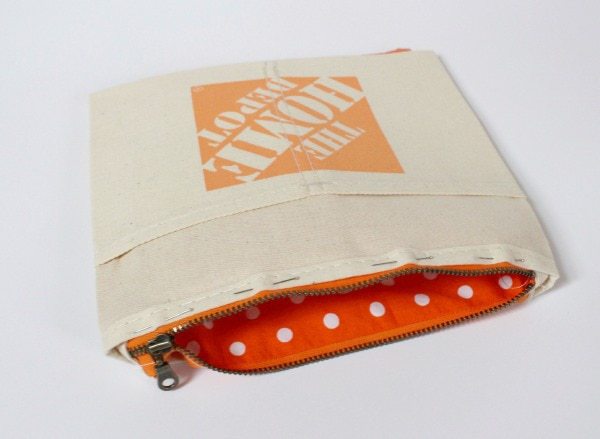
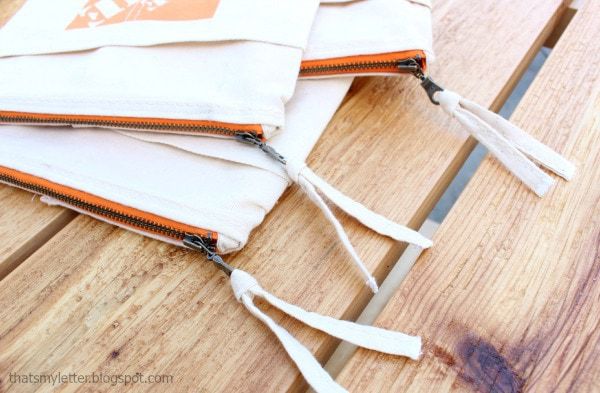
For the finishing touch I used a bit of the apron string as an embellishment on the zipper pull. So cute with the Home Depot logo at center front and the orange zipper. Below I will share the step by step tutorial to take a canvas apron and make it into a zippered pouch.
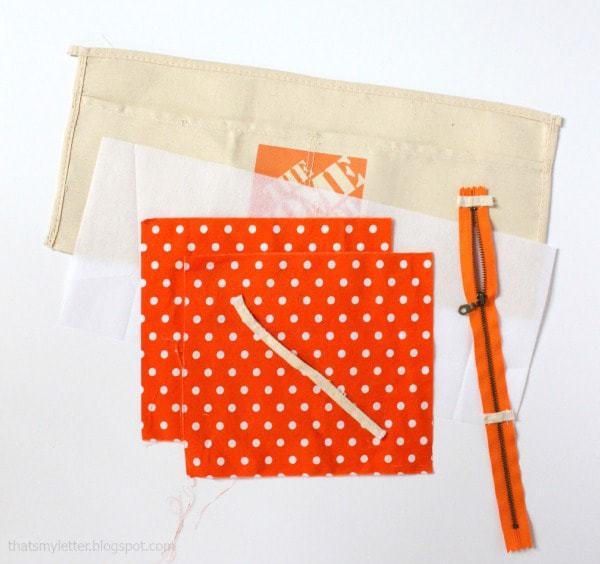
Supplies:
- work apron
- medium weight fusible interfacing (7″w x 17″l)
- cotton lining (2 @ 9″w x 8″h)
- zipper (minimum 9″l)
- sewing machine & thread
- scissors
- iron
- rotary cutter
- clear quilting ruler
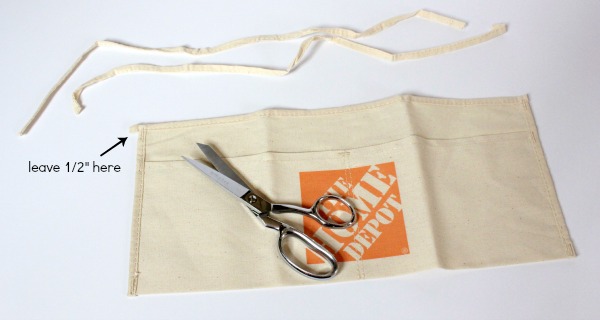
Step 1: Cut apron strings off of apron leaving 1/2″ each on one side. Save the apron strings for making the zipper stop ends and to use on the zipper pull later.
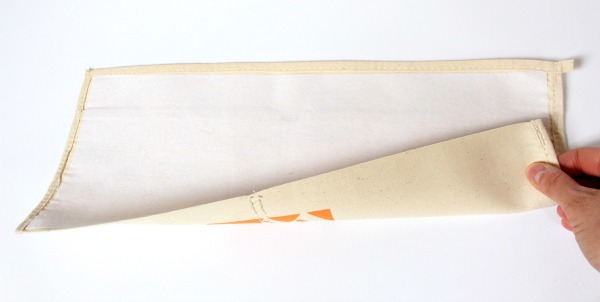
Step 2: Iron on medium weight fusible interfacing to wrong side of apron.
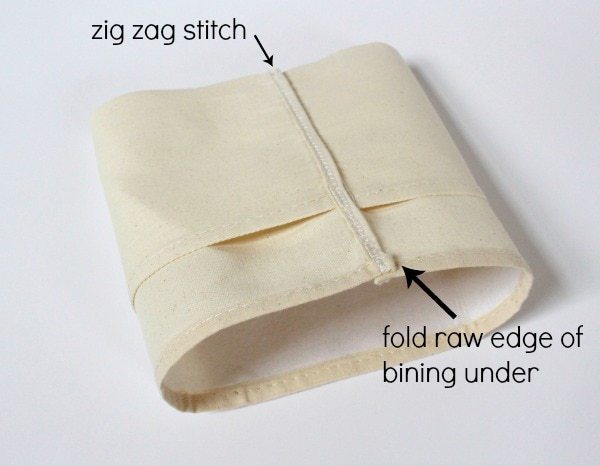
Step 3: Make the apron into a tube by overlapping the short ends. Fold the raw edge of cut apron string (binding) under and zig zag stitch closed.
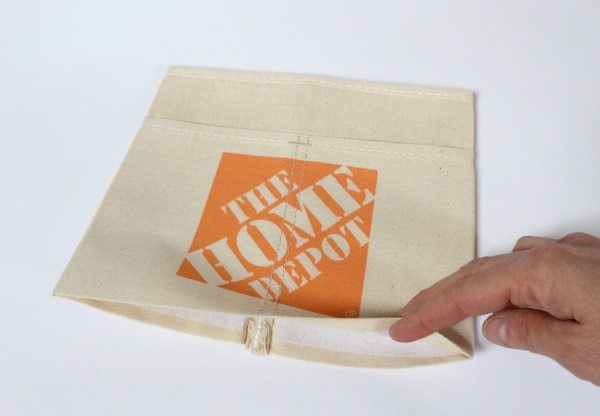
Step 3 continued: Press the apron tube shape flat so center of apron lines up with back center seam. You want the logo to be front and center. Set aside.
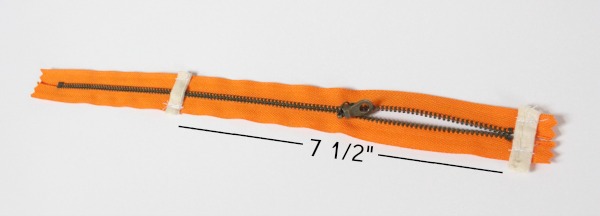
Step 4: Prepare the zipper. Measure the top apron open space and subtract 1″. My aprons measured 8 1/2″ so my complete zipper length is 7 1/2″. Using the apron string binding sew a short piece perpendicular to zipper on each end as pictured above to create a finished edge for the zipper.
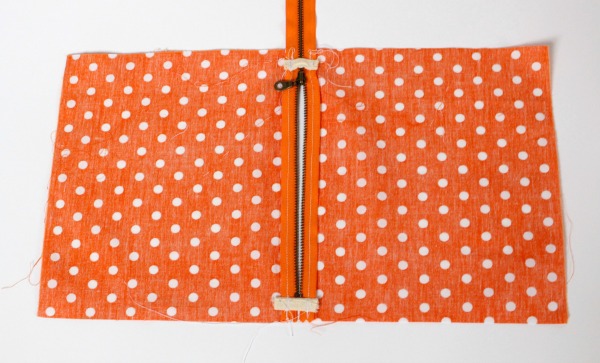
Step 5: Sew cotton lining to the zipper. Place right side of lining up against wrong side of zipper.
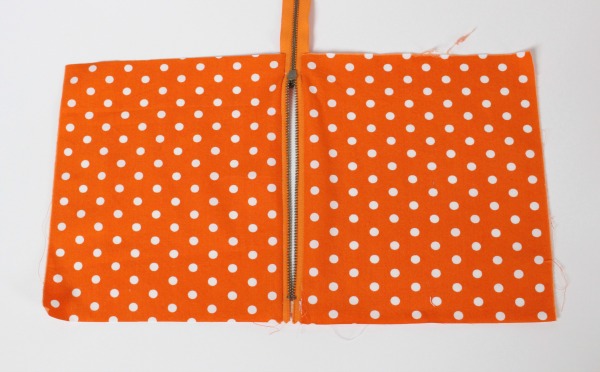
Step 5 continued: Flip over right side of lining and press seam. This is the interior of your pouch.
Step 6: Slide zipper and lining up into pouch keeping wrong sides together. Pin front portion of zipper to pouch front.
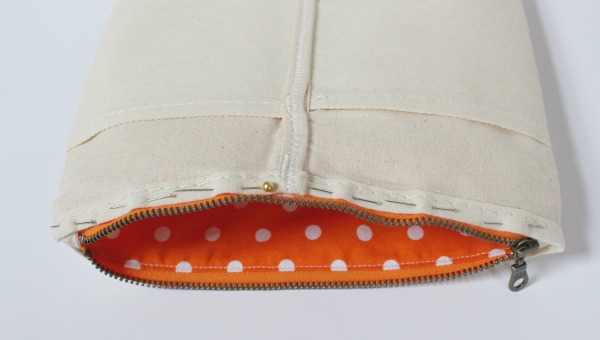
Step 6 complete: Topstitch zipper and lining in place. I prefer to do one side at a time starting with the front.
Step 7: Flip pouch over and repeat Step 6 for back side of zipper pinning it to back side of pouch. Be careful here because there is a very thick seam at center back and you might have to manually move the presser foot over and beyond that thick portion (or break 3 needles in the process!).
Once Step 7 is complete pull pouch over so wrong sides are visible.
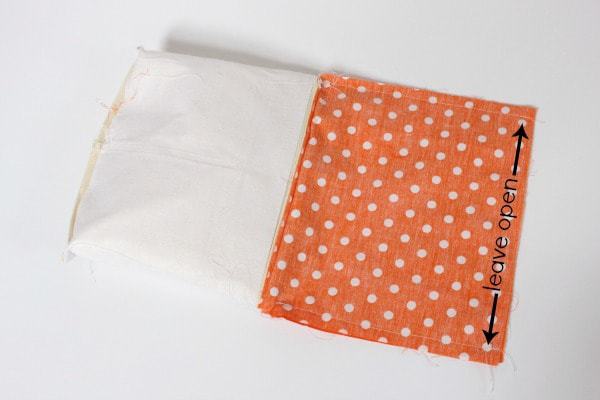
Step 8: With the wrong sides together (be sure zipper is at least half way open) sew lining side seams about 1/2″ seam allowance leaving the bottoms open. Then sew only the canvas apron bottom closed and finally miter the corners.
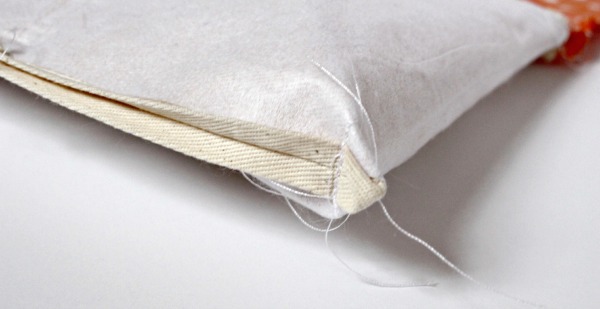
Step 8: The mitered corner will create depth in the pouch. Pinch the base seam open and up against the pouch side then sew across. Snip the pointy portion off before turning right side out.
Step 9: With everything right side out press under 1/2″ raw edge of the lining and top stitch lining shut. Shove lining down into pouch and press.
Lastly add a 7″ piece of apron string onto the zipper pull. Be sure to zig zag the ends to prevent fraying.
SHOP THIS PROJECT:
Disclaimer: Although I do work with The Home Depot this post is not sponsored by them. All creative thoughts, applications and opinions are my own.



Only goes to step 3 for home depo pouch? Found on pinterest
Thanks Mary, are you viewing on an ipad? I’ve been finding some older posts are getting cut off and I’ve been trying to fix it. The full tutorial is definitely there but I think there’s a glitch on mobile, I’m working on it. Thank you for letting me know.
Or could I just buy one from you!
Thanks Christie, that’s the nicest comment you could leave. I am thinking of making another batch, I will keep you posted.
Hi there? These are adorable. Are you selling them?
Thank you Laura, these were gifts. I am not selling them. Thanks for inquiring.