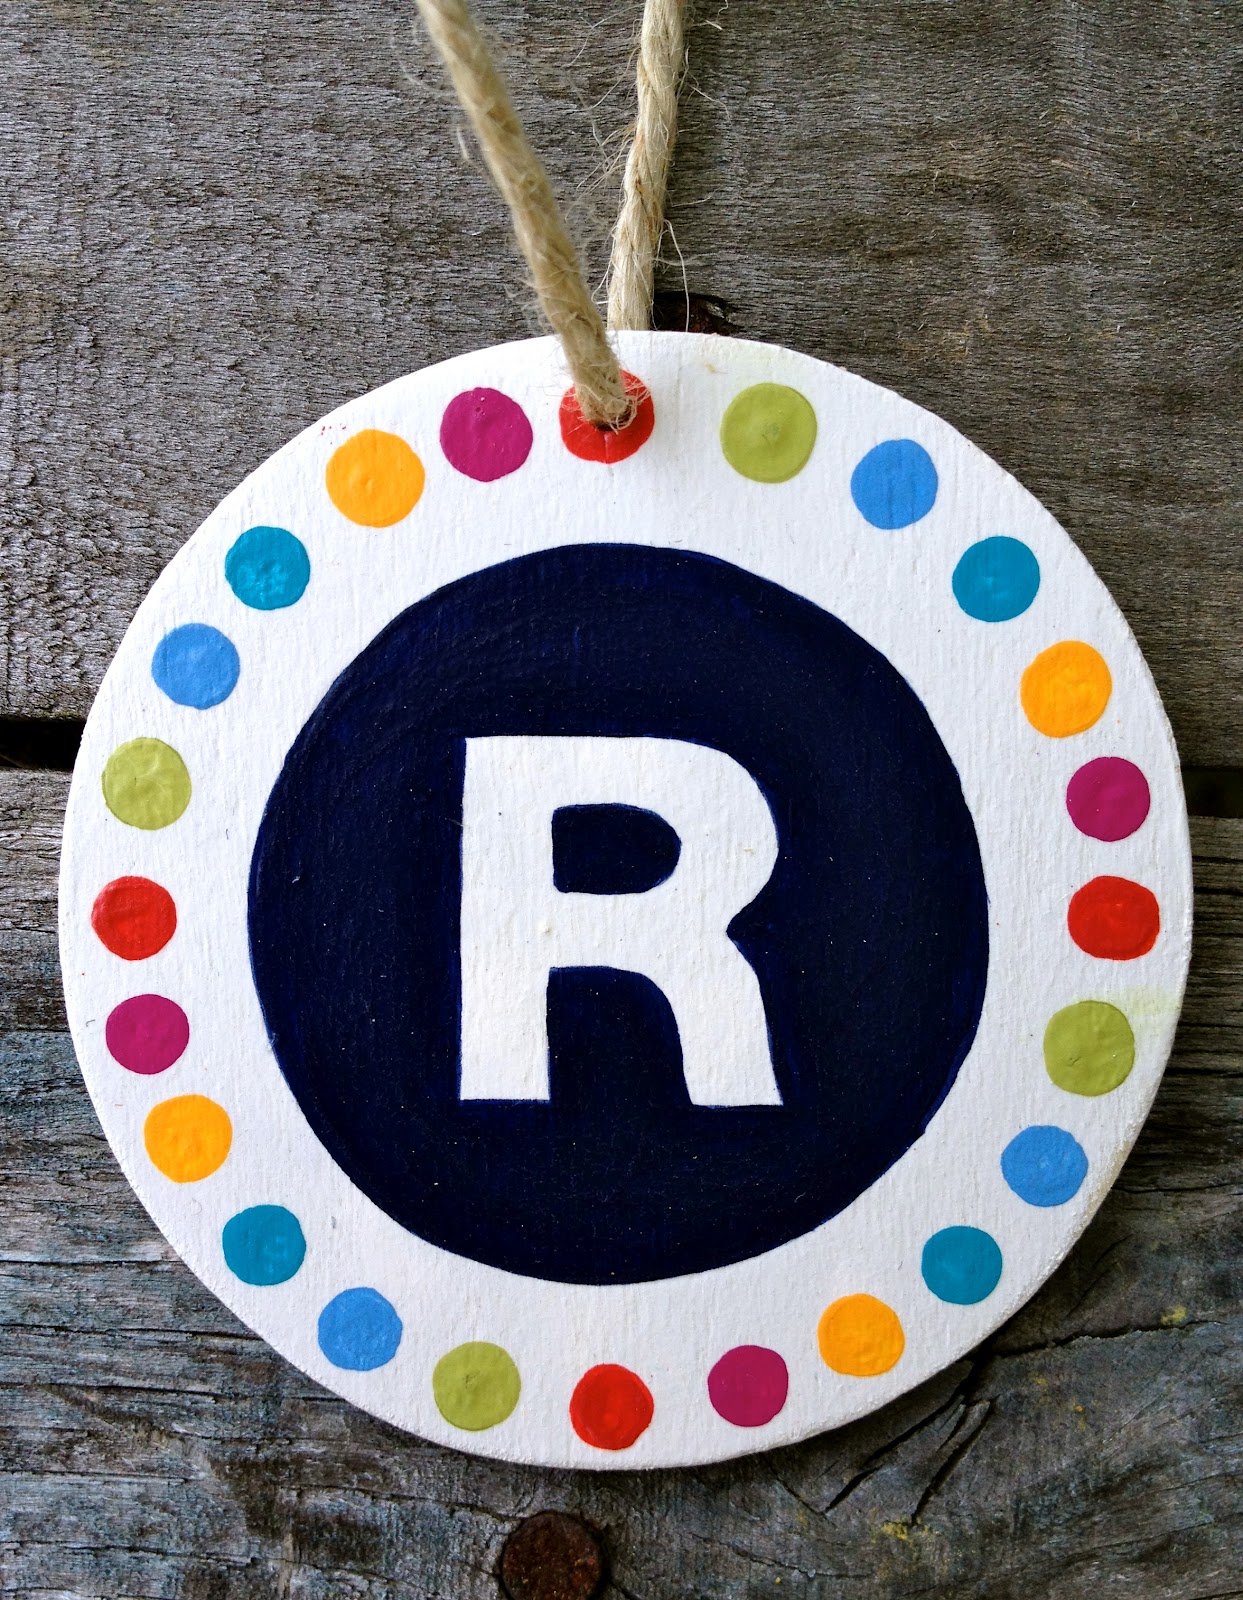
Paint: Event favors
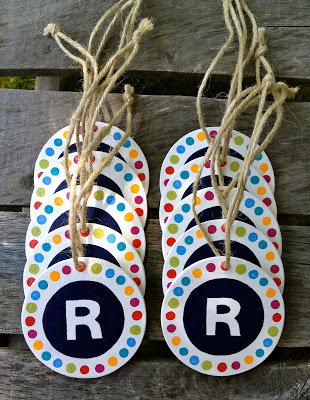


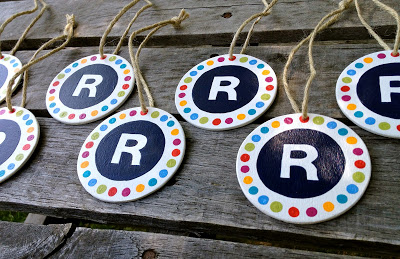

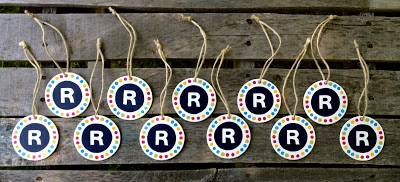
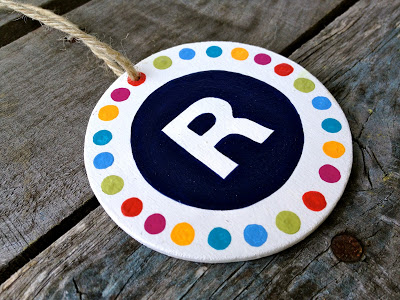


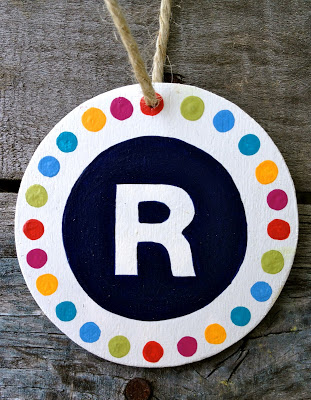


I painted these wooden favor tags as a little keepsake ornament of the Spring Auction ‘Fiesta’ at my kids school.
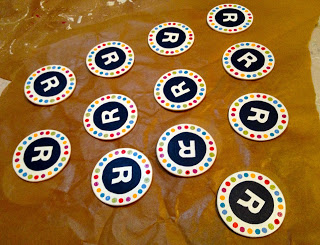
They are a recreation of a magnet that was made for school families:

Proof that nearly any graphic image can be transferred and painted on wood:


The logo also appears in the auction journal:

It’s fun and bright and I just couldn’t resist making a few for the auction committee ladies:

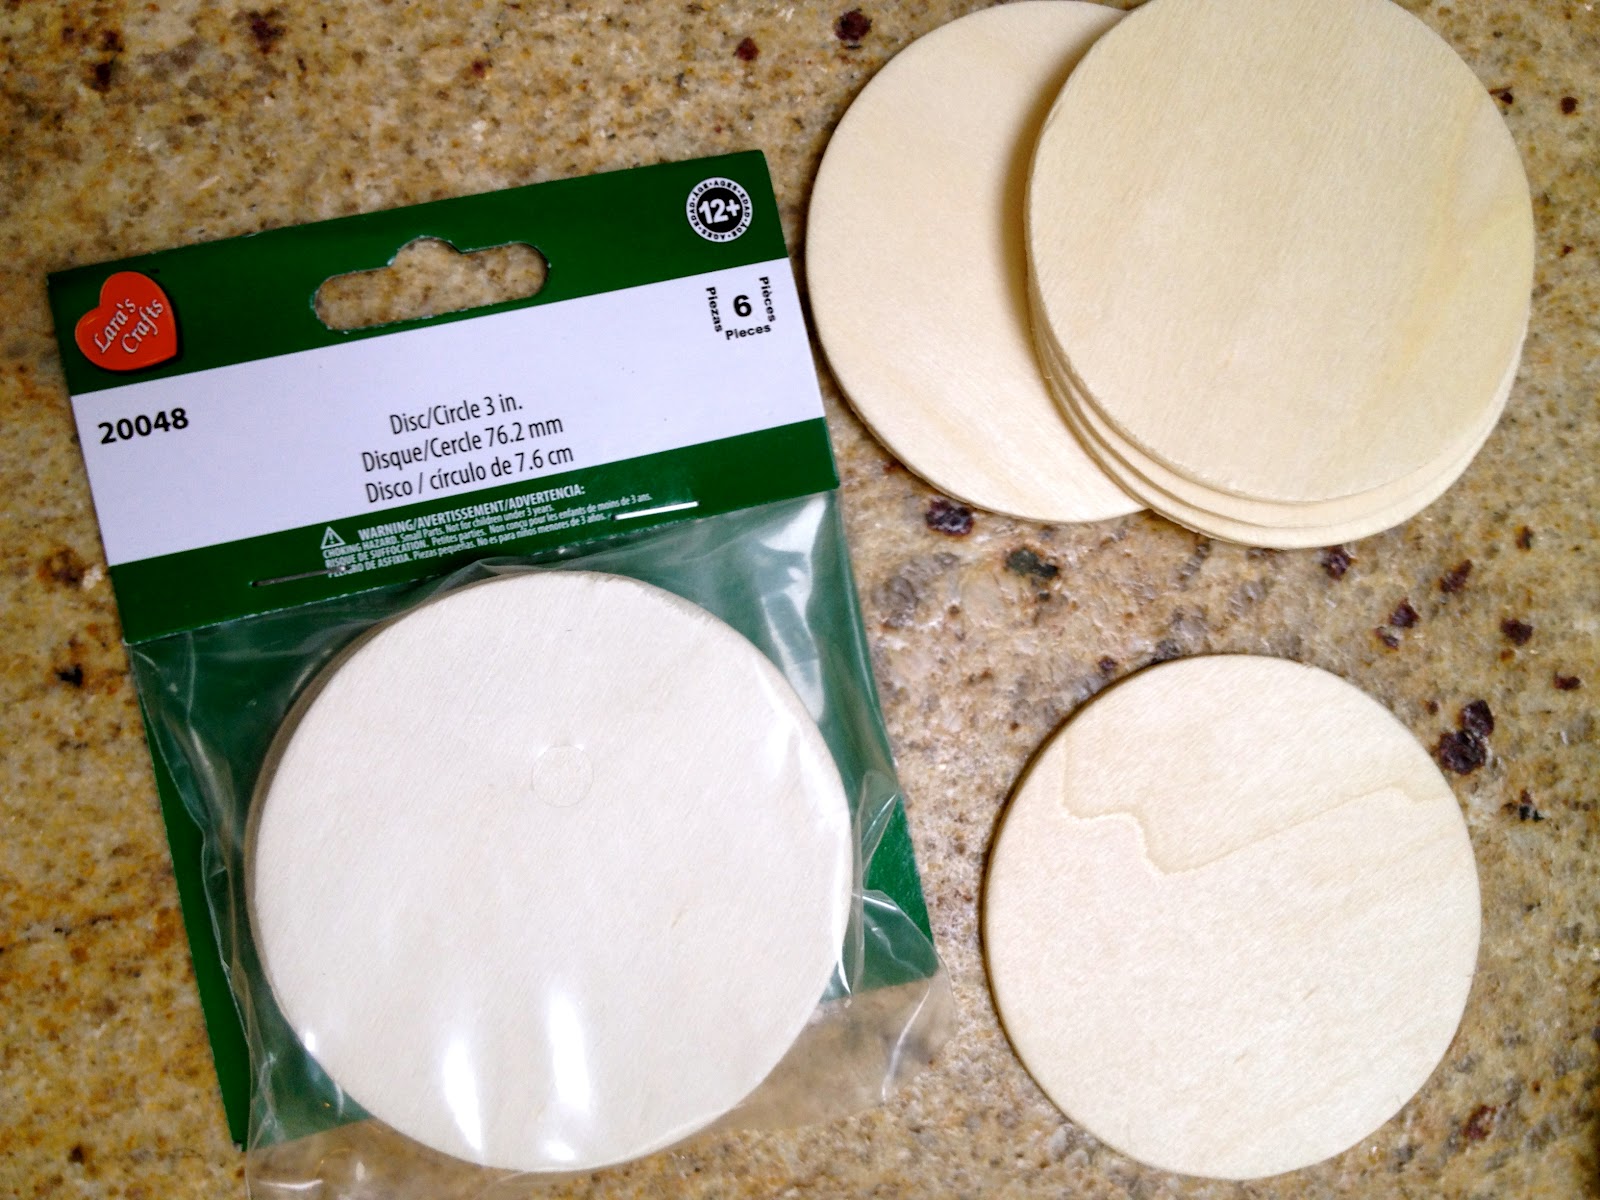
Here’s how I made the favor tags:
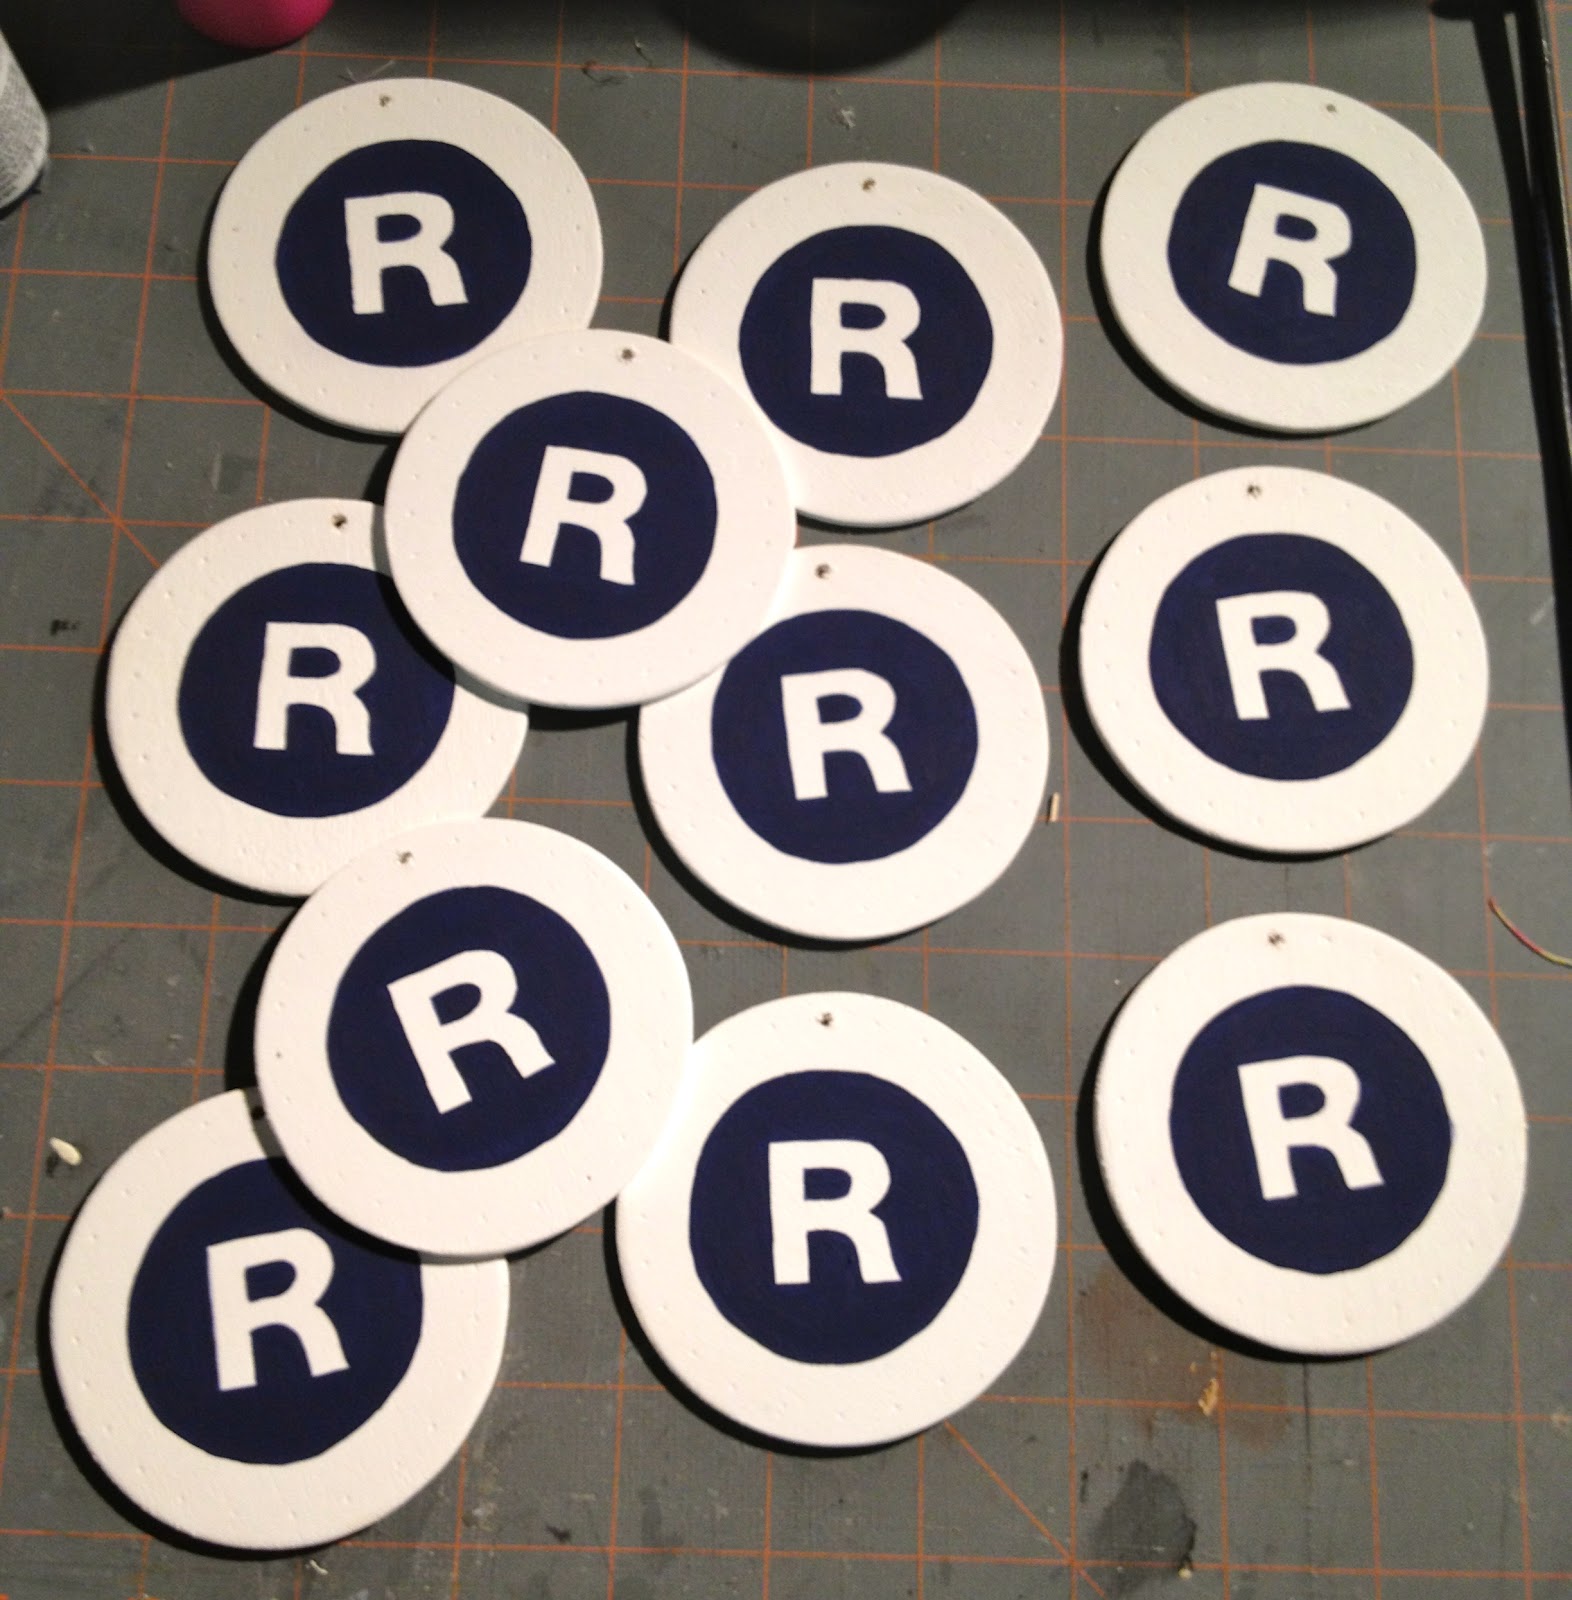
1. Take photo of image, modify size to fit space then print:

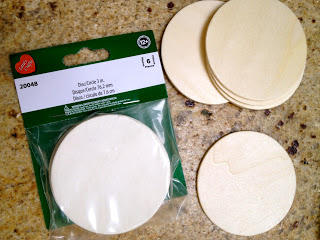
2. Purchase 3″ wood discs:
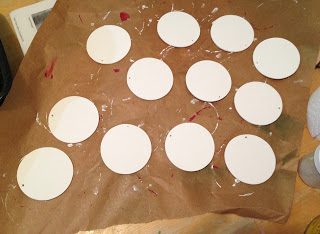
3. Paint wood discs one coat white, front and back.
Make a cardboard template of disc and determine where string hole will go:
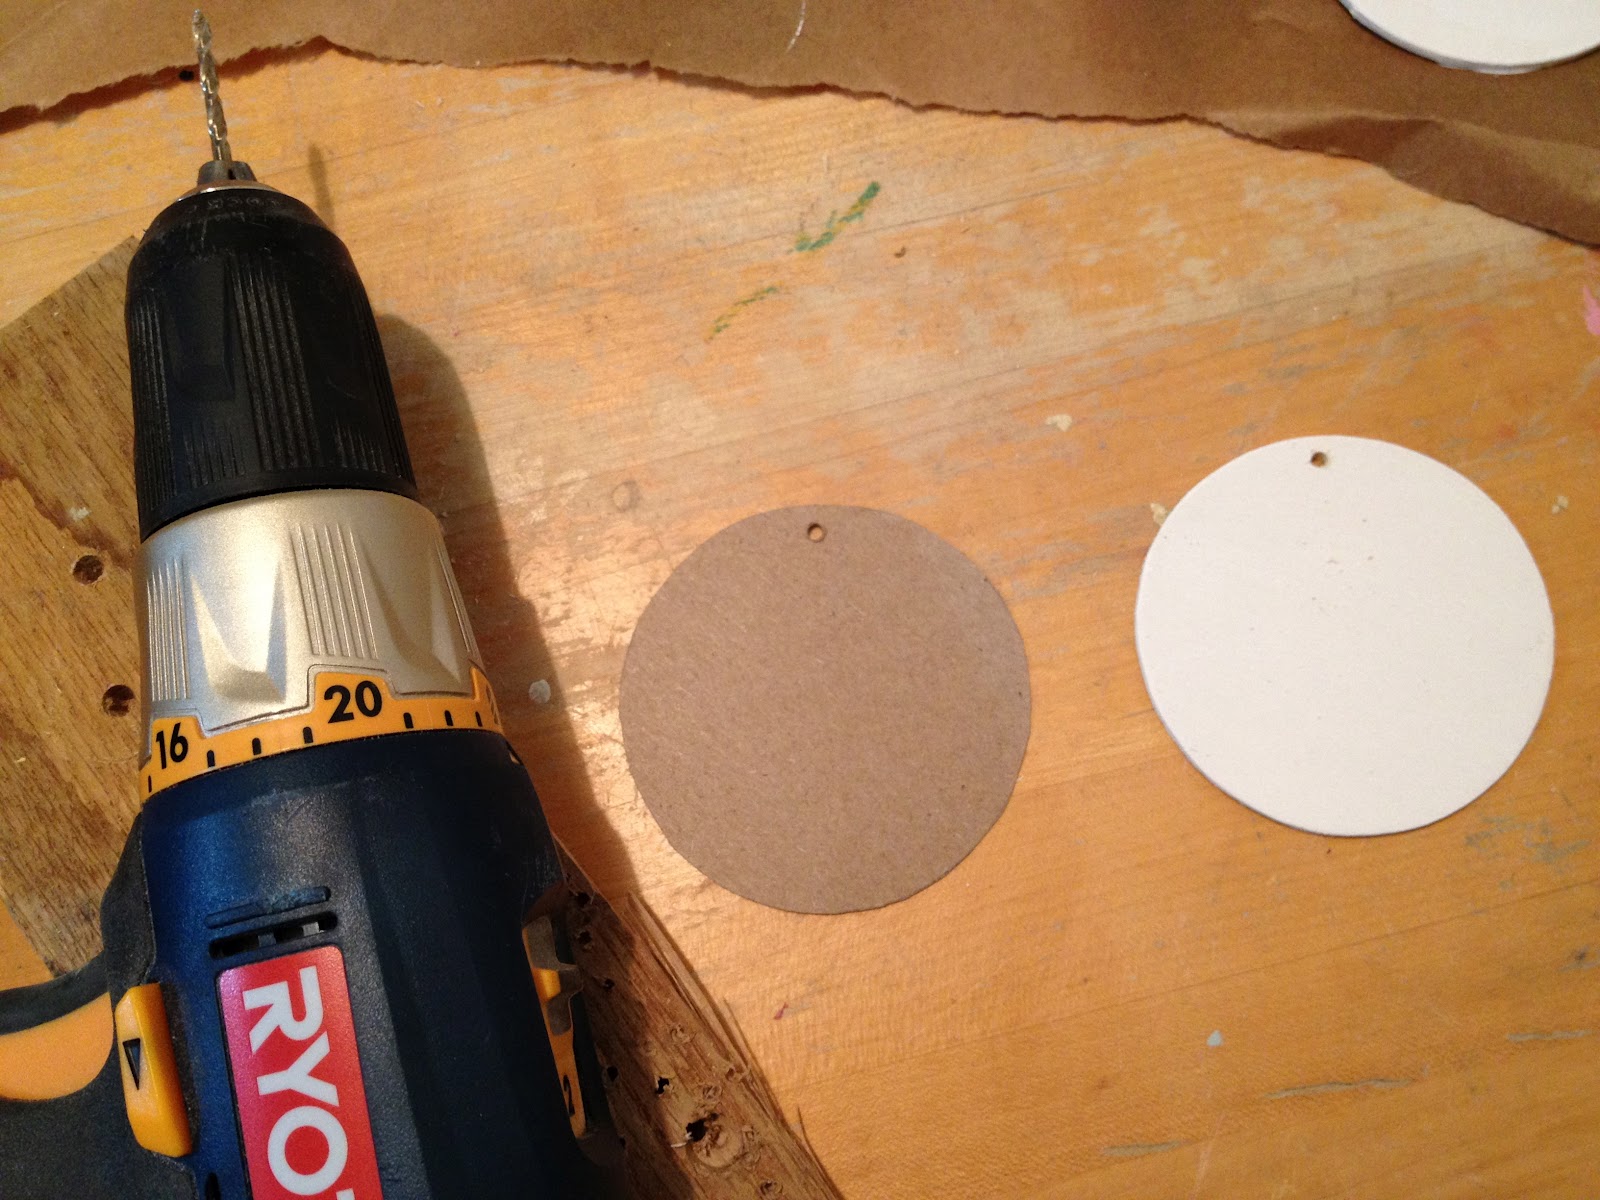
4. Use template on each disc to insure string hole is in same place on each tag.
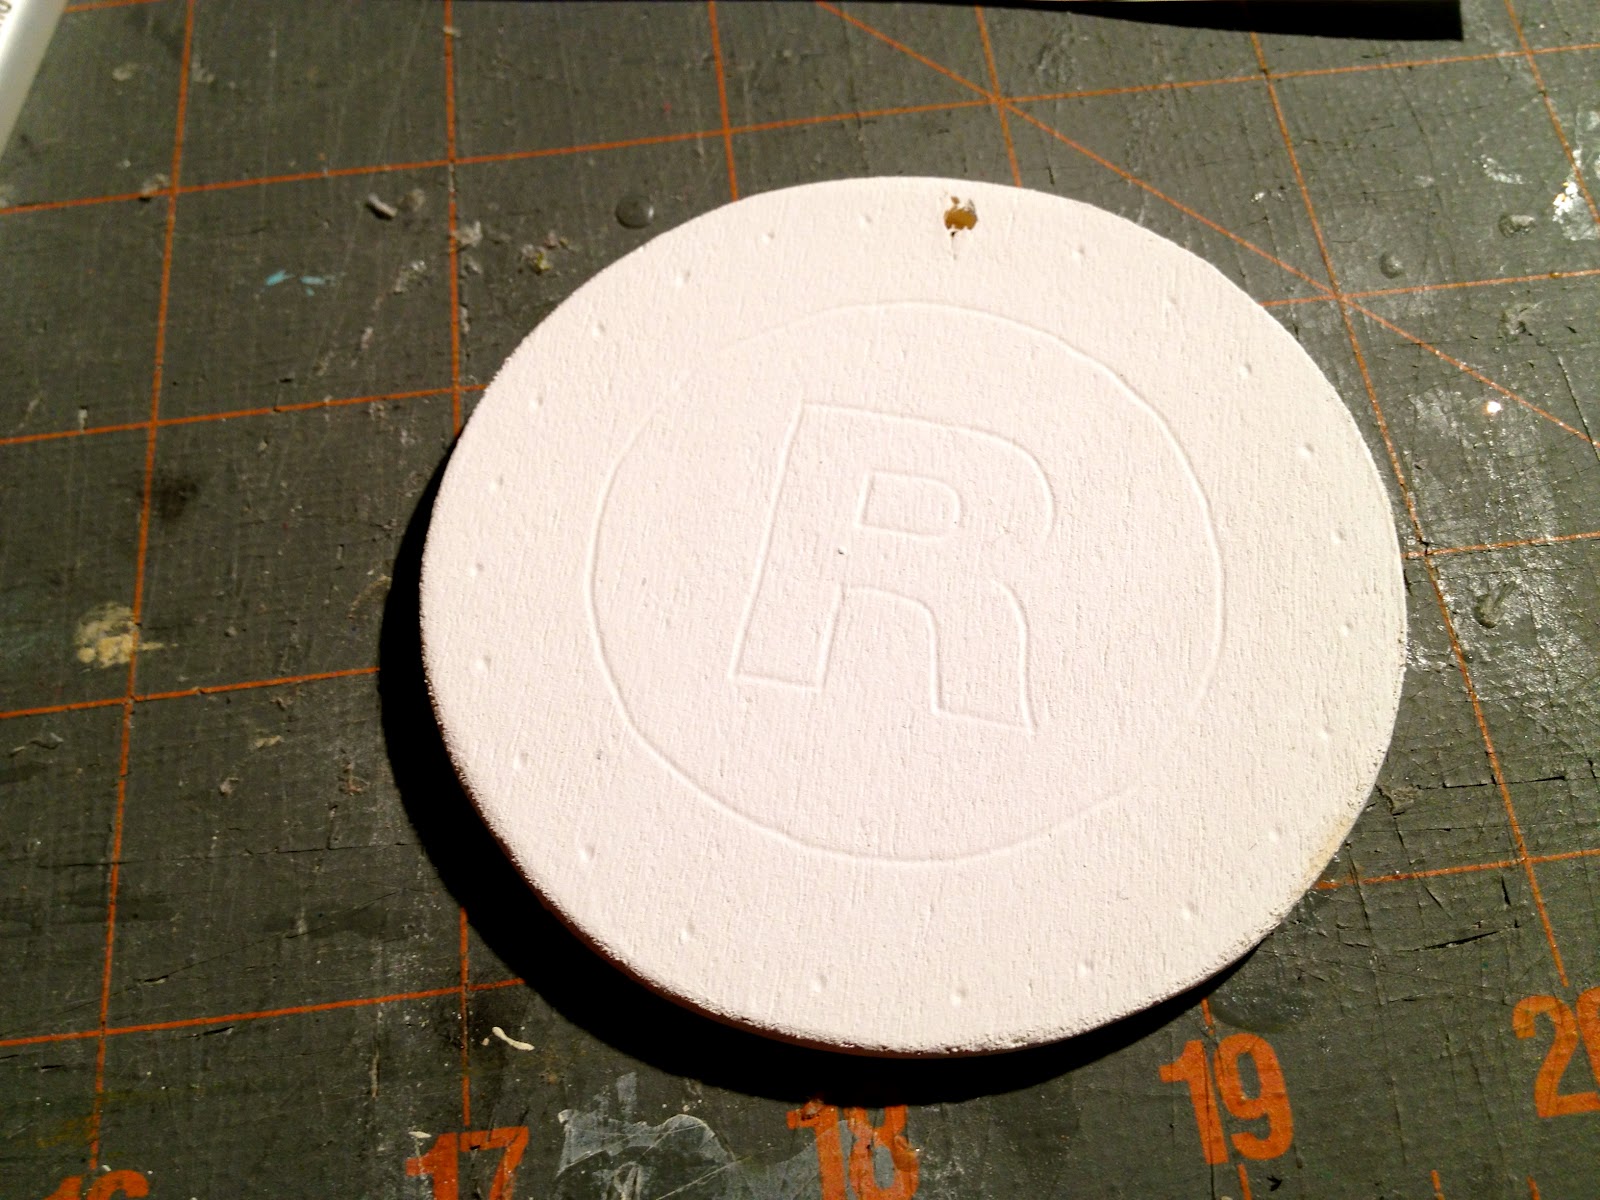
Then paint second coat of white, front and back.

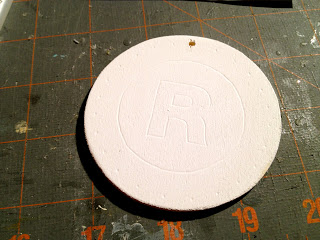
5. Position print out on top of disc, using a ballpoint pen trace outline of letter and shape:
(I also put a dot where each colored circle will go.)

6. Lift off the print out and you should see the indent left behind:
7. Paint as desired:
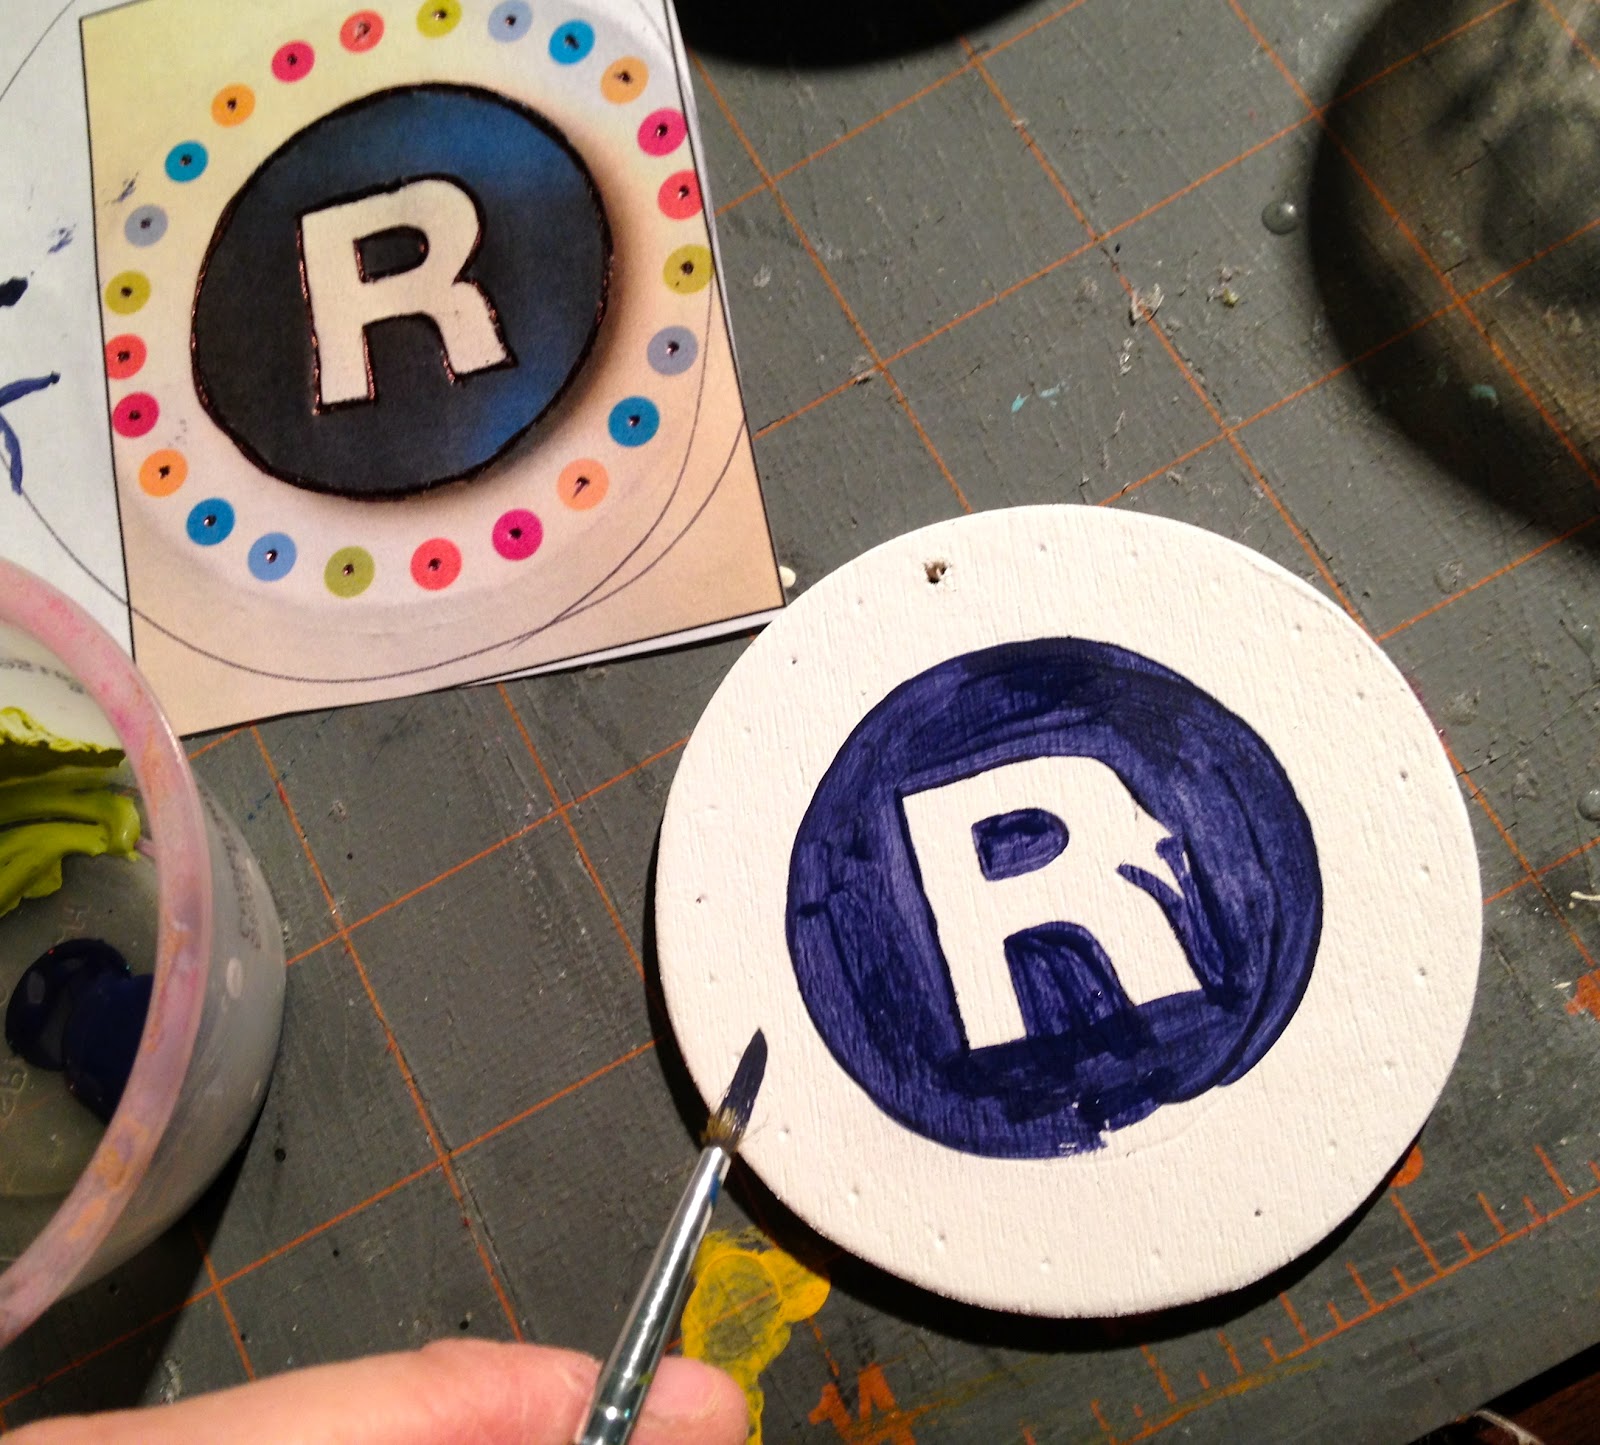
8. The darker colors will need two coats to become opaque:
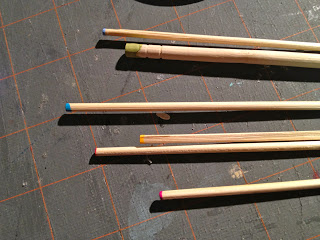
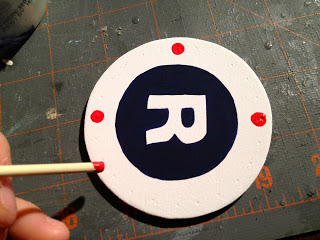
9. For the colored polka dots I used the blunt end of wooden skewers:
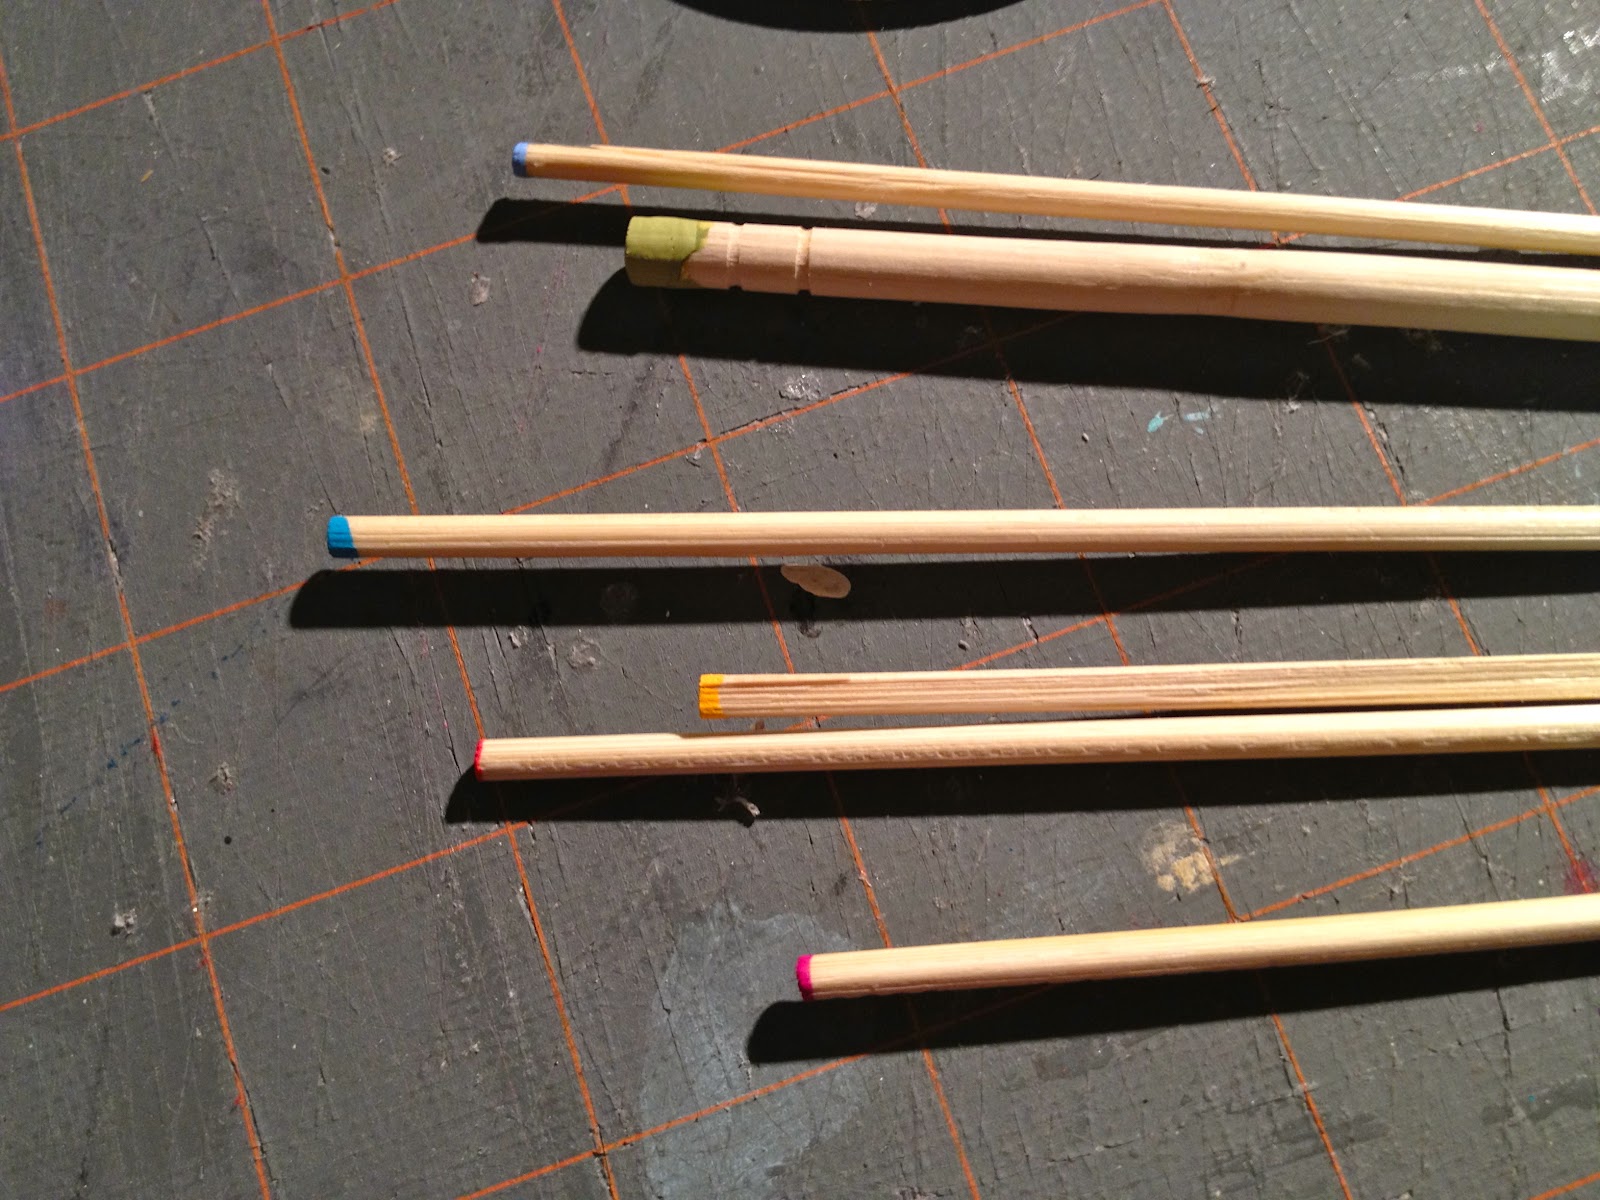
10. Place polka dot centered on pen indentation:

11. Seal with clear spray poly gloss:

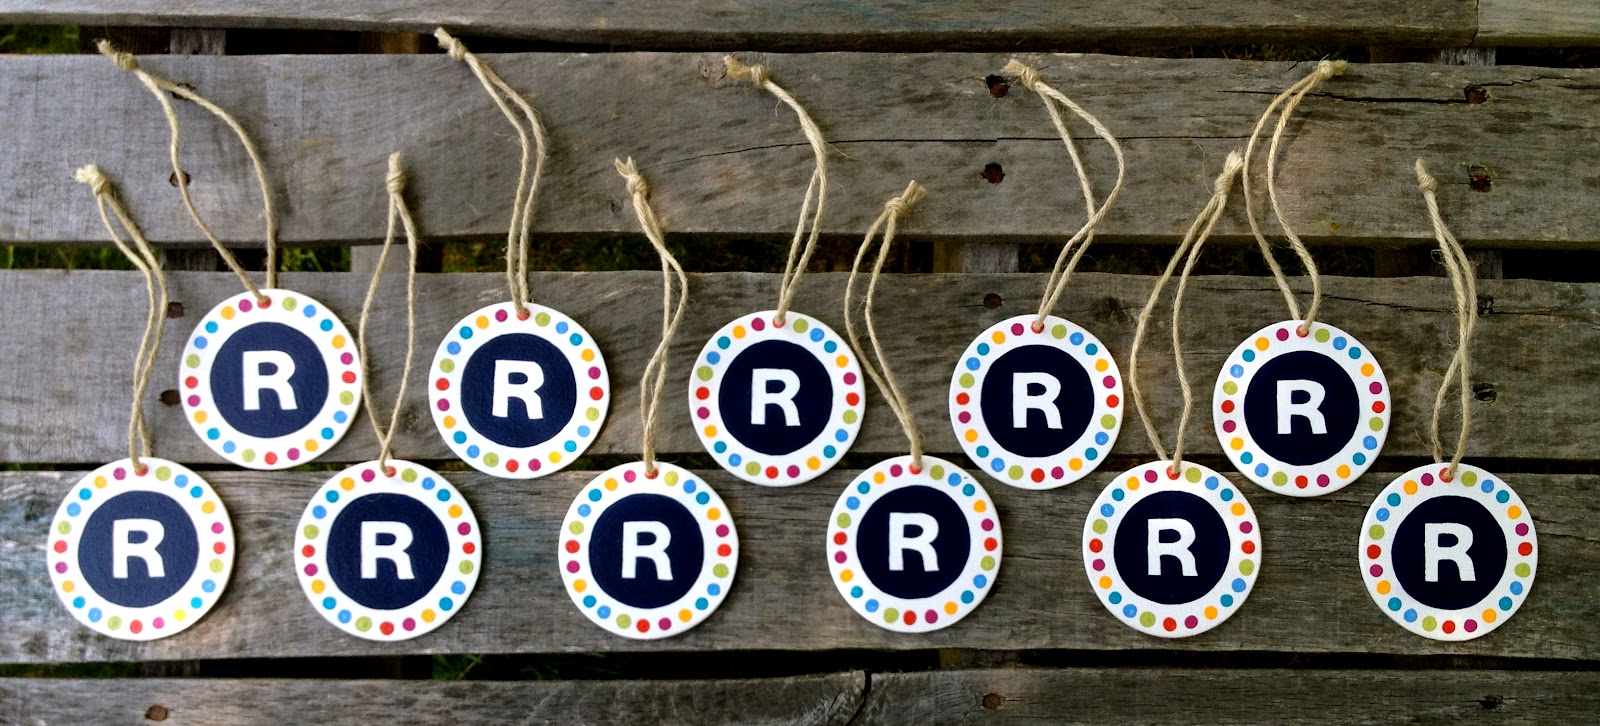
12. Add jute string for hanging:
All packaged up and ready to deliver:

I’m linking up to:
Whatcha Got Weekend @ Lolly Jane
SAS @ Funky Junk
Weekend Wrap Up @ Tatertots & Jello
Sundae Scoop @ I Heart Naptime
Sister Sunday @ Sisters of the Wild West
Sunday Showcase Party @ Under the Table & Dreaming
Just Something I Whipped Up @ The Girl Creative
DIY Project Parade @ The DIY Showoff
Made by You Mondays @ Skip to My Lou
Making the World Cuter @ Making the World Cuter
Nifty Thrifty @ Coastal Charm
Tuesday Treasures @ My Uncommon Slice of Suburbia
Tutorials & Tips Tuesday @ Home Stories A to Z
Good Life @ A Beach Cottage
Delightfully Inspiring @ Delightful Order
Transformation Thursday @ The Shabby Creek Cottage
Strut Your Stuff @ Somewhat Simple
Share Awesomeness Thur @ The 36th Avenue
Flaunt it Friday @ Chic on a Shoestring
Tickled Pink @ 504 Main
Frugal Friday @ The Shabby Nest
SAS @ Just a Girl
Feathered Nest @ French Country Cottage
Remodelaholics Anonymous @ Remodelaholic
inspiration board @ Carolyns Homework

Cute project! It gives me great ideas to work them out with my kids! Thanks
Stopping by for the first time and just love this project and your clear directions to make them. Sweet 🙂
Nice to meet you!
Kindly, Lorraine
Adorable!!!
Dee
so cute!! I love the color in these!
I would love for you to link this project up at my link party – Well Crafted Wednesdays! You can find it here:
http://thewellcraftedhome.blogspot.com/2012/04/well-crafted-wednesdays-link-party-1.html
These are so pretty! You know what they remind me of a little bit? POGS! Haha, remember those? 🙂