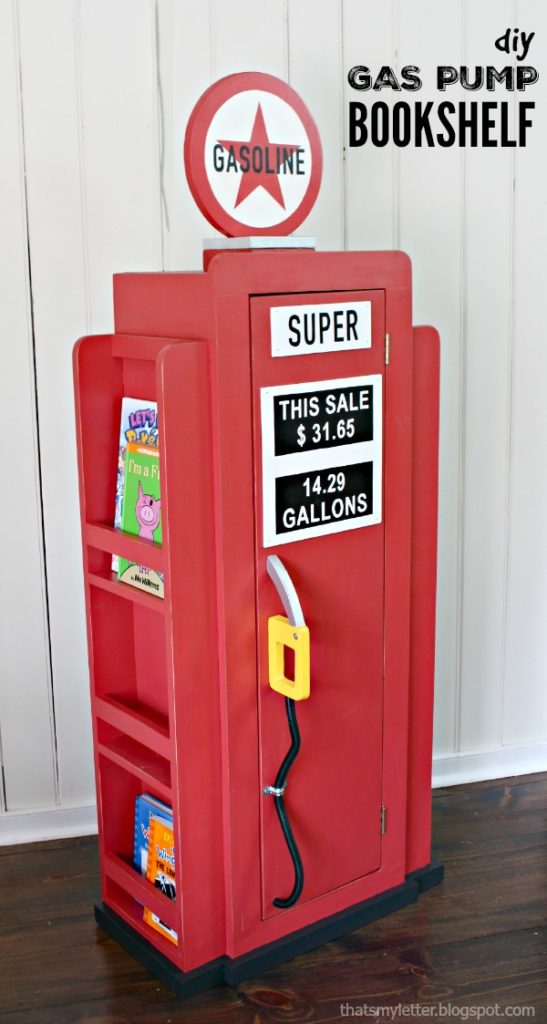
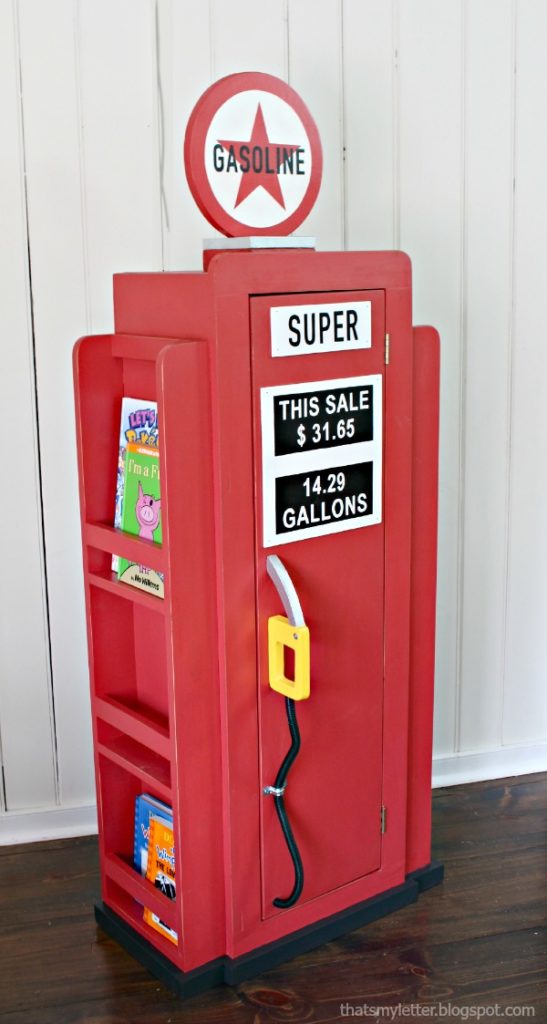
It’s week 4 of the Handbuilt Holiday series and it just keeps getting better! Ana White and I work super hard to bring you new gift plans that are fun and purposeful and today is no exception. We are sharing this gas pump bookshelf with tons of storage both inside and out!
The gas pump bookshelf is super functional, sturdy and provides vertical storage sized just right for kids:
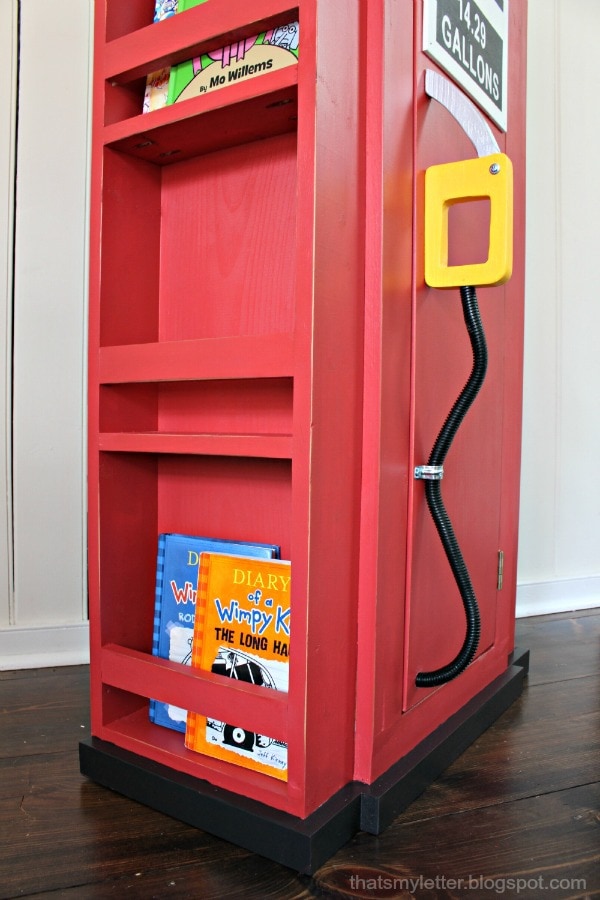
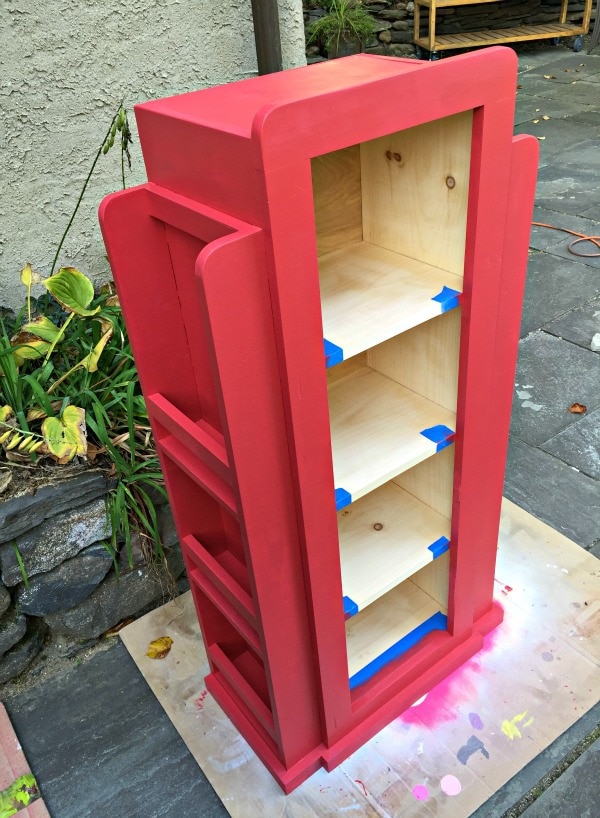
Bookshelves on both sides of the cabinet are deep enough for multiple books:
I may have gone overboard with the details on this build but I just couldn’t help myself! Of course you definitely don’t have to get all fancy with the signage and lettering but I think it completes the bookshelf and adds to the fun factor.
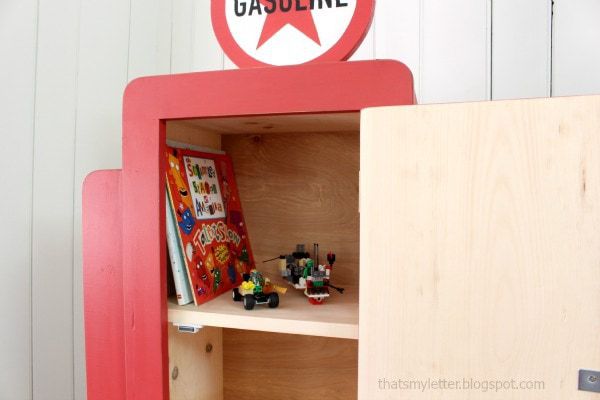
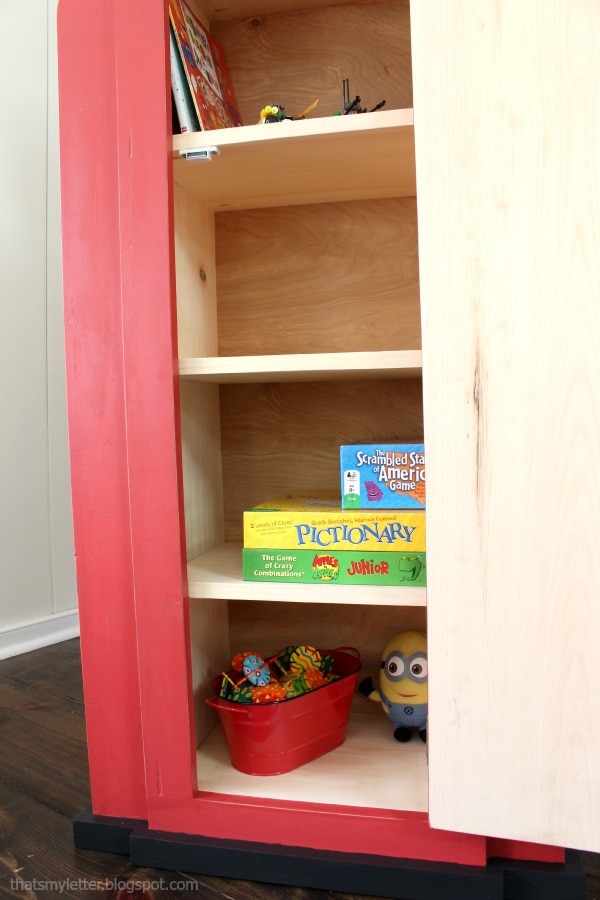
The interior shelves are deep enough for books at 11 1/4″.
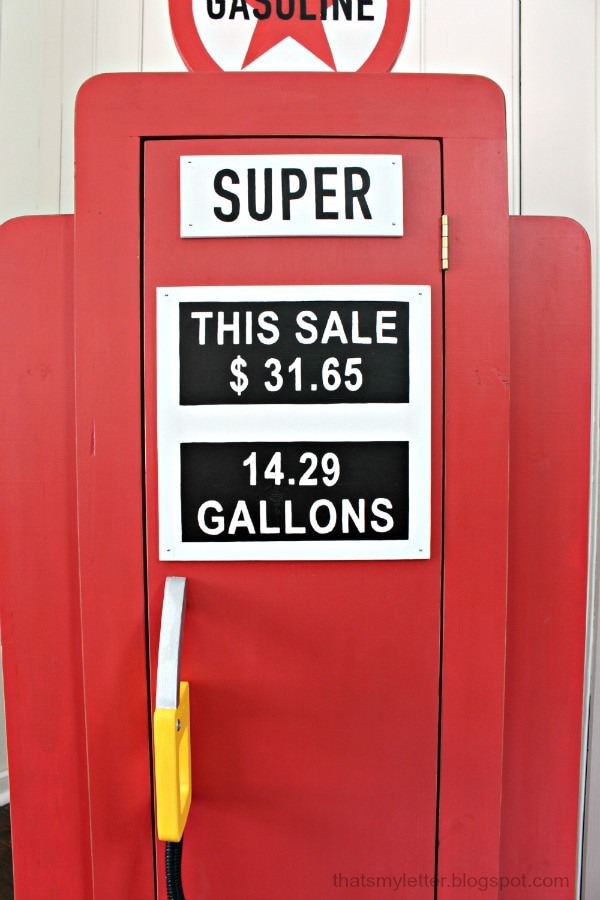
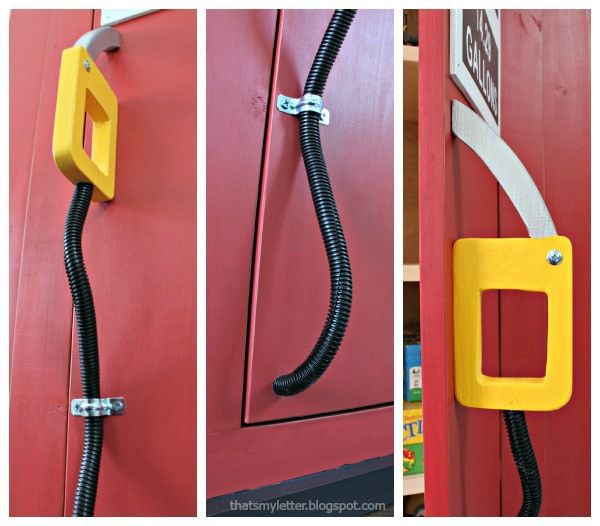
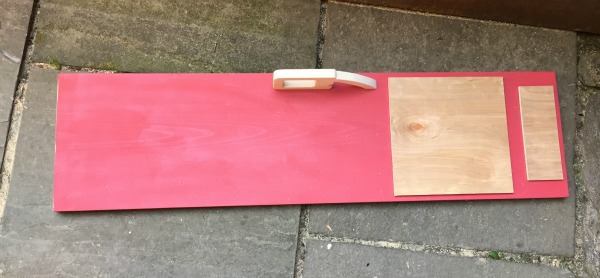
I knew from the minute Ana and I decided on this plan we had to have a pump handle. And originally I wanted something functional (for play) but I had all sorts of reservations concerning a loose hose so I opted to make the pump handle the actual handle for the door.
The pump handle is still functional just in a different way and we don’t have to worry about a loose hose. The diagram to cut the handle is included in the plans, use a jigsaw and go slow. It’s not a fancy cut and definitely worth adding as a fun detail to complete the gas pump look. The screw in the handle is purely decorative (lath screw).
How to build a gas pump bookshelf:
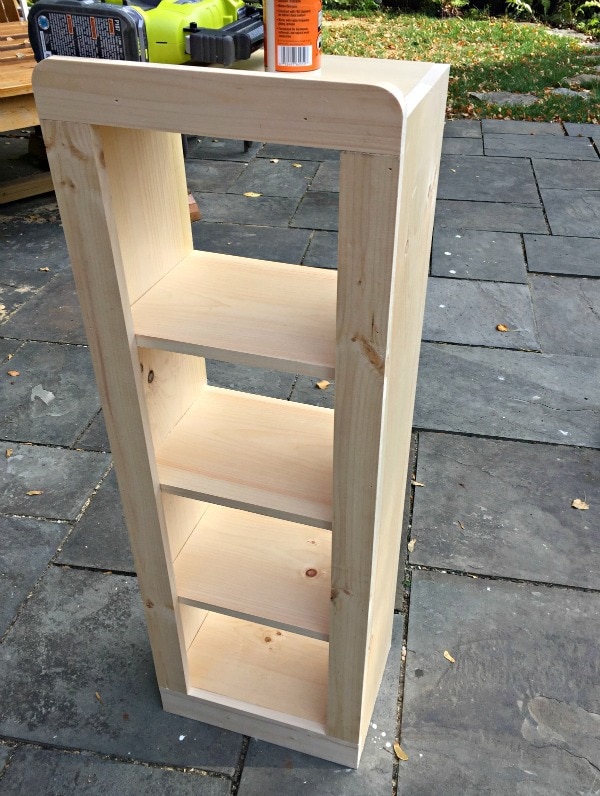
Follow Ana’s plans here to build the bookshelf.
I choose to not paint the interior but the exterior is Benjamin Moore ladybug red.
Use the 1/4″ plywood scrap to cut signage for the door.
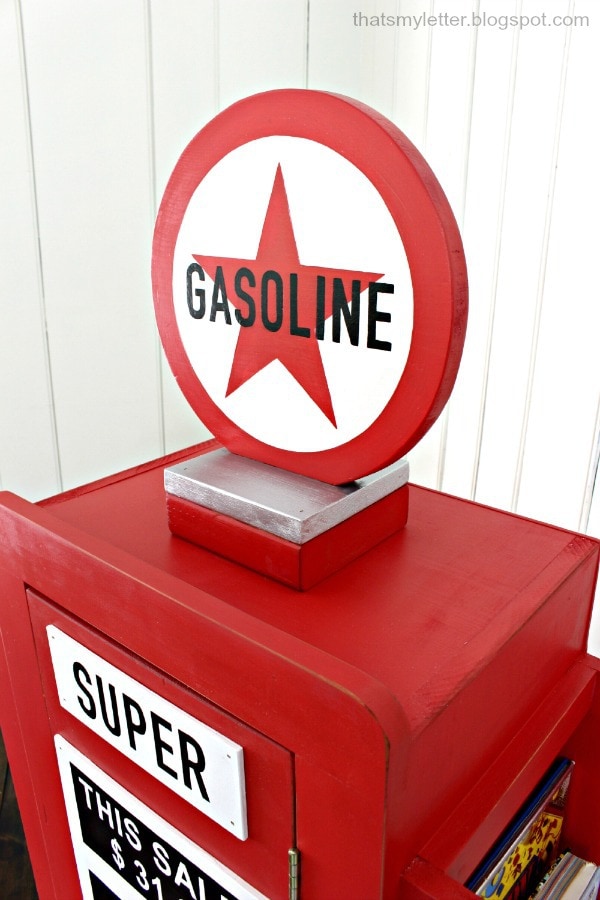
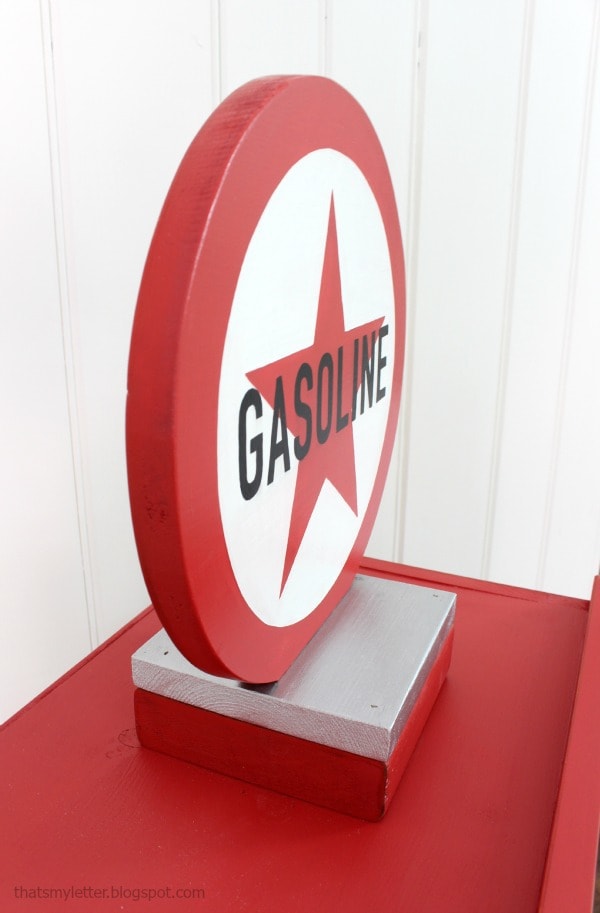
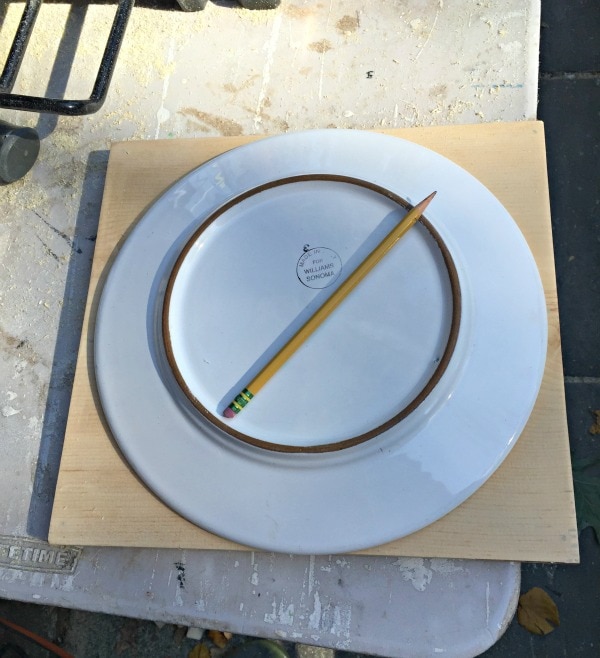
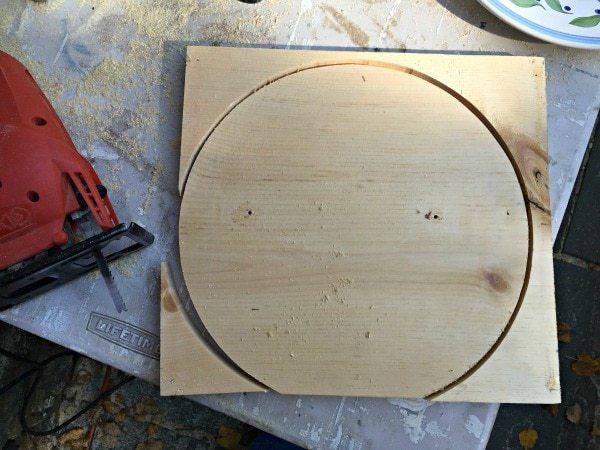
To make the top circular ‘gasoline’ sign trace an 11″ dinner plate.
Cut out the circle shape using a jig saw.
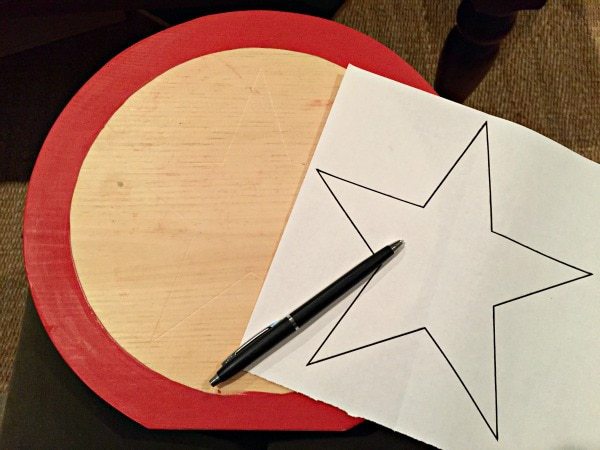
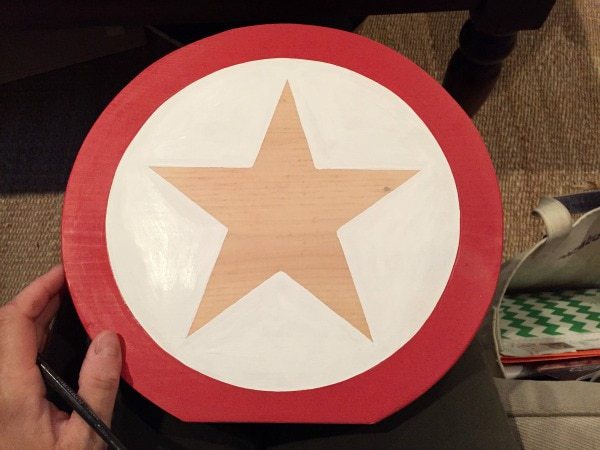
Paint a generous 1″ border of red then trace the star shape using a ballpoint pen.
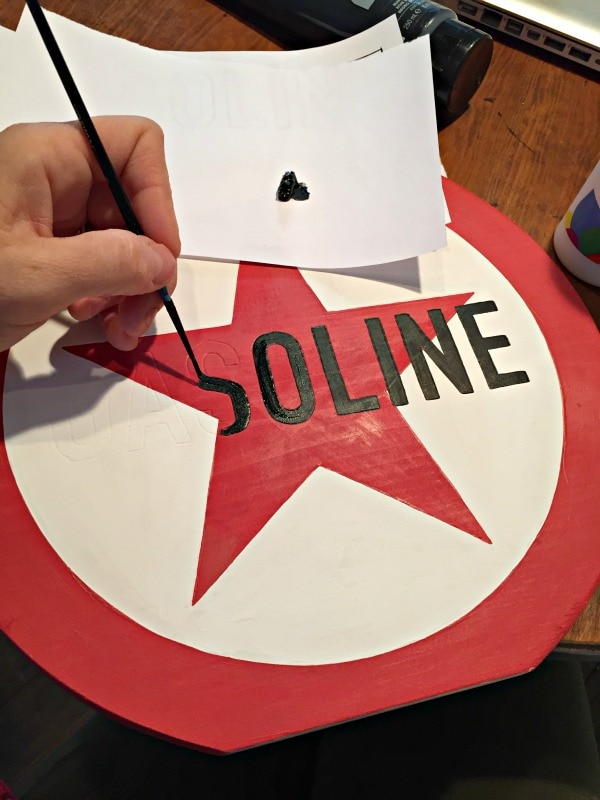
Trace the gasoline lettering and paint with black.
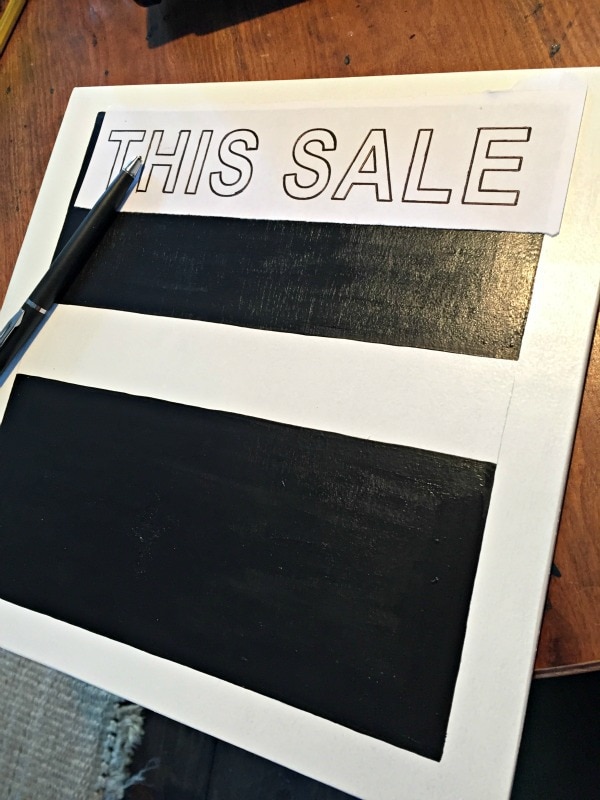
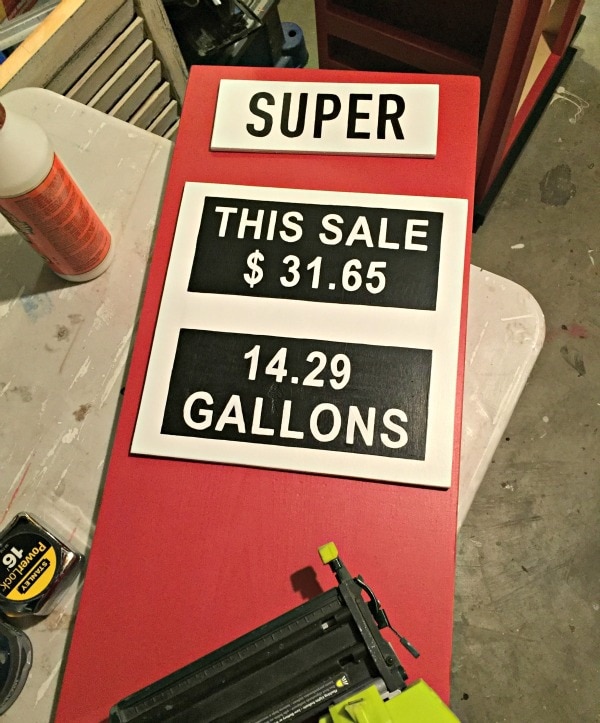
The door signage is painted white then two black rectangles. Trace the lettering and paint white.
Use wood glue and 3/4″ brad nails to attach door signage.
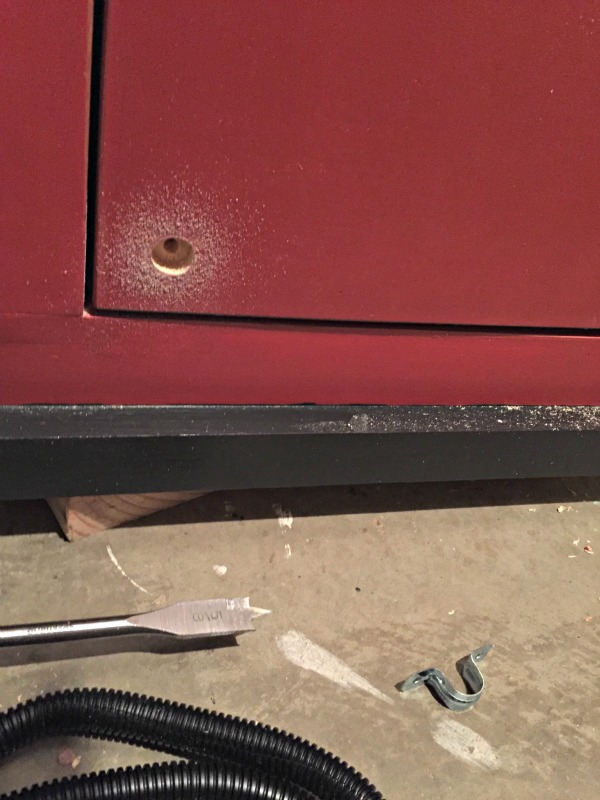
The pump handle is attached from the interior. Drill a 5/8″ hole at the center base of the pump handle for the hose. Insert the hose using E6000 glue then shoot a 3/4″ finish nail angled up into the handle to secure.
At the corner of the door drill another 5/8″ hole for the other end of the hose. Again insert hose using E600 glue then shoot a 1 1/4″ finish nail up through the bottom of the door to secure.
Attach the hose clip to the door to keep the hose in place, for safety reasons you don’t want a loose hose flapping around.
To see more Handbuilt Holiday ideas click here and be sure to check back every Friday until Christmas. We still have 8 more awesome gift plans to share!






This would be perfect in our travel/transportation playroom. Love it!!
Printed instructions. Will hand to my husband as soon as we get back from our trip. Will make a perfect gift for our two year old grandson!! Thanks!
This is so stinkin' CUTE! Love it!
Jaime! This is incredible! I love the piece itself but the way you finished it makes it just perfect.
How long did this take?