• Home
  • Blog
  • About
  • Contact
    • Disclosure
    • Privacy Policy
  • SHOP
  • Widget area for main menu

    • Email
    • Facebook
    • Instagram
    • Pinterest
    • Twitter
    • YouTube
  • Skip to primary navigation
  • Skip to main content
  • Skip to primary sidebar

Jaime Costiglio

build - paint - sew

  • BUILD
    • BEDS
    • BENCHES
    • DESKS
    • DRESSERS
    • GAMES & TOYS
    • SCRAP WOOD
    • SHELVES
    • STORAGE
    • TABLES
  • TOOLS
  • PAINT
    • CRAFTS
    • FURNITURE
    • HOME DECOR
  • SEW
    • GIFTS
    • HOME DECOR
    • POUCHES
  • HANDBUILT HOLIDAY
    • 2021
    • 2019
    • 2018
    • 2017
    • 2016
    • 2015
    • 2014
    • 2013
  • GIFTS
    • BABIES
    • KIDS
    • FOR HER
    • FOR HIM
    • TEACHERS
    • WEDDINGS
  • SEASONAL
    • 4TH OF JULY
    • FALL
    • HALLOWEEN
    • CHRISTMAS
    • SUMMER
    • SPRING
    • ST. PATRICK’S DAY
    • THANKSGIVING
    • VALENTINE’S DAY
    • WINTER
  • SALTBOX PROJECT
    • BATHROOMS
    • DINING ROOM
    • EXTERIOR
    • FAMILY ROOM
    • FOYER / MUDROOM
    • KIDS BEDROOMS
    • KITCHEN
    • LIVING ROOM
    • MASTER BEDROOM
    • PLAYROOM
  • SCROLL SAW

“T” is for Trugs

February 27, 2012

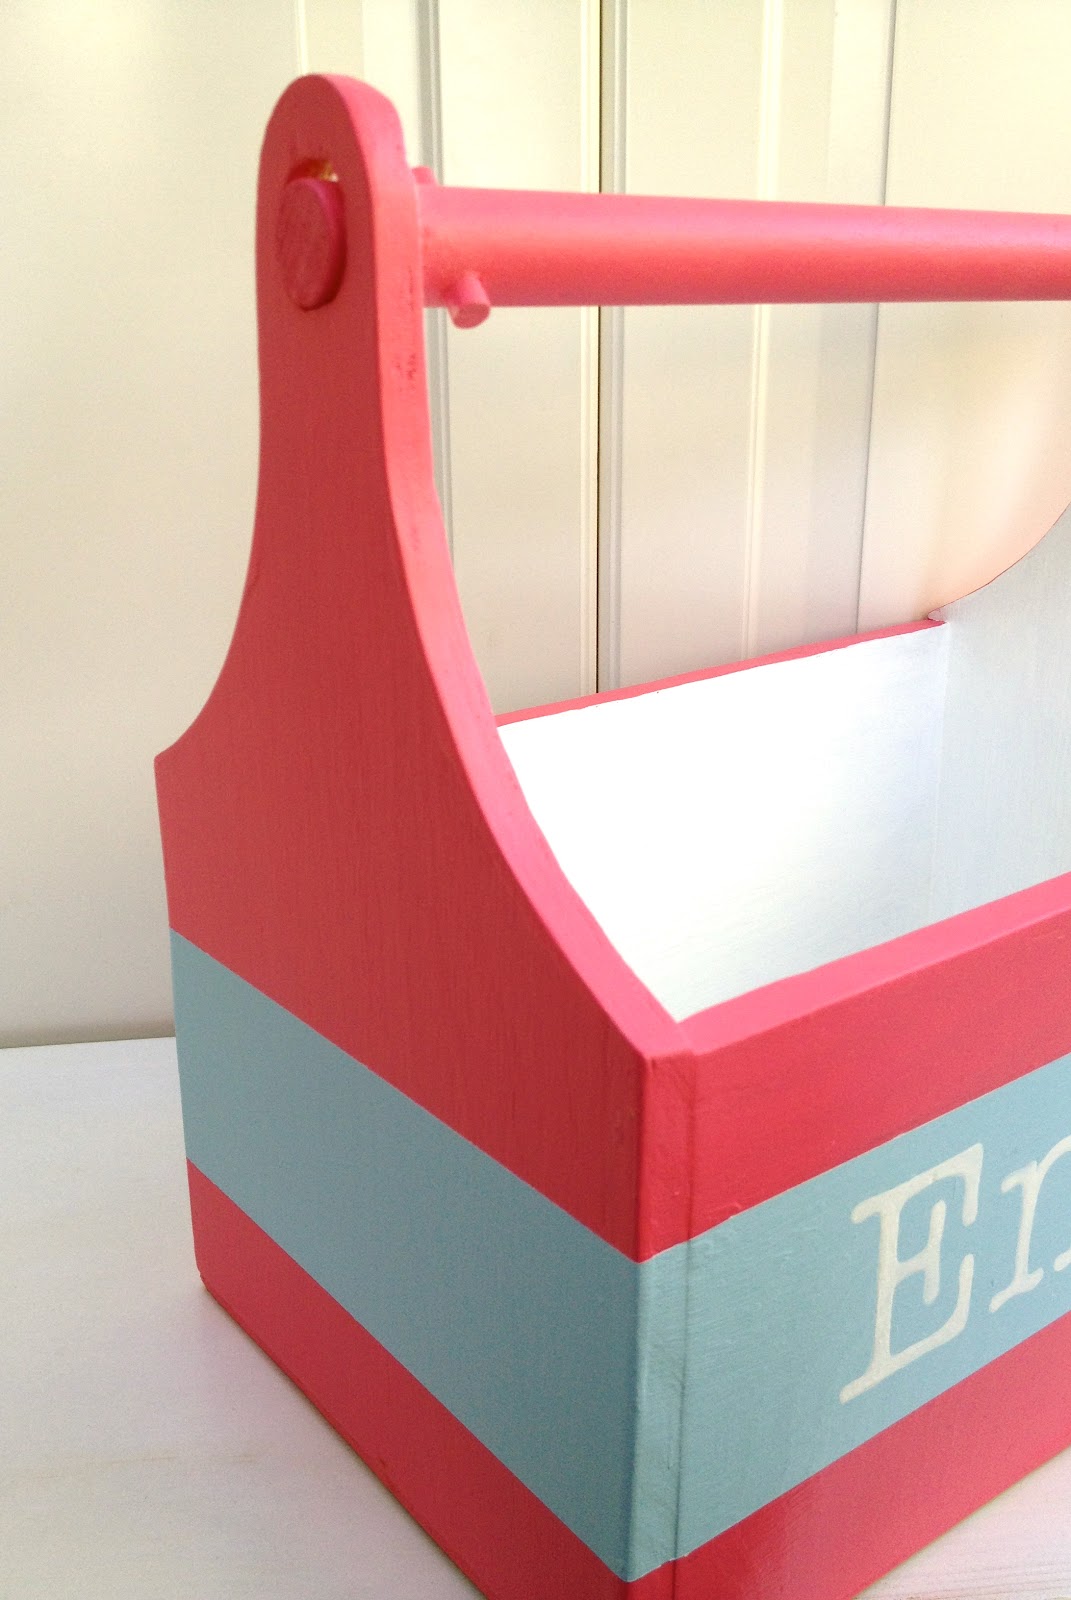
Built: more personalized striped trugs with handpainted names

I can never make just one of something, it has to be in multiples.
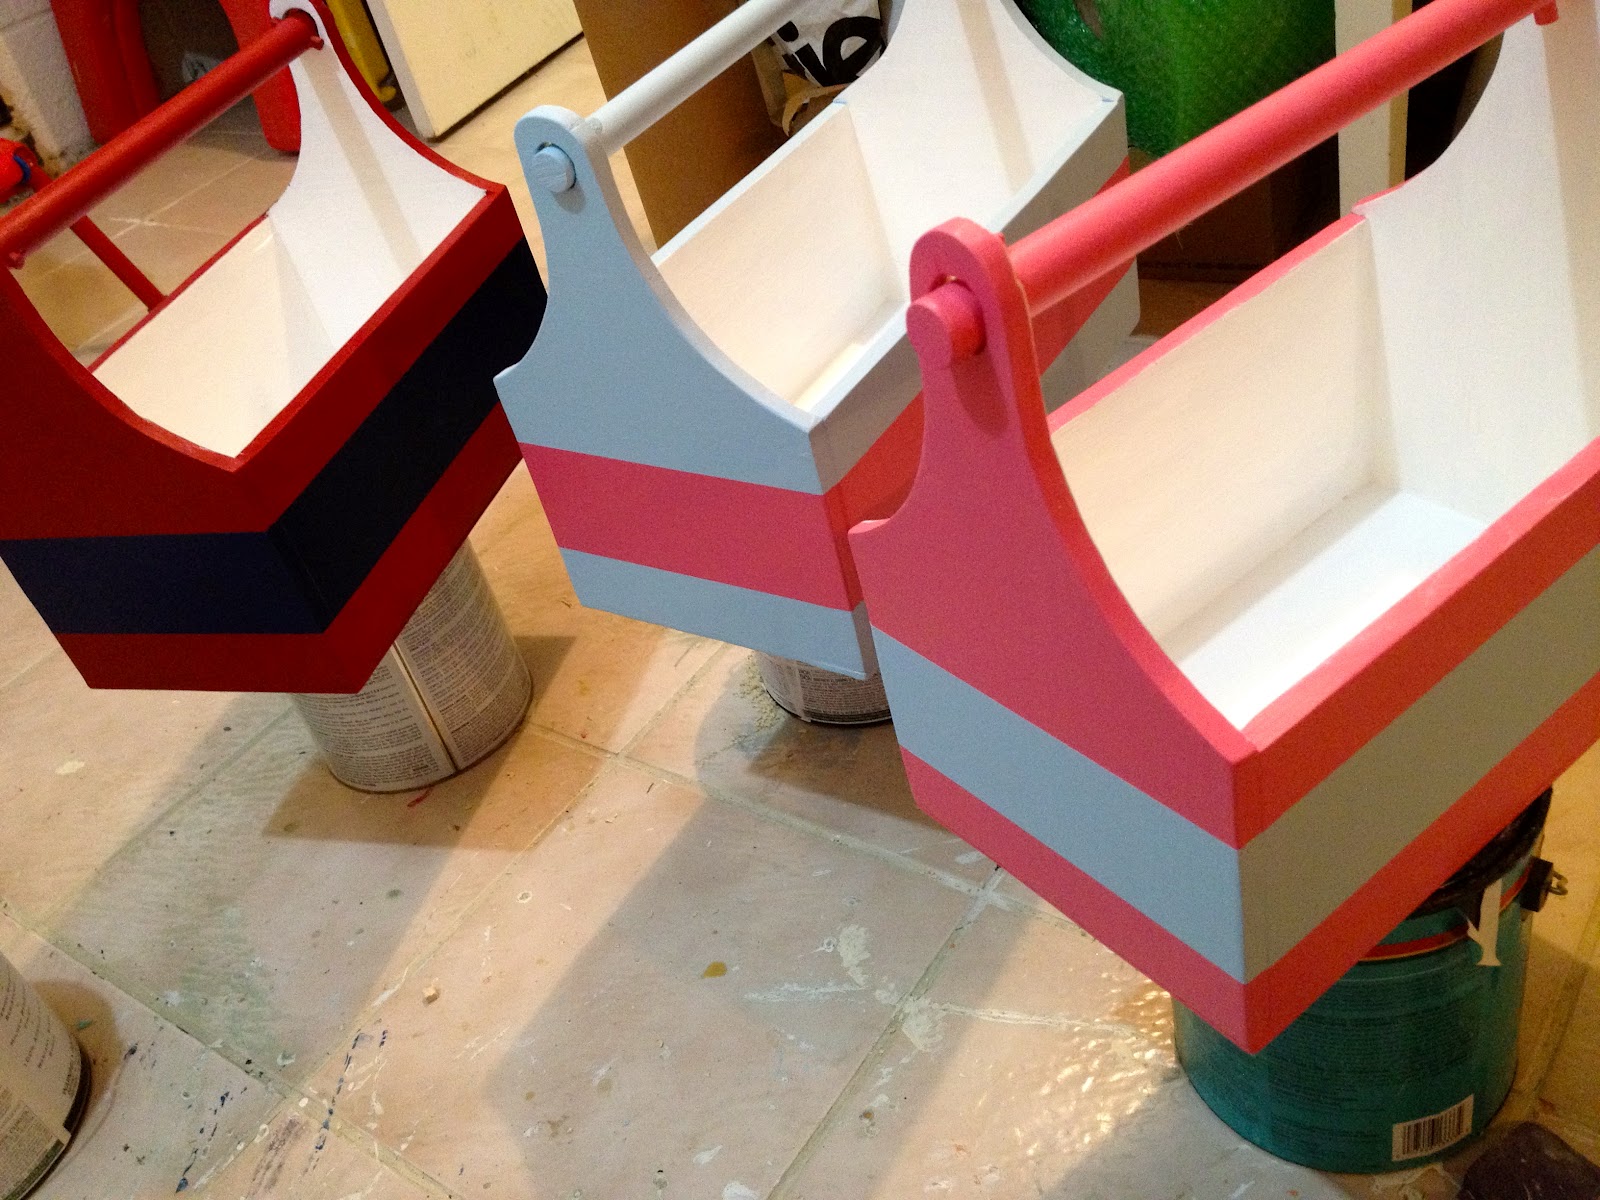
These 2 are for my girls for Easter:


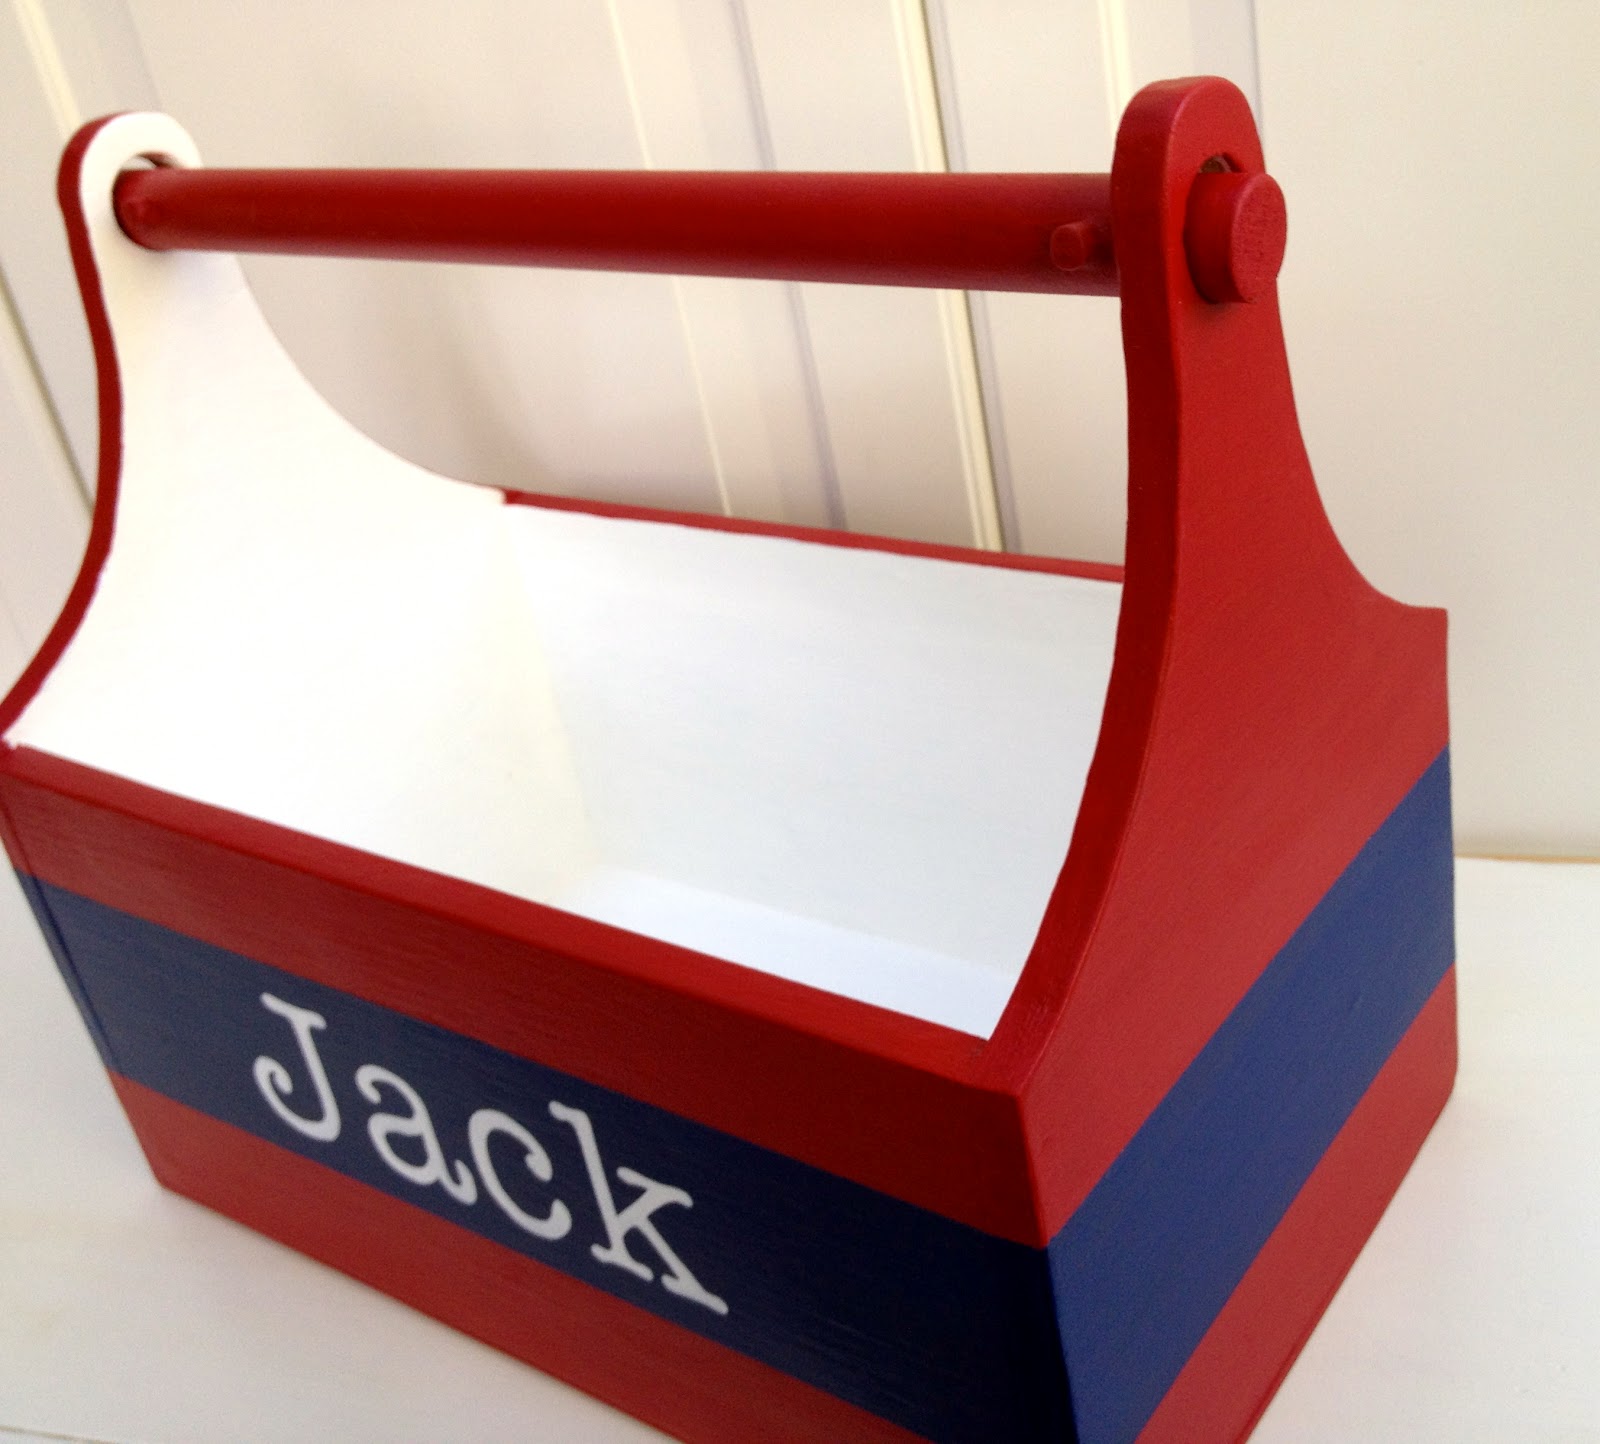
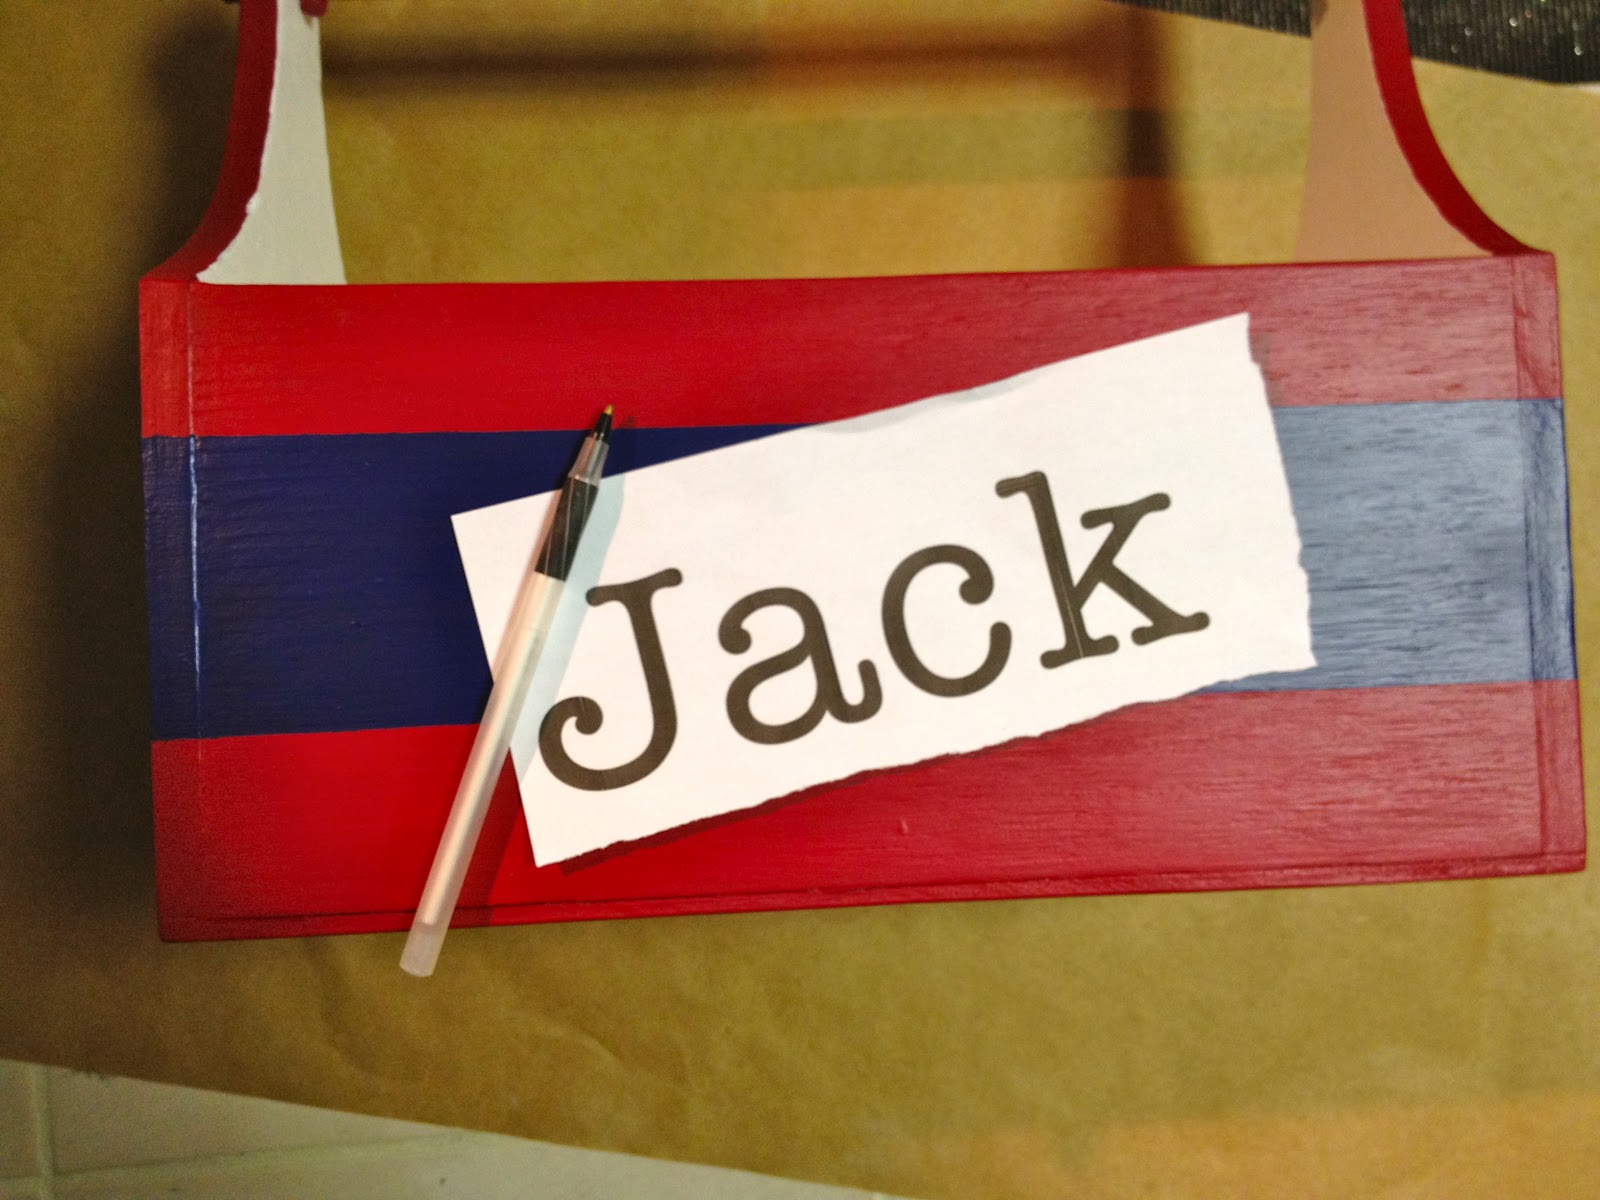
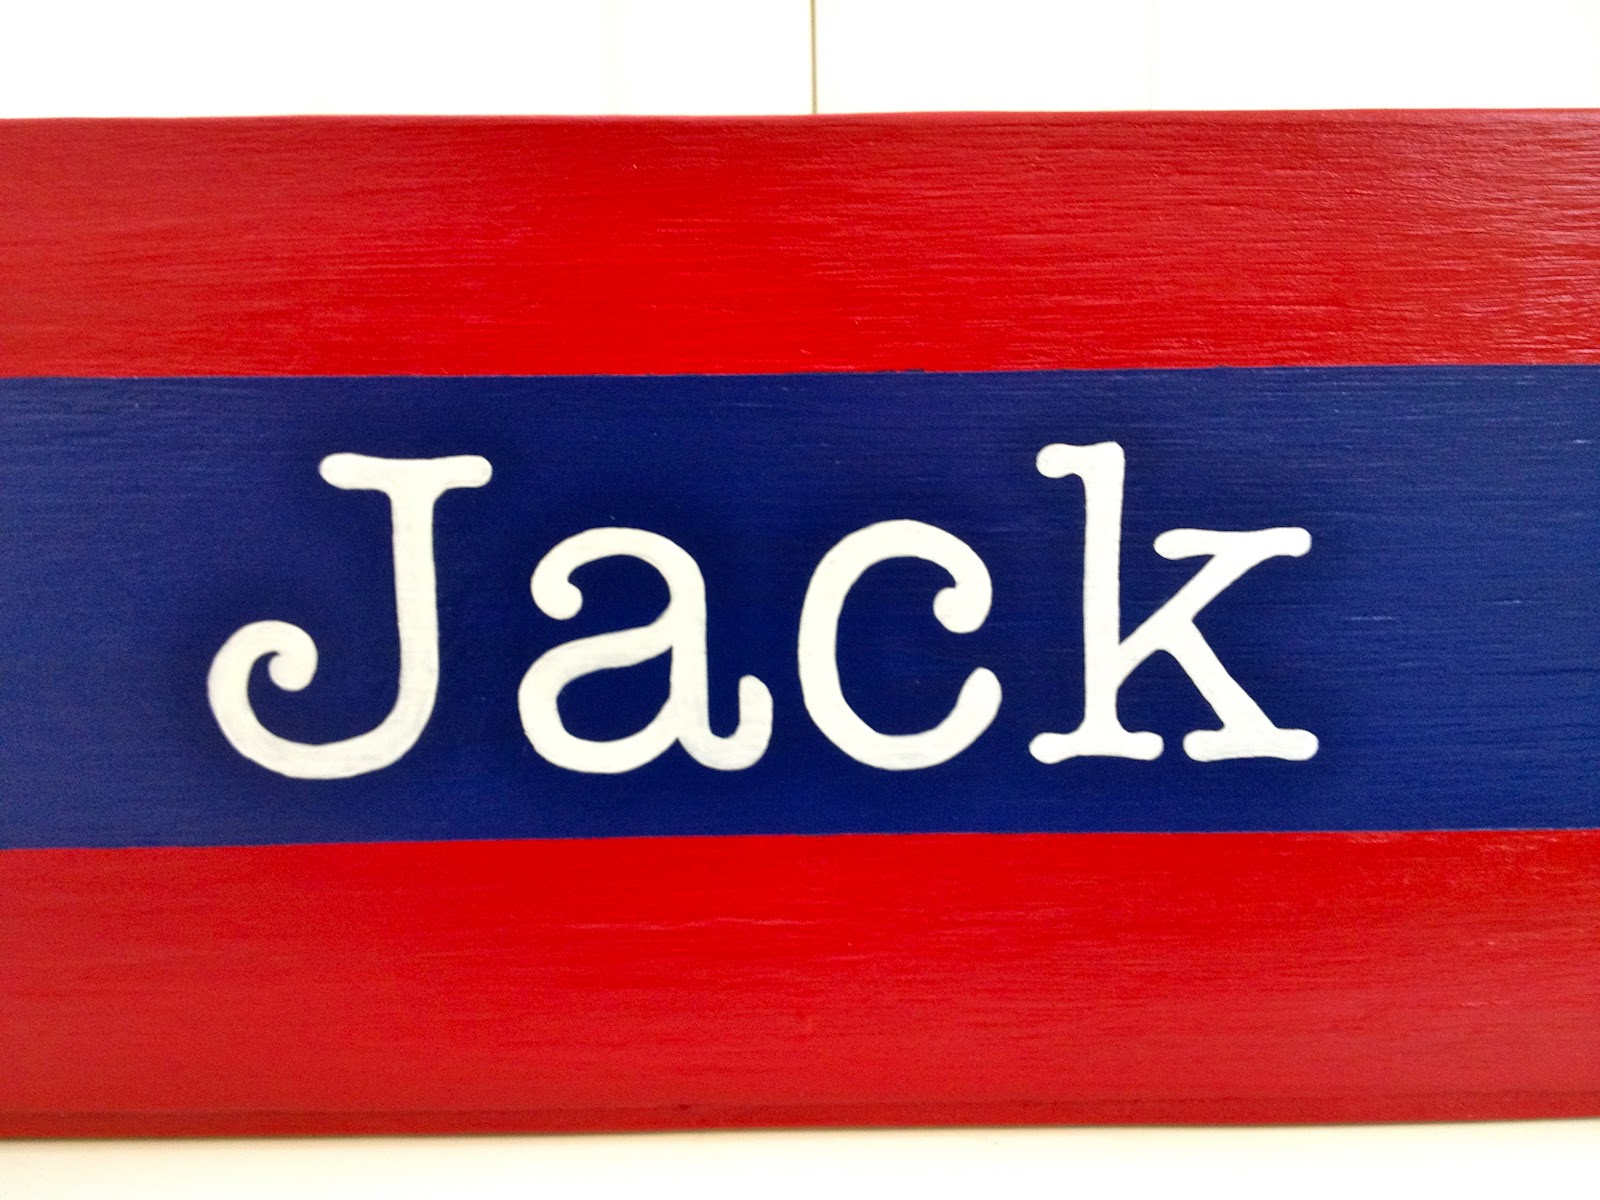
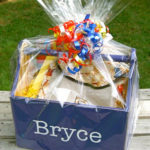
But Jack is a special request from a friend.
She loves a good nautical bit and Jack went right along with the All American red, white and blue theme:


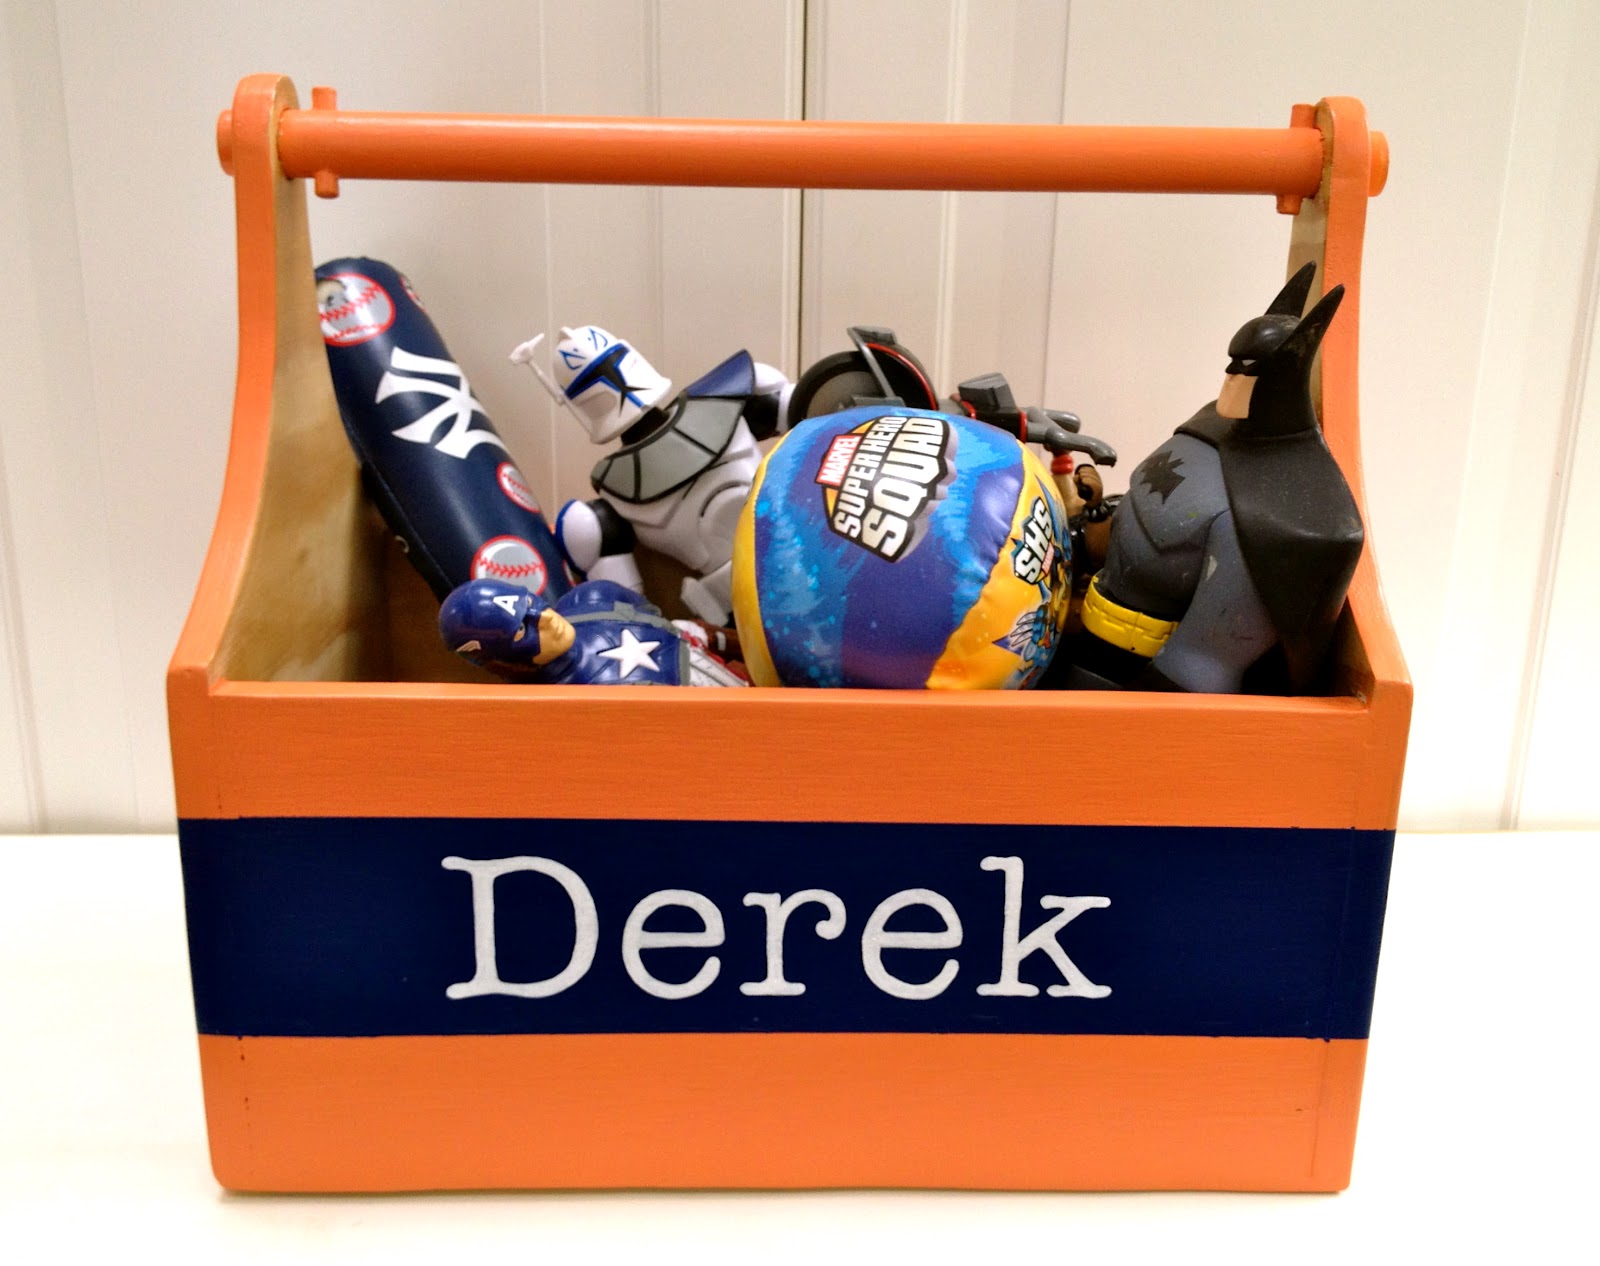
All on the heels of last weeks orange trug for Derek:


Here’s how I made the trugs:
 
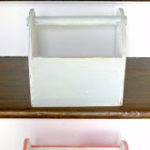
1. Cut pieces from 3/8″ plywood:
(For more detailed construction how-to check my previous post here.)
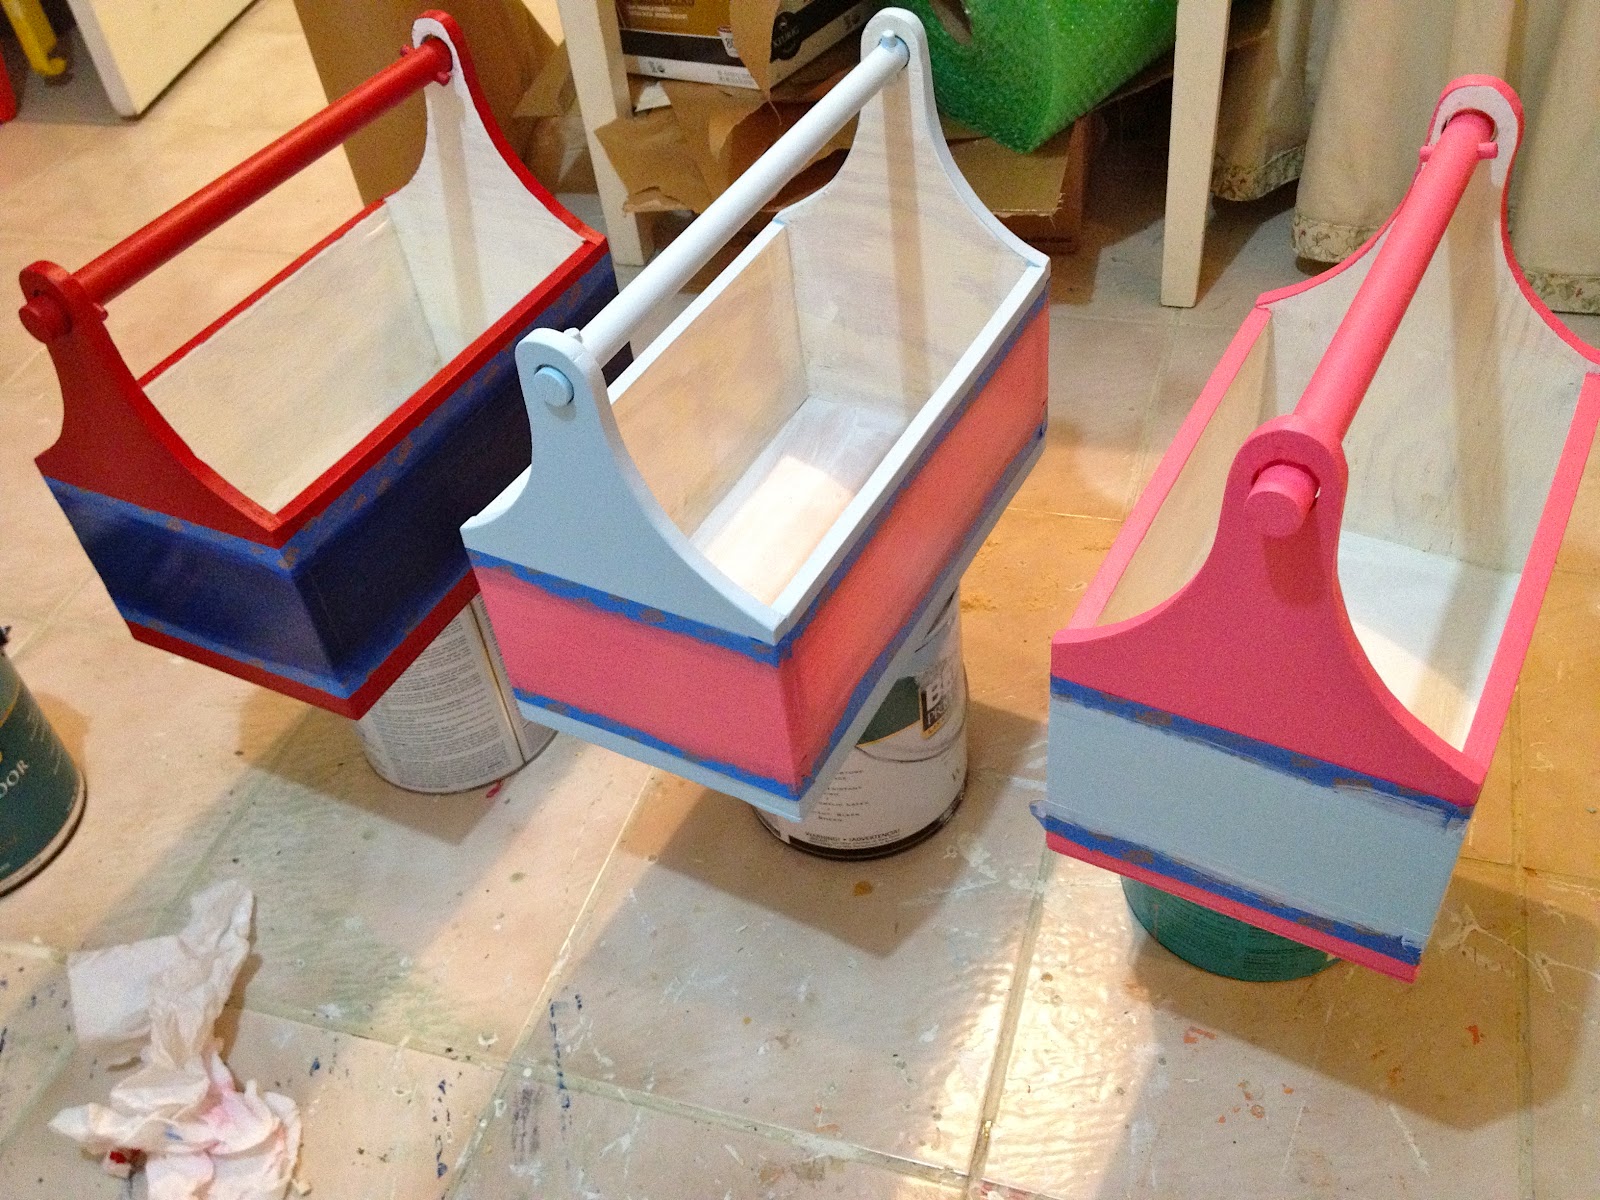
2. Construct, sand, prime and paint.
Use painters tape to create stripe space:


3. Paint 2 coats of stripe color:


4. Remove painters tape:


5. Print out letters.
I used American Typewriter font size 200.
Line up printout then trace letters with ballpoint pen which leaves an indent in the wood.
Paint on and inside the indent.


6. Seal with spray clear poly:
Ready to fill with toys.

You may also like...

  • “S” is for Step Stool #2“S” is for Step Stool #2
  • “B” is for Birthday“B” is for Birthday
  • “M” is for Multiples“M” is for Multiples
  • “P” is for Popsicle Set“P” is for Popsicle Set
Share this post:

Filed Under: BUILD, CRAFTS, DIY, GAMES & TOYS, GIFTS, KIDS, PAINT, SCRAP WOOD4 Comments

Reader Interactions

Comments

  1. Tiaras & Bow Ties - Think Smink says

    February 27, 2012 at 4:59 PM

    These trugs are so adorable! What a wonderful way to celebrate the kids in your life! Both boys and girls are sure to love them! dolls and such in one, tools and bugs in the other! Cute.

    Reply
  2. LeighAnn says

    February 27, 2012 at 5:11 PM

    Those are amazing! Before today I had no idea what a Trug was!

    Reply
  3. Our Pinteresting Family says

    March 1, 2012 at 5:44 PM

    Those look fantastic! 🙂 Megan

    Reply
  4. Danielle says

    March 2, 2012 at 4:02 AM

    These are so sweet.

    Reply

Leave a Reply Cancel reply

Your email address will not be published. Required fields are marked *

Primary Sidebar

Hi! I’m Jaime

Jaime Costiglio

Hello!

Thank you for stopping by.
Join me for lots of DIY.

Read more

Get new posts via email

Handbuilt Holiday: Gift Project Plans

handbuilt holiday gift project plans

Collection of DIY gift project plans to build.

The Home Depot Tool Prospective

THD Prospective

Tools to consider for the DIYer.

Archives

The Home Depot Logo
Copyright © 2023 Jaime Costiglio · Custom site by Moonsteam Design

Privacy Policy