*This post is sponsored by DecoArt.
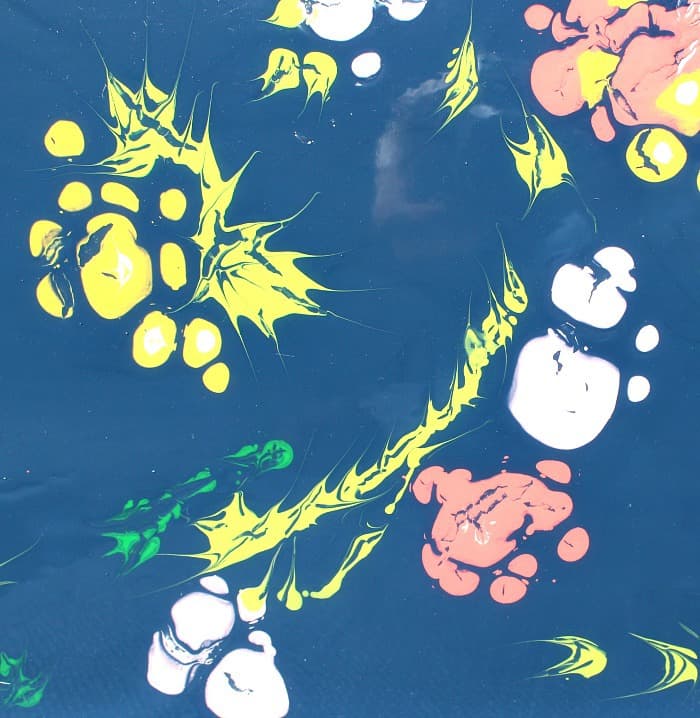
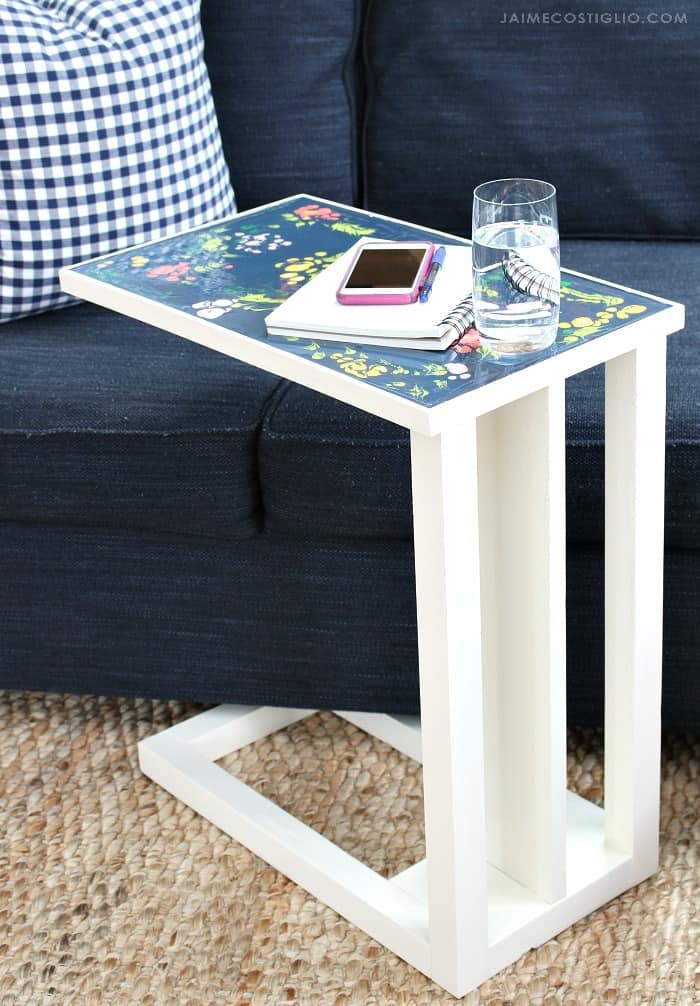
Pouring paint to create an image feels like letting the wind take your sails, it’s liberating and relieves you of complete control. If you never done a poured paint project I highly suggest giving it a try, the magic will not disappoint. I made this poured paint table top using DecoArt pouring medium and acrylic paints to create an abstract floral design. You can see it all in action in this quick video here:
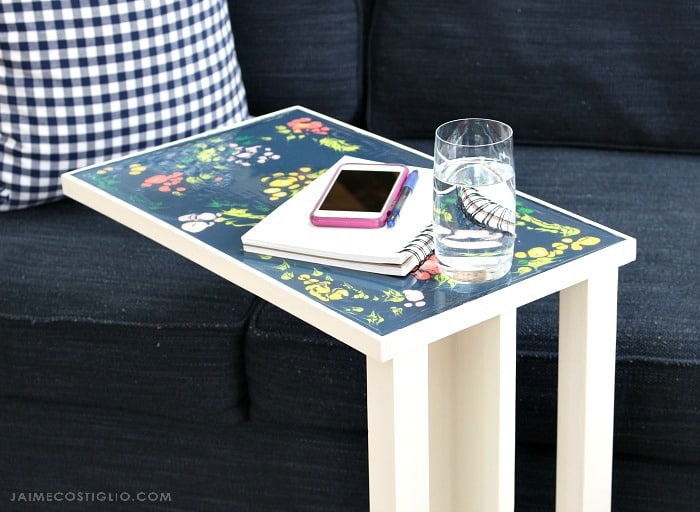
The pouring medium is a fluid additive specially formulated to enable paint to flow easily across a surface. It thins paint to the ideal consistency, I used acrylics for this project with a 1:1 ratio of pouring medium to acrylic paint. Of course you can add more or less medium to get your desired flow. It will not slow down the drying time, alter the color, or lessen the adhesion of paint. Once the paint is dry seal your project with DecoArt pouring topcoat to create a smooth, high-end finish. It is a one-step formula that eliminates the need to mix harsh chemicals and flows into a self-leveling, crystal clear coat that will not yellow, leaving your artwork with its original vibrance. As you can see below the topcoat dries to a lacquer-like, high-gloss finish.
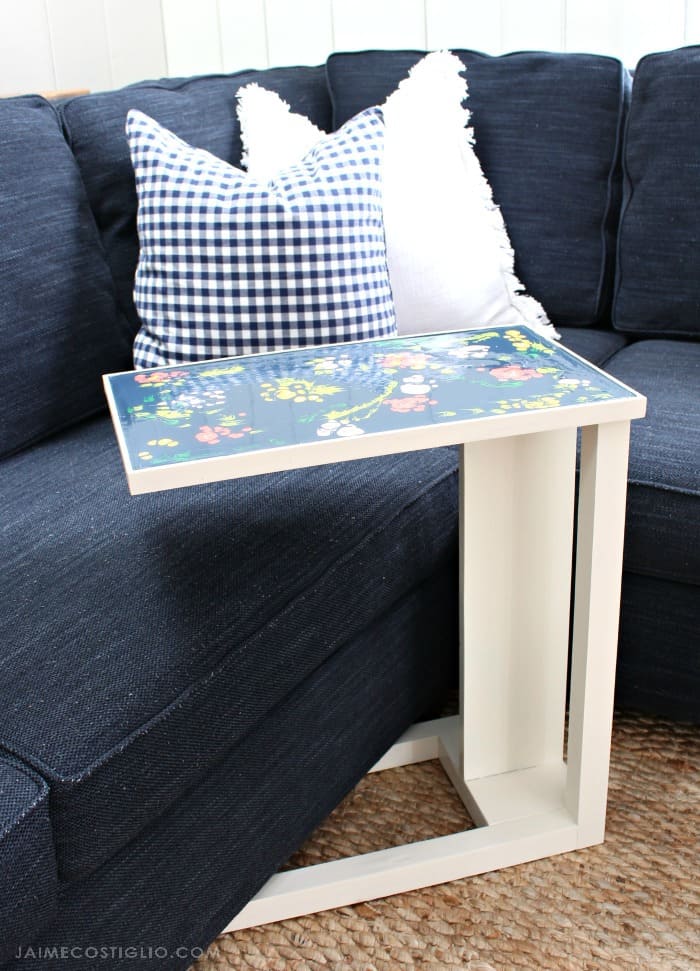
Both the DecoArt pouring medium and topcoat are ideal for canvases, wood panels, or other flat art surfaces. The gloss on the topcoat is so shiny it makes taking photos very difficult! For this project I built a C table as my kids have been asking for a surface near the family room sectional. Scroll down below for a complete tutorial.
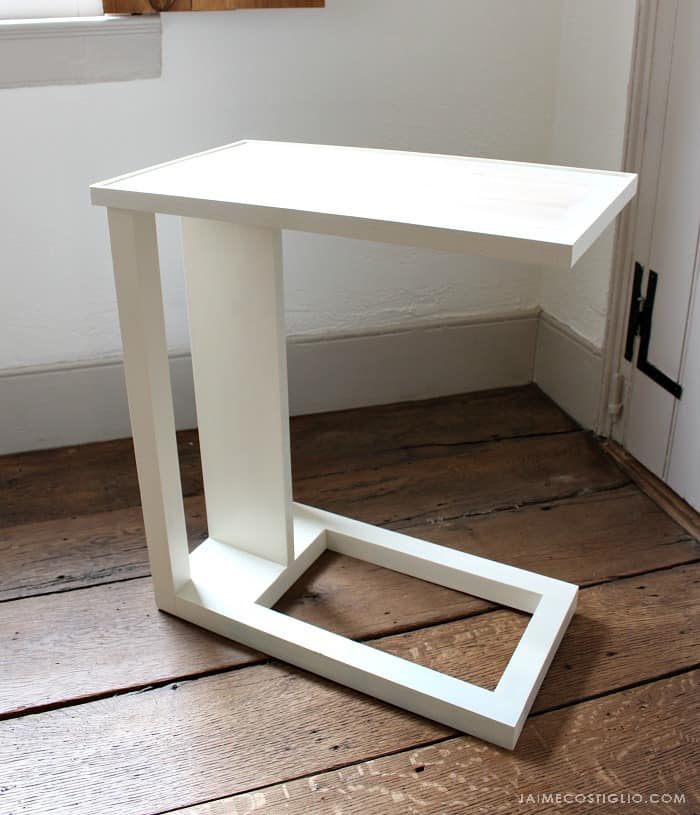
I started with a flat plywood surface with a lip edge:
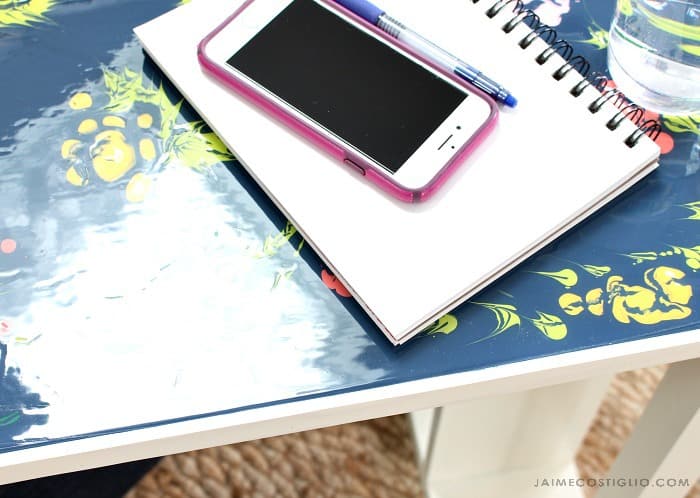
In hindsight I believe the pouring medium works best when allowed to breathe and dry with an open edge. Although the paint was dry before I added the top coat you can see below a few places in the flowers where the paint separated. I’m positive this is because I designed the table with a lip edge but it’s still pretty and organic and a great way to learn.
When I make this again, because I will be making this table again, I will keep the poured surface separate and install it after painting. I suggest a 1/2″ plywood flat surface with the same 7/8″ flat lattice edge then make the poured paint project on a separate 3/8″ plywood piece. Once the poured paint piece is dry and sealed with top coat then I will set it in place using wood glue and attach by screwing from under the 1/2″ plywood. I will definitely be trying this method and share the results along with the building plans shortly.

Supplies:
- tray or table
- DecoArt Pouring Medium
- DecoArt Clear Pouring Topcoat
- DecoArt Americana acrylic paints
- plastic cups
- plastic spoons
- skewers
- FrogTape painters tape
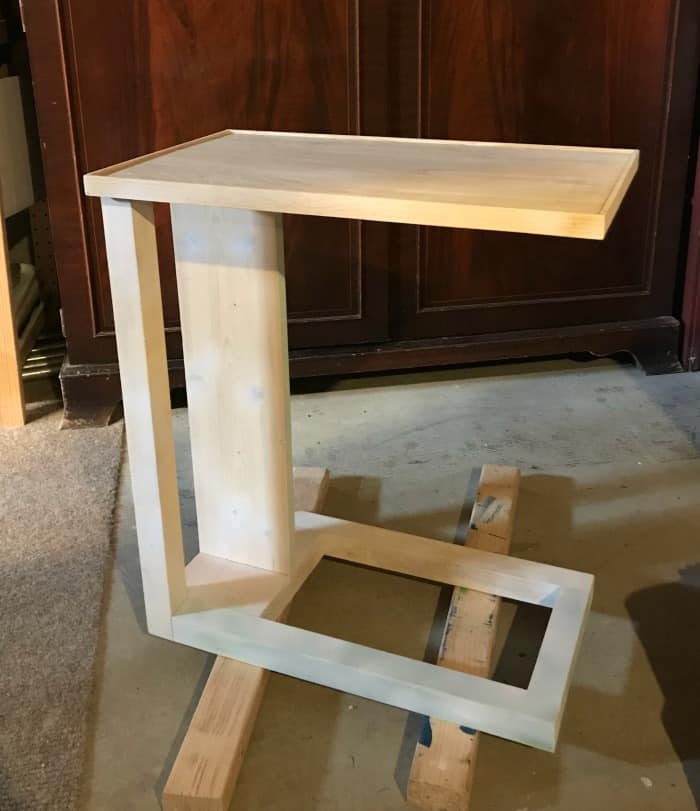
Step 1: Select a flat surface for your poured paint project. Any flat surface – a tray, a table – preferably without a lip edge will be best. I built this C table to use with our family room sectional and I will be sharing the free plans shortly after a few modifications.
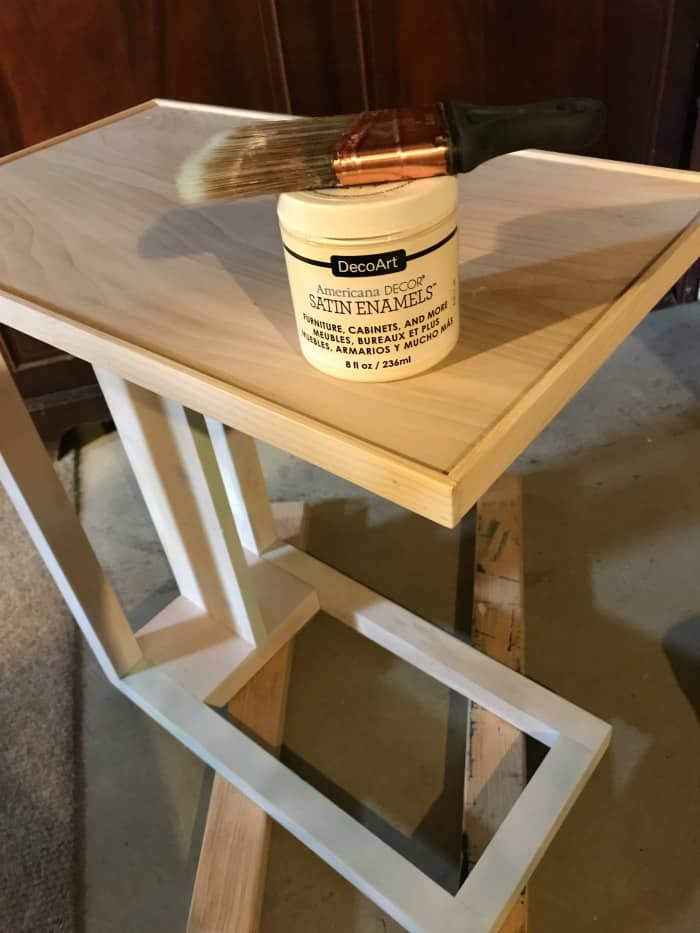
Step 2: If desired paint the exterior of your piece. I used DecoArt Americana Satin Enamels in soft linen.
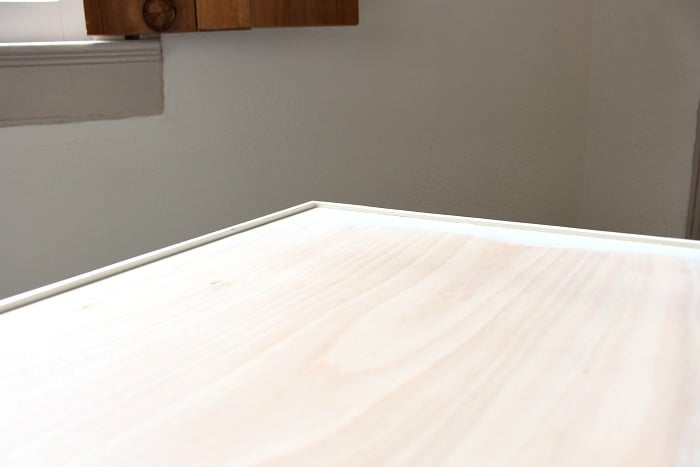
You can see this table has a lip edge of about 1/8″ providing a barrier edge. It worked okay for this paint pouring project but when I do it again I will make the poured paint piece separate and inset into the table top after. The poured paint and top coat works best when allowed to dry and breath with an open edge.
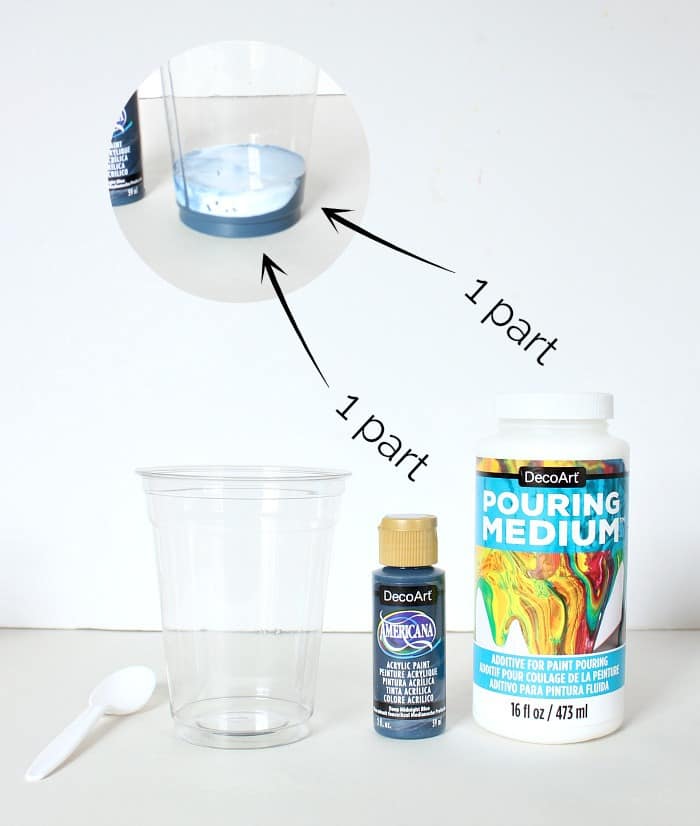
Step 3: Prepare the base color paint. Mix equal parts DecoArt Americana acrylic deep midnight blue and DecoArt pouring medium in a plastic cup.
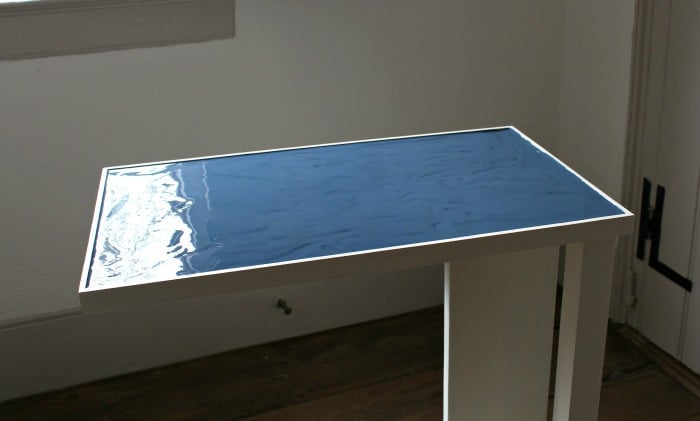
Step 4: Slowly pour the paint on to the table surface and spread by tilting and using the spoon to push to edges and corners. I used one – 2 oz. bottle of paint mixed with 2 oz. of pouring medium. Next time I migh consider adding more pouring medium to increase the fluidity of the paint for more flow and smoother coverage.

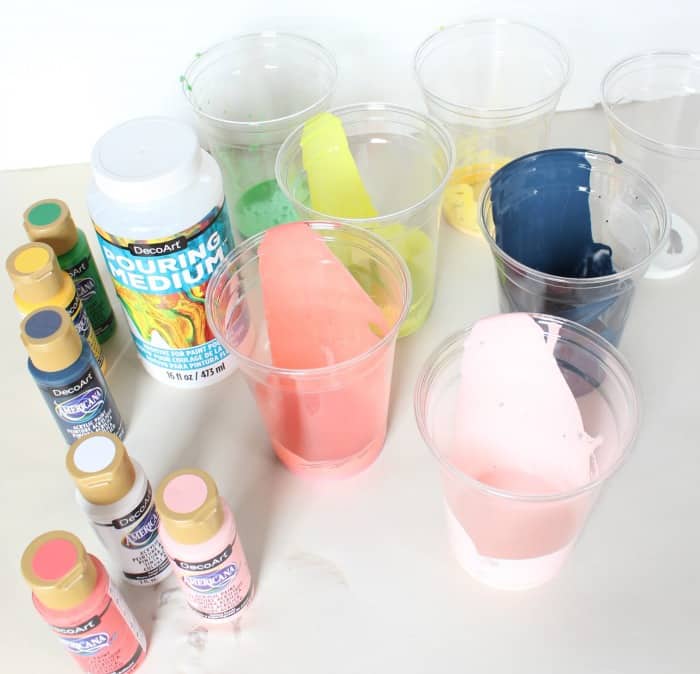
Step 5: Prepare various paint colors for the flowers using the same 1:1 ratio. Pour small drops to create ‘petals’.
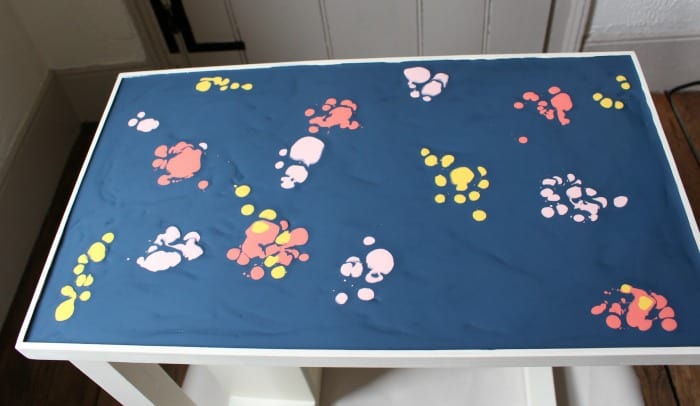
Make as many flowers as you like in various colors.
Step 6: Add stems and greenery in the same fashion pouring with smaller drops and using a skewer to pull the paint. See this process in action in my video tutorial here. Let dry.
Inevitably you will have some leftover paint, save it and make small canvas pours or check out these fun project ideas here.
Step 7: Once the paint is dry you’ll want to seal the project with DecoArt clear pouring Topcoat. Before pouring the top coat apply painters tape to the edges – this protects the paint from topcoat. The key here is multiple thin layers. Pour one layer then angle the table at 45 degrees to dry (place newspapers or a tray under one side to catch drips) then pour another layer any angle the table again the opposite 45 degrees.
Thanks for joining me for this poured paint table top tutorial. I’m definitely looking forward to more poured paint projects in the near future!

I LOVE, LOVE, LOVE how you made a floral design with the paint pouring technique! Your creativity is endless. 🙂
Thank you Kristy, it was so fun to make and I can’t wait to do more!
Do you have the plans for the table you painted with DecoArt products?
I would like to build and paint!
Coming soon! Hope to get it together for next week.
The poured paint is so beautiful! I love the little table as well , something I didn’t know I needed!
I am fascinated by the idea of poured paint. Never even knew this was a thing but I love the smooth glossy finish. And those flowers are adorable. Can you do the poured top coat over any other paint?
Also, I need one of these little tables in my life.