The final Handbuilt Holiday project for 2018 and I’m a bit teary eyed. This year by far has been the most fun and I owe a huge thank you to Ana White for working with me yet again to pull off this series. The last gift project plan for this year are these wood play cake pops sweet enough to eat and complete with a serving stand.

A DIY tutorial to make play cake pops using wood. Kids play cake pops with a wood pedestal base painted with Christmas decorations.
I have a soft spot in my heart for wooden play food and these wood cake pops were the most fun to create. Ana and I have shared 12 gift project plans over the past weeks in hopes that you can build the perfect gift for all those people on your gift list.
Today we are sharing a quick and easy gift idea that can be made quickly with just a few parts. I opted to paint the cake pops with a Christmas theme but you could keep them solid colors for an even quicker project.

Grab some wood balls, dowels and a few scrap boards for the pedestal base and you can pull this fun kids toy gift idea together real fast.


I may have gotten a little bit carried away with painting the ‘icing’ decorations. Have fun and make your cake pops themed or even easier just spray paint the balls a solid color.

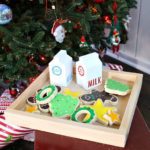
All the sprinkles, drippy icing and faux frosting makes this Christmas set of cake pops almost realistic. These cake pops will last forever and there’s no spoiling your dinner with a sweet treat.

The raised pedestal base is super quick to assemble and I highly recommend completing your cake pop project with a serving base. You could paint or stain the base to coordinate with your cake pops too!

Ana has the plans for this simple project here. Search through your scrap wood pile and use what you have on hand.

Supplies:
- 1 1/2″ wood balls
- 1/4″ wood dowels @ 4″ l
- 1 – 1×8 @ 7 1/4″ square (base platform)
- 3 – 1×3 @ 2 1/2″ (pedestal base)
- wood glue
- drill & 1/4″ drill bit
- 1 1/4″ wood screws
- acrylic paints
- clear gloss poly spray

Step 1: Predrill hole into center of wood balls. Use a drill bit to match thickness of dowel stick. Tape off bit at 5/8″ deep so all holes are equal depth.

Step 2: Mark 9 spots for dowel sticks and predrill 1/2″ deep holes.

Step 3: Paint a base color on wood balls. Use scrap dowels to hold balls up while drying.

Step 4: Add details on wood balls as desired.

Step 5: Use wood glue in wood ball hole and insert dowel stick. Let dry. Spray to protect paint using clear gloss polycrylic.
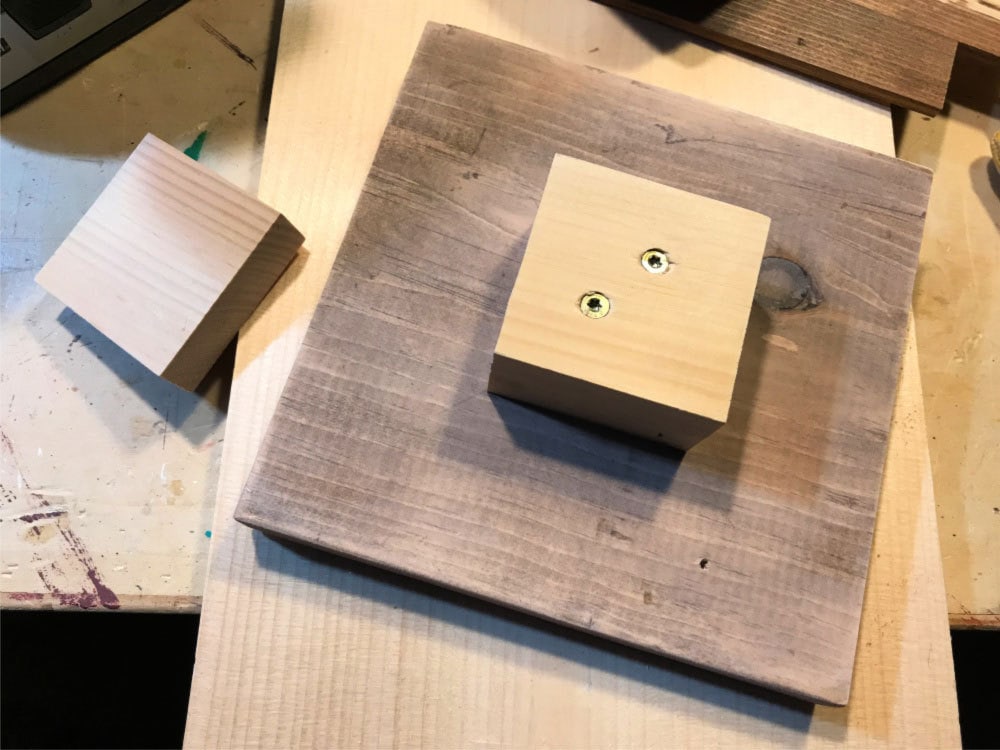
Step 6: To make pedestal base attach 1×3 pieces one at a time using wood glue and 1 1/4″ wood screws from bottom. Once cake pops are dry place them into predrilled holes.
SHOP THIS PROJECT:


Leave a Reply