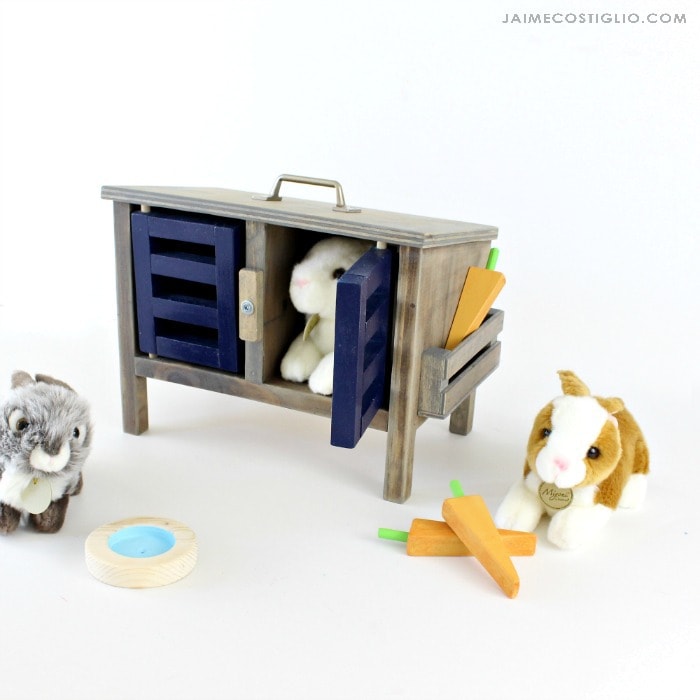
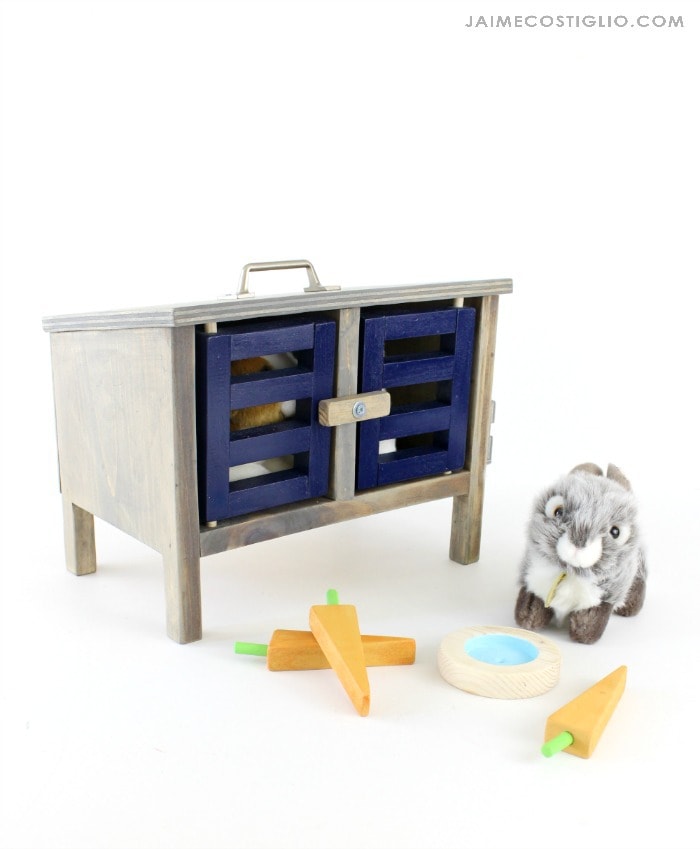
Are your kids asking for pet bunnies for Christmas? Let’s be honest most parents aren’t keen on keeping real bunnies, although they would be fun, just not an ideal situation so why not make your kids a play bunny hutch? The Handbuilt Holiday series continues today with this cute diy play bunny hutch. Ana White and I are sharing gift build plans every Friday up until the big day and this bunny hutch just might be the cutest gift yet!
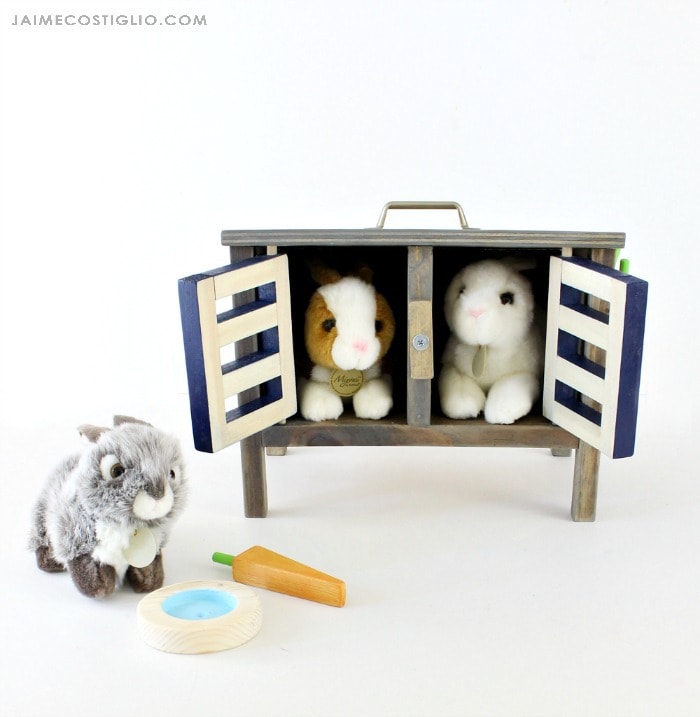
If you’re looking for gifts to build we’ve got you covered with tons of free project plans here. Today is another gift idea that might just be perfect for the animal lover on your list.
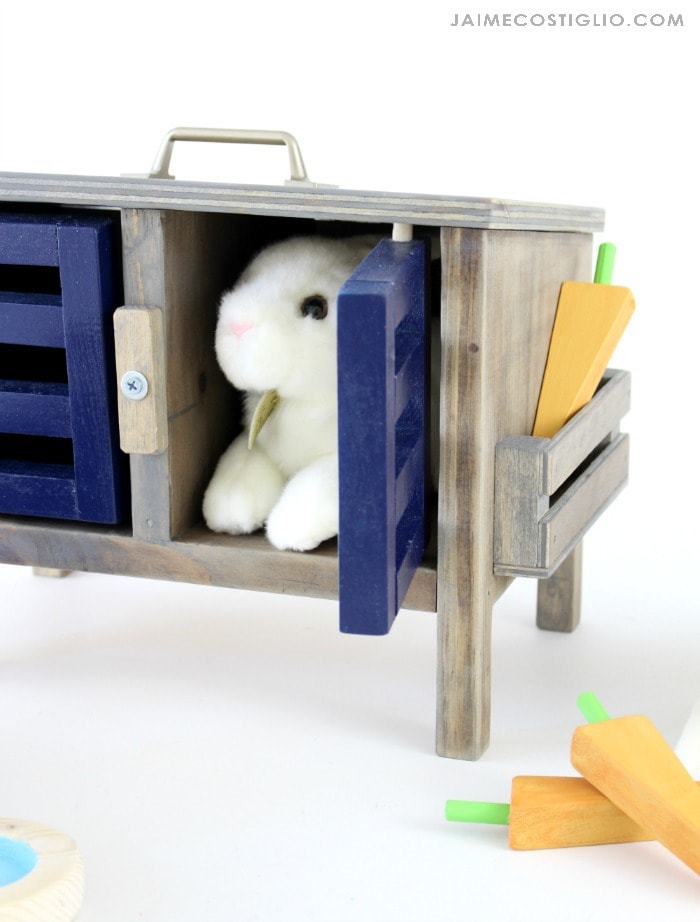
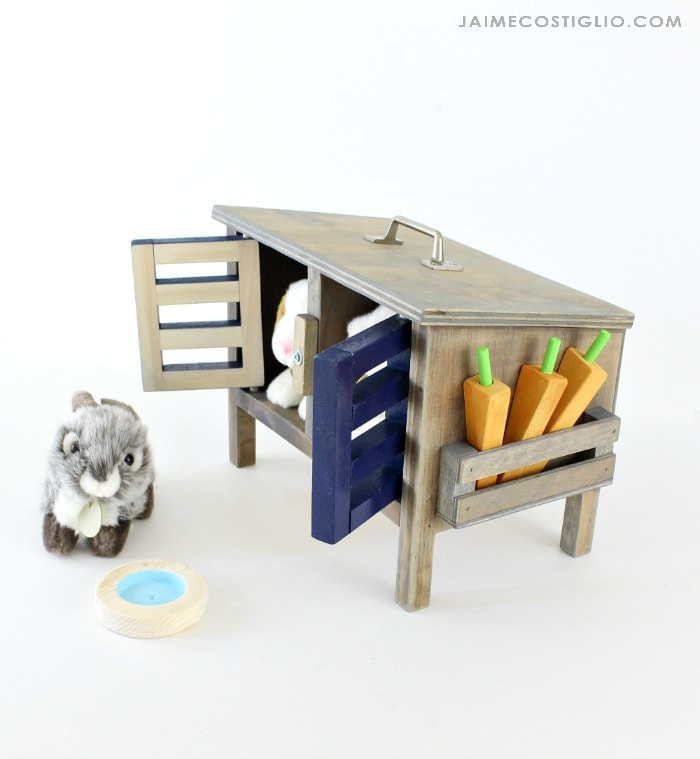
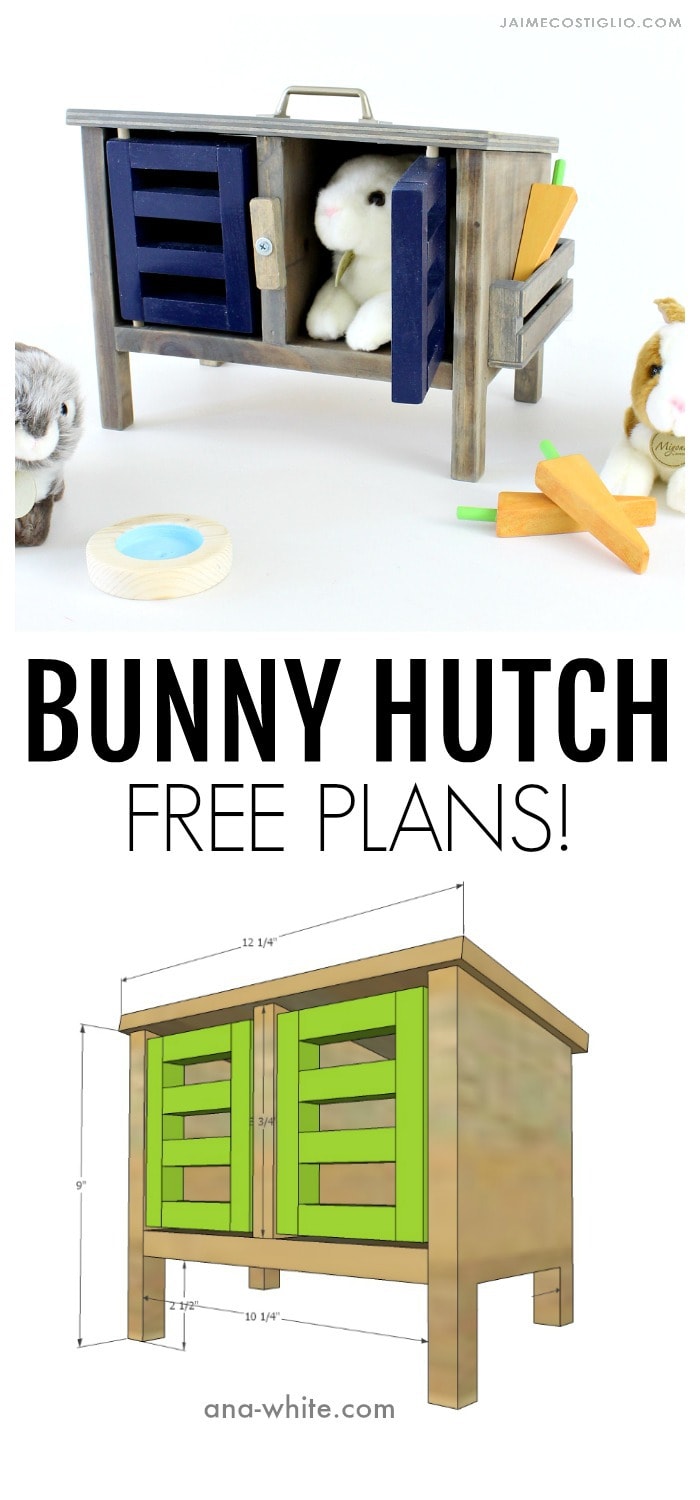
Ana designed simple free bunny hutch plans here and I added a few special touches to make the bunnies more comfortable in their home.
*This post contains affiliate links.
We used these bunnies here which are about 7″ long x 5″ h and fit perfectly into this play bunny hutch. Be sure to read the plans entirely before beginning and raid your scrap wood stash for this one. Also check my notes down below for a few tips and details on how I added the door hardware and accessories.
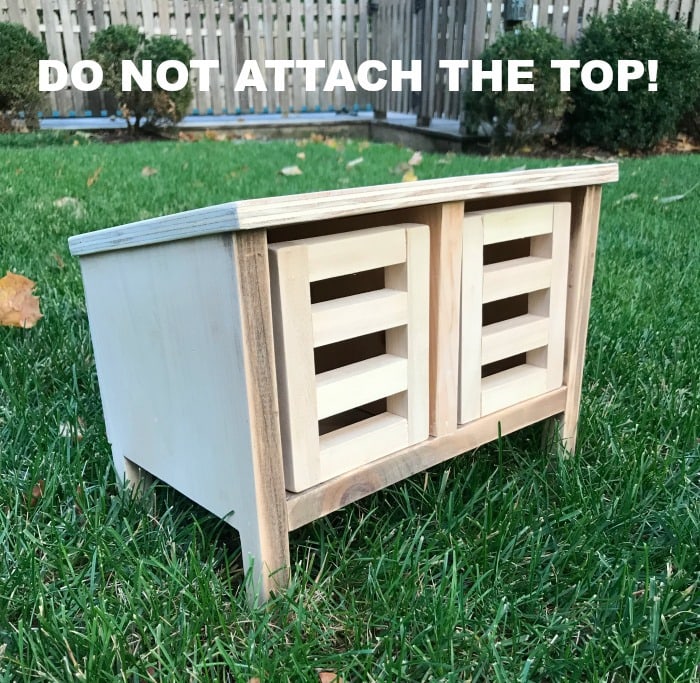
As you construct the bunny hutch I suggest leaving the top off until you install the doors. See below.
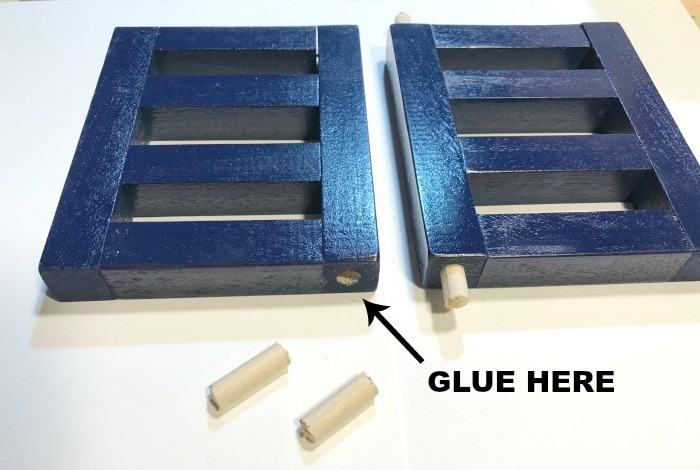
For the door hardware I used 5/16″ dowels about 1″ long. Predrill a hole into both ends of the doors, apply wood glue and insert dowel. Let dry.
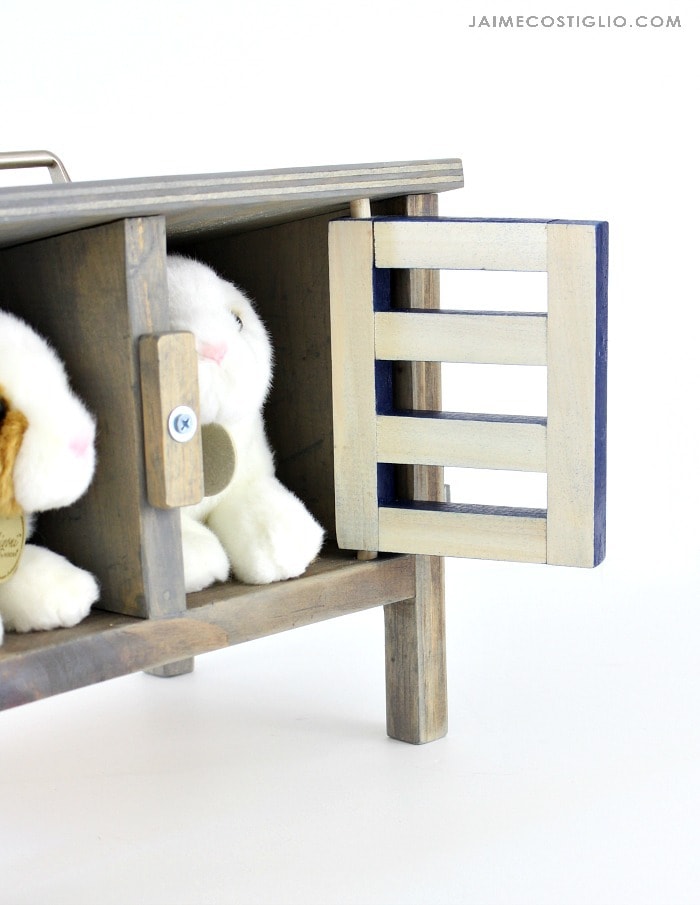
Determine dowel position inside hutch bottom and top. Predrill holes just deep enough so you still have door clearance on top and bottom, this may take a few adjustments to get it just right, go slow and make holes incrementally deeper. Place dowels into position – DO NOT GLUE – this allows the dowels to swivel and then attach top to sides and middle.
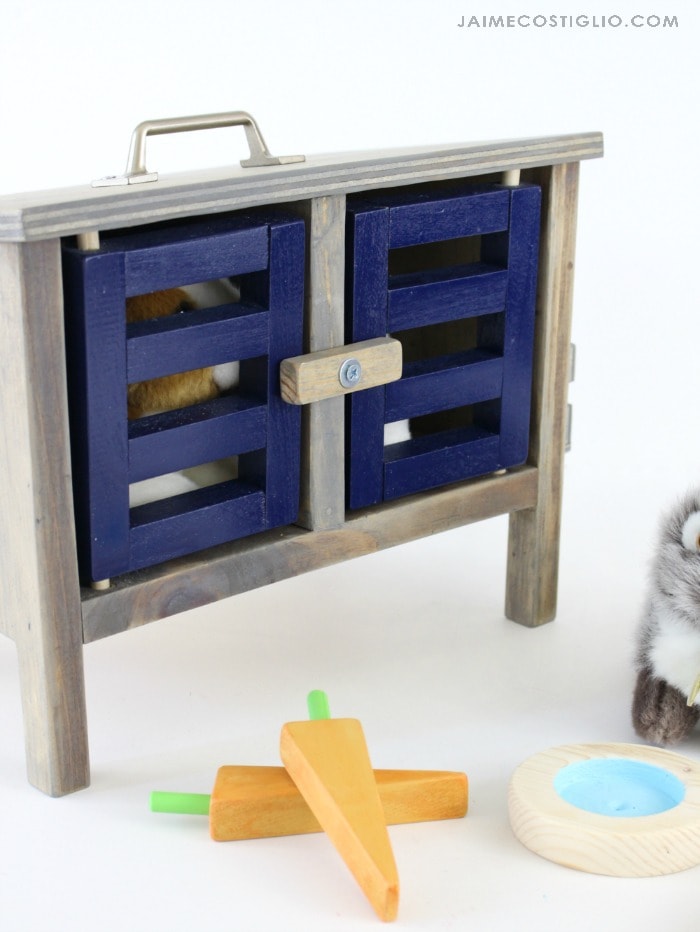
I added a latch at front center just for fun made from 1/2″ x 3/4″ flat mouding x 2″l. And a handle at top center for easy transporting.
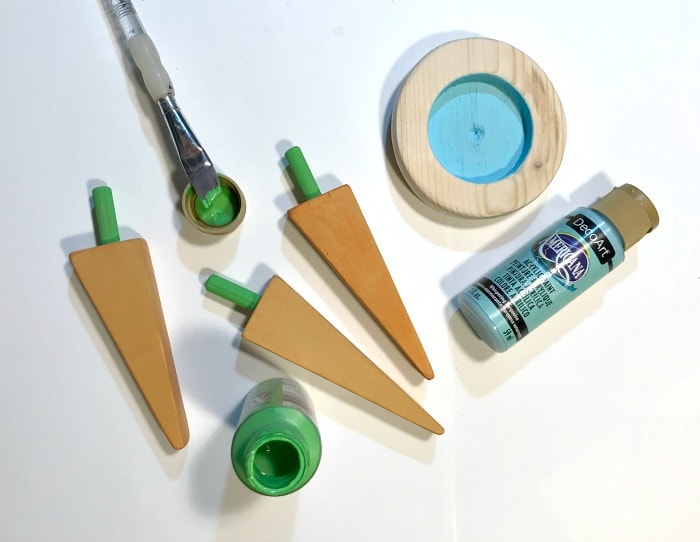
The carrots are off cuts of 1×3 pine with 5/16″ dowel stems. The water bowl is a 1×4, use a 2″ forstner bit to drill the center hole and then mark a 3 1/2″ circle for the outer edge. Use a scroll saw to cut out and belt sander to round off the edges.
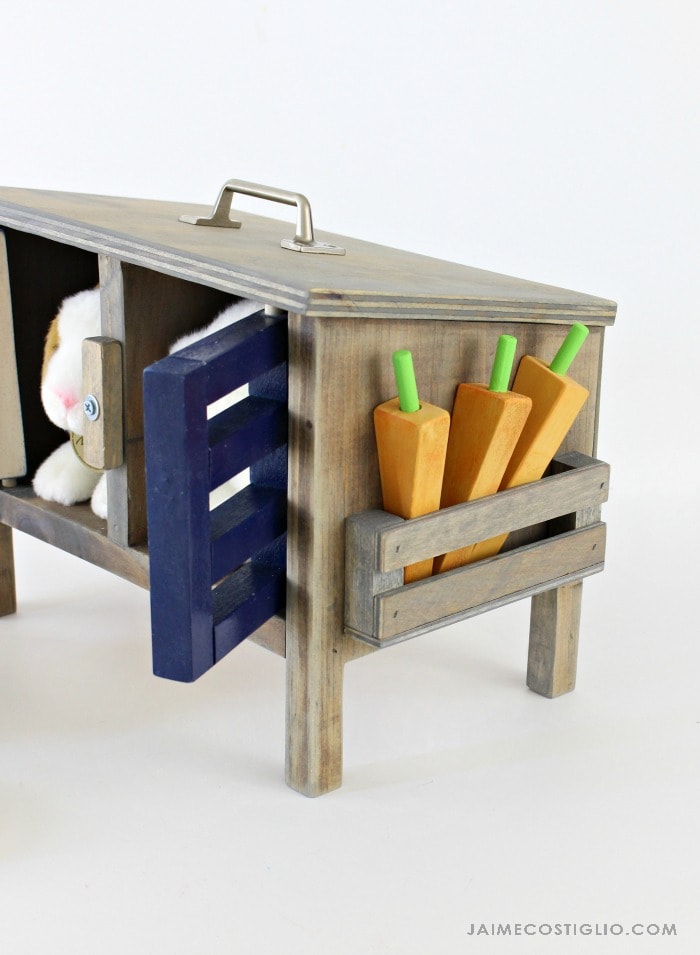
I also added a side shelf to hold the carrots. Use the 3/4″ square dowel from the doors and cut 2 – 2″ pieces. The front pieces are 1/4″ plywood cut at 3/4″w x 6″ long. Then make a base piece 1″ x 6″. Absolutely the cutest addition in my opinion.
SHOP THIS PROJECT:
Thank you to Ana for designing this fun project plan. I hope you’re all busy making gifts for all the people on your list this year!

Leave a Reply