*This post is sponsored by Rust-Oleum.
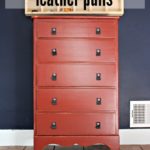
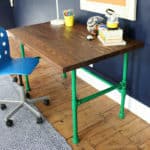
I waste nothing when it comes to wood projects which means I have a huge scrap pile. Nothing is more fun than creating DIY wood wall art using some of those scrap pieces. For this wall art I’ve teamed up with Rust-Oleum, who makes the lovely Varathane Fast Dry wood stain, to use their products for my son’s bedroom. I recently shared his stained desk here, which is getting lots of good use, and now a fun piece of wall art for above his bed.
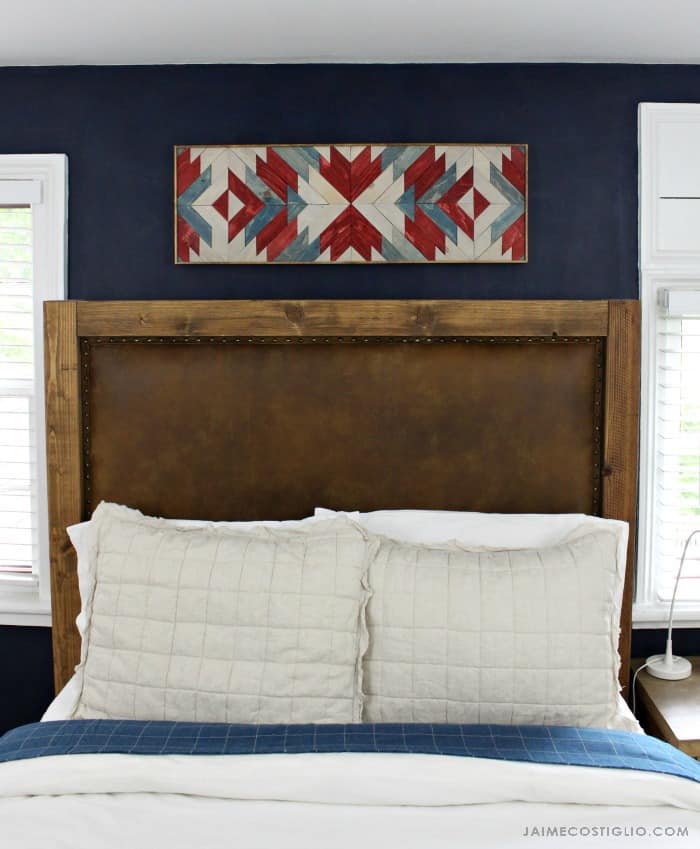
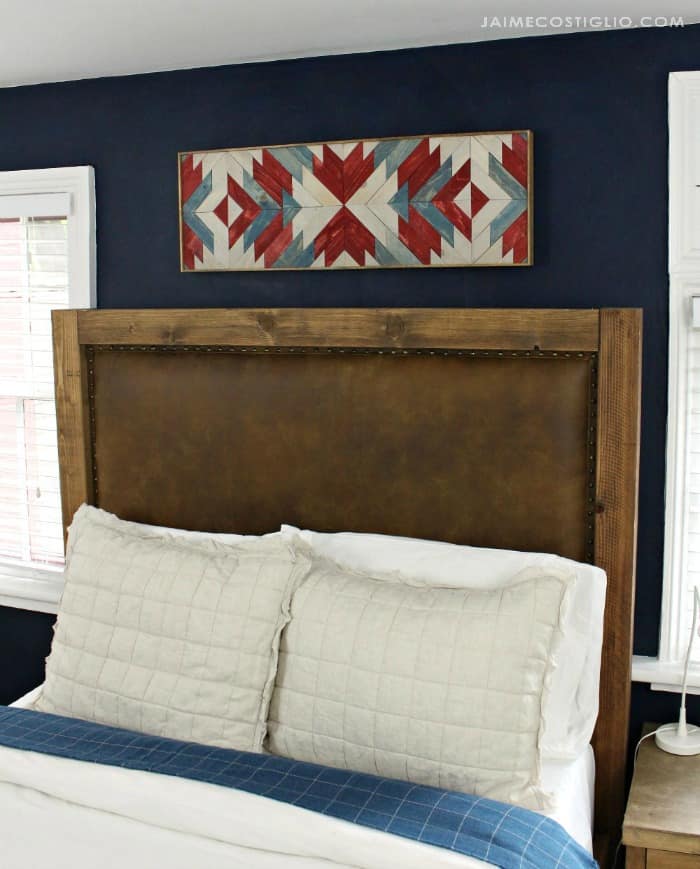
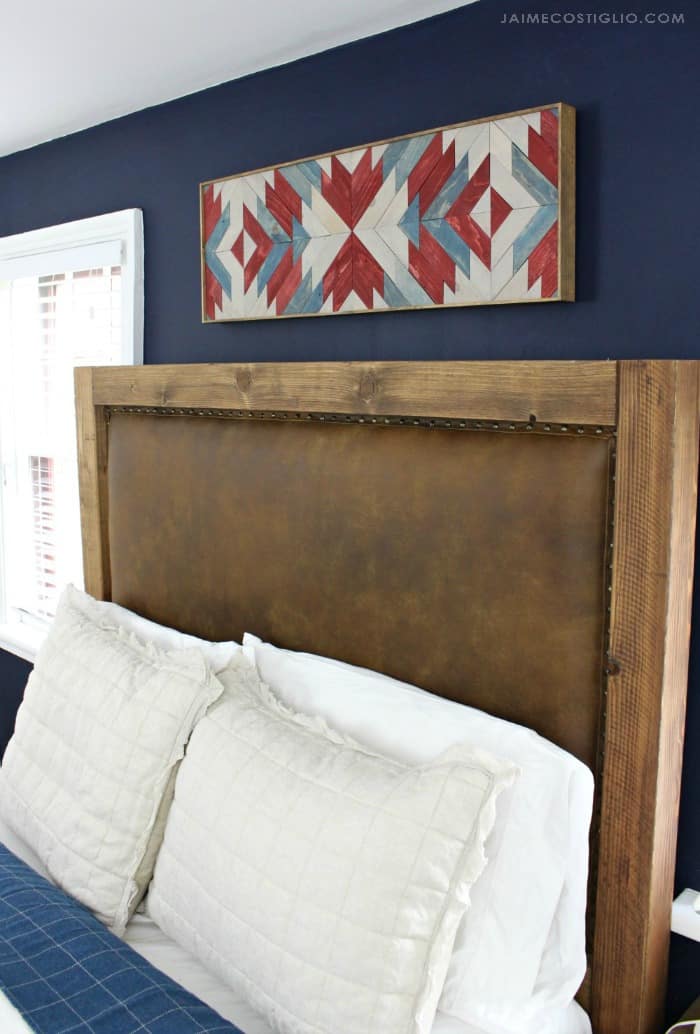
This wall art is hung on the opposite wall from the desk and above his leather and wood bed. There was a bit of empty wall space above the bed, the perfect spot for a custom piece of wall art.
As a nod to our historic 1740 saltbox home I selected red, white and blue stain colors. The Varathane wood stain comes in 24 different stain colors, plenty of options to find a color perfect for your project.
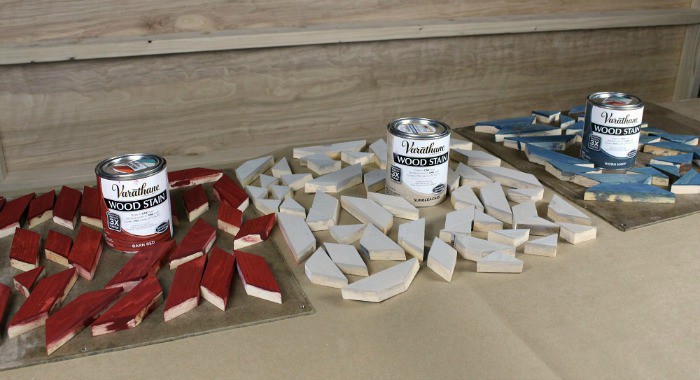
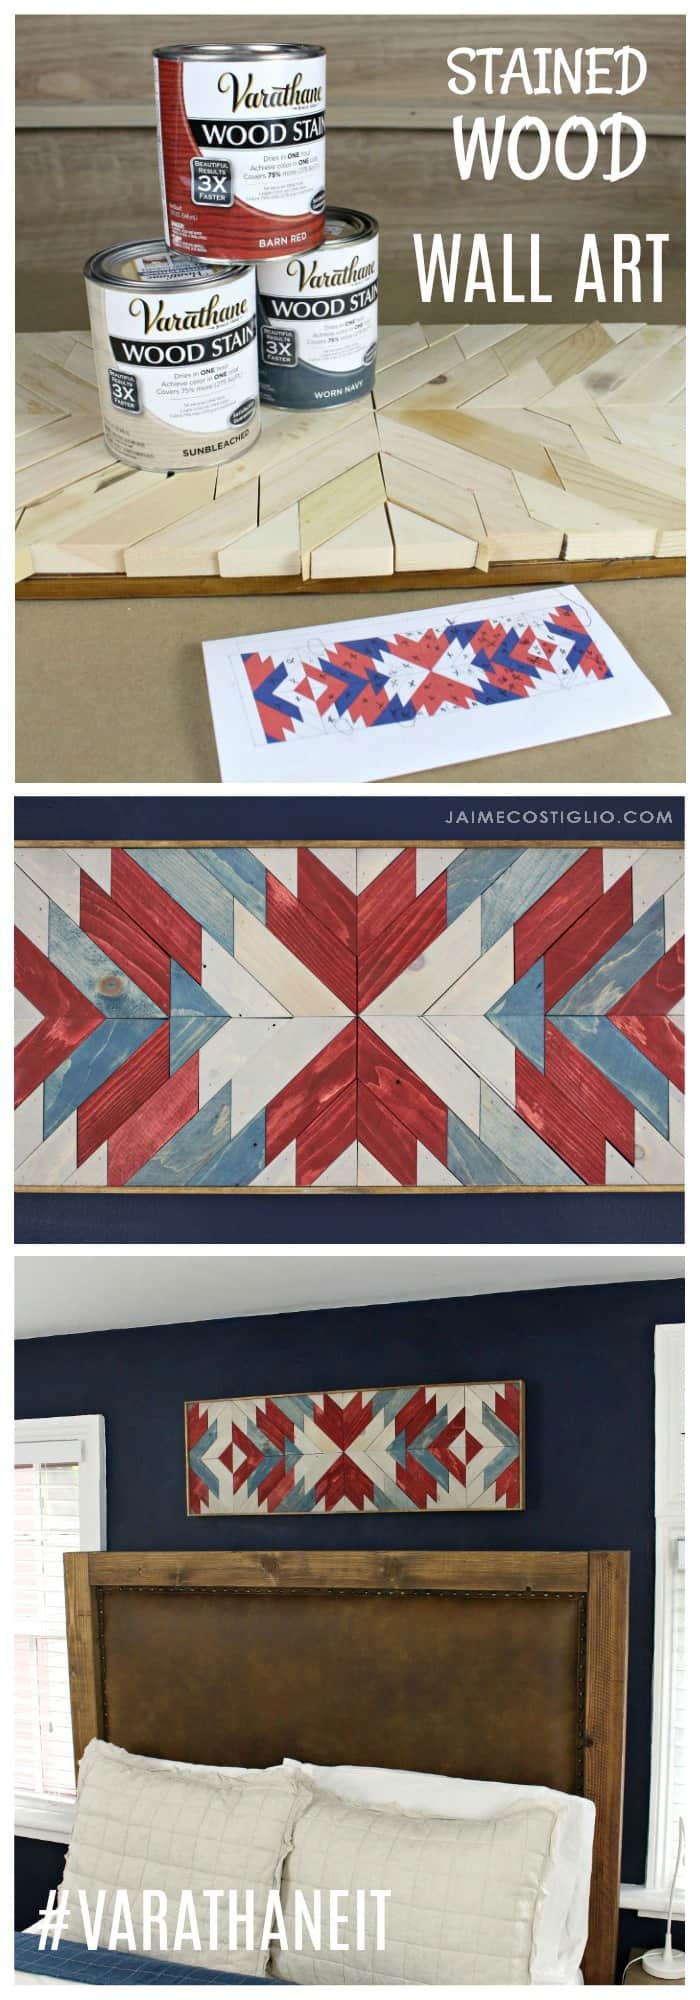
On the left is Barn Red, in the middle is Sunbleached and on the right is Worn Navy. I applied stain to all the pieces prior to assembly and after one hour everything was dry and ready to attach to the backing.
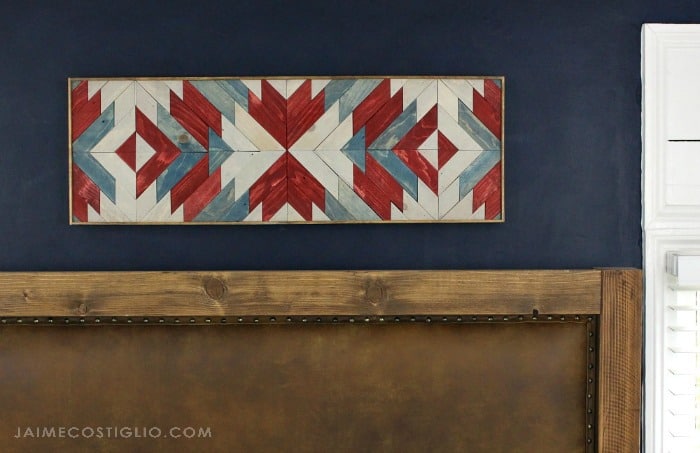
The Varathane stain does a wonderful job of bringing out the natural beauty of the wood. Even with the dark pigment of the barn red you can still see the wood grain coming through:
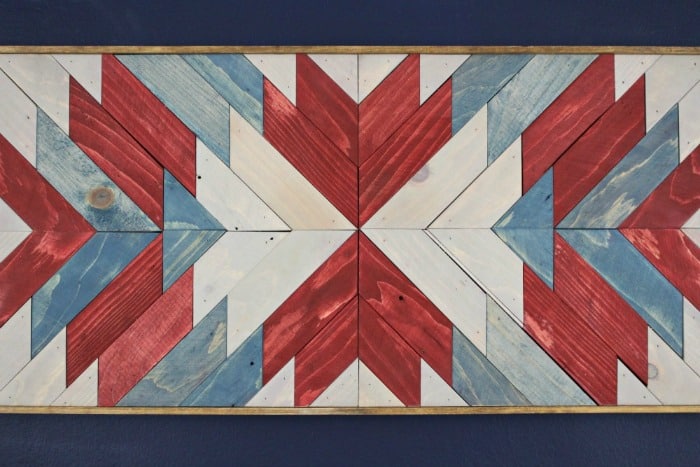
Also with this wood stain there is no wood conditioner required. Hooray for not have to do an extra step! This high-performance stain features nano pigments, which intensify color clarity and highlight wood grain, delivering the perfect shade in just one coat. Varathane wood stain is great for furniture, trim, floors and more.
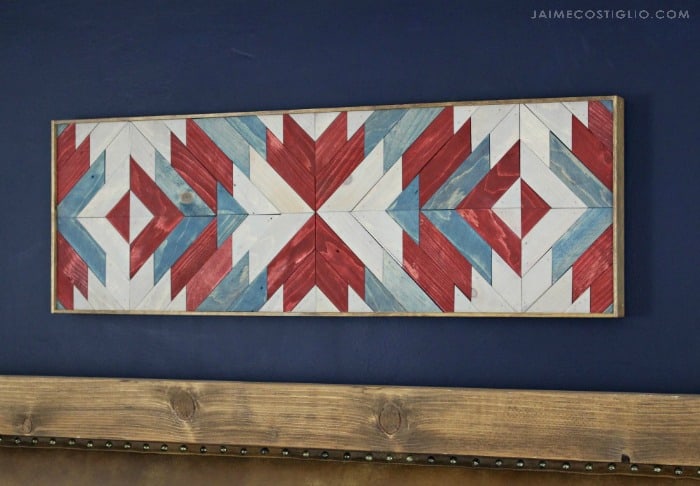
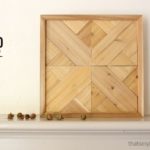
To create this stained wood wall art I started with a design in my desired 12” x 36” size. I used Sketchup to layout the design which also has the ability to let me fill in the pieces with different colors to get a preview of how the layout will look. You can easily do this with pencil and paper as well then fill in with colored pencils.
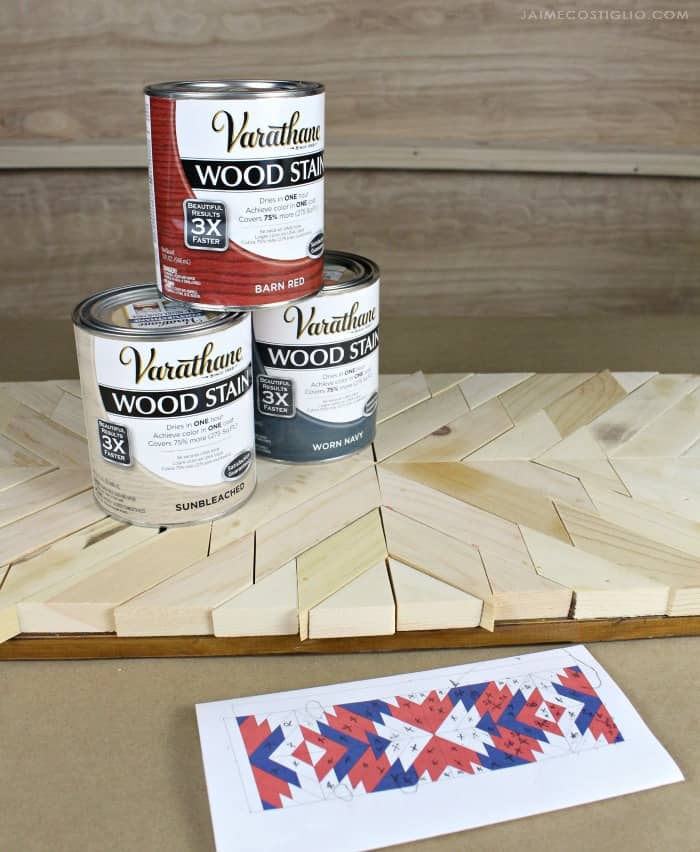
Cut all your pieces and determine which stain color will go where.

Use a foam brush to apply the stain and a paper towel or rag to remove excess. If you want darker coverage let the stain sit for a while longer before wiping the excess.
Let the pieces dry for an hour and then assemble onto the backing.
See the entire process in action here:
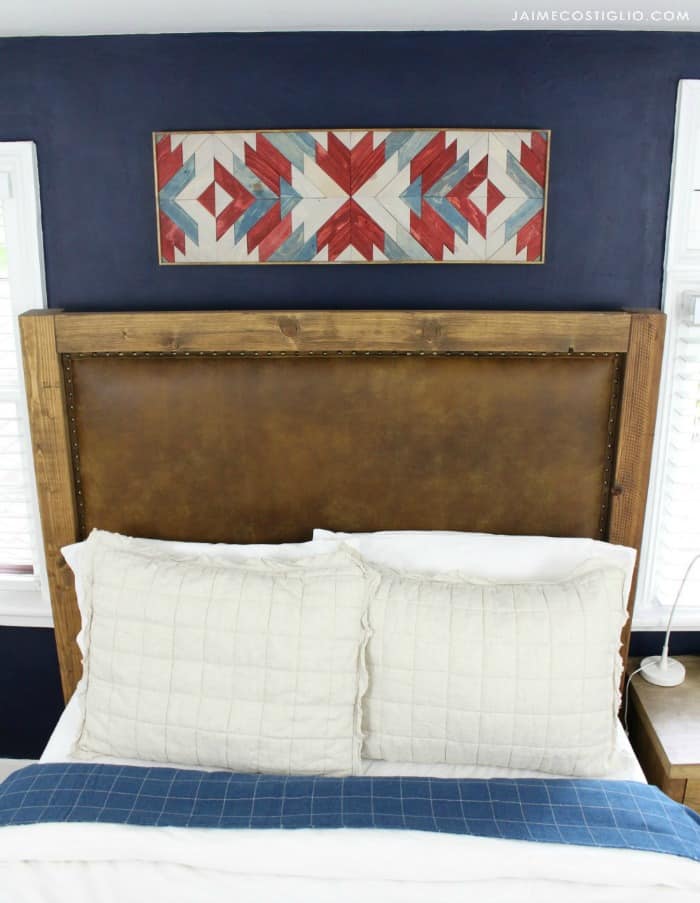
I added a simple flat moulding frame to finish off the edge and then hang in place.
Make up your own design and fill that empty space on your wall. What a wonderful way to create wall art using scrap wood and beautiful stains!
Do you have a wood furniture or flooring project that would be perfect for Varathane stain? I encourage you to try it, you won’t be disappointed. Be sure to post and tag your projects using #varathaneit on social media, we will be on the lookout for all the beautiful stained wood pieces!

I’ve painted many a barn quilt in my day and this reminds me of those. But this takes it to the next level. I don’t know that I’d have the skills to pull this one off! It’s great!
I have always wanted to make one of these. How do you figure out what size to cut each piece? Can you talk about how you figured each cut size out?
Make your design based on your space. Mine is 12″ x 36″ then I used Sketchup to sketch out my design but you can easily draw this by hand. Each piece is 2.5″ wide, you could even just start in the middle and make cuts as you go to fill in the space.