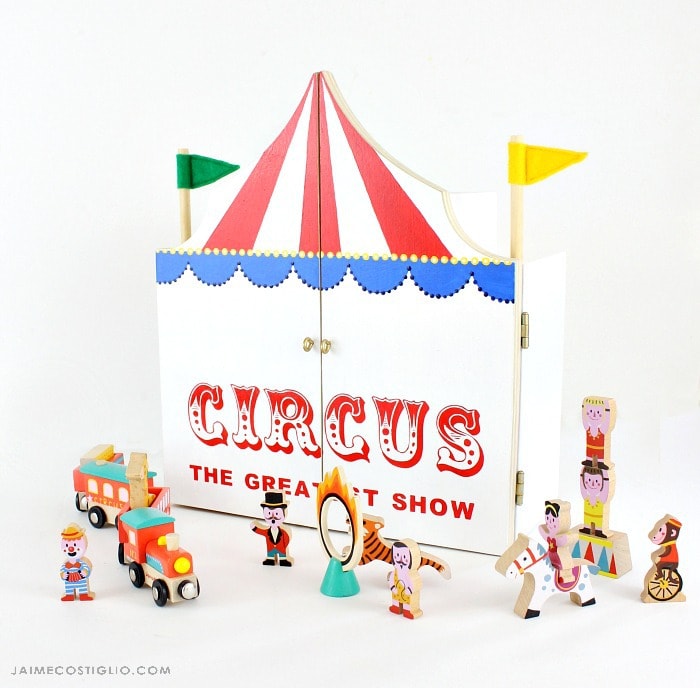
If you haven’t seen the movie The Greatest Showman yet then I highly suggest you get to the theater asap. And if you have seen it then you know exactly why I’m sharing this play circus project today. The music, the costumes, the singing and dancing, it all makes you want to join the circus of life. Because it’s such a great film I wanted to make a play circus for all these fun little wood characters so kids (and adults) can have a little circus of their own.
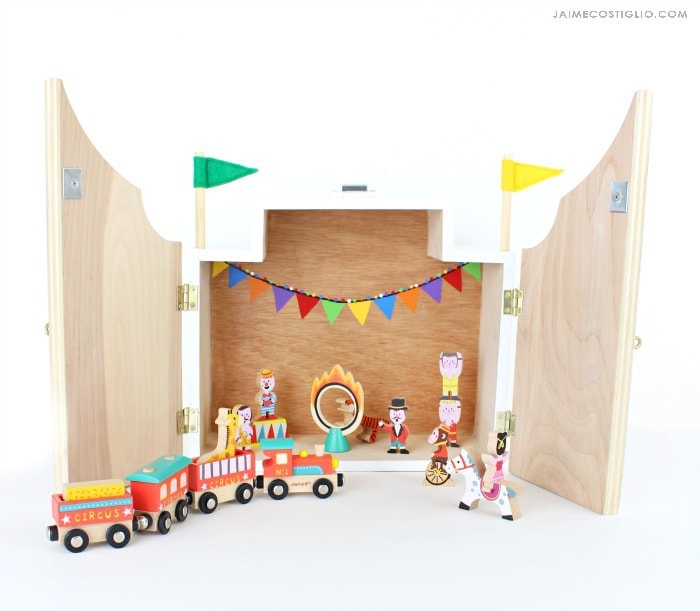
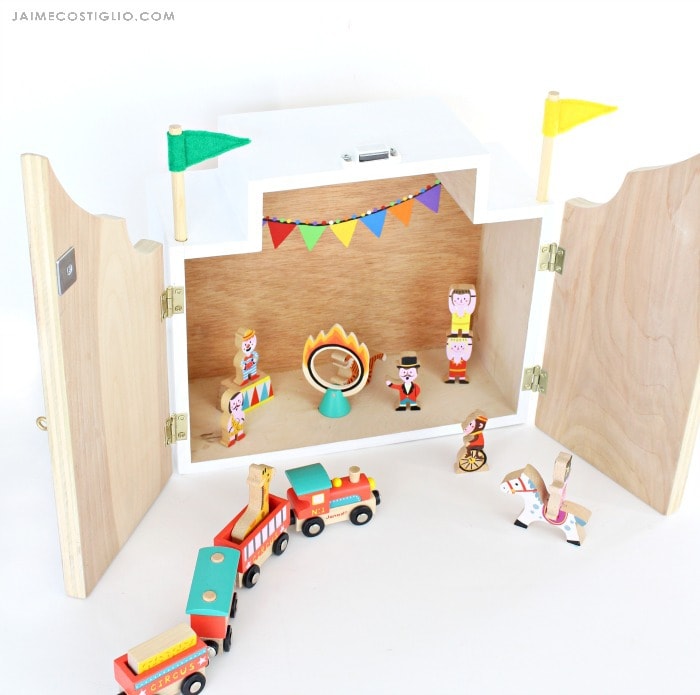
This play circus tent opens up to become the ring. You could get really fancy with painting the interior to look like a circus ring, I opted for a simple colorful bunting.
Naturally I built this little play circus from scrap wood and spent a majority of my time on the finishing touches to make it extra fun. I made a vinyl stencil to create the lettering and all of the other elements are handpainted. If you scroll down below I share the free plans to build this play circus and the details on finishing.
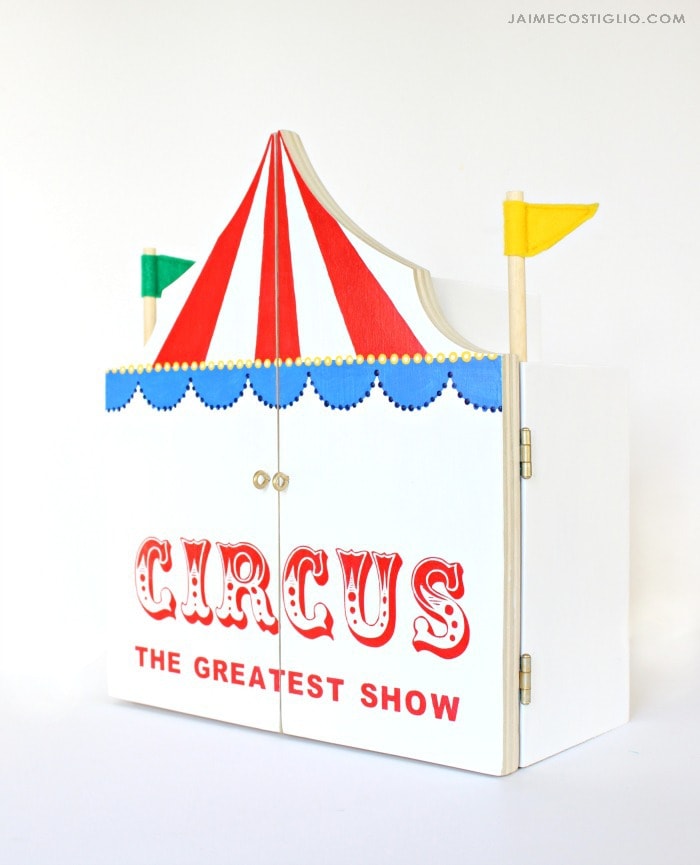
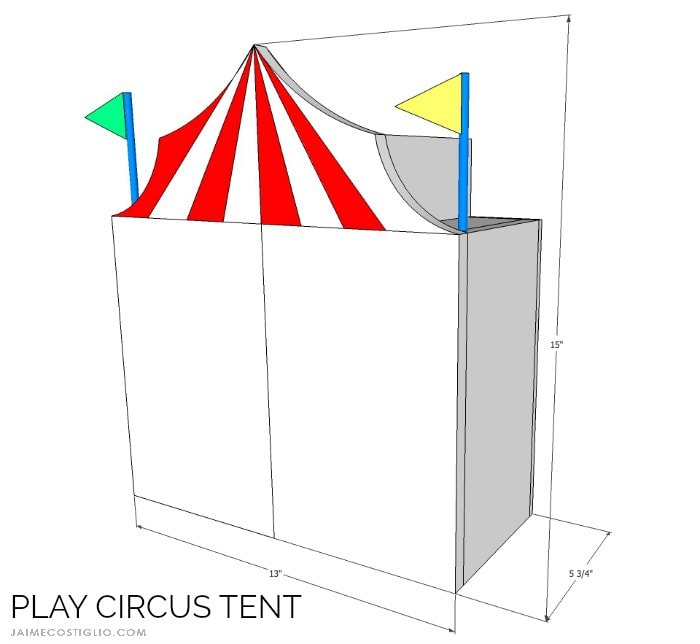
I designed the circus tent to be deep enough for storage and still be portable. I should add a handle at the center top up there so it’s easier to carry around. All the pieces fit inside and I added magnetic latches so the doors stay shut keeping everything safe.
Click here for a free printable PDF version of the plans.
Supplies:
- 1/2″ plywood scraps
- 1 – 3/4″ plywood 15″ x 13″ (doors)
- 1 – 1/4″ plywood
- 4 – 1″ hinges
- 2 – screw eyes
- magnetic latch & 2 magnets
- finish nailer and 1″ nails
- wood glue
- drill & drill bits
- saw
- jig saw
- sandpaper
- acrylic paints & paintbrush
Make the play circus using the step by step plans here. Below are details on the finishing process.

Step 1: Paint the exterior of the circus and doors white. Using a ruler and pencil lightly sketch the tent lines and paint red portions as desired.
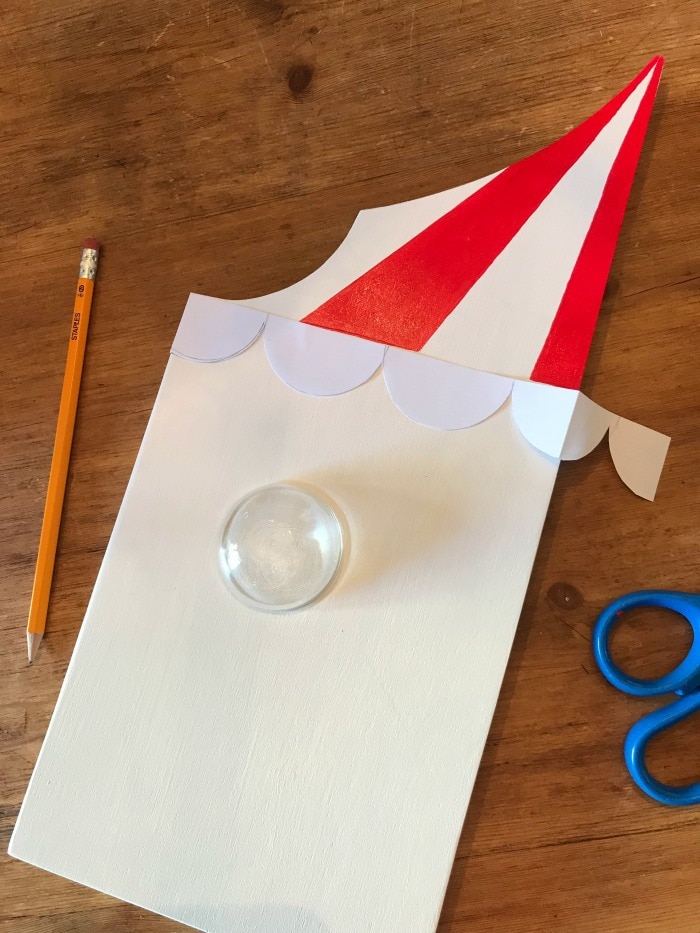
Step 2: Make a stencil for the tent trim using a round object repeated. Trace the stencil onto the doors and paint blue.
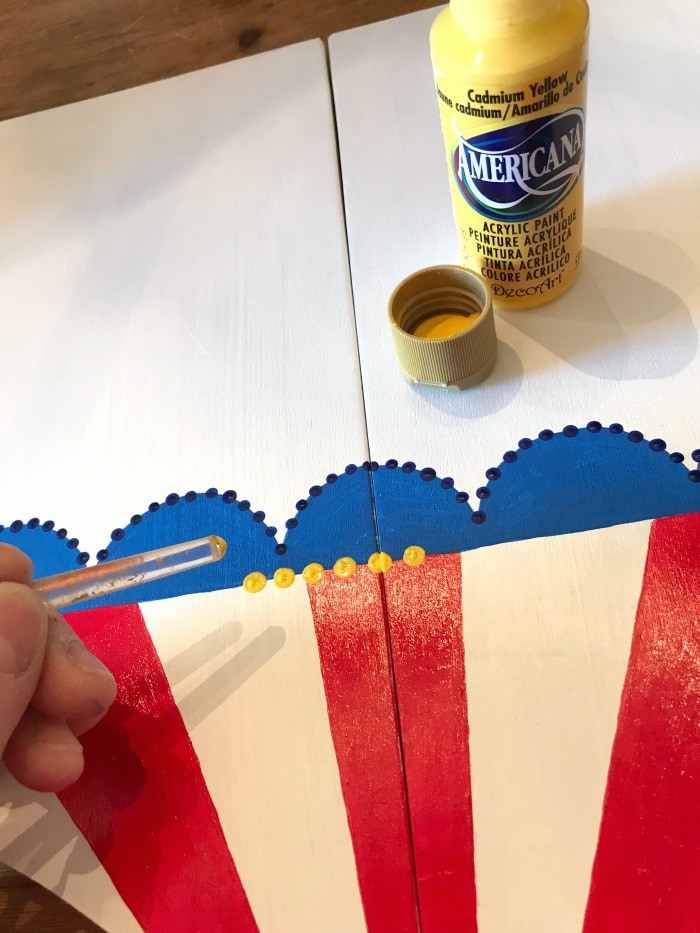
Step 3: Add dot details using end of paintbrush.
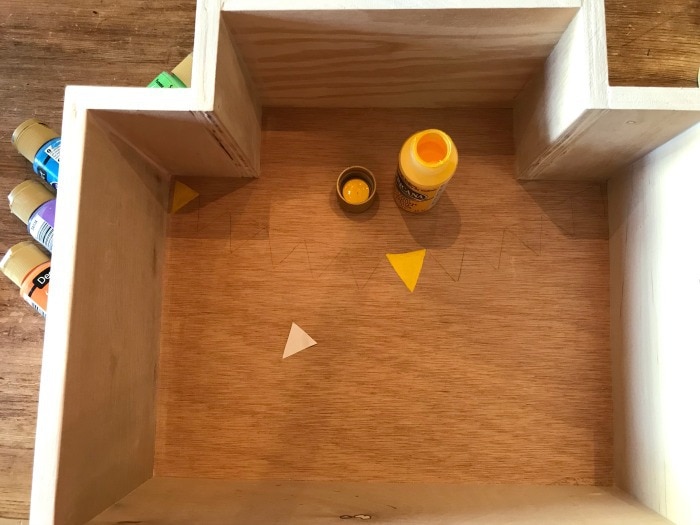
Step 4: To create bunting cut a small triangle pattern and trace repeatedly across back wall. Paint triangles different colors.
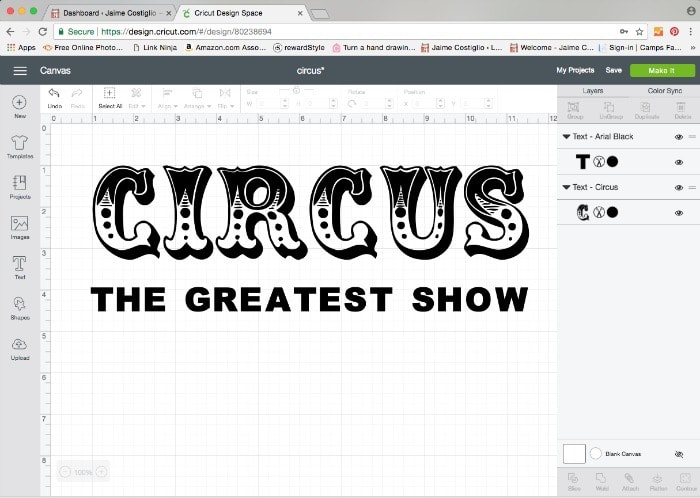
Step 5: To make the stencil for the circus text I used my Cricut vinyl cutting machine. You can access my project file here. Make the stencil using regular stencil vinyl.
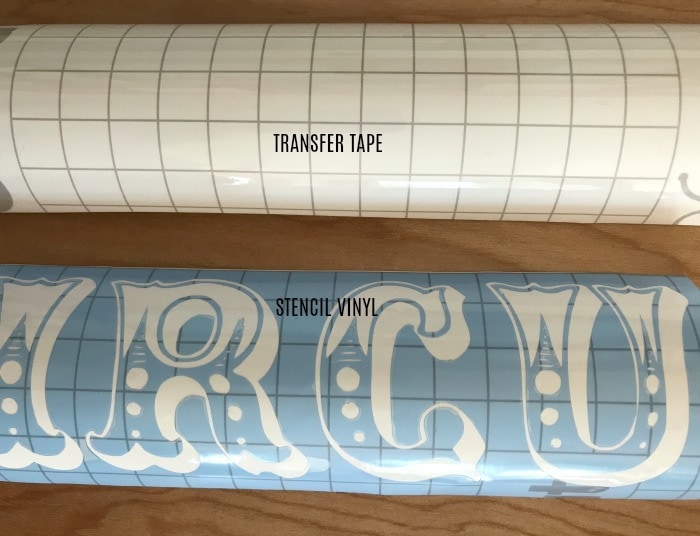
Step 6: Weed out the portions of the stencil that you want to be painted. Using transfer tape place the tape on top of the stencil to move all of the stencil pieces over to the doors.
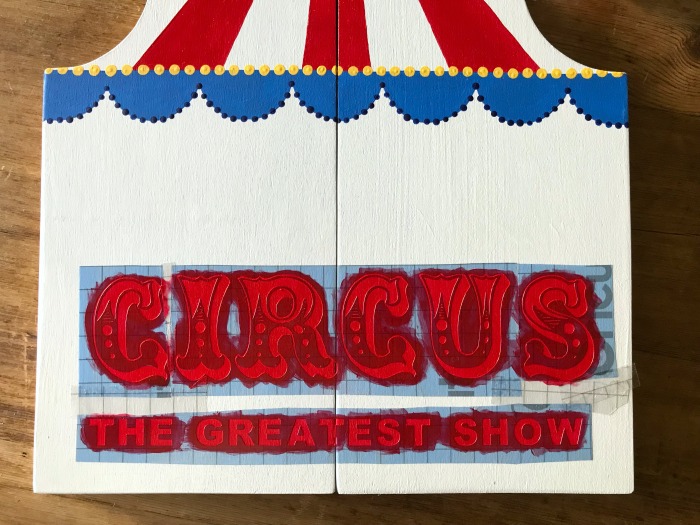
Step 7: Once all of the stencil pieces are secure then paint the lettering red.
Step 8: Attach the doors using 1″ hinges, add the screw eye pulls, magnetic latch and flags.
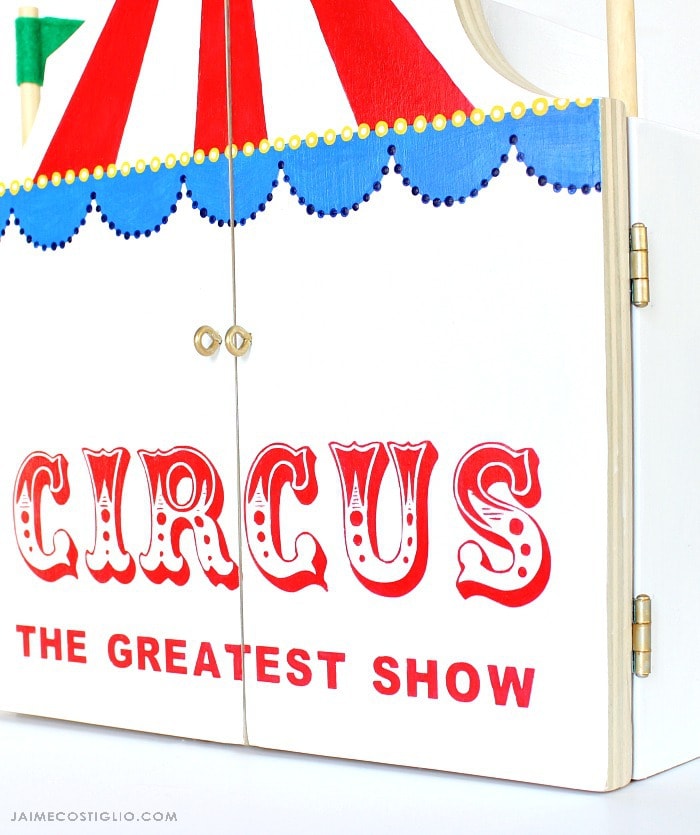
I did seal the front and interior using a clear semi-gloss poly just to be certain the beautiful lettering doesn’t get scratched.
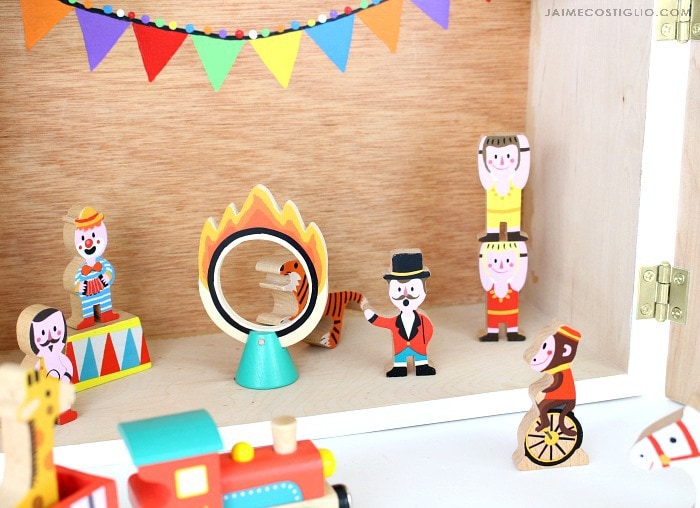
There’s plenty of space inside for all the character pieces to move around. You could even add a second story catwalk if you wanted to get really fancy.
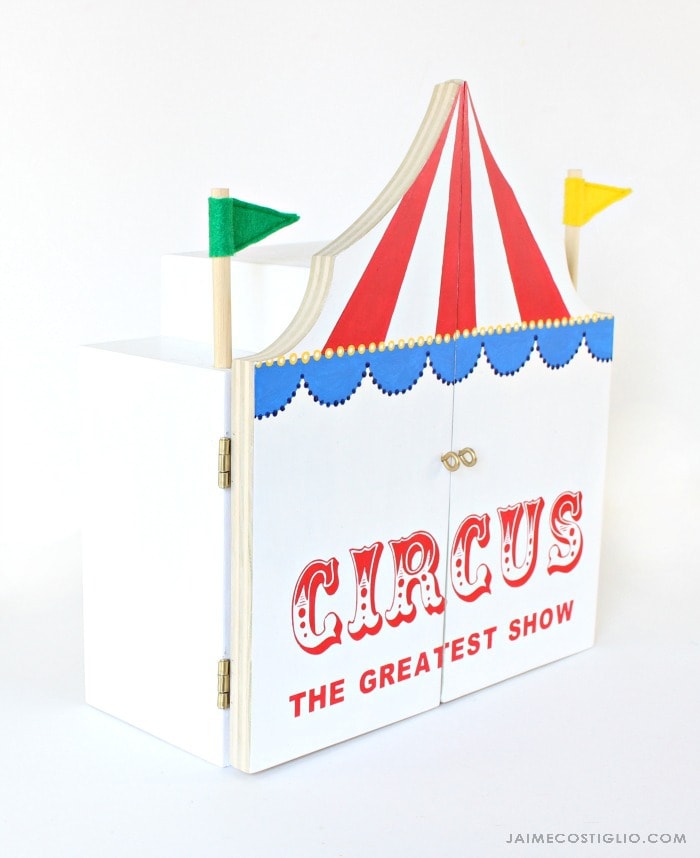
For the flag detail I used 5/8″ dowels cut at 4″ long. Predrill a hole and glue in position. I made the flags from scrap felt and sewed a triangular seam to keep them tight onto the wood dowel.
I hope you enjoyed this project as much as I enjoyed making it. Please pin and share and be sure to tag me on social media.
SHOP THIS PROJECT:


really cute idea, lots of detail,