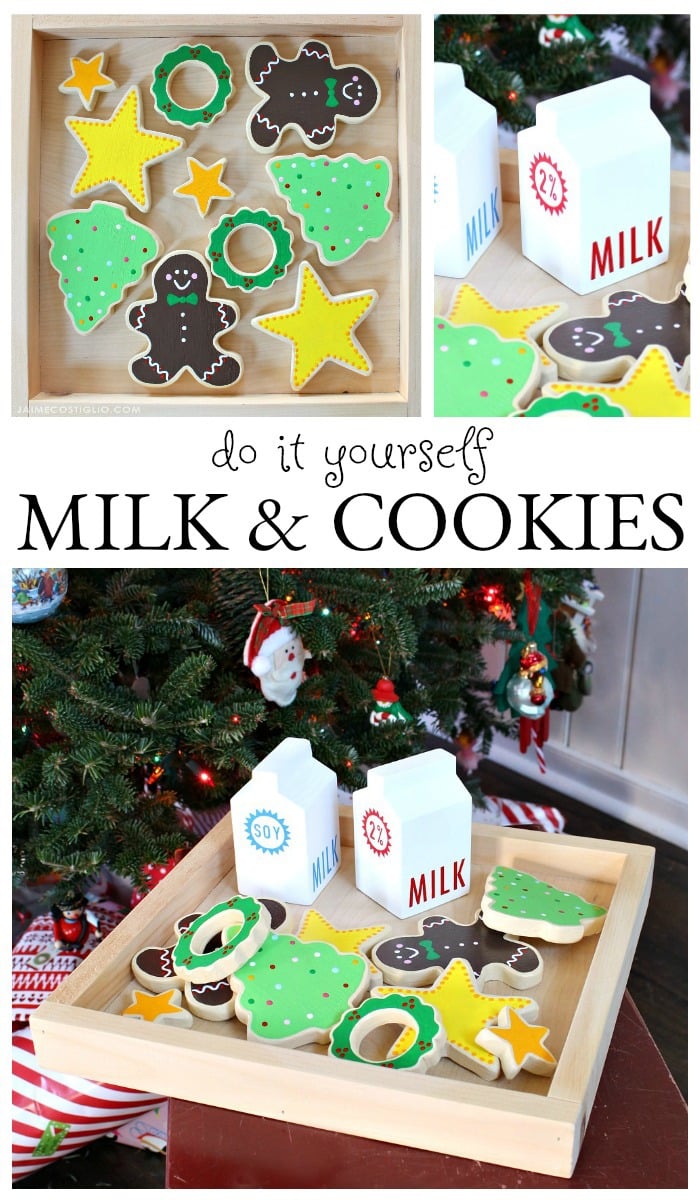
Well my friends this is it, the last Friday before Christmas and the last Handbuilt Holiday gift plan for 2017. Ana and I are going out with a bang in the cute department by sharing this DIY milk & cookies playset. Santa will be thanking you for providing zero calorie treats!
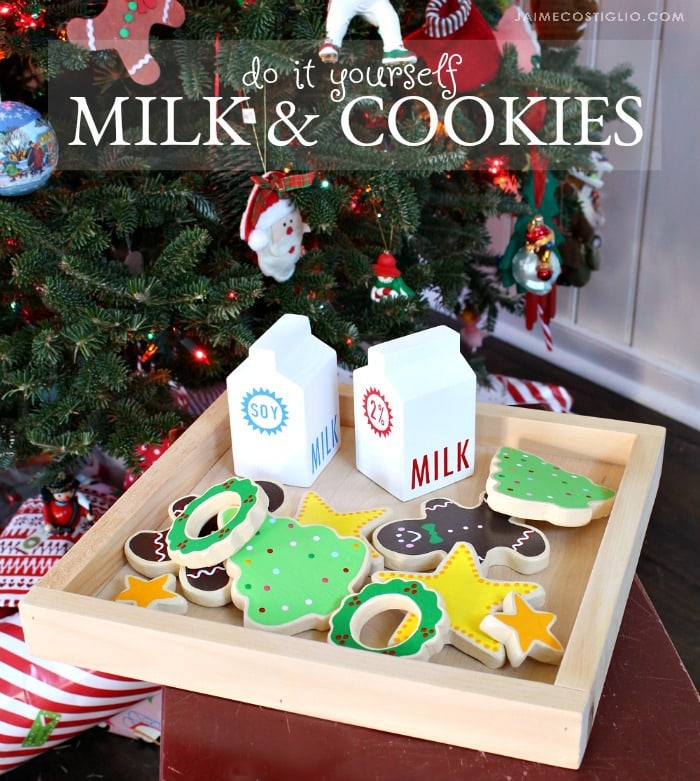
Make your own play milk and cookies that will never spoil. Use scrap wood and cookie cutters plus free plans from Ana White for this cute gift idea.
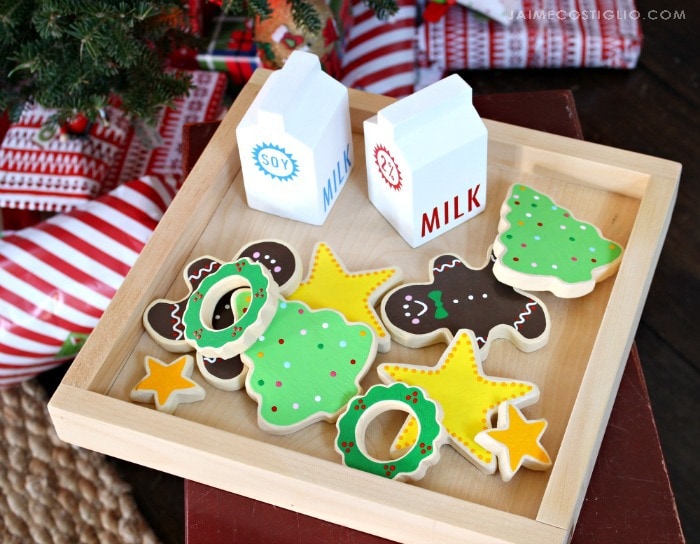
Play food is one of my favorite things to make and these cut out cookies do not disappoint. Dig through your cookie cutter stash and find your favorite holiday shapes, it’s that easy.
To be honest I’m a bit sad it’s the end of another Handbuilt Holiday series. We’ve shared 12 amazing gift plans this year and have added so much cuteness and fun to the collection. If you’re looking for a gift idea you can build – not just for Christmas – be sure to scroll through 5 years worth of gift ideas (thats 60 project plans!) all collected right here.
But today it’s all about this play milk and cookies set made from scrap wood. So good I could just eat them up. I think in my next life I will only make wood cookies – they last longer, don’t add to my waistline and guarantee hours of playtime.
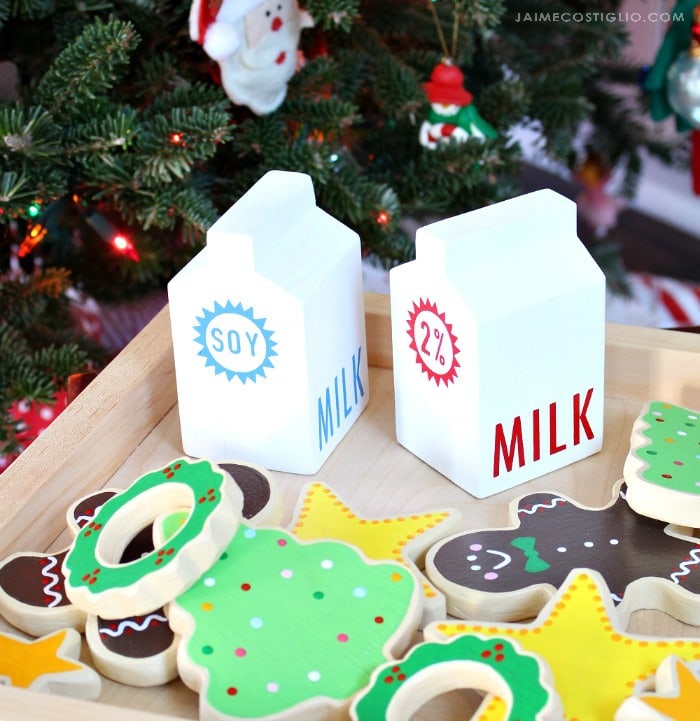
We have Ana White to thank for the clever plans for the milk carton. Who knew 1×3 scraps could become the perfect little play milk?! I painted on the labels just for fun and it really takes the milk over the top.
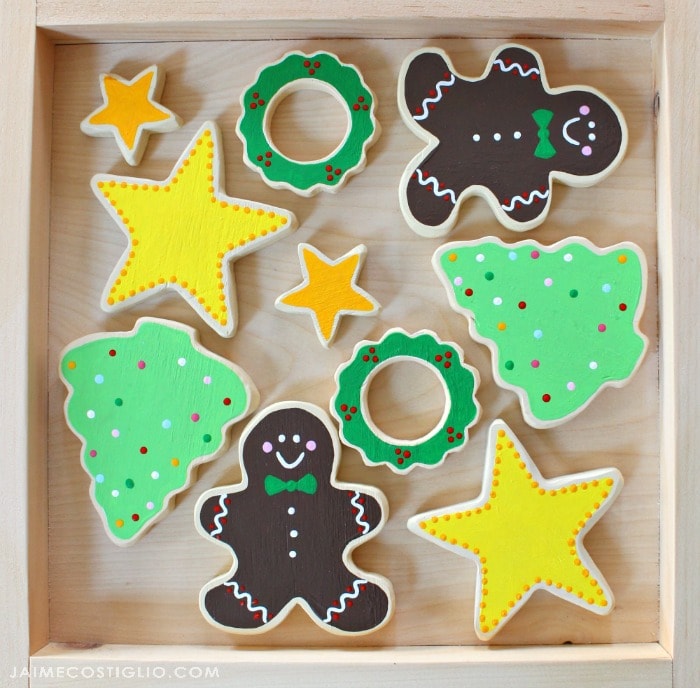
I know you’re itching to try my cookies, they look simply irresistible! They are made from 1/2″ plywood cut on the scroll saw and sanded on the bench sander for a more rounded edge. It’s obvious I have a soft spot for play food and these cookies were just a treat to make.

Click on over to Ana’s site here for the plans but before you go be sure to check out the details down below.
*This post contains affiliate links.
Supplies:
- scrap 1×3 pine boards
- scrap 1/2″ plywood pieces
- nail gun & 1 1/4″ finish nails
- wood glue
- miter saw
- scroll saw
- cookie cutters
- wood putty
- bench sander
- acrylic paints & paint brush
- clear gloss spray polyurethane

Step 1: Make the milk cartons following Ana’s plans here. Apply wood putty to any nail holes and sand smooth. Paint as desired.
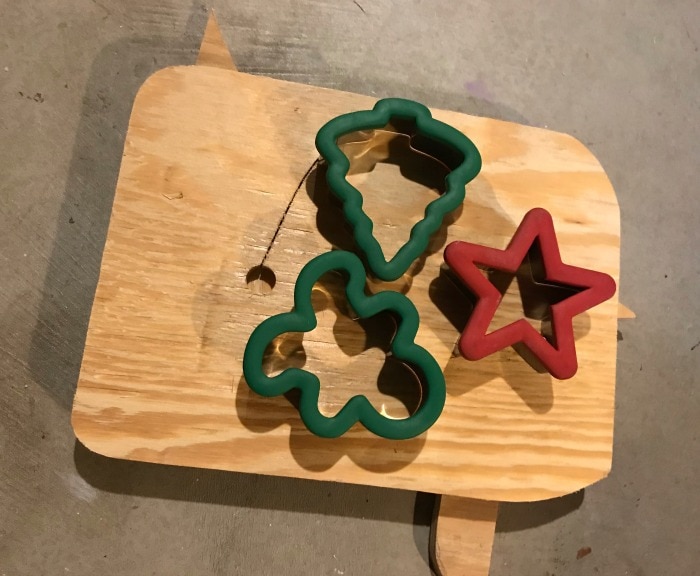
Step 2: To make the cookie shapes I used regular cookie cutters and 1/2″ plywood.
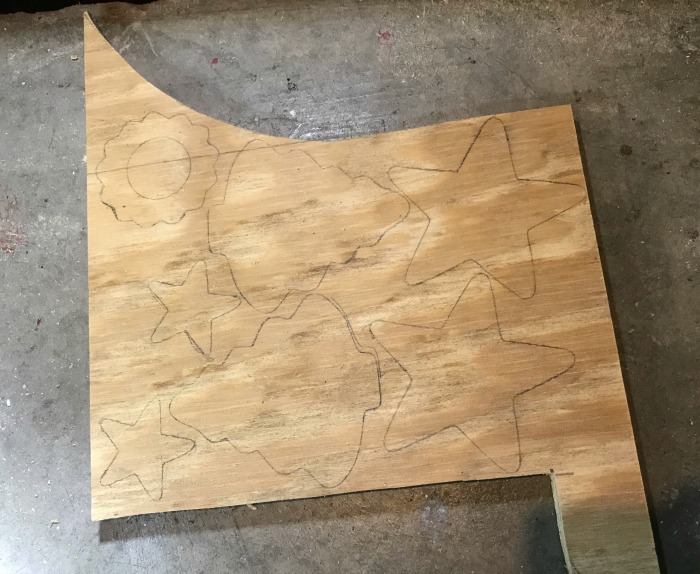
Step 3: Trace the cookie cutters right onto the plywood.
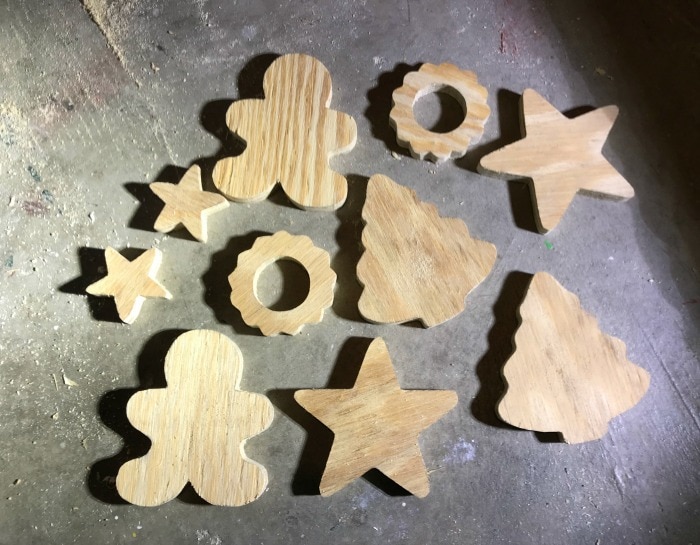
Step 4: Cut out the shapes using a scroll saw. Sand the edges super smooth, go heavy on the edges for that rounded cookie feel.
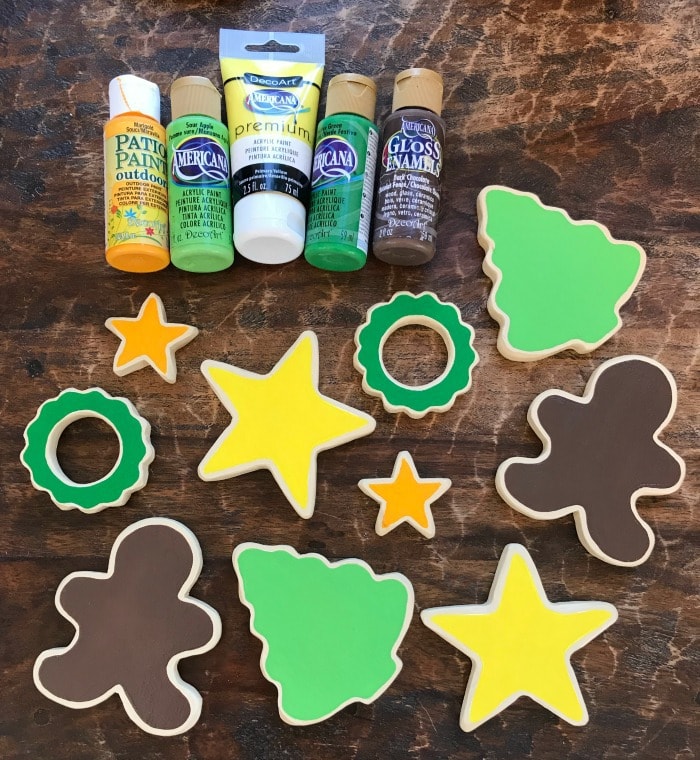
Step 5: Paint the base of the cookies in a pale brown – I used ‘Sand’ color. Then paint the base icing color as desired.
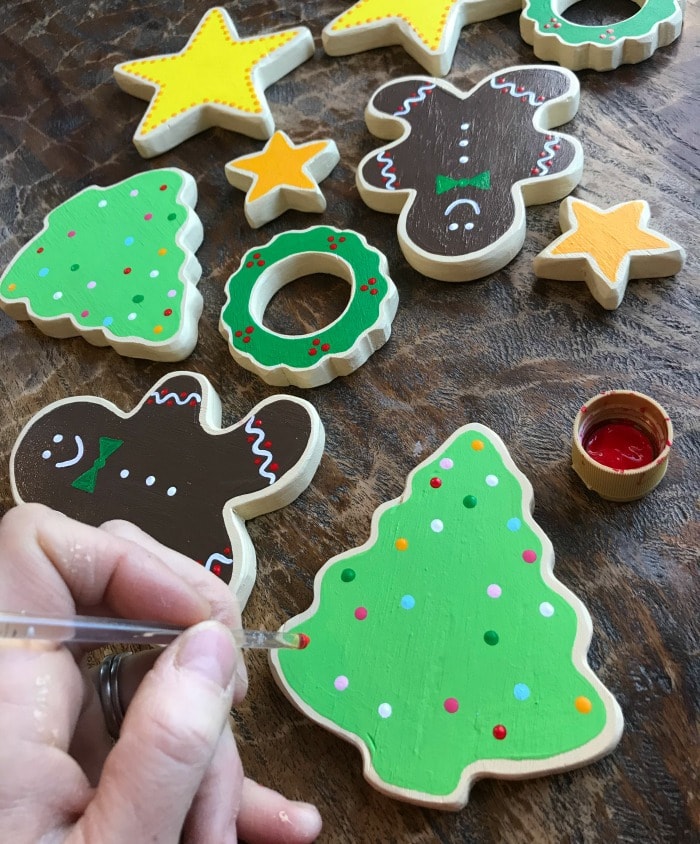
Step 6: Add the details. Spray with clear poly to seal.
Ana and I truly enjoyed every minute creating these gift project posts. Thank you for joining us for this series. Wishing you all the best for 2018 and cheers to many, many more building projects.
SHOP THIS PROJECT:

I absolutely love this! I don’t have a scroll saw yet – do you use the Ryobi one, and are you happy with it?
Thanks Jenni, yes I use the Ryobi scroll saw and I do like it. My best advice is practice, practice, practice and play around with blades until you find one you like.
I really would like to make the milk cartons, where do I use the finishing nails?
Thanks Joi, once you have the 3 pieces cut for the milk carton apply wood glue and attach the side pieces to the main center piece using the finish nails.
Your projects are so cute! I was just wondering if you have plans for these somewhere on your website or available somewhere else? Any help would be appreciated! Thanks so much!
Thanks Melody, the plans for the milk cartons are here: http://www.ana-white.com/2017/12/free_plans/wood-milk-and-cookies-play-set The tutorial for the cookies is up above within the post. Use any regular cookie cutters you have and trace the shape. Hope that helps.
Thank you so much! For some reason they weren’t showing up on my iPad. I could only see the first few paragraphs. I can’t wait to make these! They are ADORABLE!! Thanks again!
This may be a silly question but did you use stencils for the print on the milk cartons?
Hi Susanna, I made the graphics for the milk cartons on my Cricut. They are vinyl stickers.