It doesn’t get much sweeter than ice cream except when you have your very own ice cream cart! That’s right friends today Ana White and I are sharing a DIY kids play ice cream cart. Adults you have to build the cart but kids you get all the ice cream 😉
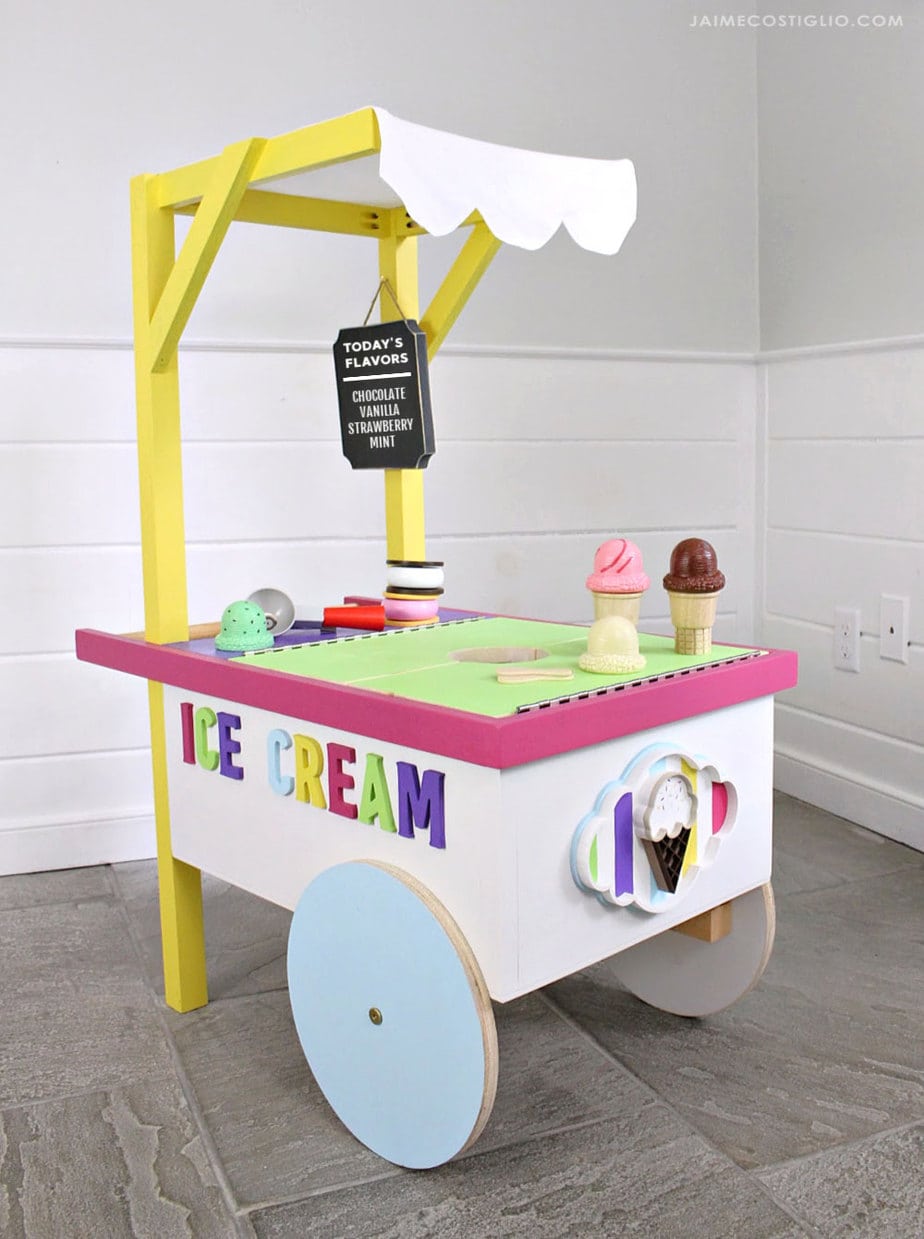
A DIY tutorial to build a kids play ice cream cart. Everyone loves ice cream and what’s more fun than playing with your very own ice cream cart?!
It’s Handbuilt Holiday project day and as promised every Friday leading up to Christmas Ana White and I share a gift build idea that you can make for that special someone in time for the holidays.
We’ve got five years worth of gift ideas you can build here and today we are adding another awesome project to the list. This kids ice cream cart is simply the sweetest, it’s pint size makes it perfect for little ones ages 2 – 6.
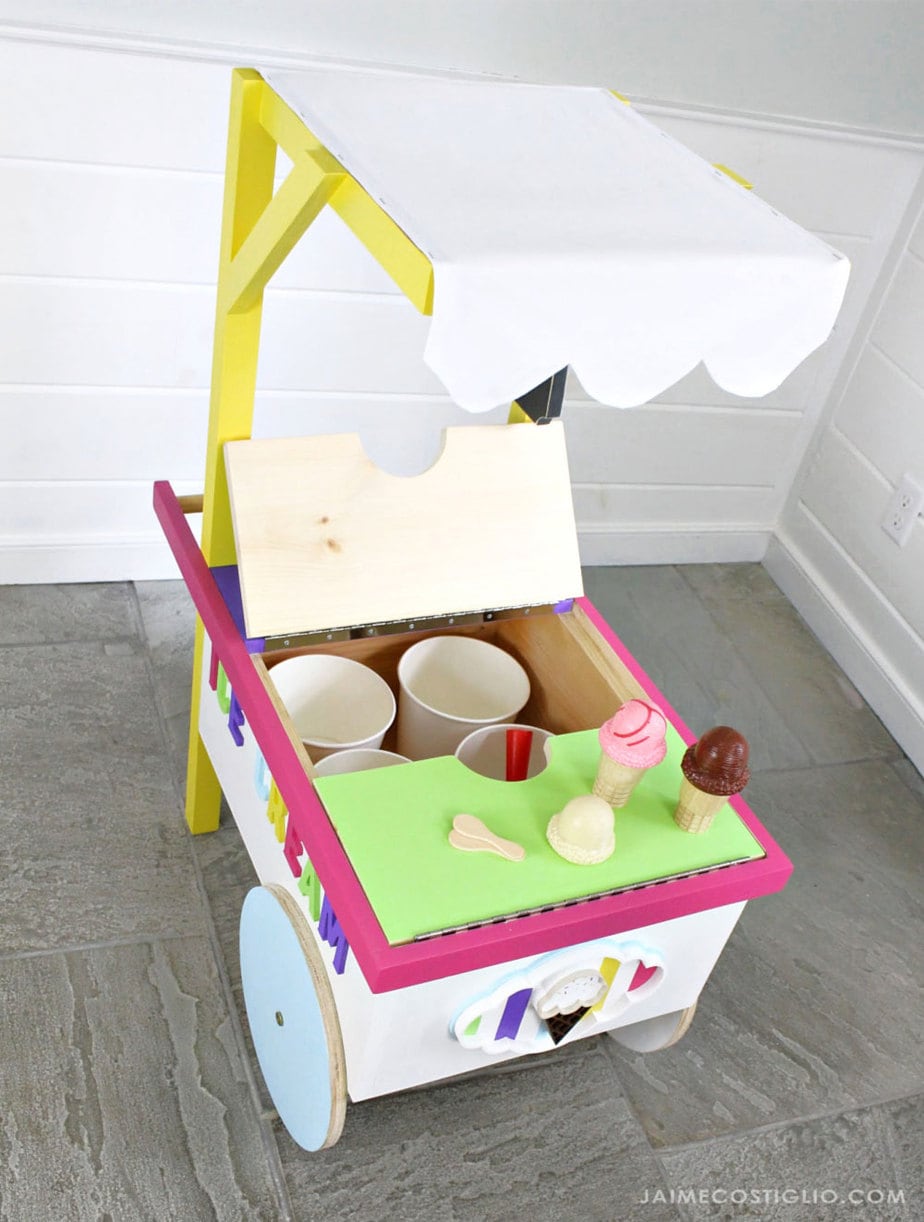
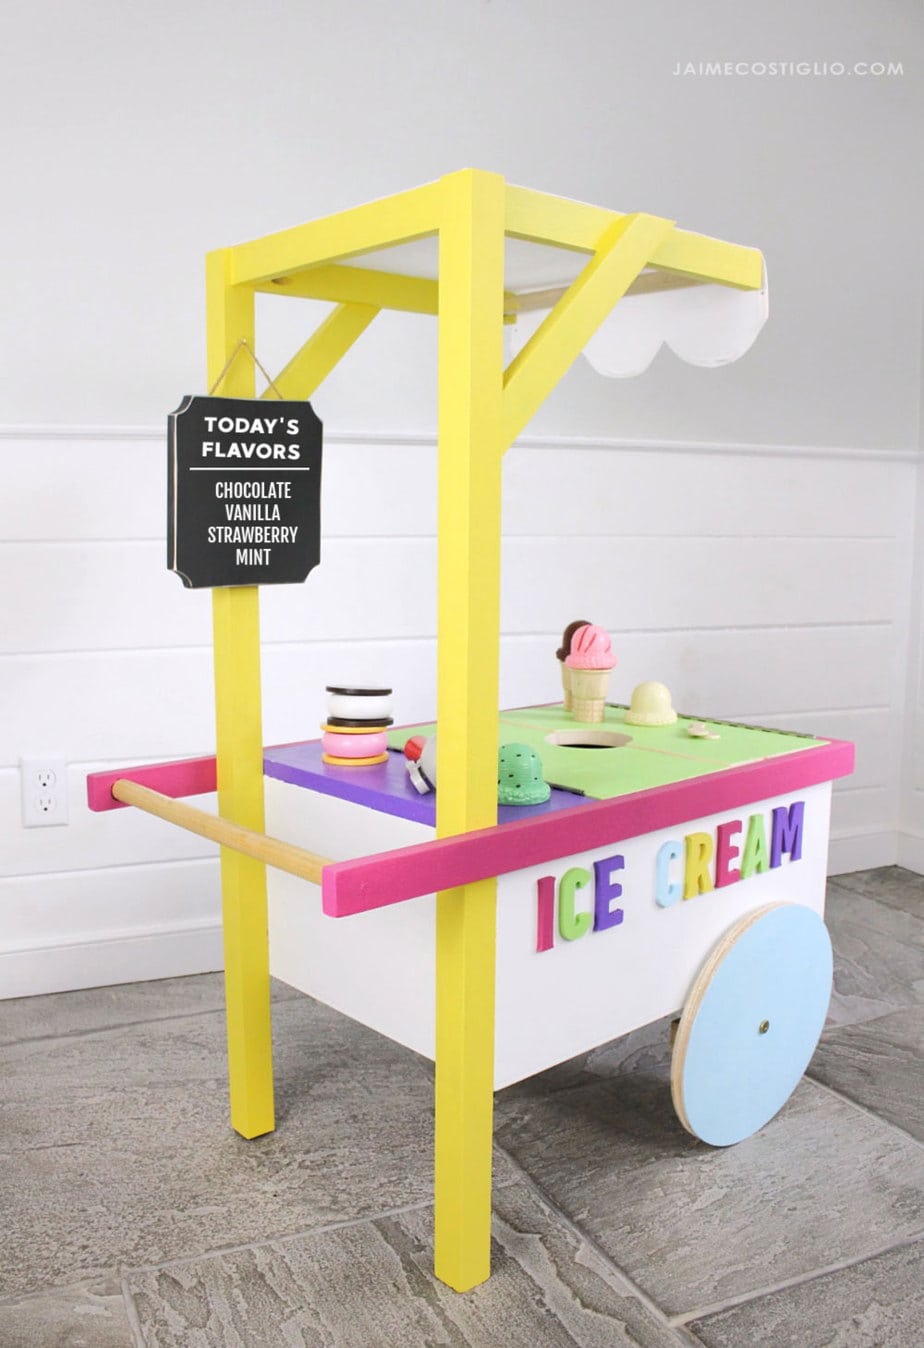
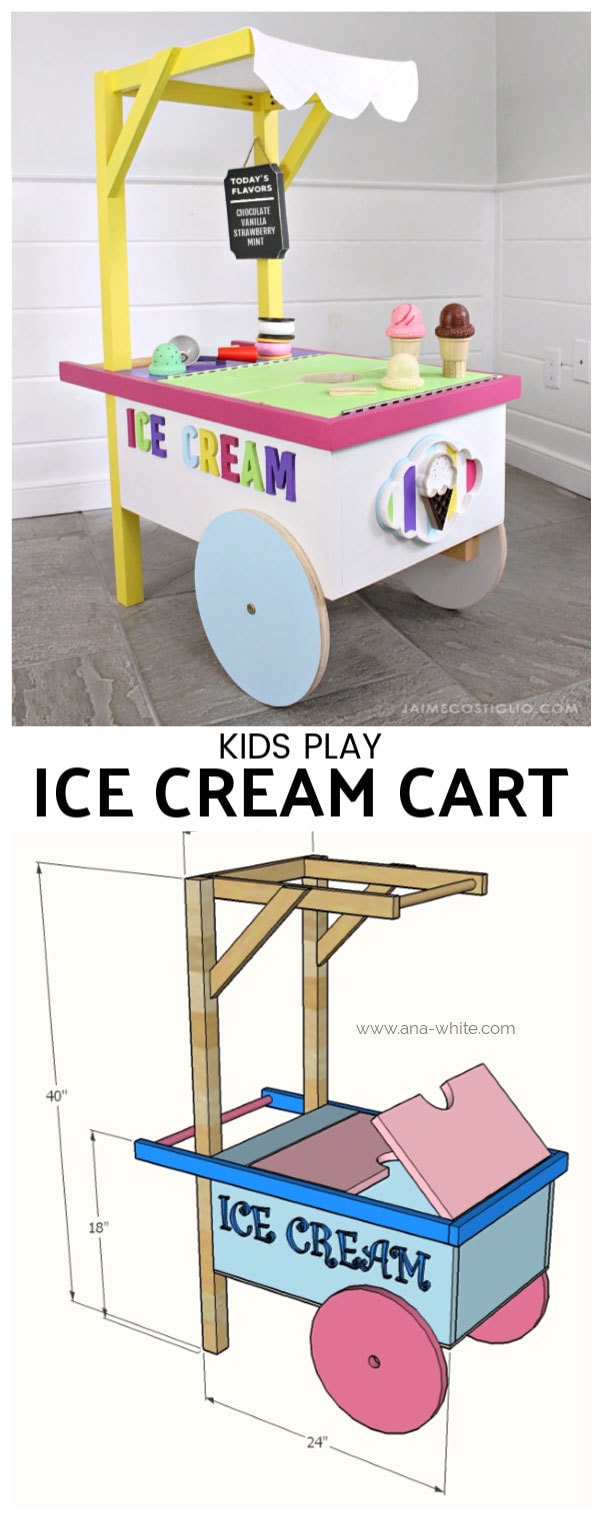
Ana designed this ice cream cart full of functionality. The top doors open to reveal the freezer storage compartment, there is a serving area, a cute scalloped awning and a handle. The wheels work great for mobility although since the cart is solid wood it’s probably a bit heavy for young kids to be pushing around on a regular basis.
For the awning I hemmed a piece of white cotton fabric on three sides and then traced a bowl for the scallops, cut the scallop shape and hemmed the raw edge. The awning is stapled to the top framework. Another option would be 1/4″ plywood cut to fit the top and another piece cut with scallops for the front edge similar to this play dress up boutique.
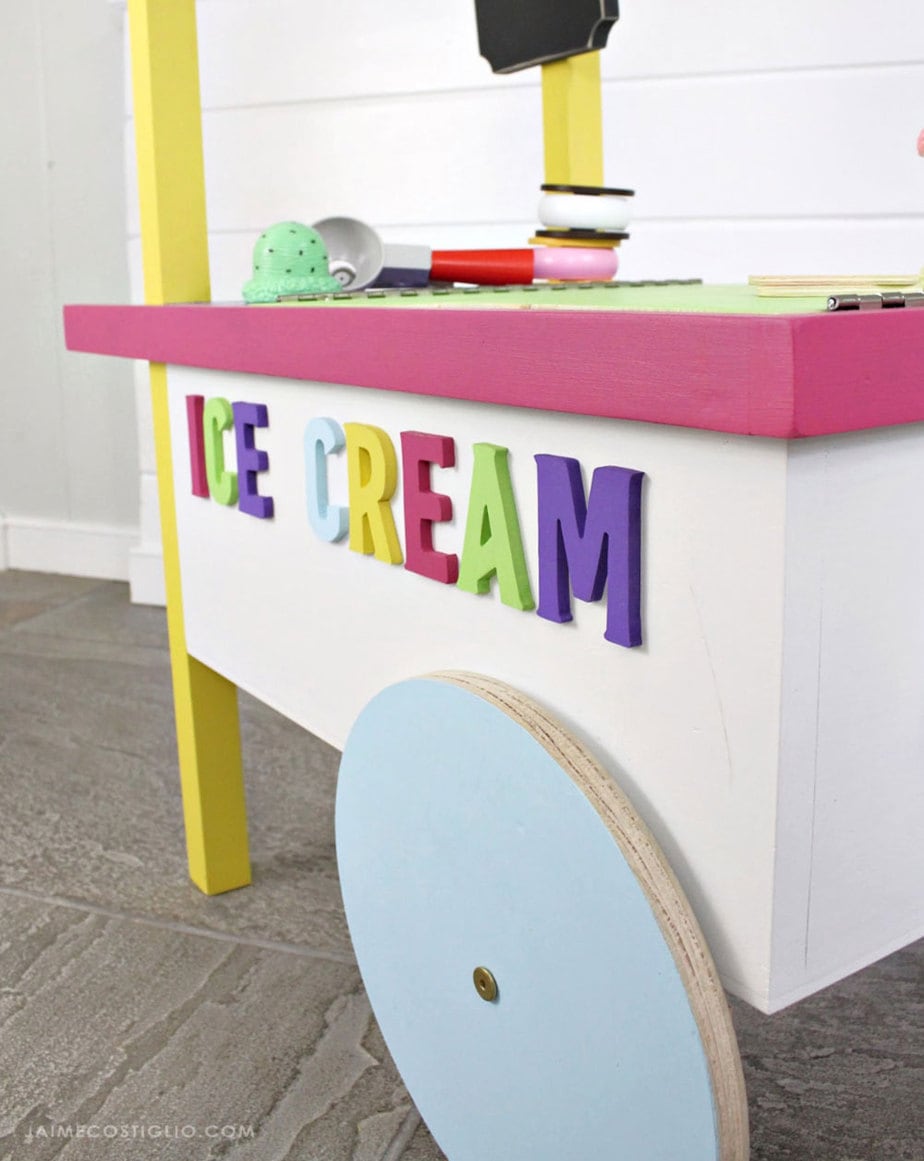
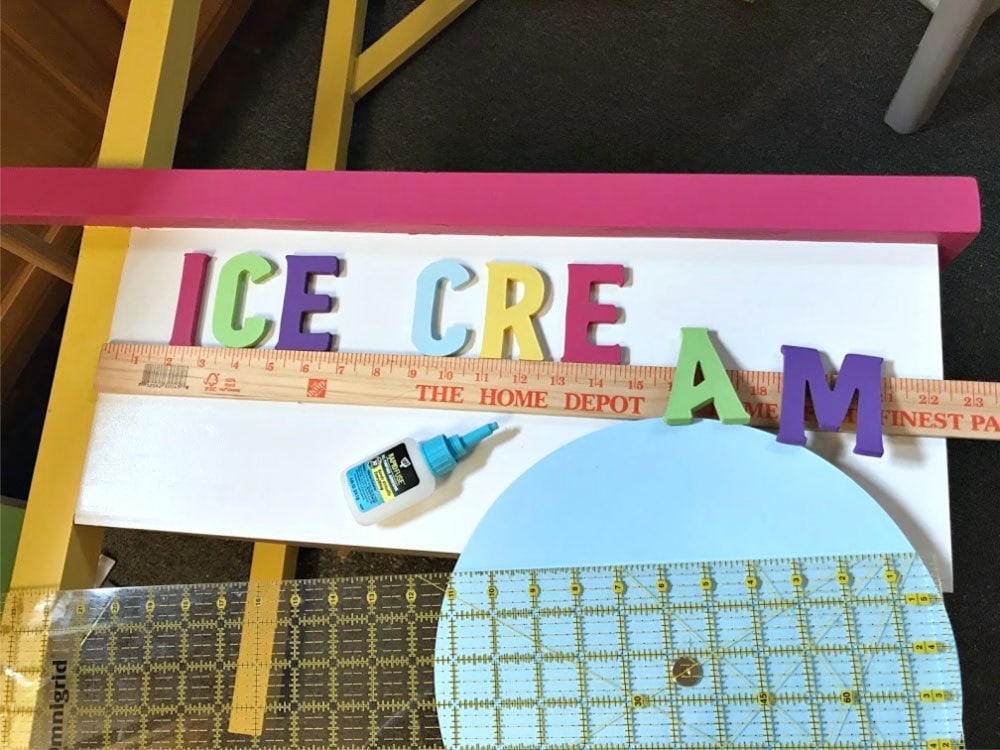
I might have gone a bit overboard with the decor on the ice cream cart. I just couldn’t help myself it was screaming for cute lettering and signage. I cut these letters on the scroll saw and will share more details down below. Scrolling has become my most favorite side hobby recently, you can read all about my scroll saw set up here. Of course you could purchase precut letters at the craft store, these are about 3″ tall and 1/4″ thick for reference.
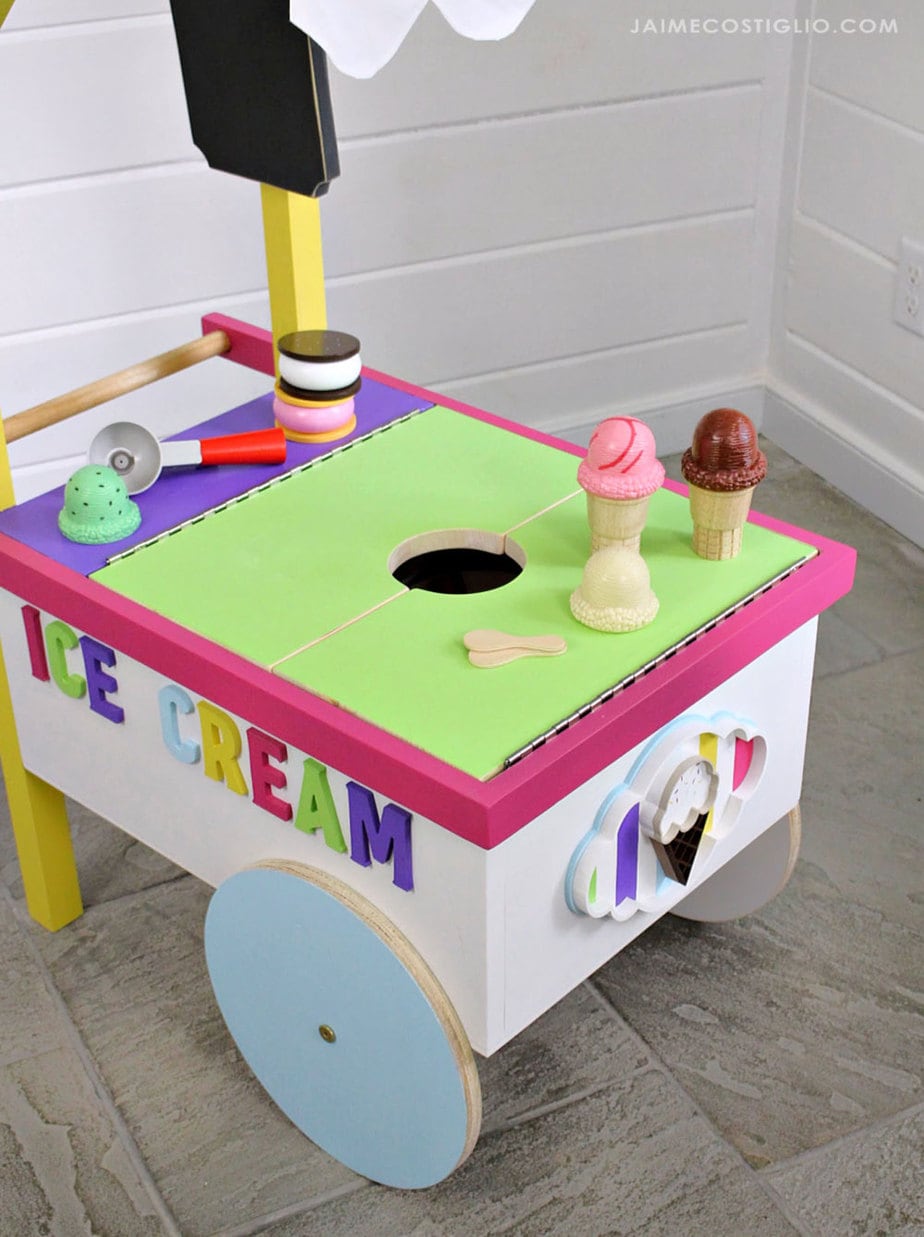
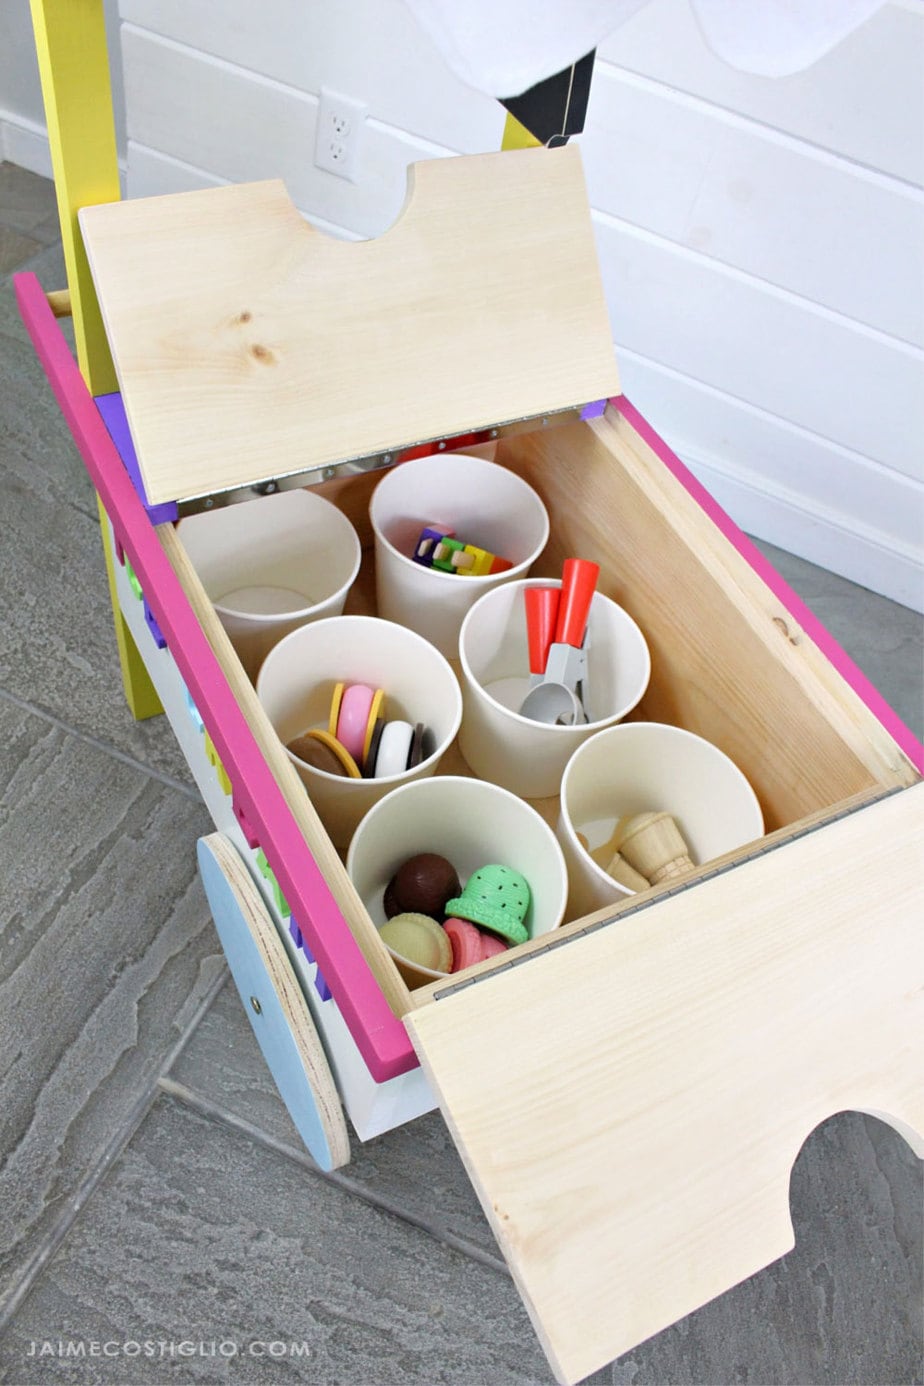
The top doors are super solid and function beautifully. I opted for a piano hinge here but you could use any basic hinges. Ana designed the center cut out hole for an easy pull handle for kids, so smart.
And under the doors is plenty of storage for all things ice cream. You could also make interior cubbies to divide the space, that would be cute and help with organization.
And because I’m a scroll saw fanatic I made this cute little ice cream cart sign and attached it to the front of the cart. I designed the sign using PicMonkey, they have a ton of graphics you can combine to make almost anything.
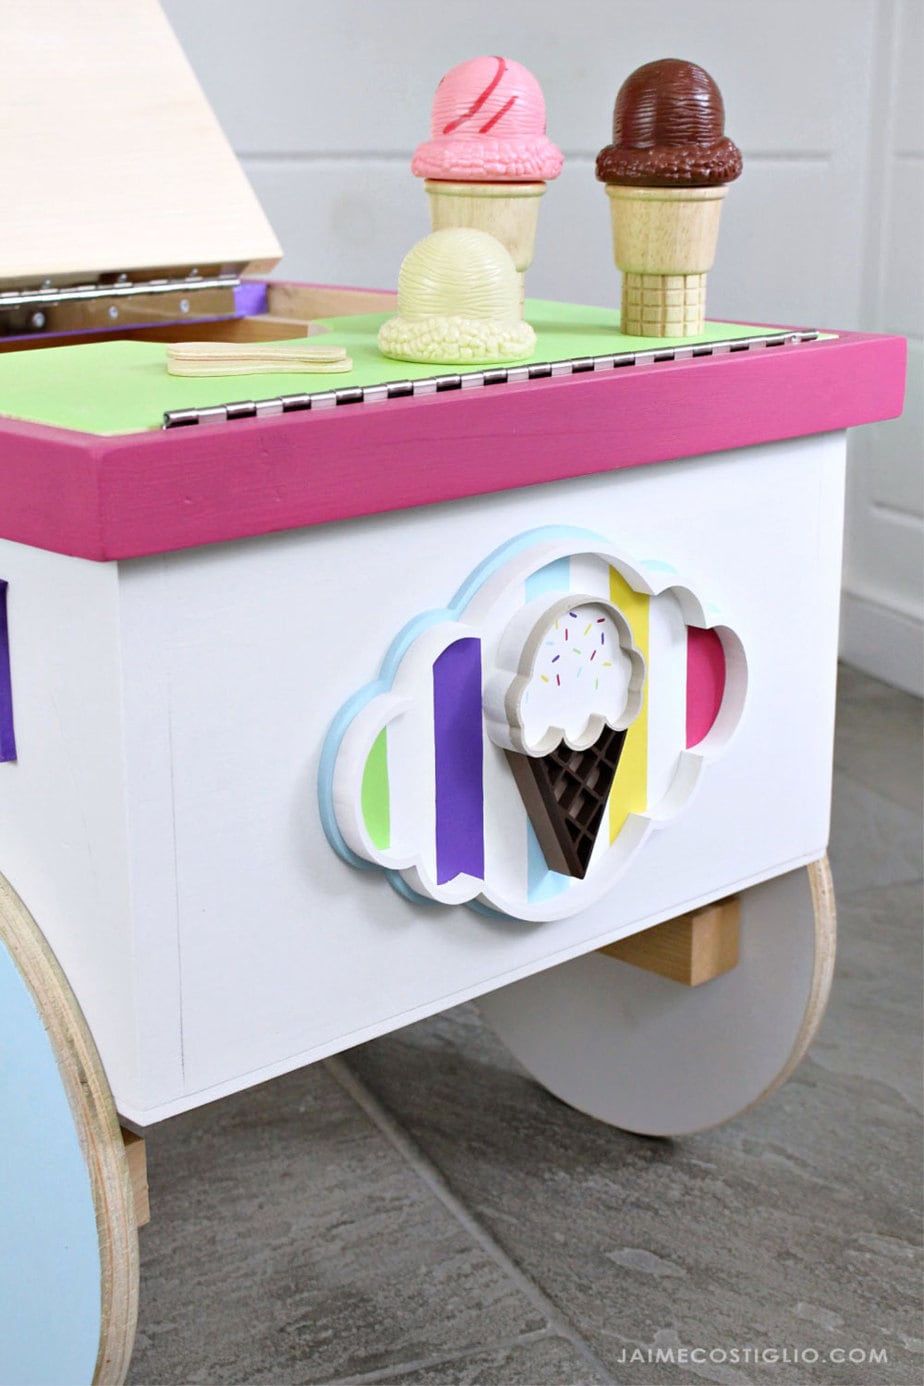
Make the graphic you want in PicMonkey then insert the file into a word document and adjust the size to your needs. Below is the graphic I made:
But let’s build the ice cream cart first before we get to adding decor. Ana has the plans here, be sure to read through entirely before beginning and scroll down through my construction notes for real life details.
Supplies:
- Ana’s free plans here
- 2 – 1/4″ x 60mm connecting bolts & nuts
- 2 – washers
- 1 piano hinge (cut in half)
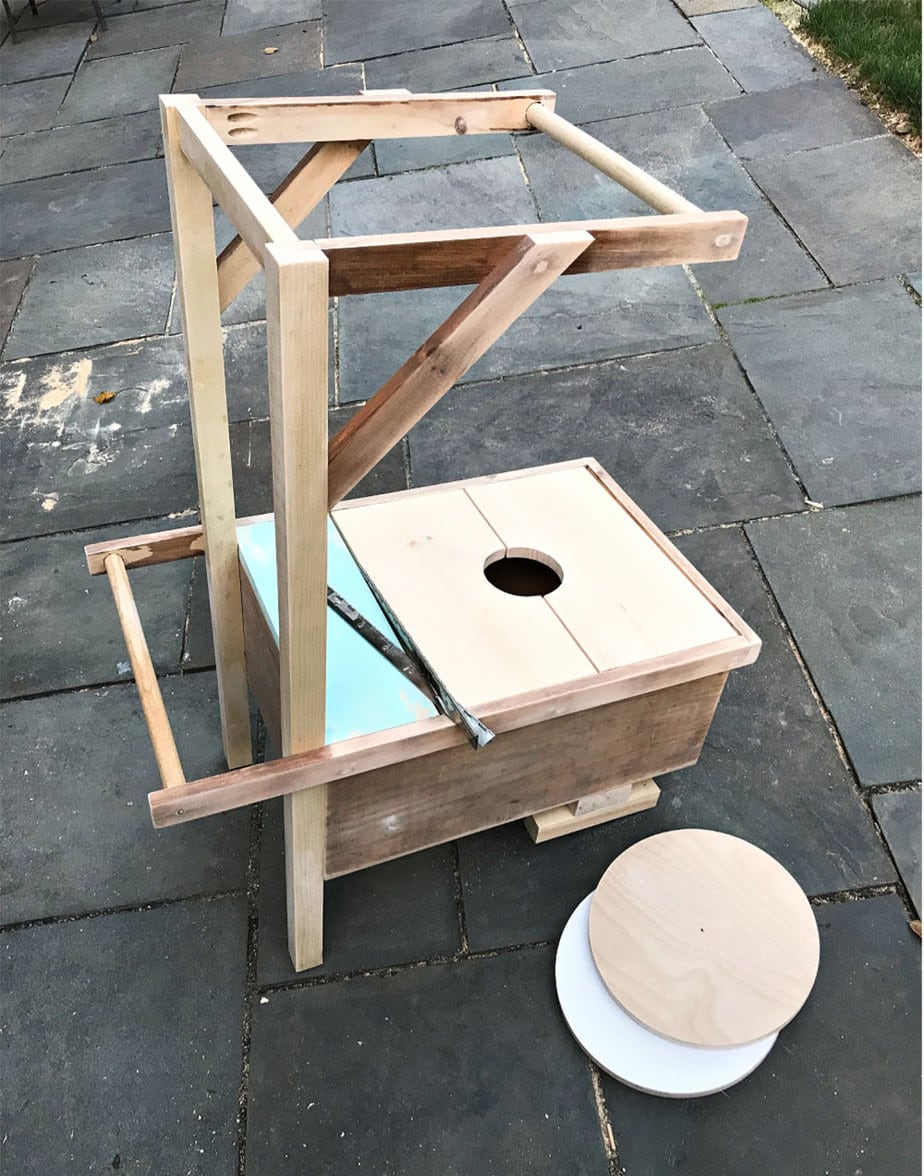
Step 1: Build the ice cream cart following Ana’s plans. You can see I used a lot of scrap wood I had laying around, use what you have on hand especially if you’re going to be painting the project.
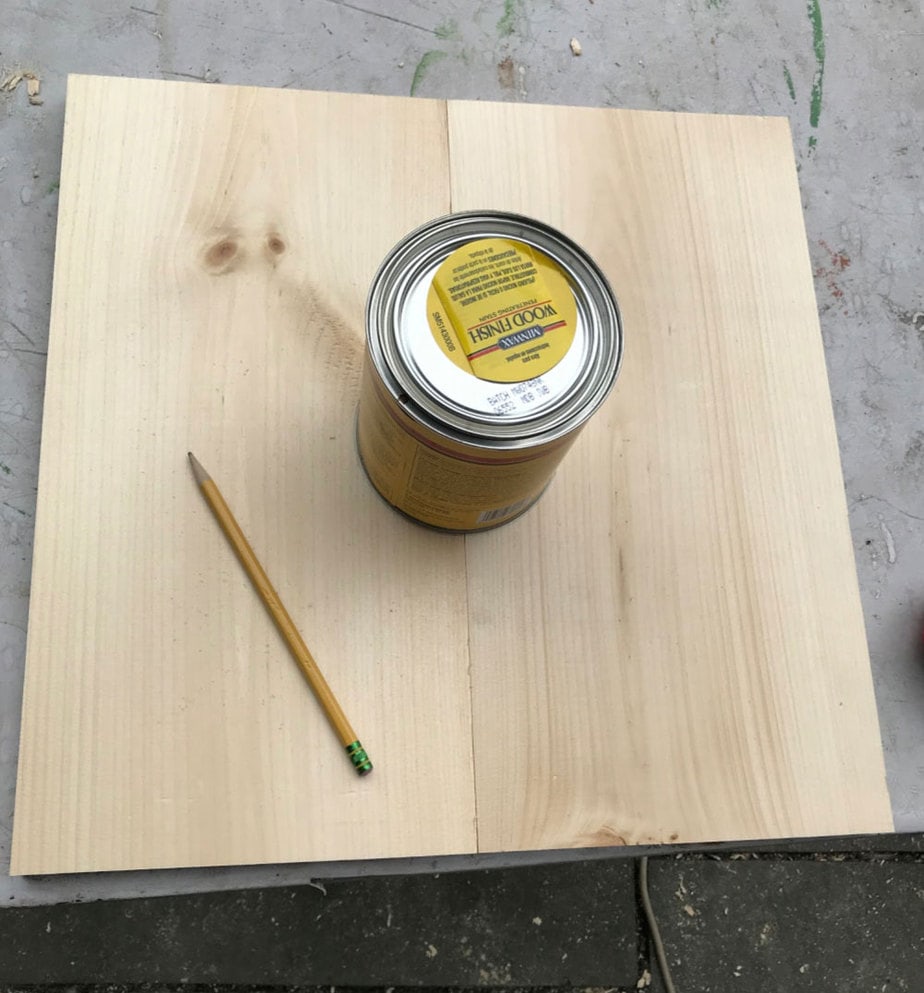
To cut out the center pull handle in the top place the two top pieces together. Find the center and trace around a quart size can of stain or paint. Then use your jigsaw or scroll saw to cut the curved opening.
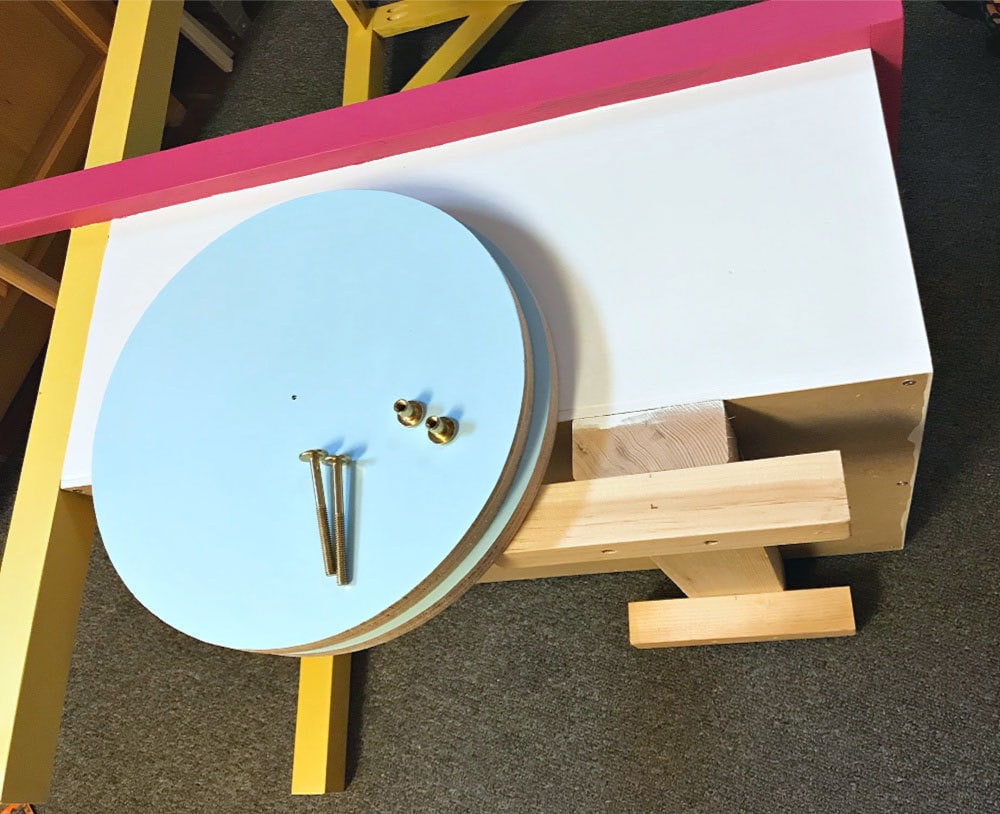
For the wheels I used 2 – 1/4″ connecting bolts at 60 mm long. My wheel housing varies a bit from the plans. I used a 2×4 scrap attached to the underside and then 2 – 2×2 @ 8″ long centered on the 2×4.
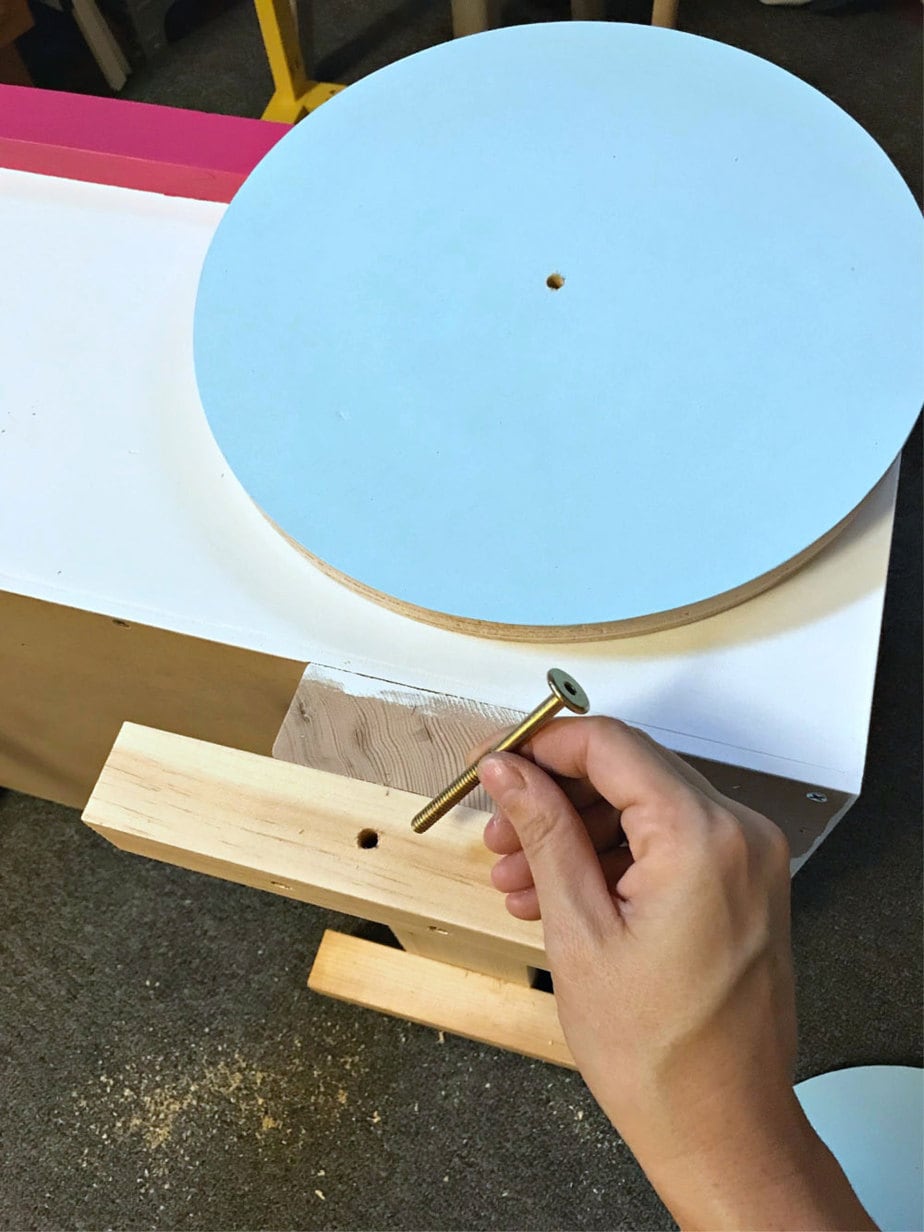
Predrill a 1/4″ hole for the bolt through the wheel and 2×2. Then on the interior side of the 2×2 predrill a larger hole for the connecting nut to rest inside. Use a washer between the wheel and the 2×2 for better mobility. Put the wheel in position with the washer in between and slide the bolt through and screw on the nut. You’ll need two hex wrenches working in opposite directions to tighten the bolt.
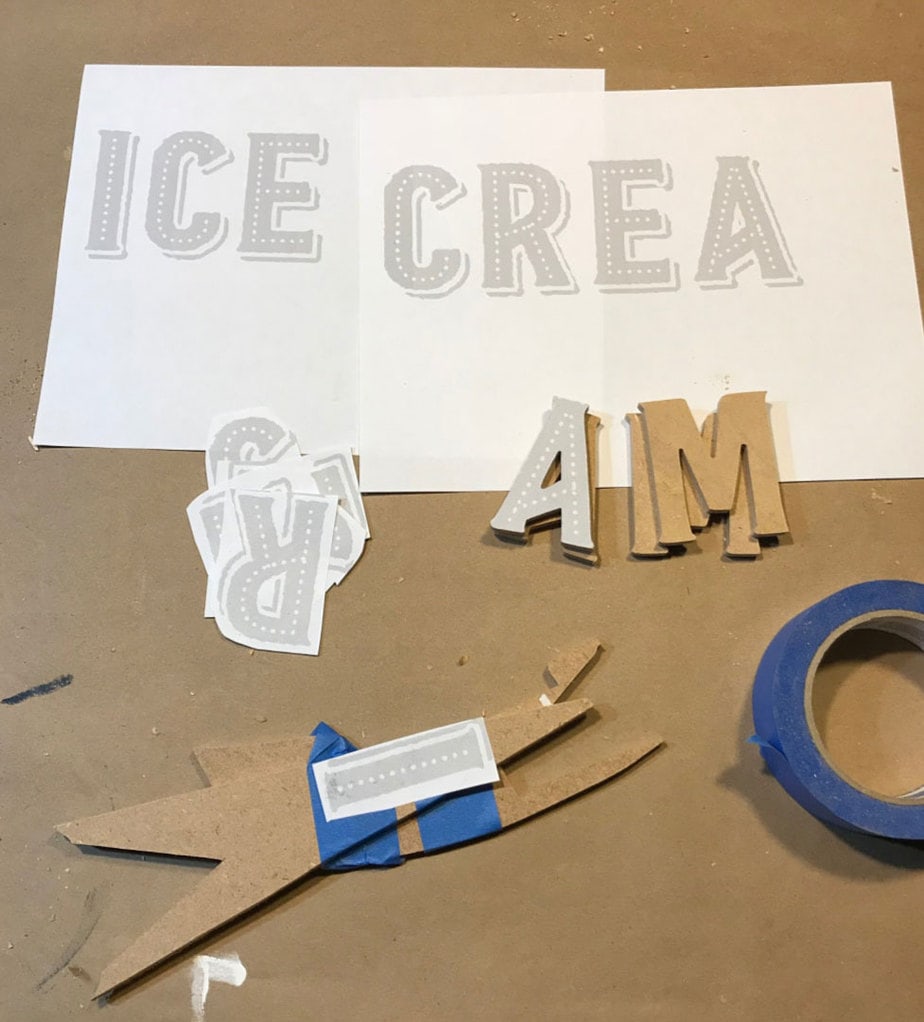
For the lettering I used 1/4″ MDF and cut out letters in duplicate on the scroll saw. Print out the letters and use spray adhesive to attach the paper to the MDF. To cut duplicate pieces I use painters tape to hold two pieces of MDF together.
Paint the letters as you like and attach to the ice cream cart using Dap rapidfuse. Truly a very fun project to build and one that kids can enjoy for hours.
SHOP THIS PROJECT:


Do you have a complete list of the wood materials for someone who doesn’t have scrap wood, And the diameter of the wheels?
Hi William, the plans are here. I believe the wheels are 12″ diameter. https://www.ana-white.com/woodworking-projects/ice-cream-cart