I had envisioned this light fixture in my head years ago and scoured the internet looking to find it to no avail. And although I love to DIY almost everything I tend to shy away from electrical work (and plumbing) for fear of messing things up. But, I finally found an easy solution and built the light fixture I was always dreaming of AND there’s no electrical work involved! Let me show you how I made this inexpensive hanging light fixture.

A DIY tutorial to make a rustic farmhouse style hanging light fixture using wood boards and prewired light kits, no electrical skills necessary!
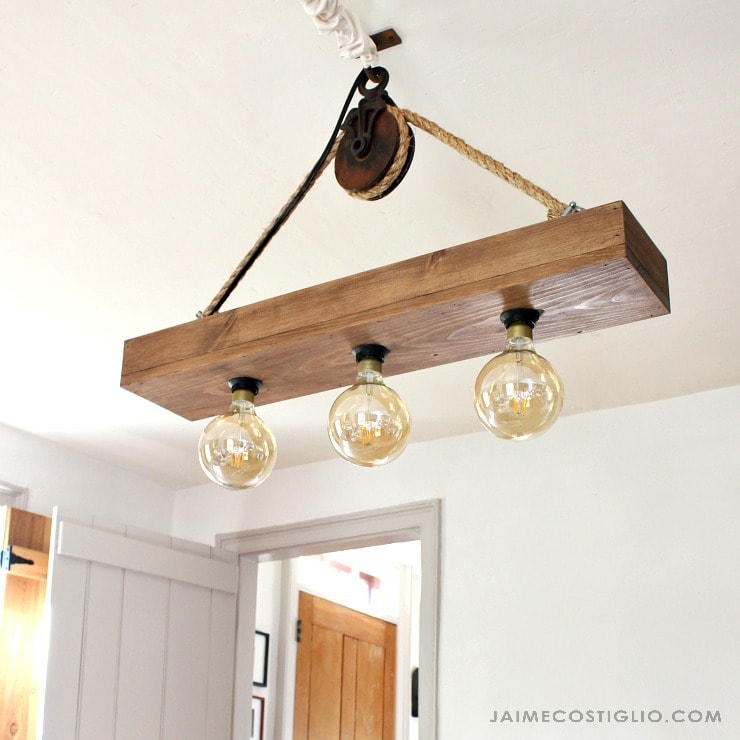
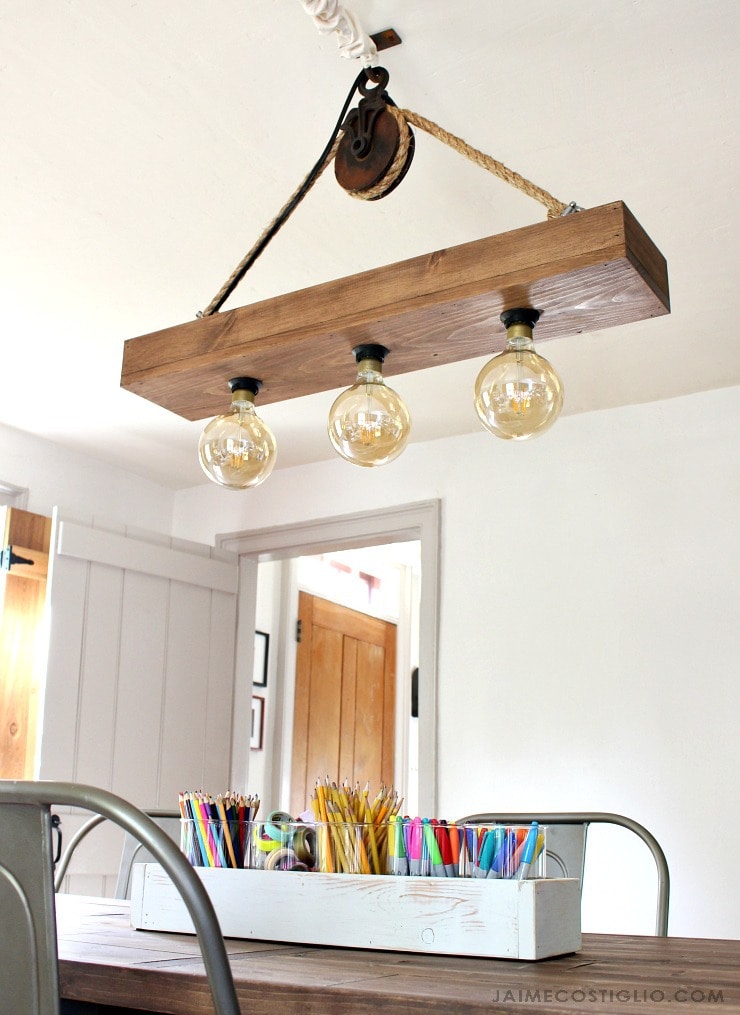
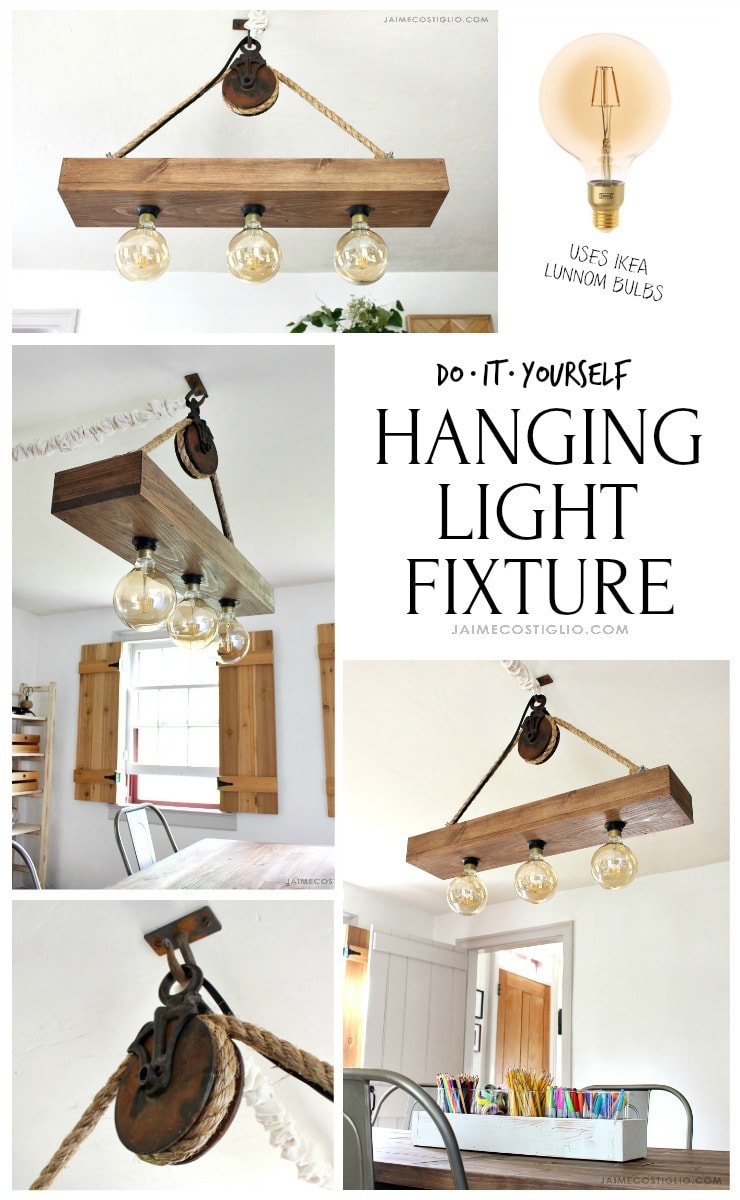
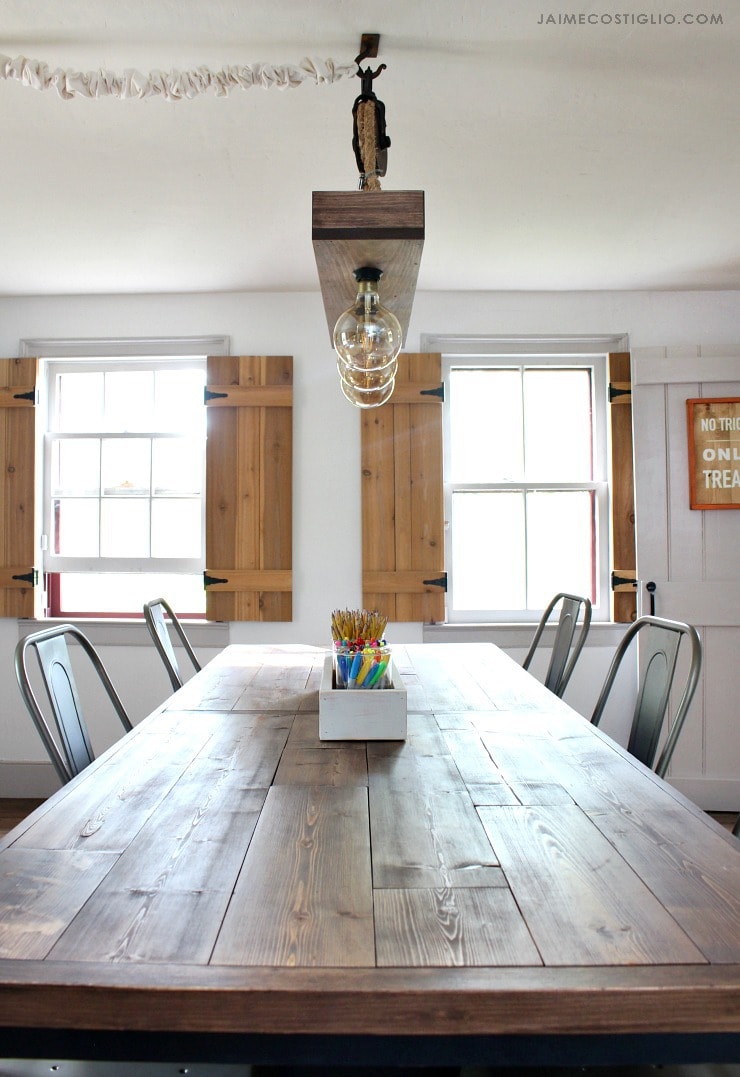
This three bulb hanging light fixture is mounted above our work table in the Living Room. It provides a ton of warm light and was fairly easy to construct.
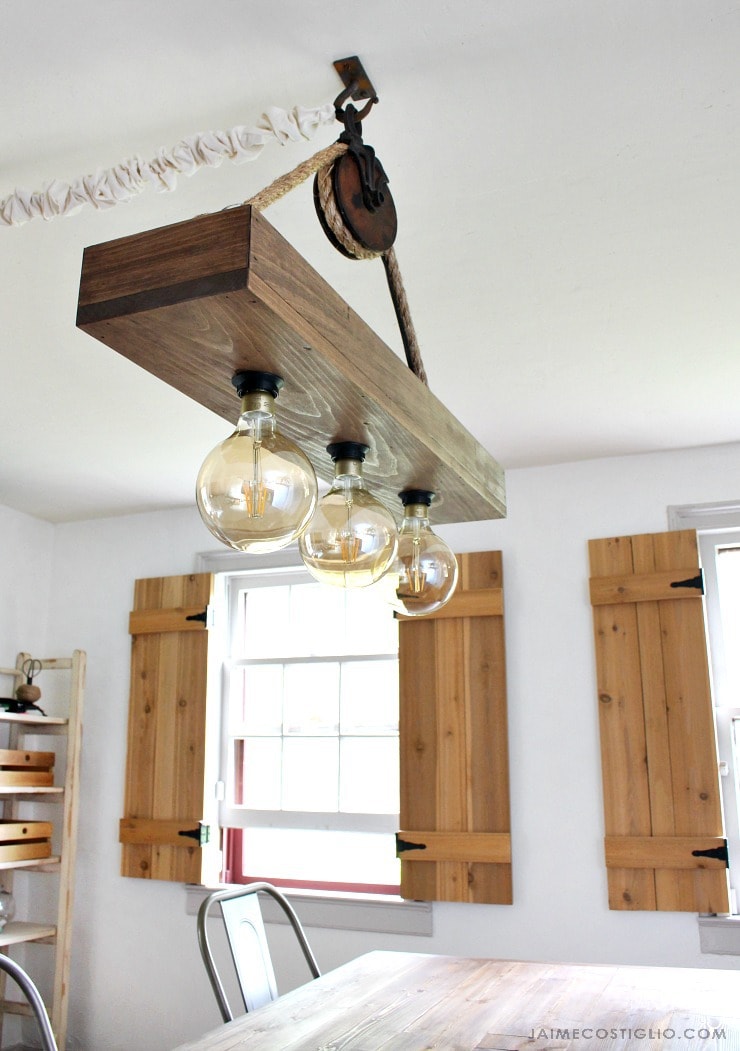
I did purchase the old farm pulley from an antique shop but you could substitute with any pulley or hook device to suit your needs.
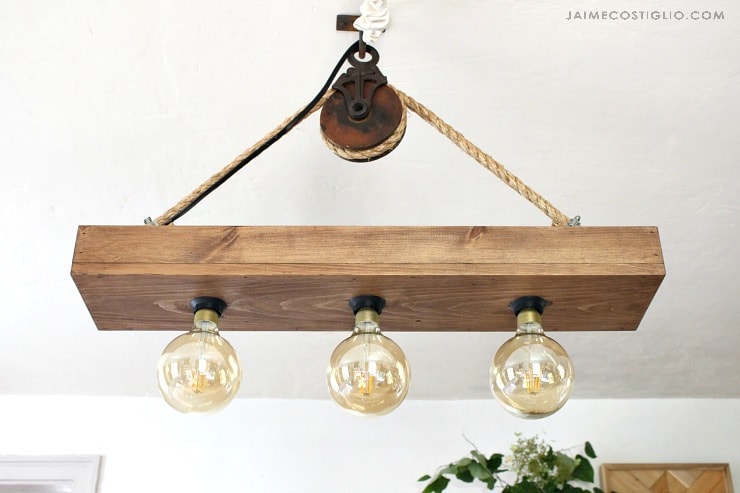
We live in a 1740 saltbox farmhouse so I designed this light fixture to compliment the old, rustic feel but truly I think this could look beautiful in a more modern home just the same.
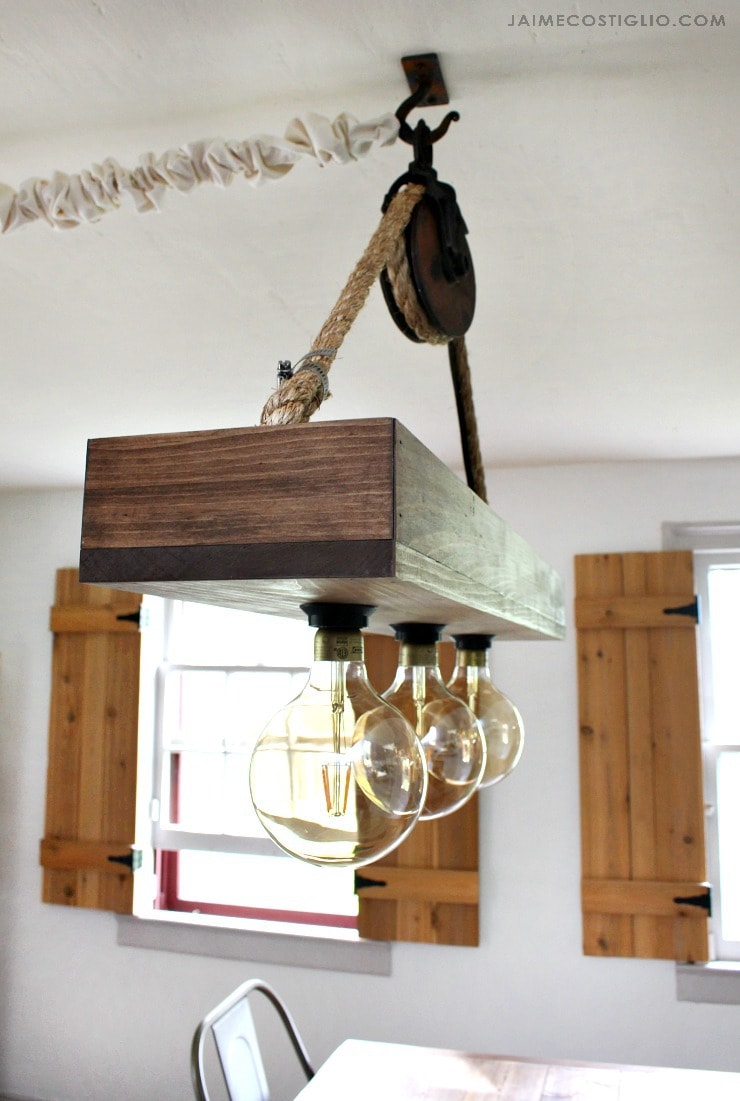
It’s a simple open wood box with bulb housings inserted in the base. The light bulbs are from Ikea – the Lunnom LED bulb and I used the Hemma cord set for each bulb. Down below are the details on how I made the hanging light fixture. I’m estimating the total cost was about $80 not including the antique pulley.
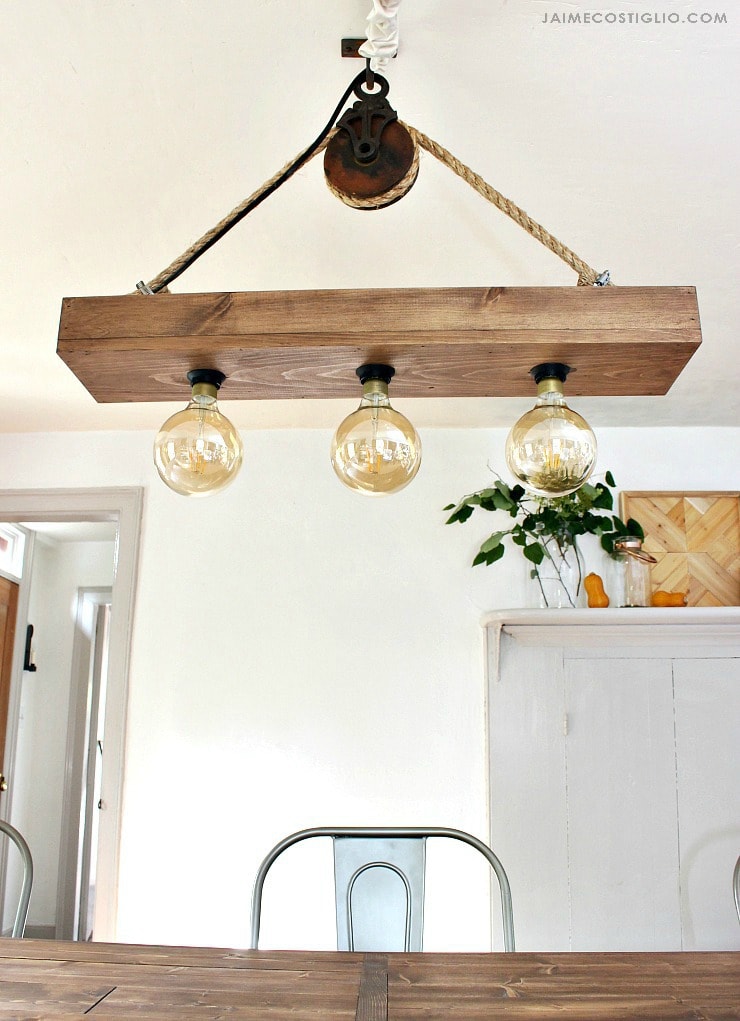
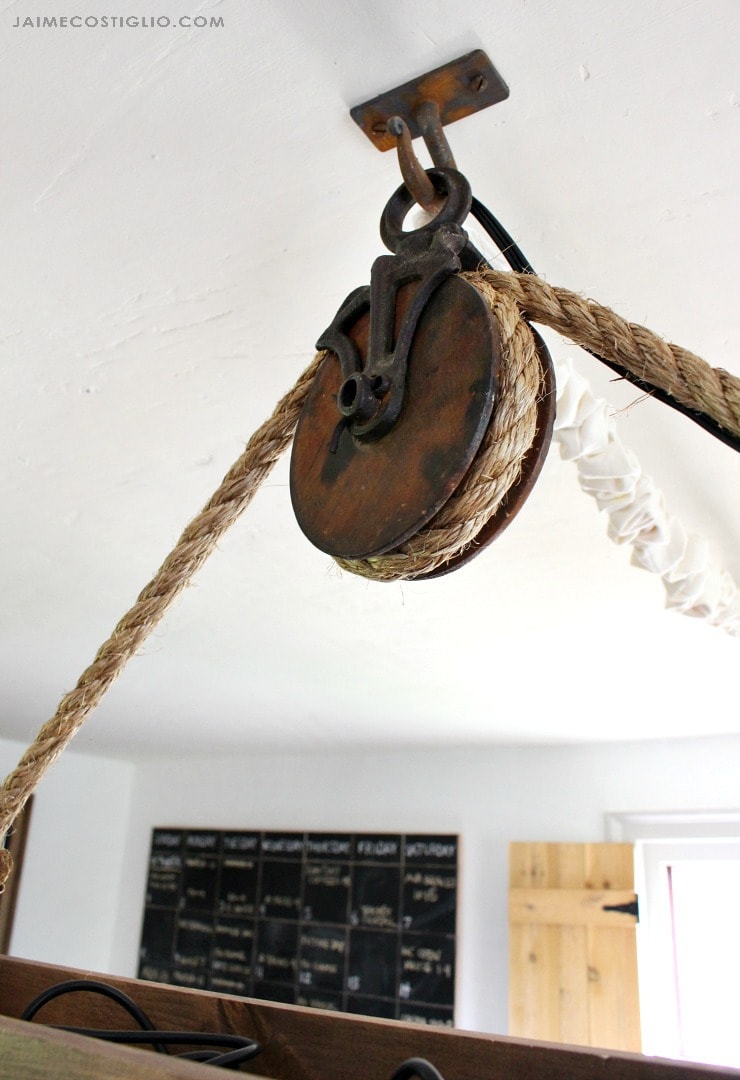
You can barely see in the photo above but the wood box actually holds the cord sets for each bulb all hidden from site.
Supplies:
- 1×8 @ 36″ (base)
- 2 – 1×3 @ 36″ (sides, both ends beveled 45 degrees)
- 2 – 1×3 @ 7 1/4″ (ends, both ends beveled 45 degrees)
- 2 – 1×3 @ 4″ (block cleat for screw eye)
- 2 – screw eyes
- 4 – 1 1/4″ wood screws
- 8′ – 1″ thick manila rope
- 2 – plumbing clamps
- miter saw
- nail gun & 1 1/4″ finish nails
- wood glue
- drill
- forstner bits: 1 5/8″ & 1 3/4″
- stain
- 3 – Hemma cord set
- 3 – Lunnom light bulbs
- ceiling hook & pulley
- extension cord with minimum 3 ports
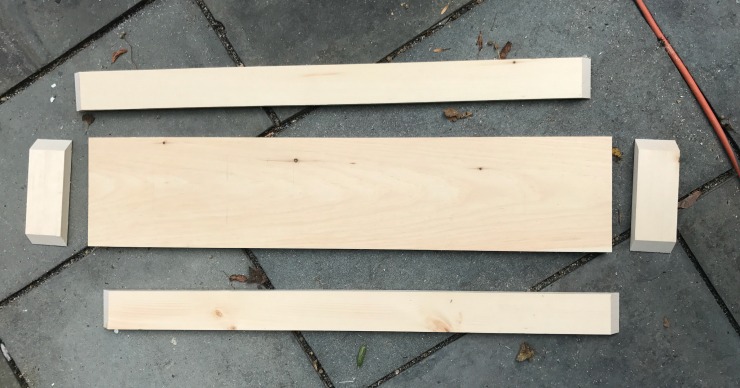
Step 1: Cut the wood boards as desired. I noted my dimensions above exactly as you see the light fixture in all my photos. Apply wood glue and attach the boards using 1 1/4″ finish nails both at the corners and from under the base.
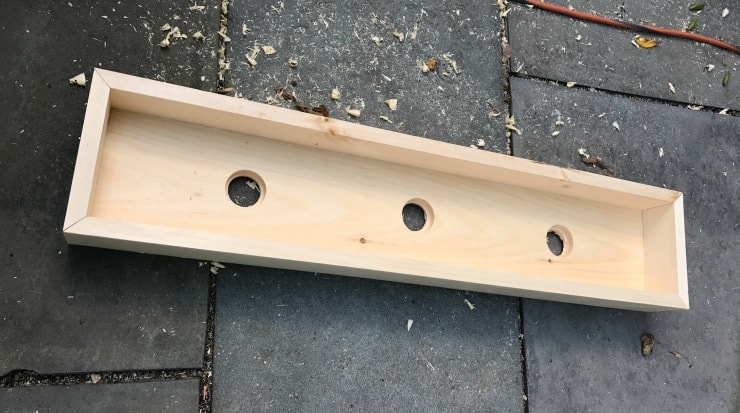
Step 2: Once the box is assembled determine where you want the bulb housing – center and equal spacing.
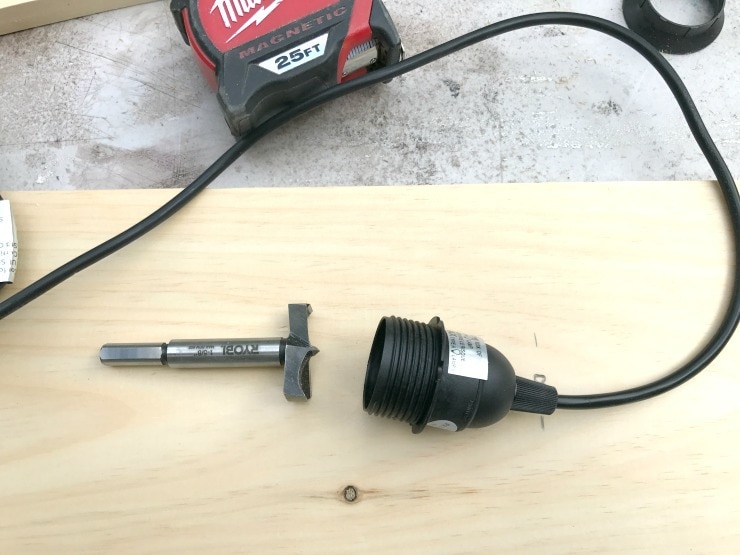
Step 3: Begin with the 1 3/4″ forstner bit. We need to drill a hole as pictured below in order to allow enough of the housing to be exposed on the underside. With the 1 3/4″ bit drill down about 1/2″. Then use the smaller 1 5/8″ bit to drill out the remaining 1/4″.
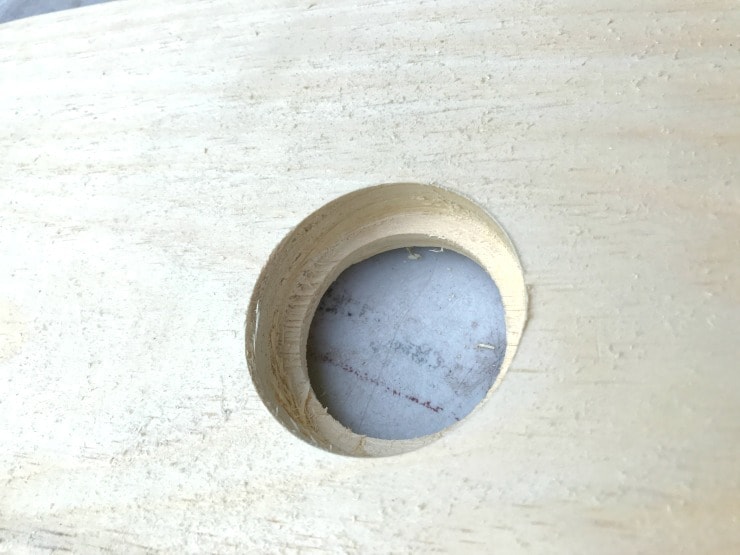
Step 4: Stain and finish as desired. I also used a wipe on satin poly.
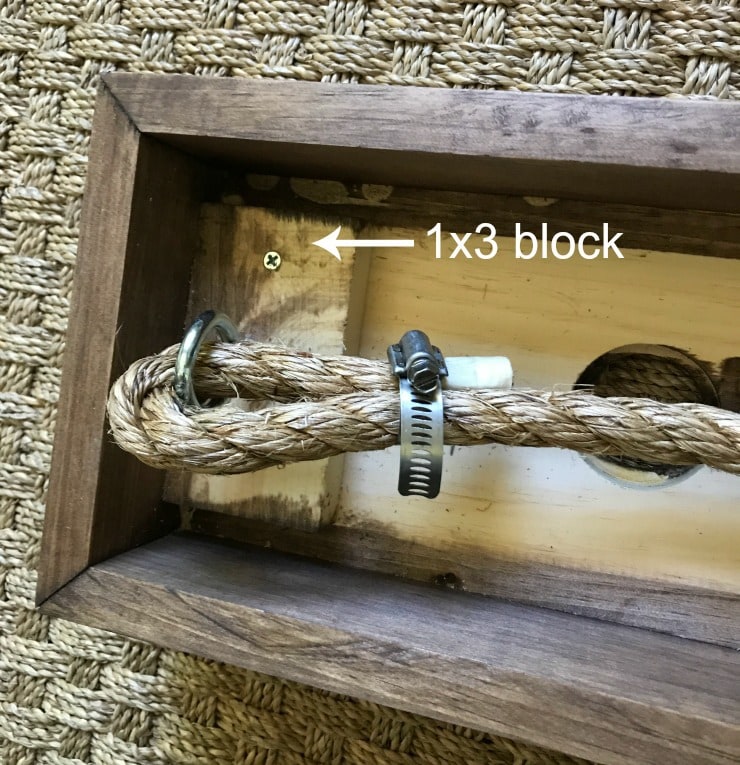
Step 5: Attach the short 1×3 block to the interior box at each end just as in the photo above using wood glue and countersunk 1 1/4″ wood screws. Predrill and insert the screw eye at center. Thread the rope through the screw eye leaving about 4″ to fold over then secure with plumbing clamp. Repeat for other end after determining the rope length based on your pulley and how high you want the light fixture to hang.
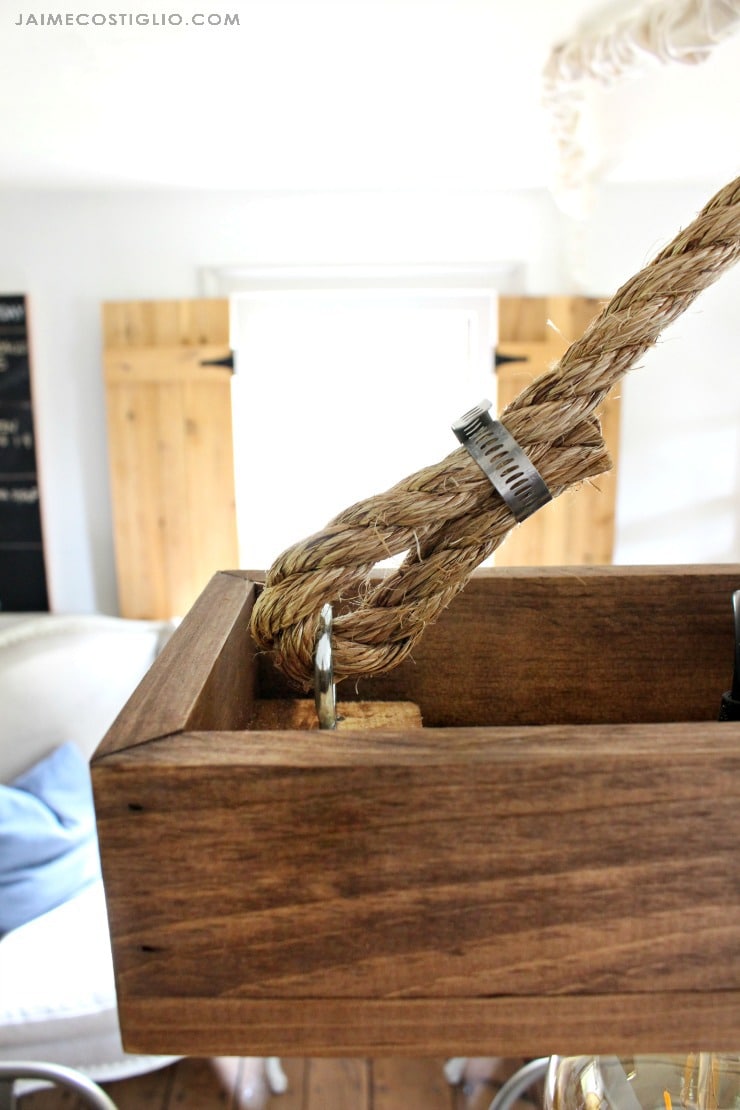
Step 6: Once the fixture is secure on the pulley insert the cord housing into the predrilled holes and secure with supplied collar. Insert all 3 plugs into the extension cord and run the male end of the extension cord up one side of the rope. I actually sandwiched the extension cord between the two ropes and clamped it altogether then ran it up to the pulley hook and across the ceiling. I made a neutral fabric cord cover so you don’t see the black extension cord hanging across the ceiling.
So happy to have this light fixture in my life and it’s even better knowing that I made it myself. I’d love to see your versions if you do tackle this project, please be sure to share on social media and tag me.
Great idea
Thanks Mom 🙂
Your house looks beautiful, and I like your light fixture. We own property in Indiana that’s been in my family since 1849, and rent the cottage and barn on our property for weddings. This fixture would be a great addition to our barn. Thanks for sharing the directions on how to build one!
Thanks Jenny. So wonderful hearing from readers who cherish the charm of historic buildings, there is no substitute. Sounds like a magical place for a wedding!
I look forward to reading more of your blog! I love old houses, and yours is lovely.
I love this Jaime! It is so gorgeous and rustic and perfect for your amazing house. Making a light fixture has been on my list for a while and I never thought about using the Ikea kits! These look simple enough!
Thanks Anika, lots of possibilities with the Ikea kits!
What a cool fixture! I love the fact that no electric work is involved and that rustic vibe the old pulley gives is just awesome!
Thanks Cristina. I found that old pulley this past summer and was saving it for the right use, I think it works well in this case. I love anything with history that is functional and holds a memory.