*This post is sponsored by Simpson Strong-Tie.
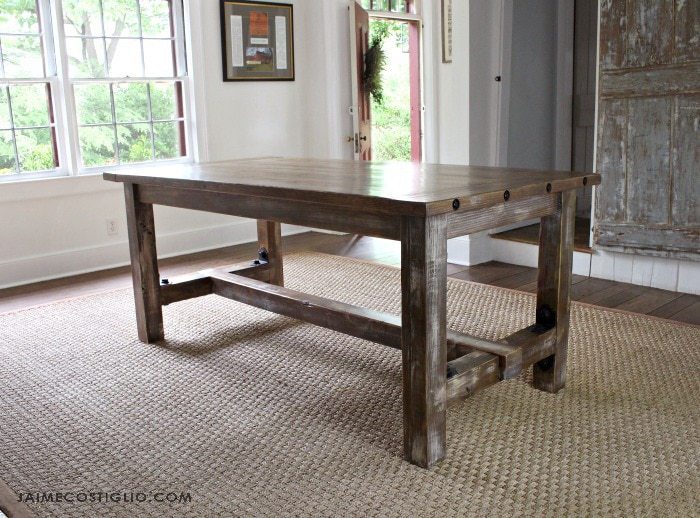
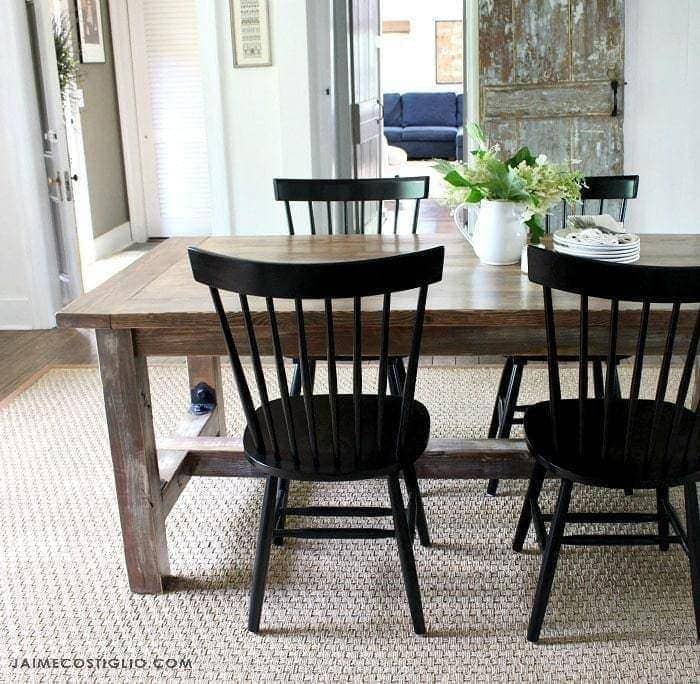
After five years of living in an antique home I finally built a faux barnwood table for our dining room. I’ll be honest, I was torn between being historically accurate and building with readily available supplies that don’t require milling and cost a fortune. Ultimately it’s functionality for my family and I can share the plans with others looking to build a farmhouse style table using off the shelf lumber which feels like a win in my book.
Build a faux barnwood dining table using off the shelf lumber combined with a few tricks. Complete the look with Outdoor Accents hardware and you’re golden!
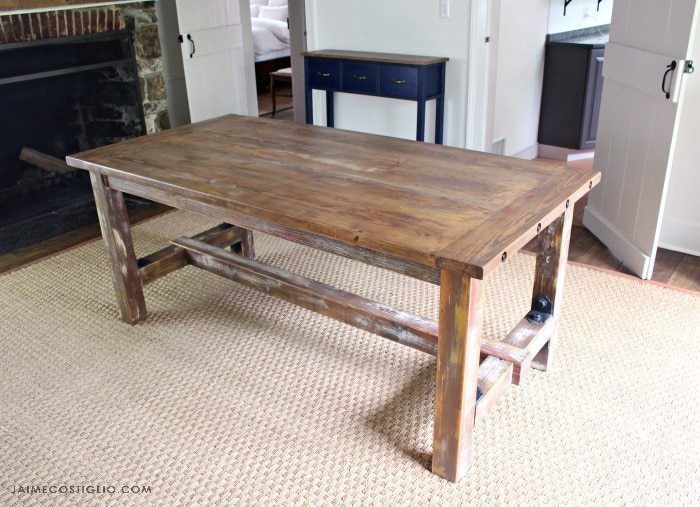
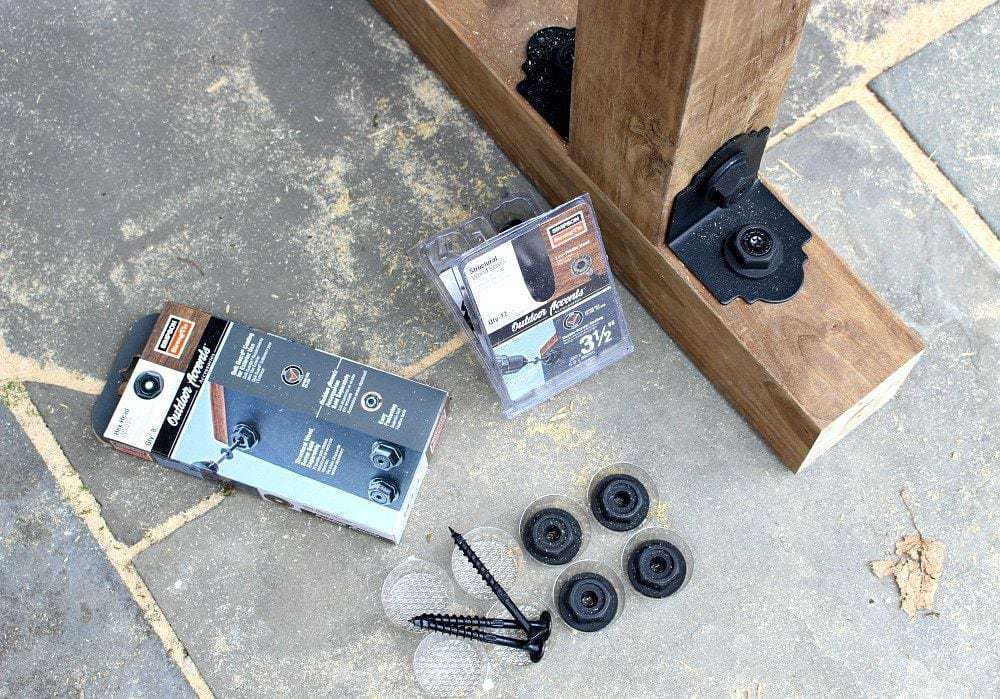
This sturdy and solid faux barnwood table is constructed with basic lumber and made complete with beautiful black powder coated Outdoor Accents angle brackets.
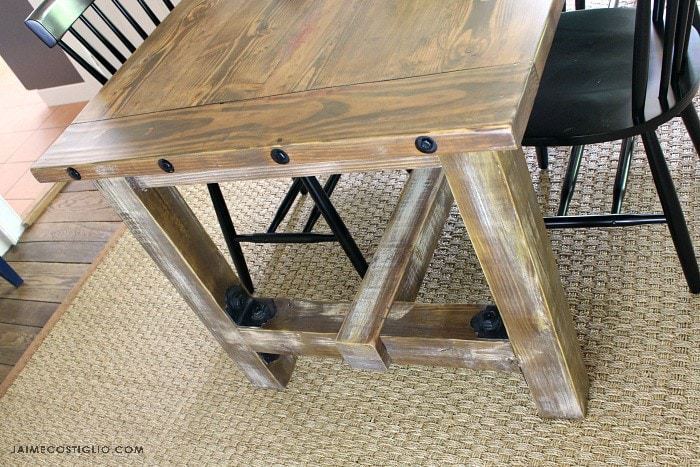
I used a dry brush technique to add bits of paint to the finish giving it that faux barnwood look as if the lumber might have come from an old barn. Don’t get me wrong I would have loved to upcycle original barnwood boards as has become the trend however that requires a few big pieces of machinery I don’t have access to. And the same goes for many DIYers so to make this project accessible and achievable for those with basic tools I used off the shelf lumber and dowel joinery.
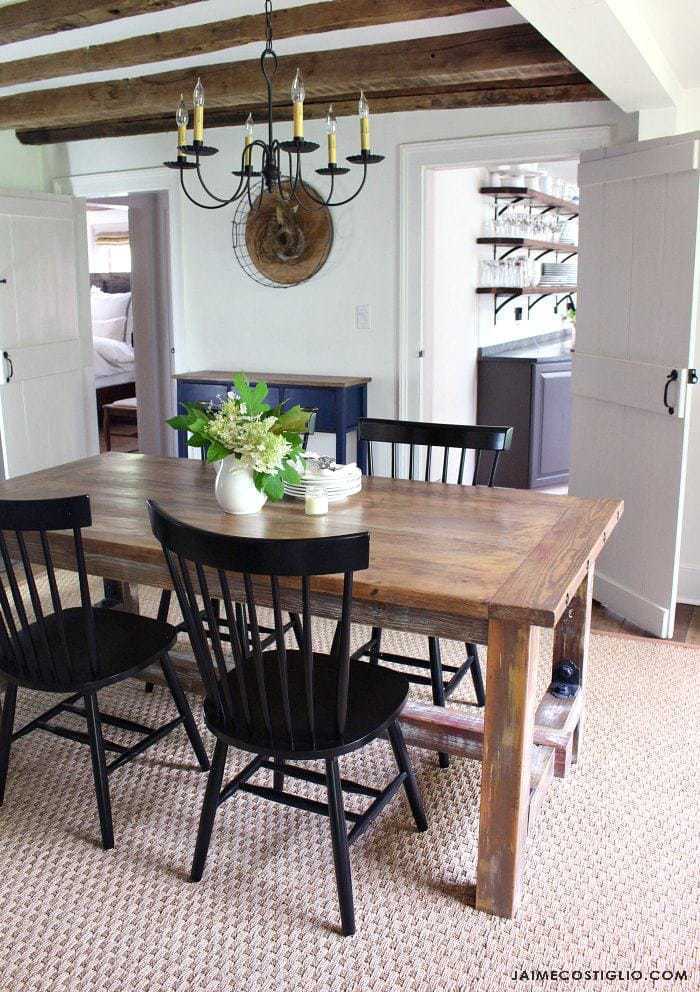
I’m sharing the complete plans including materials, cut list and step by step instructions over at Simpson Strong-Tie’s Building Strong site here. I’ve been building with their connectors and fasteners for four years now making various projects (desks, a sofa, log holder, coffee table, storage shelves, toy storage, etc) and I can honestly say their products are solid and leave very little room for user error.
See the process unfold in my video here:
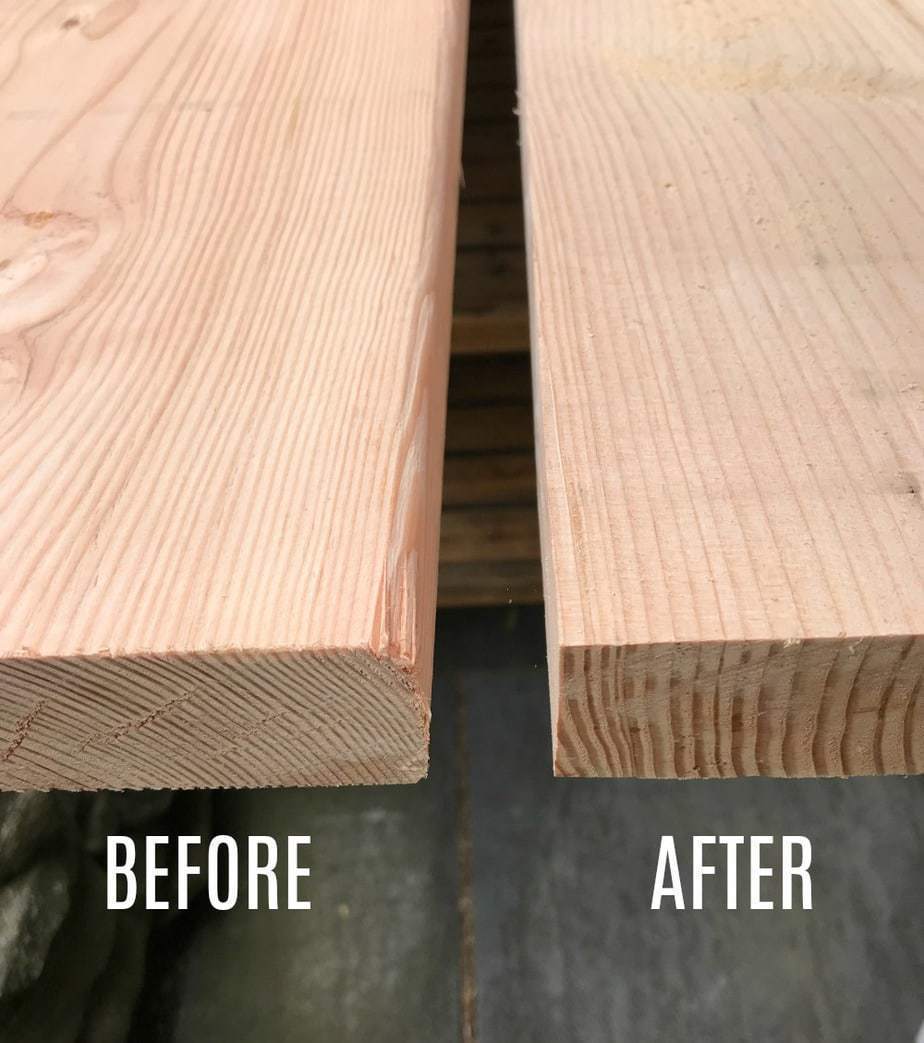
I designed this faux barnwood table using 2×10 boards which have that dreaded rounded edge. In order to remove the rounded edge I set up a guide using a 1×8 board as a straight edge:
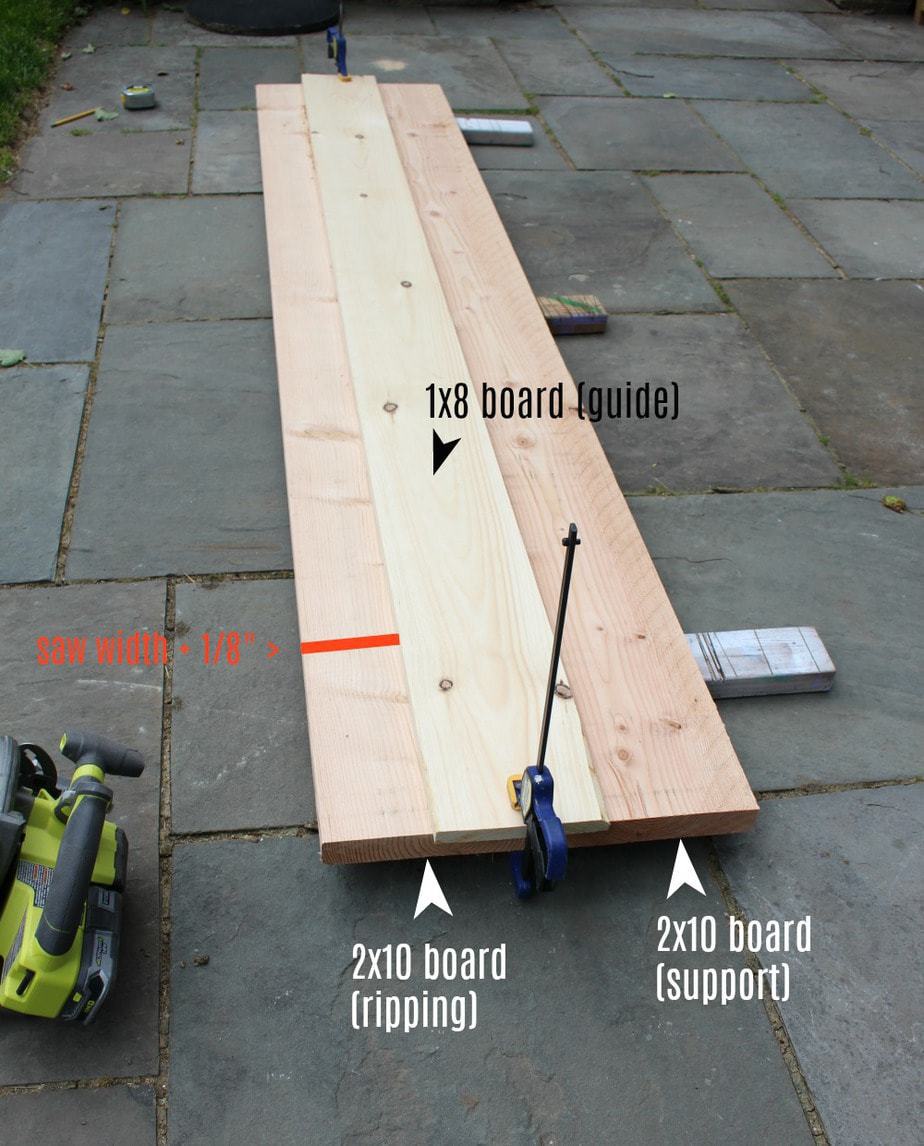
If you have a table saw you can easily rip the curved edge off however if you can still achieve similar results using a circular saw and a straight edge. Just be sure the guide board is straight!
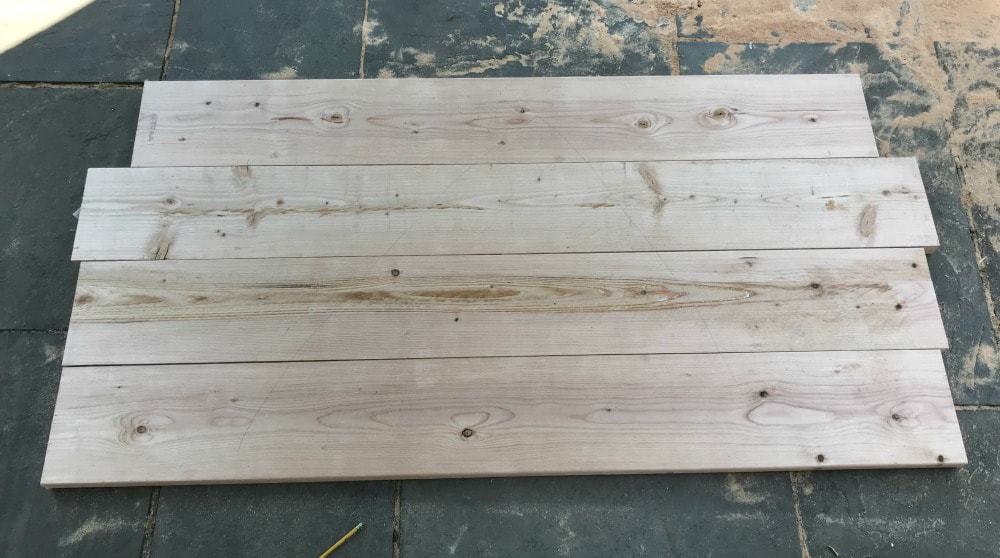
Once all the boards are ripped with a nice sharp edge then cut them to length. Be sure to give a few extra inches in length so you can trim flush after the glue up. Lay them out and line up, alternating the grain curves on the ends then draw a large V so you can remember exactly how they lie:
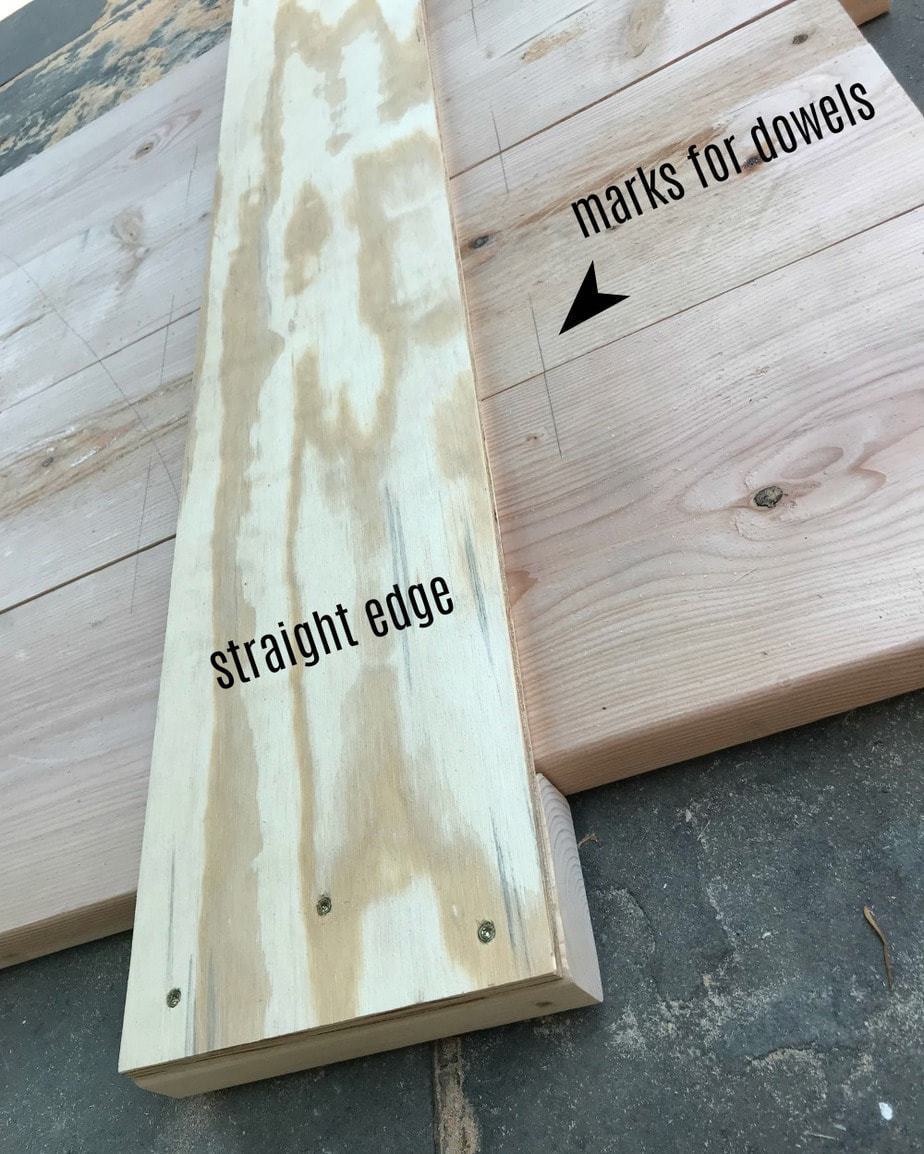
Use a big T square or a homemade straight edge as your guide and make marks across the seams for dowels:
Use a paper template to determine exactly where each dowel hole needs to be drilled. (Check out my video here for the paper template in action.)
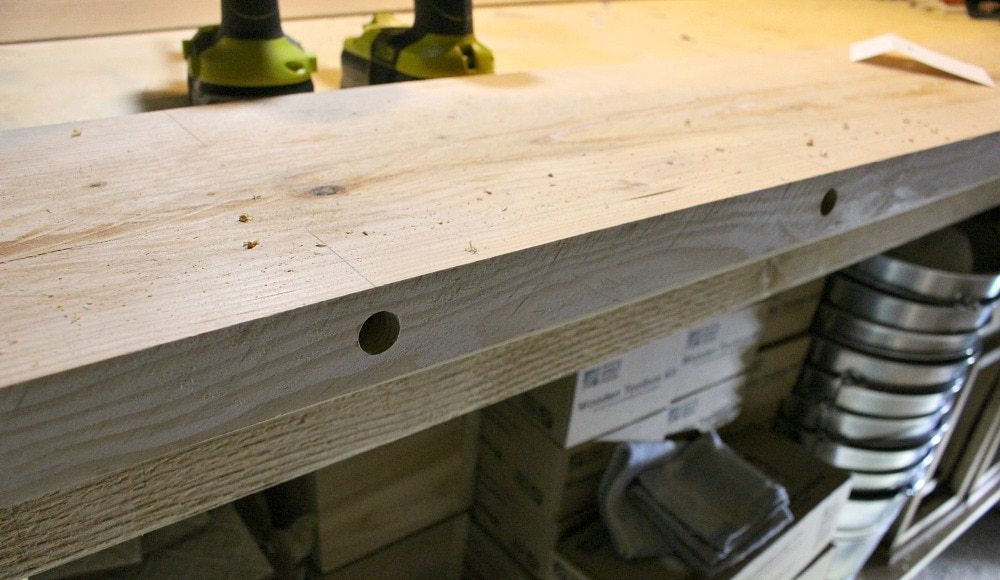
Once all the dowel holes are drilled in both sides then begin gluing. Use plenty of glue, don’t be shy.
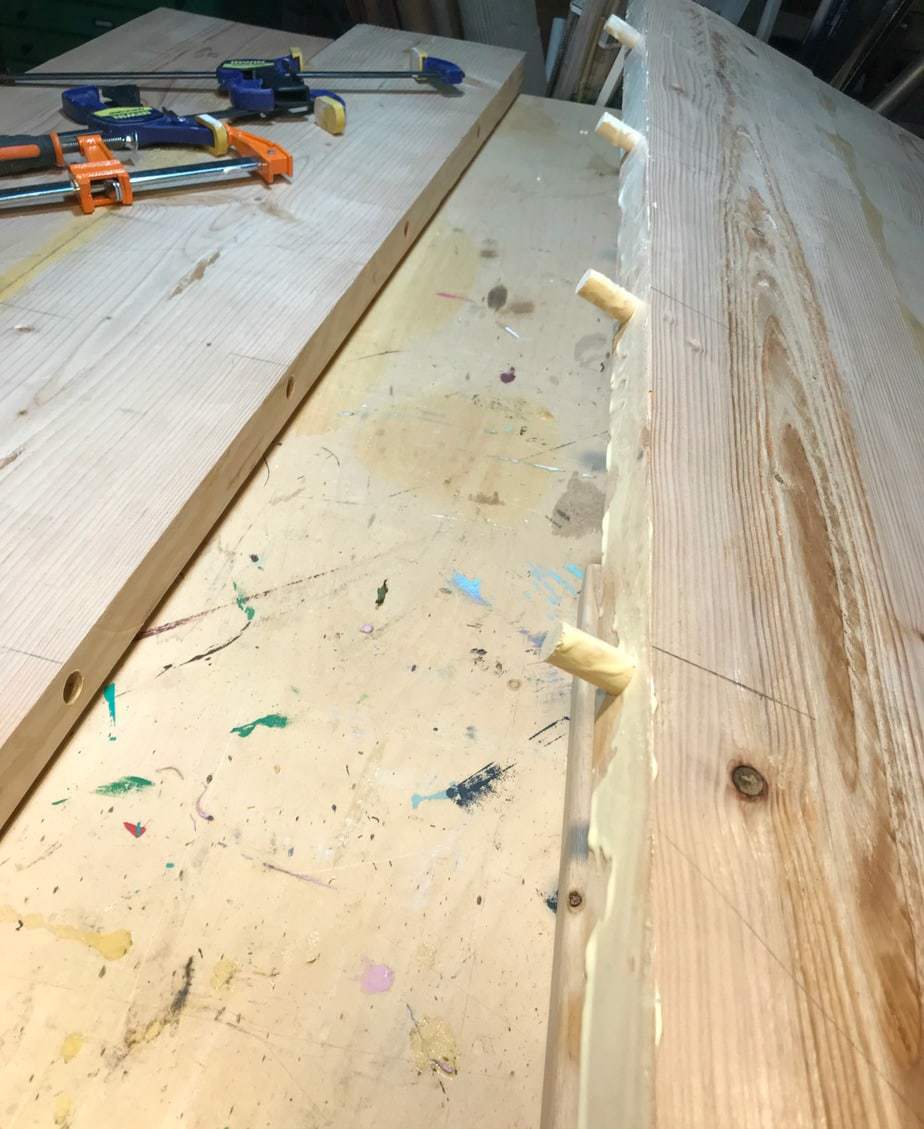
Insert the dowels and clamp the boards together.
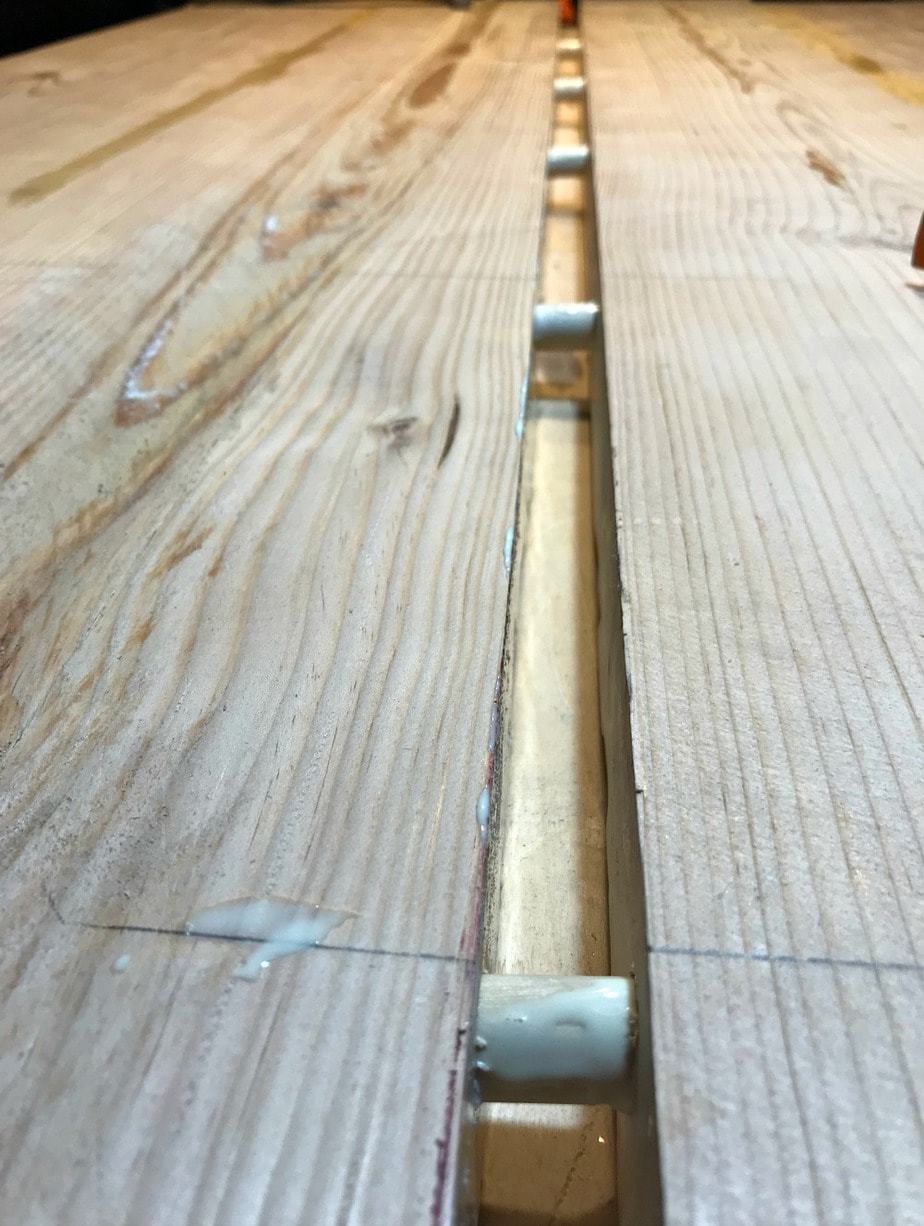
Once all the boards are glued together and dry then trim the ends to exact length using a circular saw and guide cutting across the grain:
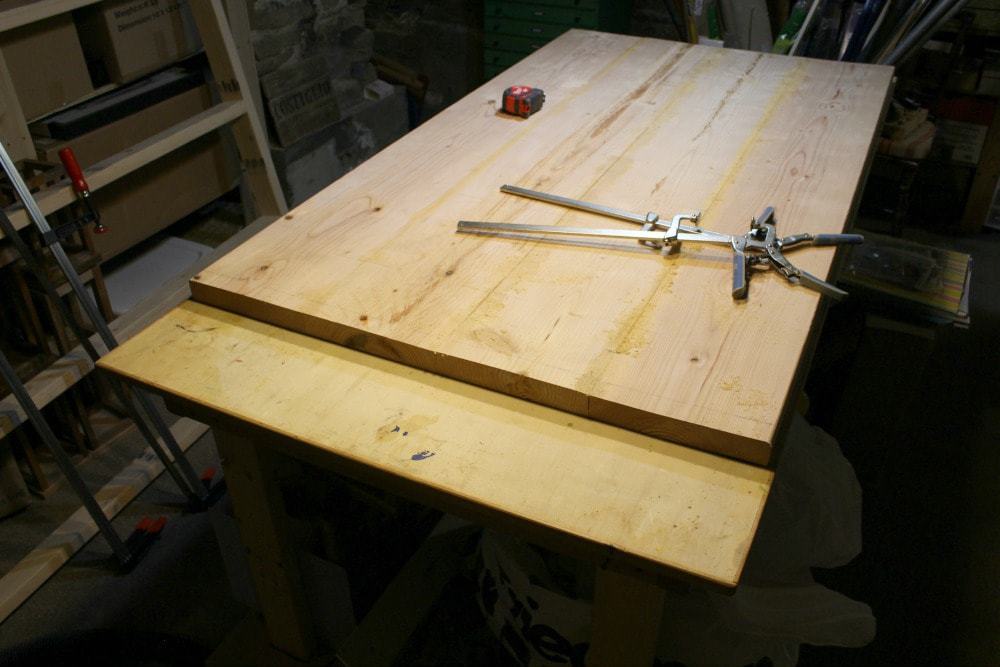
Now add the breadboards. Rip the curved edge of the 2×6 boardboard pieces, use a T square and mark for dowels, drill the dowel holes using the same paper template from the long boards. For the holes on the breadboard side make them slightly larger so the dowel has a tiny bit of wiggle room except ONE dowel needs to be tight.
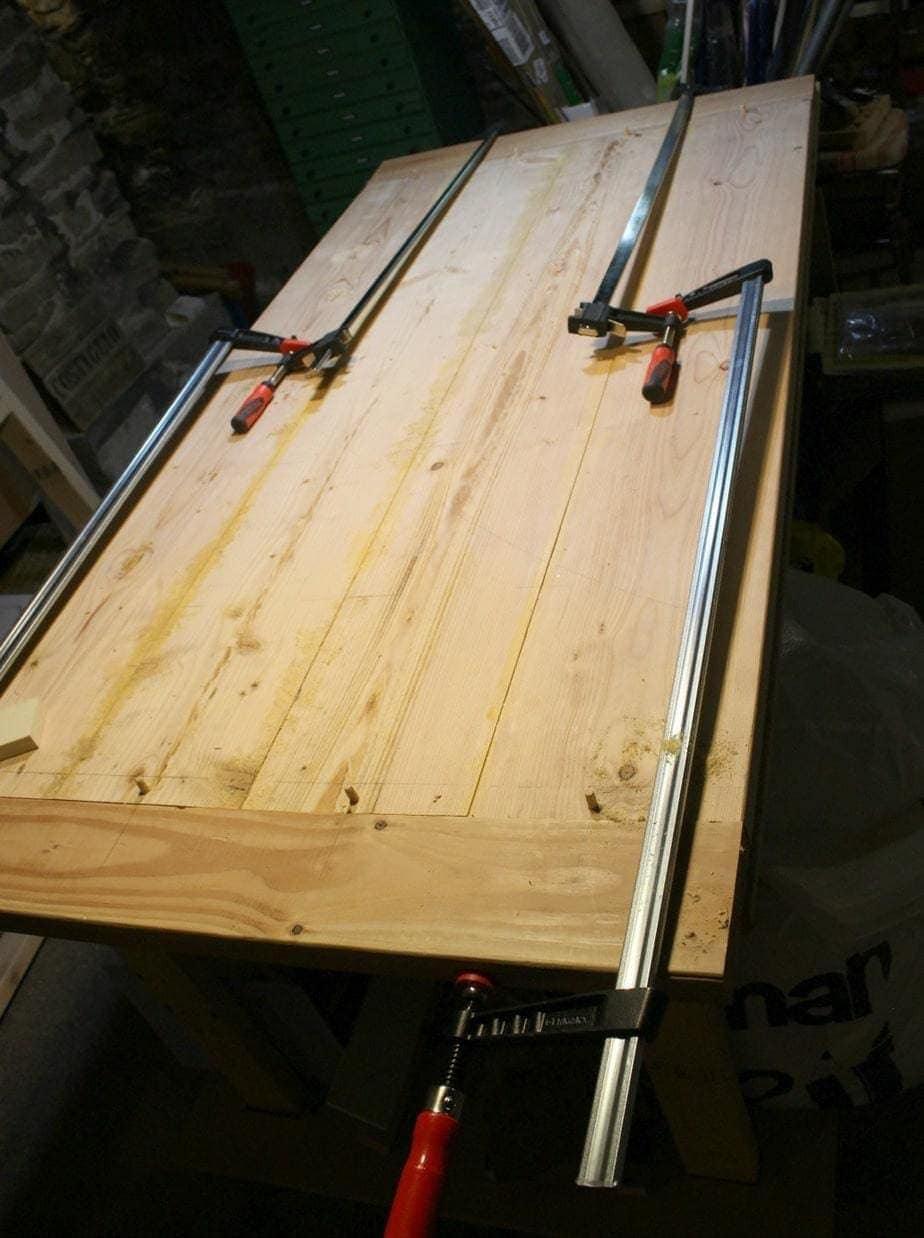
Glue the dowels into the tabletop (only glue the dowels, not the tabletop edge) then ONLY apply glue to the TIGHT dowel. Gently hammer the breadboard in place then drill down vertically (see update below) to make a hole for the ¼” dowel pin. Insert the dowel pin only gluing the last ¼”. Clamp the long way and let dry. Consider two dowels per board if using 2×10 to prevent cupping.
- UPDATED 1/1/19: The VERTICAL dowels need to be IN THE BREADBOARD end (not the tabletop boards as pictured below).
The base construction is fairly simple. Use a scrap 1x board as your spacer for the apron placement.
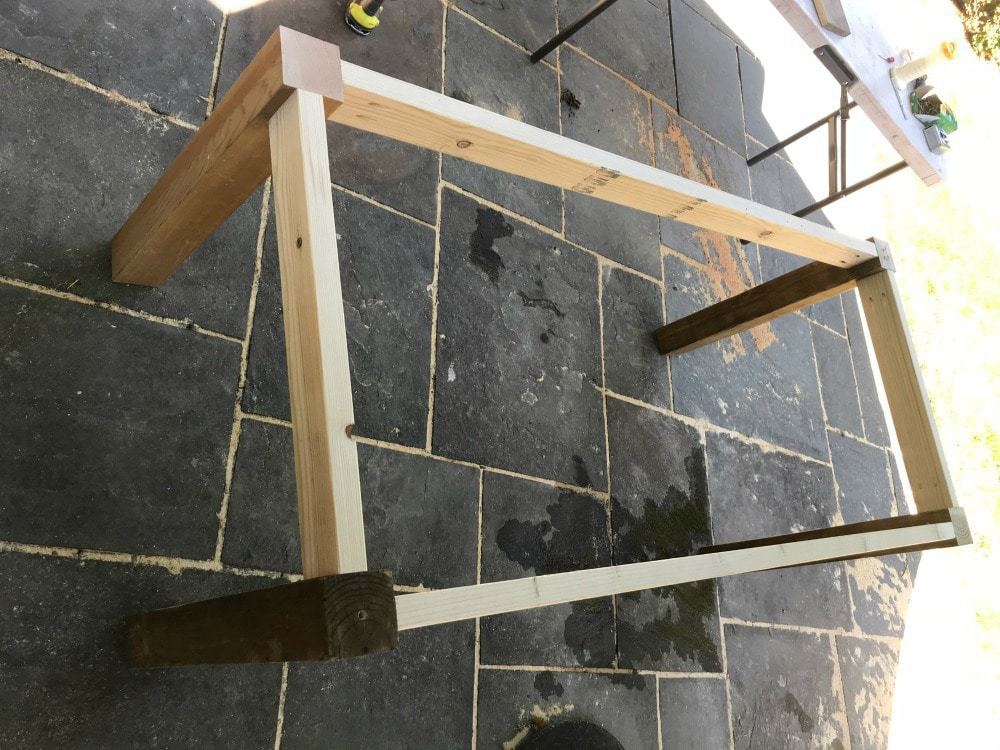
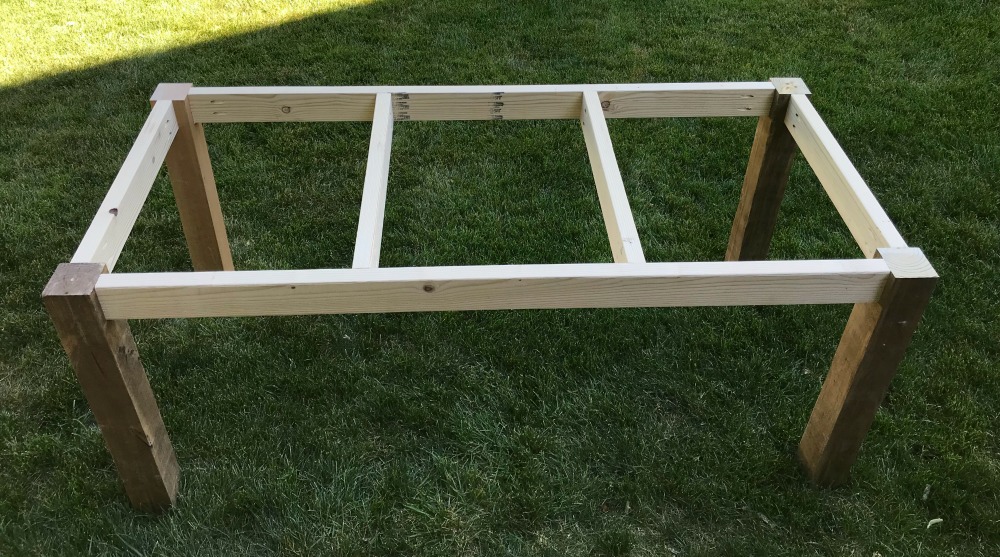
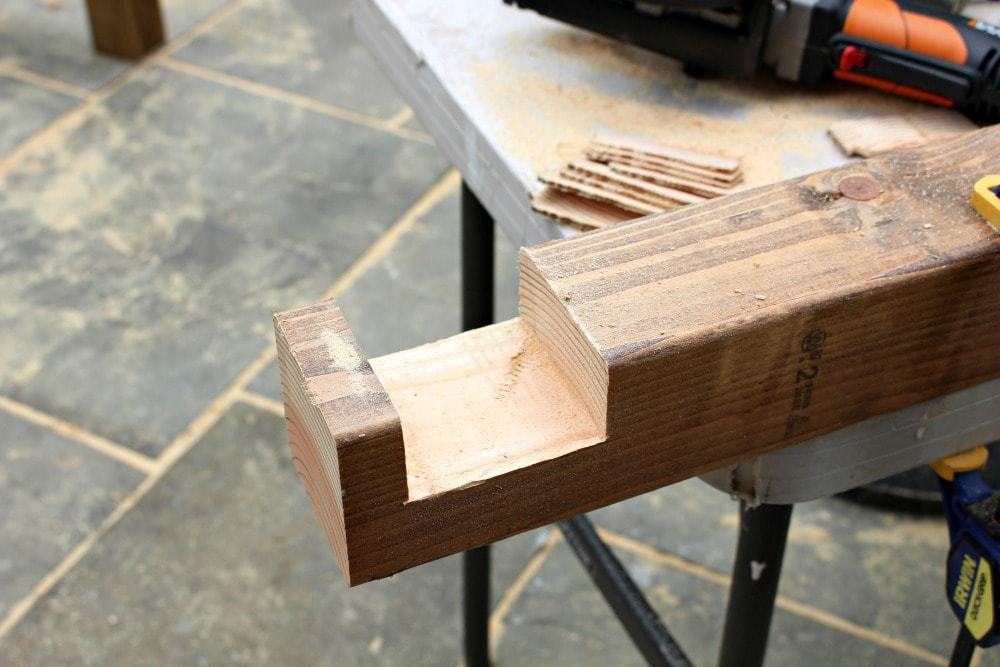
The base cross supports use half lap joints to fit together. To make this joint you need to remove material from the center of each short support and both ends of the long support. I used a 4 ½” compact circular saw to make multiple thin cross cuts. You could use a table saw or regular circular saw to achieve the same results:
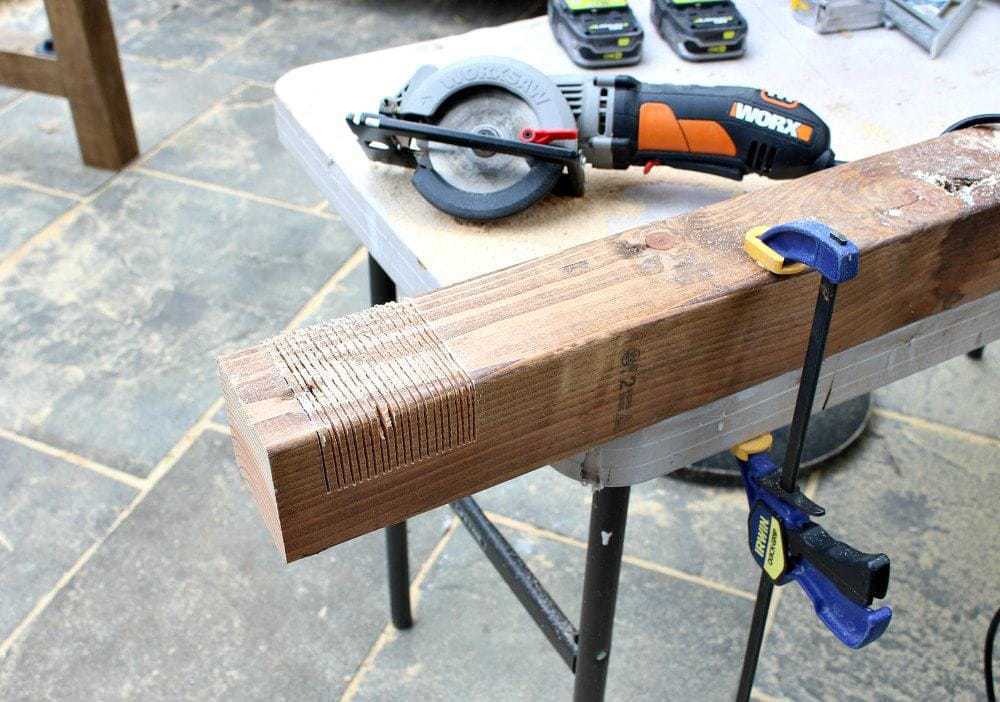
Then use a multi-tool with a flush cut blade to cut through the bottom:
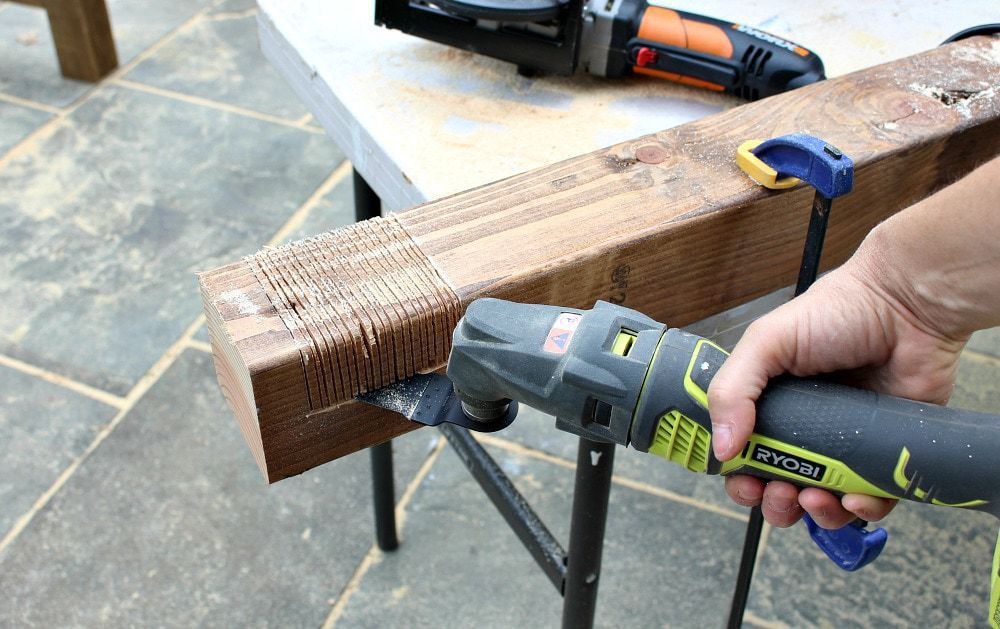
And there you have the half lap joint. Be sure to test fit all pieces before attaching to the table base.
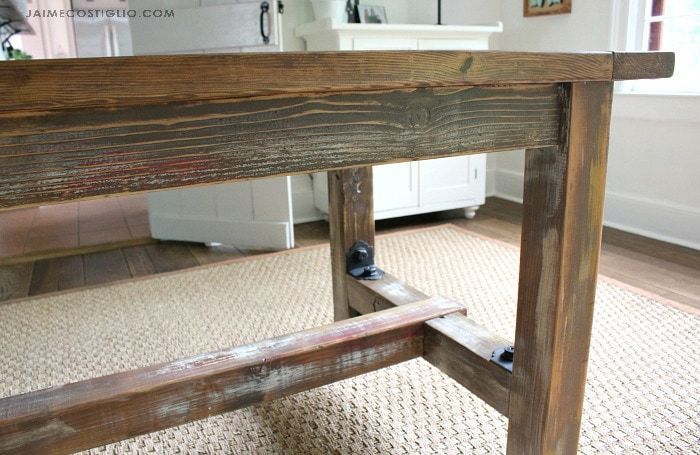
To attach the cross supports to the table base legs I used Simpson Strong-Tie APA4 90 angles with 3 ½” structural wood screws and hex head washers:
Predrill for the screws then all pieces fit like a glove. This table is rock solid and looks pretty too!
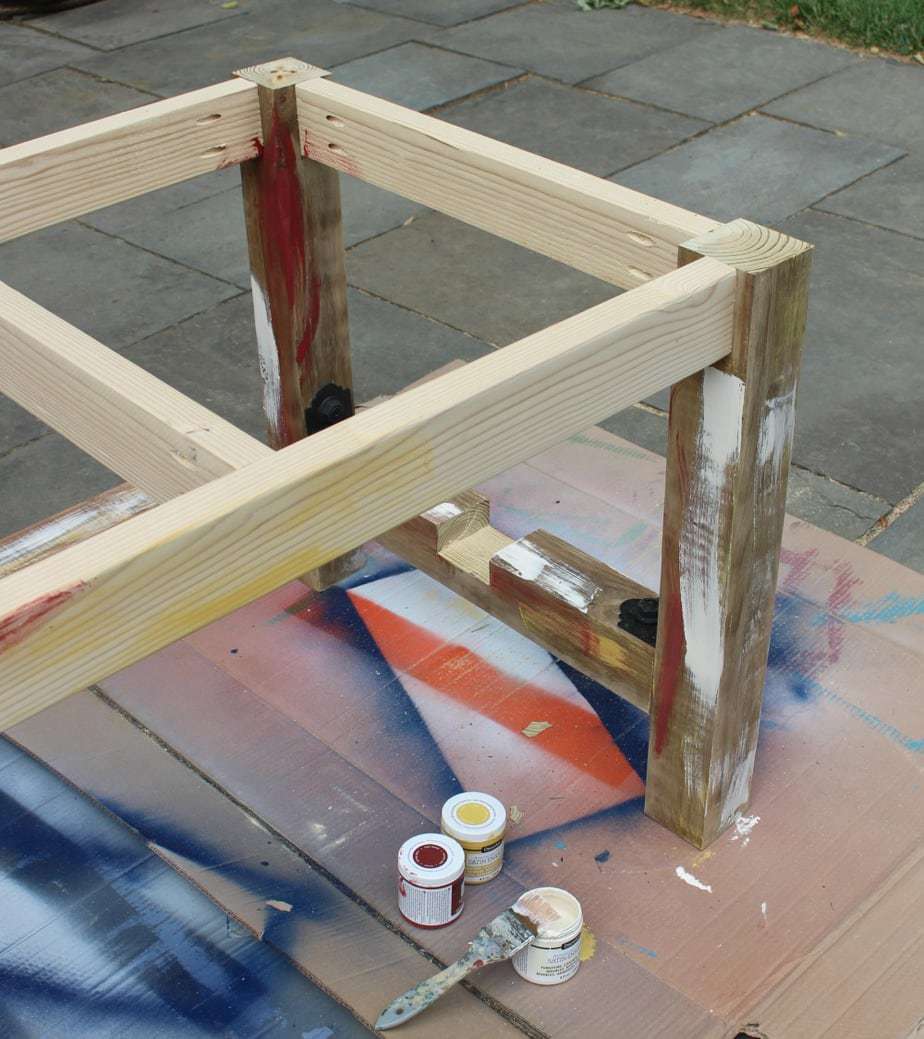
For the faux barnwood finish I opted to add a bit of paint under the stain, then stain and more paint using a dry brush on top. I mixed a combination of stain colors: weathered grey, summer oak and dark walnut to get my desired color. Lots of sanding in between layers to make everything look worn.
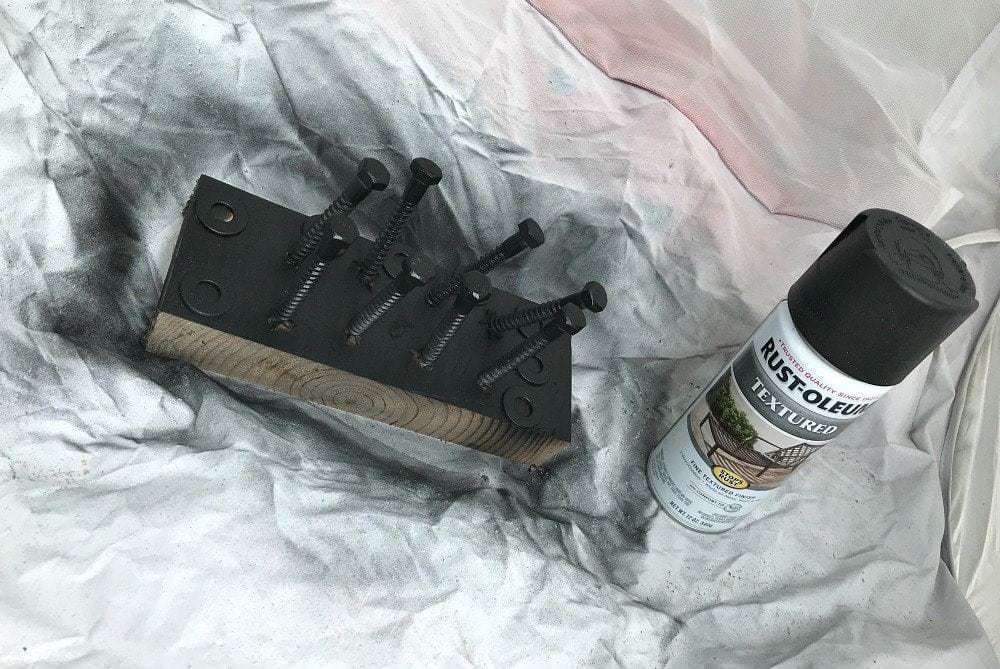
Before attaching the decorative screws on the breadboard ends I spray painted them using black matte textured spray paint:
Mark the placement and predrill the inset hole big enough to fit the washer and just deep enough for the hex head. Then predrill the center hole for the screw:
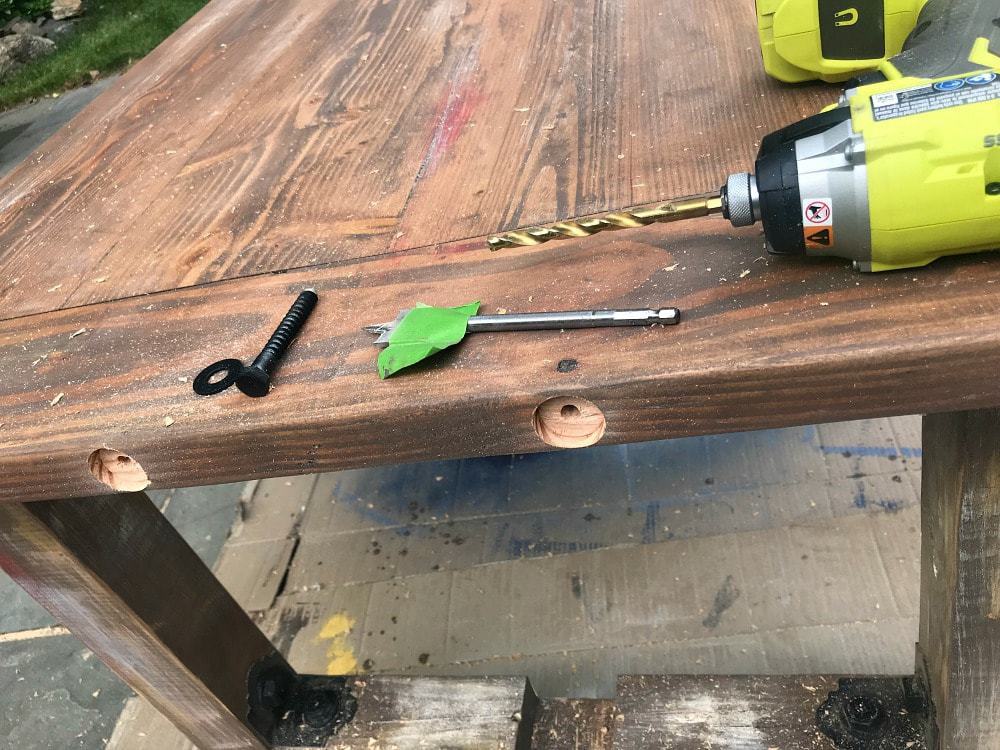
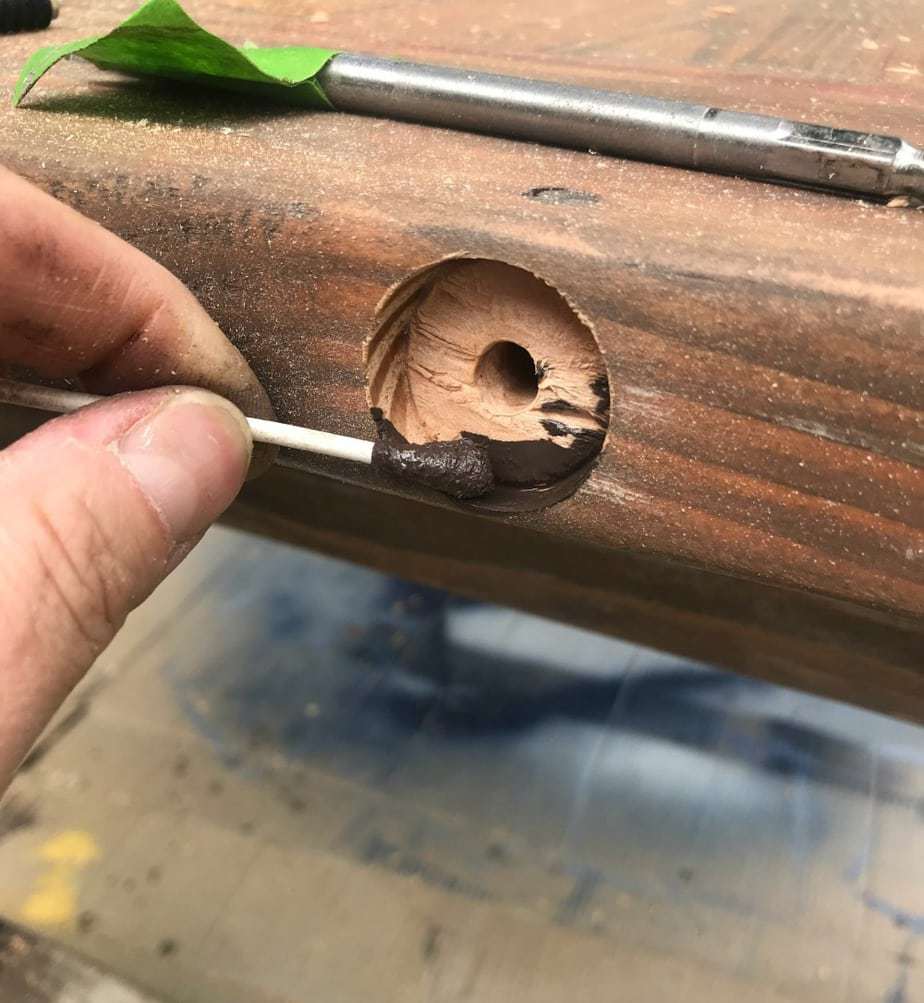
Be sure to add a little stain before inserting the hardware:
To attach the tabletop to the base use tabletop fasteners which allow the top to move ever so slightly with the change of seasons.
On the top apron edge predrill a hole using a forstner bit just big enough for the smaller part of the figure eight:
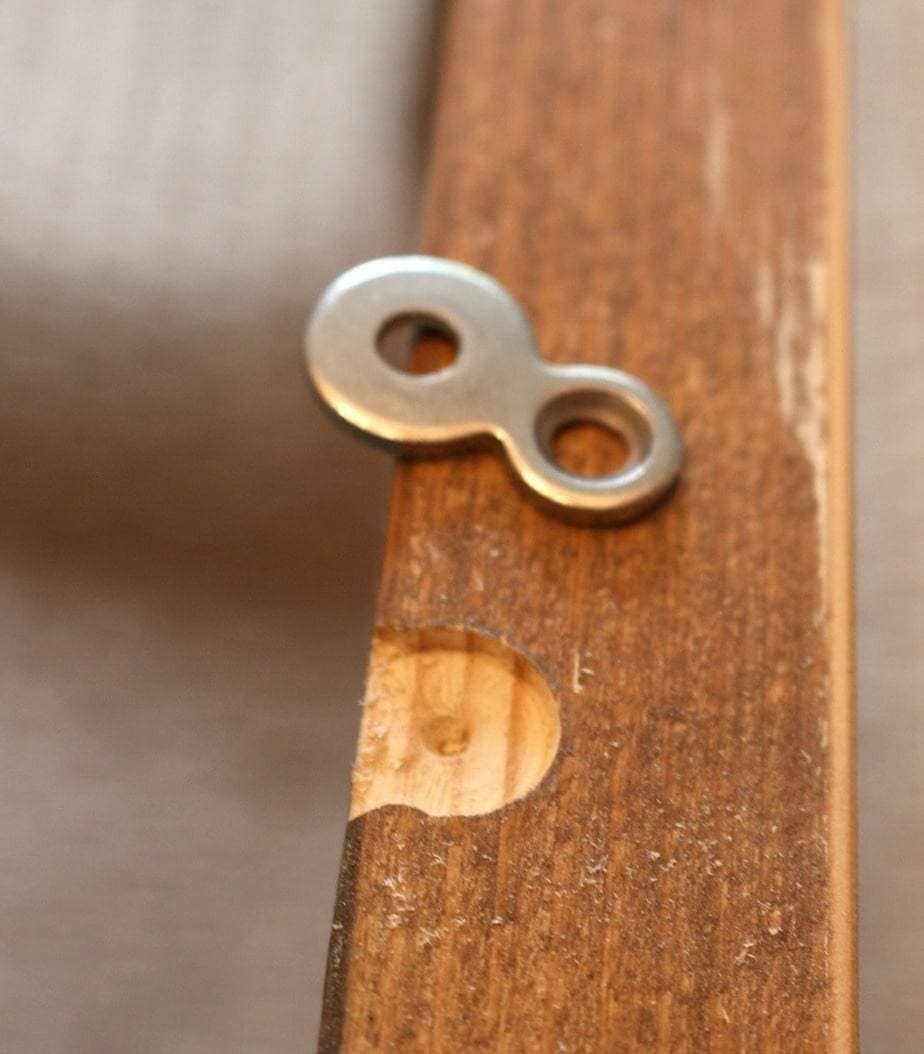
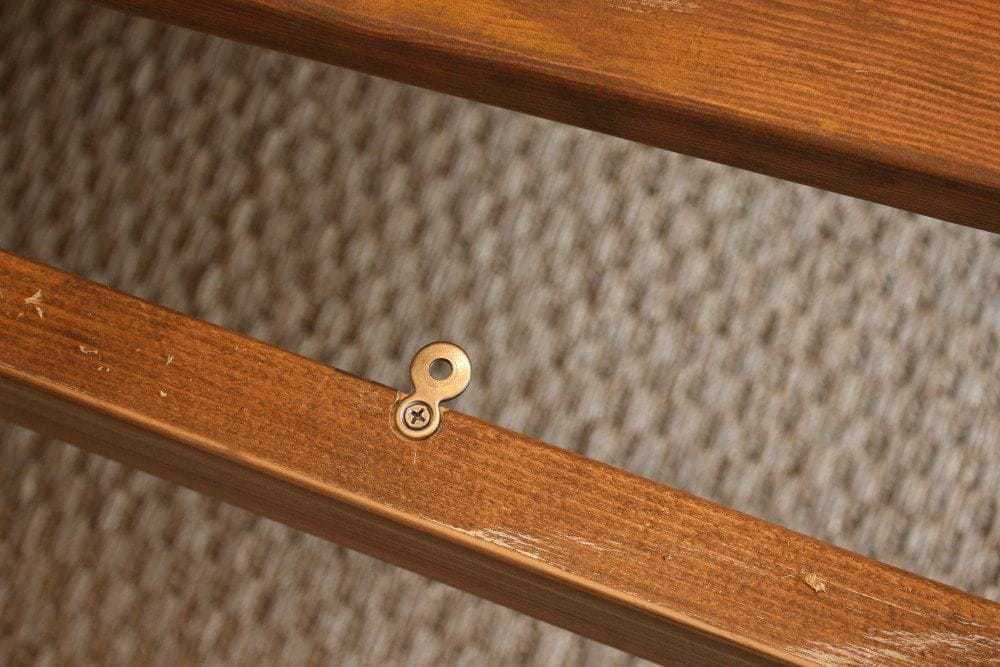
Secure the fastener to the apron, it should sit flush with the apron. Then put your tabletop in place and secure from the underside:
For the final finish I used clear satin polycrylic, sanding in between coats.
To clean up any paint or poly that may have gotten on your hardware use a cloth with paint thinner:
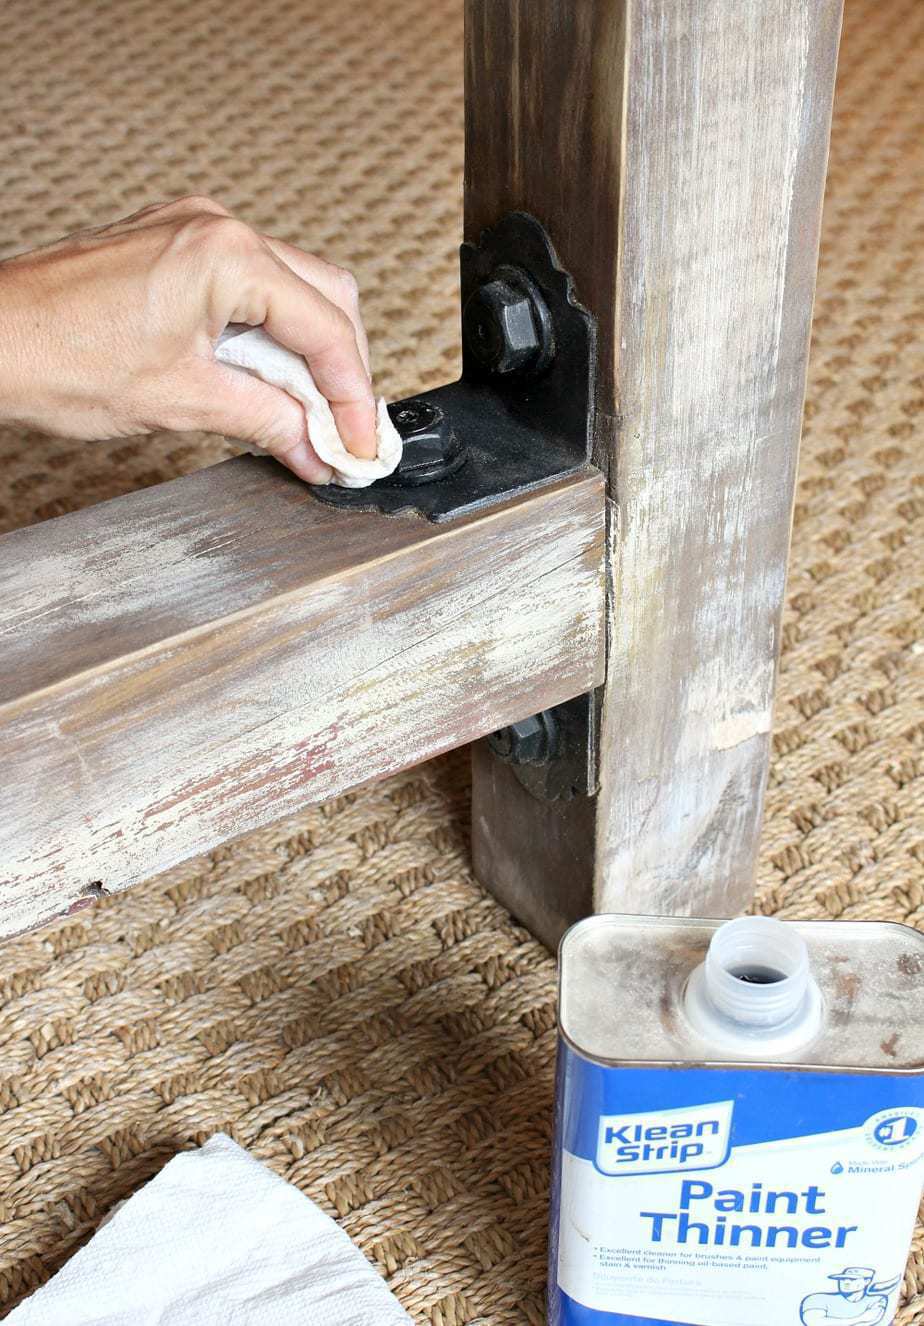
And there you have it! Be sure to visit Simpson Strong-Tie here for all the details. This table fits our home and optimal uses perfectly, be sure to measure your space and determine how many chairs you need, do you want the short ends to function for everyday seating? Consider making adjustments to fit your space and functionality then build accordingly.
Here’s to making lots more furniture for our homes and families to use! Cheers!
Wow! Your table is beautiful.
This is such perfect timing! I have already started making a new table for our kitchen. I have the base all set, but stalled on the top when my lumber guy told me I would be making a mistake to use the wide boards that were part of my plan.
I had planned to alternate the bark grain as you also suggested, but he said the wider the boards the more likely they will cup. And then I started hitting too many woodworking sites, which all seem to disagree about the effectiveness of simple breadboards to solve the problem…and with info overload, I fell down the rabbit hole.
So the question: you have also selected wide boards. We’re there any construction techniques you specifically selected to address the cupping risk?
Thanks for sharing! (I enjoy your blog and IG)
Hi Em, You are correct in the debate about the wide boards – that rabbit hole is so deep! My table lives in a temperature controlled environment but we do have seasonal humidity changes etc so things will move. I may add a short mending plate just under the seam where the outside boards meet the breadboard to be sure that edge stays flush. Also when installing the top to the base I used 3 table fasteners per long side. Looking back I’m wondering if when adding the breadboard using 2 dowels per board would be better insurance? At any rate if you want to play it safe I would use 2/8. Thanks for following along, so nice to hear from readers.
Where did you get those chairs?! They are perfect!
Thanks Samantha, the chairs are from Home Depot here (affiliate link); https://homedepot.sjv.io/c/1241962/456723/8154?u=https%3A%2F%2Fwww.homedepot.com%2Fp%2FSafavieh-Riley-Black-Wood-Dining-Chair-Set-of-2-AMH8500B-SET2%2F203210162
That’s a perfect rustic table. I loved it !! great work and thanks for making this blog to inspire others.
Hello Jaimie –
This is an awesome design – a fantastic table. I am actually building a scaled down version to serve as a work-desk/hobby table. I am also using the Simpson Outdoor Accents hardware and fasteners. They add a great “rugged” look and provide sound structural integrity to the table.
Question: I am a novice when it comes to dowel connections, so for the bread board dowels, you mention securing them with vertical dowel pins. What is the purpose of adding these pins in the bread boards? Why in the bread boards and not in the table top boards? Could one use short finish screws (like the Simpson Finish Trim screws) instead of the dowel pins?
Sincerely, Robert Shirely