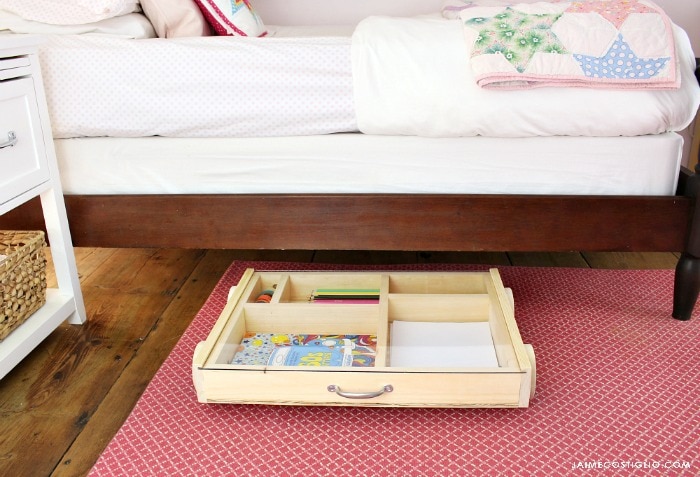
Happy Friday friends and welcome to Week 6 of Handbuilt Holiday 2017. Ana White and I are back to share another gift build project idea and today it is a DIY art trundle cart.
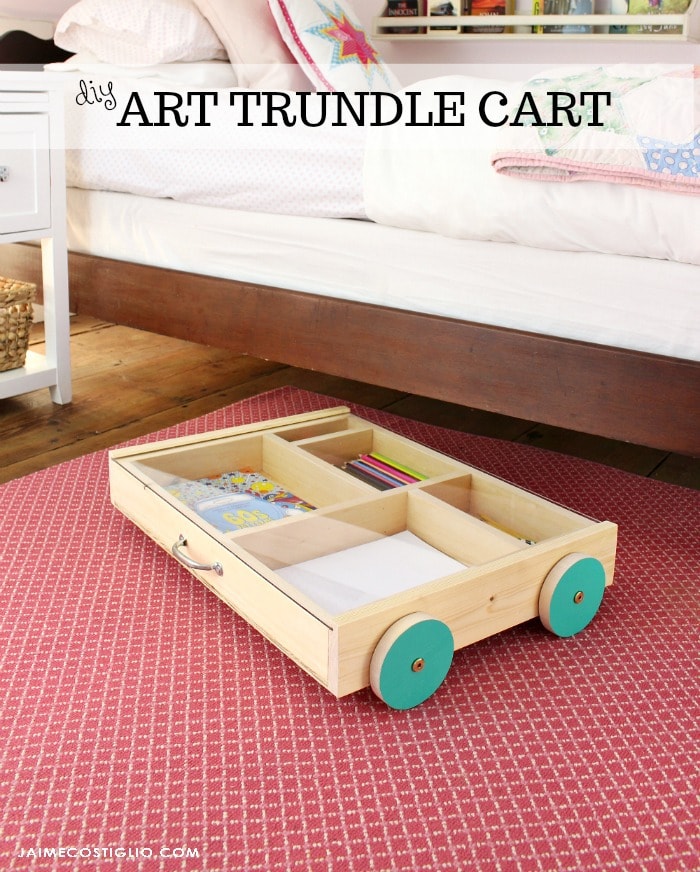
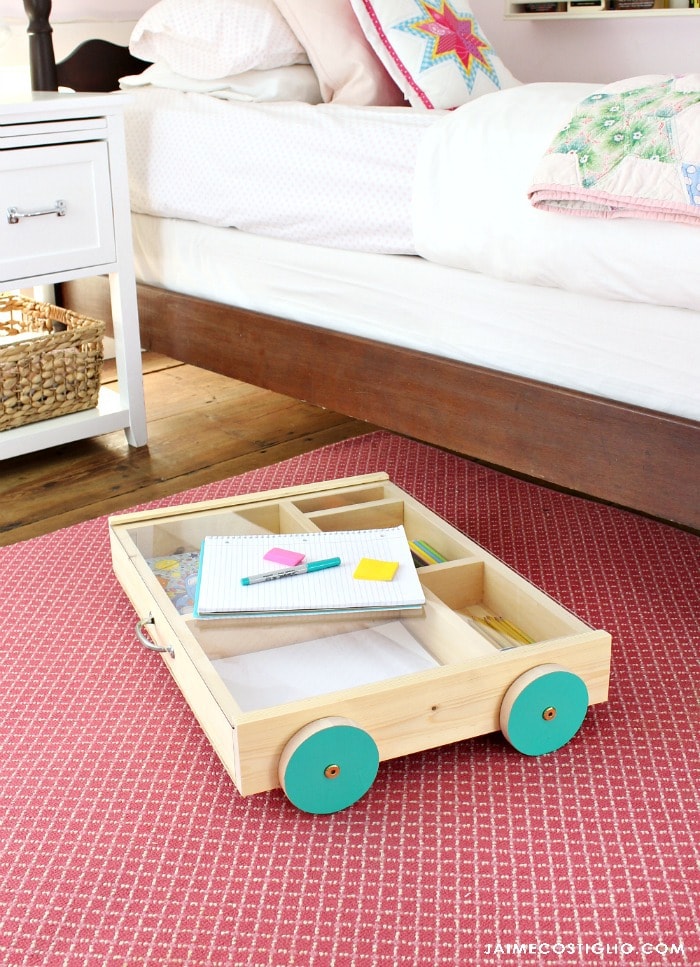
This art trundle cart is one hardworking little build that’s got organized storage and mobility, it’s easily accessible and serves as a work surface. But the biggest kicker of all thought up by Ana is the clear acrylic top, genius I tell you!! Kids can see what is in the cart and because it is so lightweight it makes it easy to slide back and forth but still strong enough to use as a desk top.
Acrylic sheets come in standard sizes and we used an 18″ x 24″ piece for this art trundle cart but you could go bigger too.
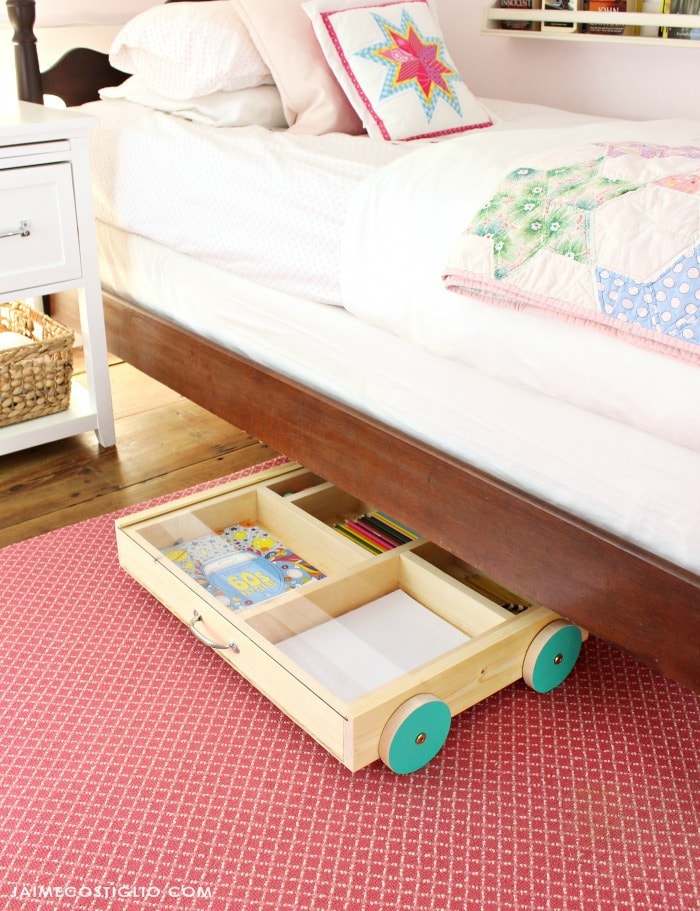
Ana cleverly designed this art storage with the wheels on the exterior to keep the overall height low enough to fit under most beds, maybe even under your sofa too?
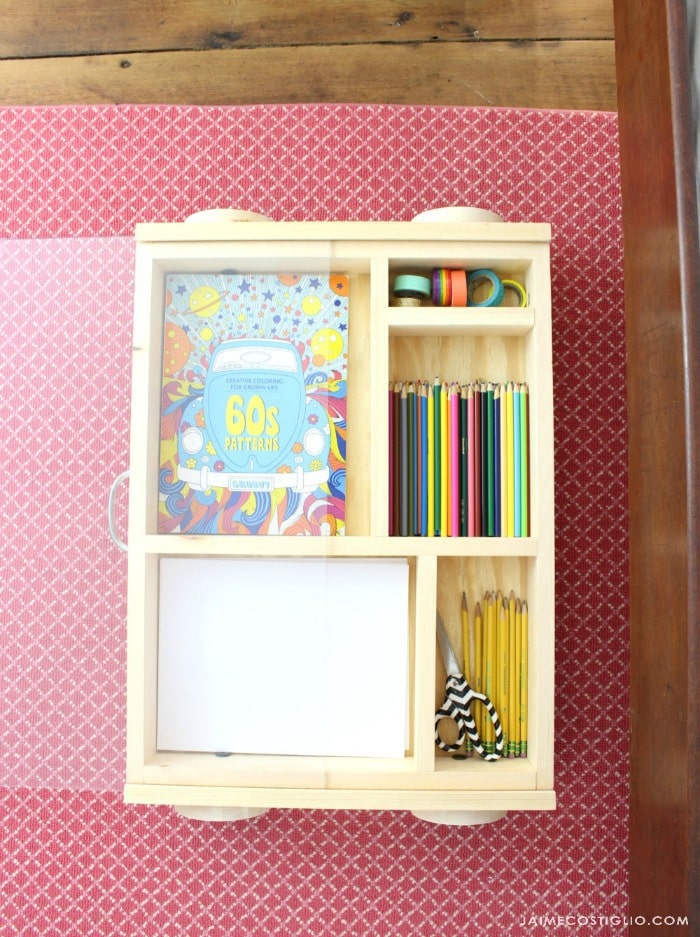
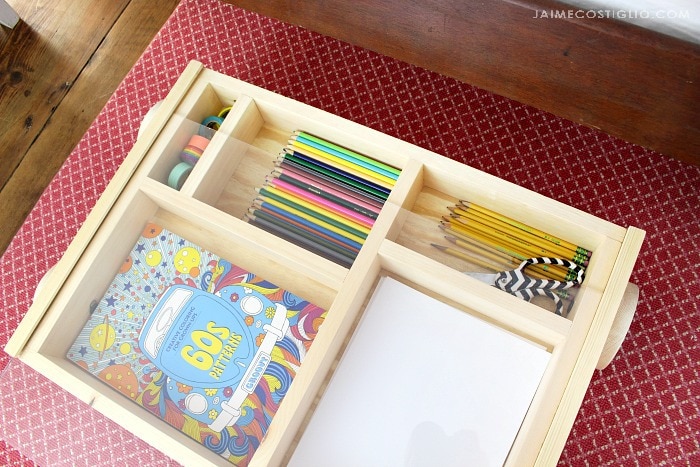
How can you not love all the compartments? Organized art supplies make my heart sing and this art trundle cart has plenty of space for lots of paper, markers, pencils, pens and accessories. The compartments are all 2 1/2″ deep.
Ana has the plans here along with the supply list and cut list. Be sure to read my construction details down below, I opted to add a channel for the acrylic to slide and I will share how to do that below.
I used an 18″ x 24″ acrylic sheet.
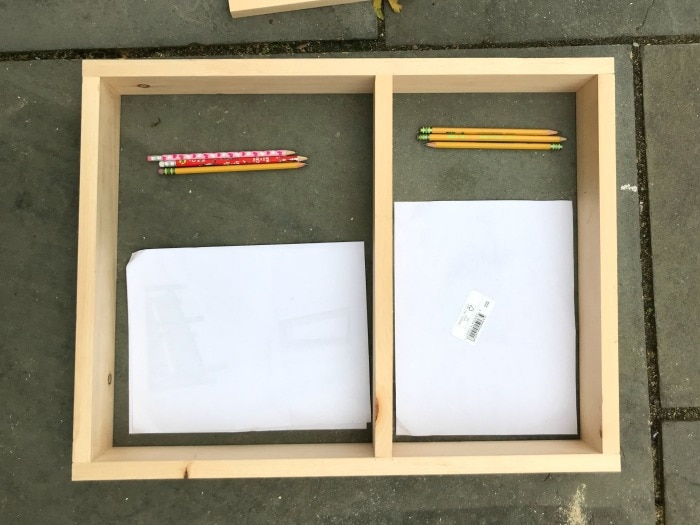
Construct the basic box frame. NOTE: the long ends here are 23 1/4″ l. Once the box is constructed determine your compartments. Take into consideration where you need access to the wheel hardware.
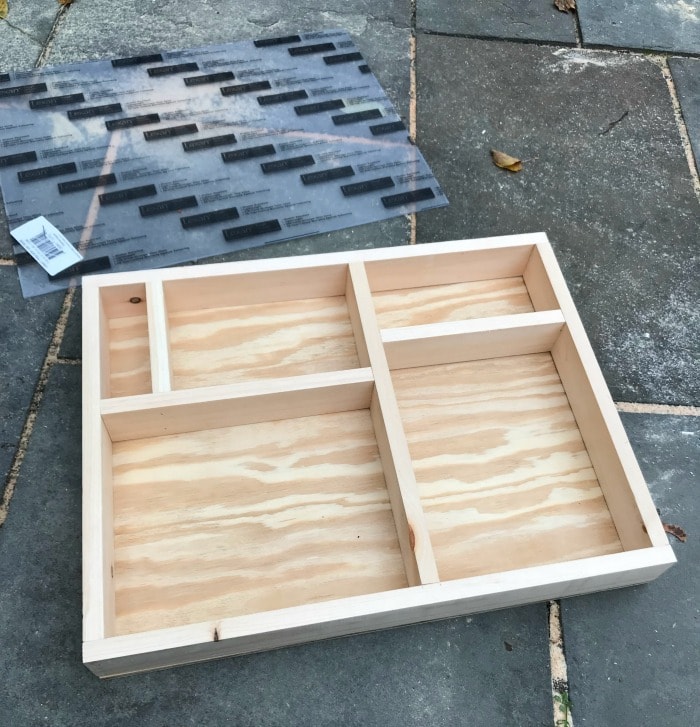
Completed compartment construction. The base 1/2″ plywood piece is 23 1/4″ x 18″.
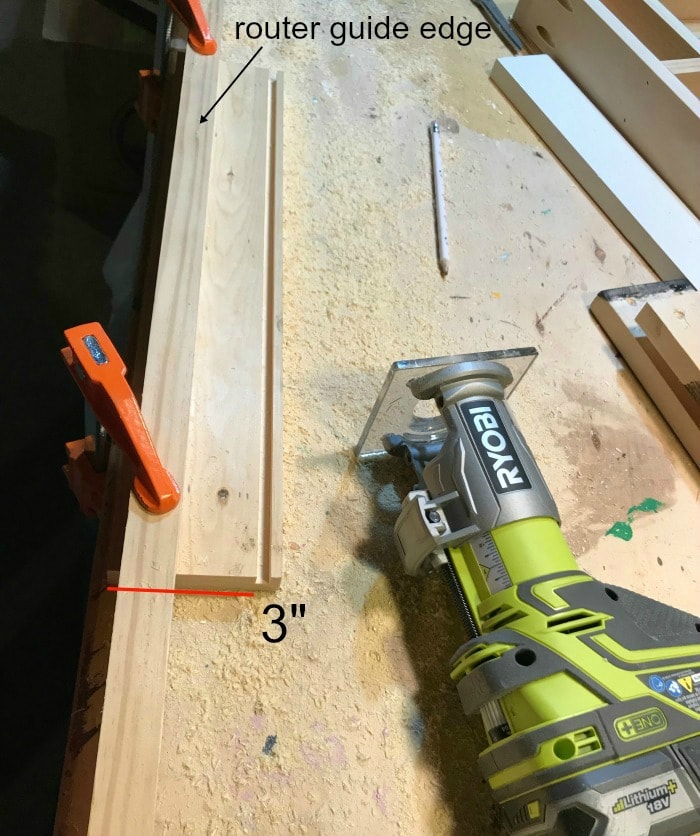
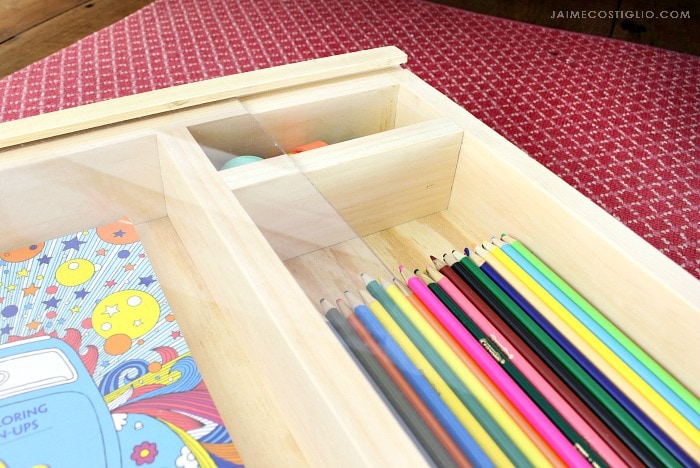
To make the channel for the acrylic to slide on the 1×4 exterior pieces mark a line 3″ from the bottom. Using a 1/4″ straight router bit route a 3/8″ deep channel in the 1×4 board. Start at 1/8″ deep and make multiple passes going 1/8″ deeper each time, for a clean route. Be sure to clamp down a straight edge guide for your router. Where you clamp this guide depends on the size of your router plate.
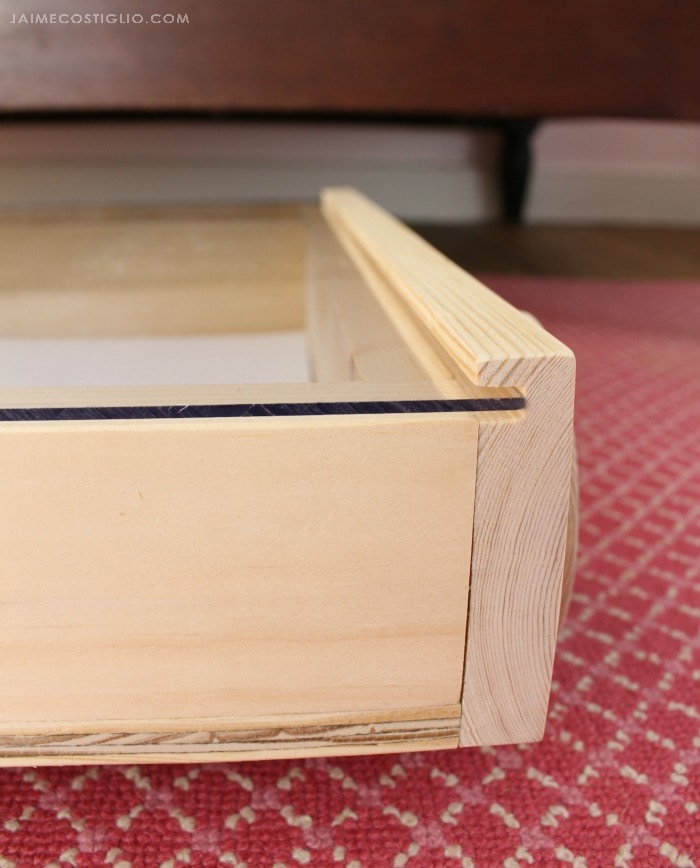
See the above detail photo of the acrylic piece inside the 1/4″ x 3/8″ deep routed channel.
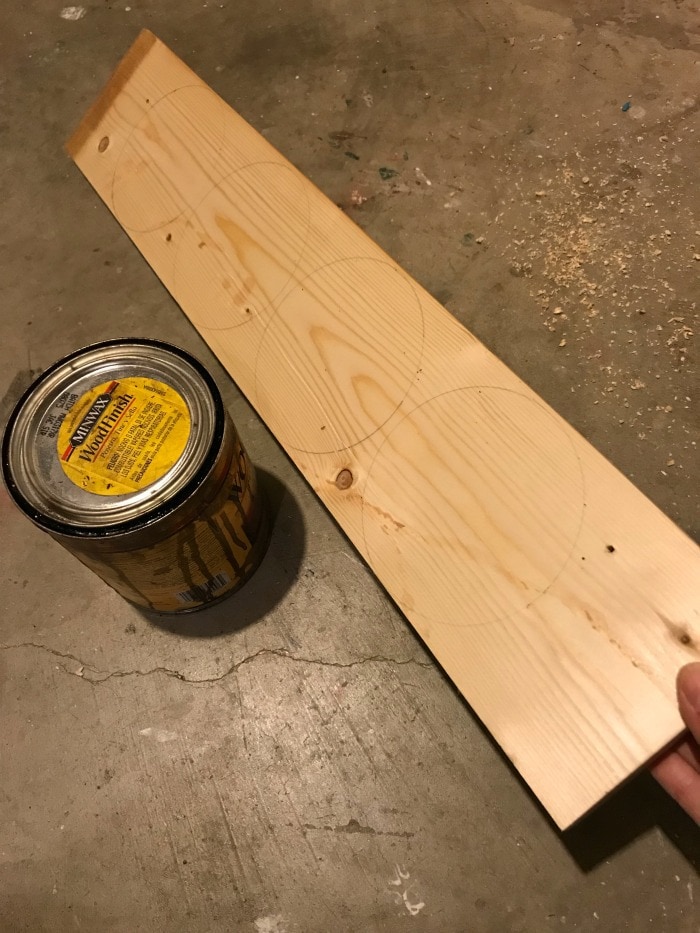
To make the wheels trace a can onto a scrap 1×5 board. The quart Minwax stain cans make a 4 1/4″ circle. Use a jig saw, band saw or scroll saw to cut out the circles then sand smooth.
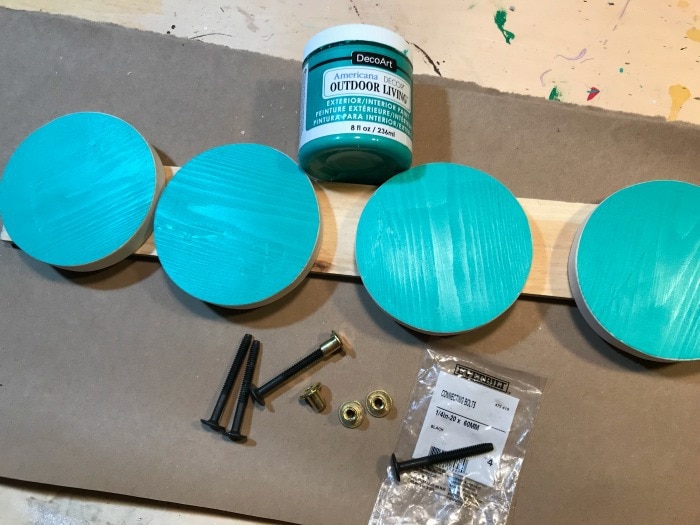
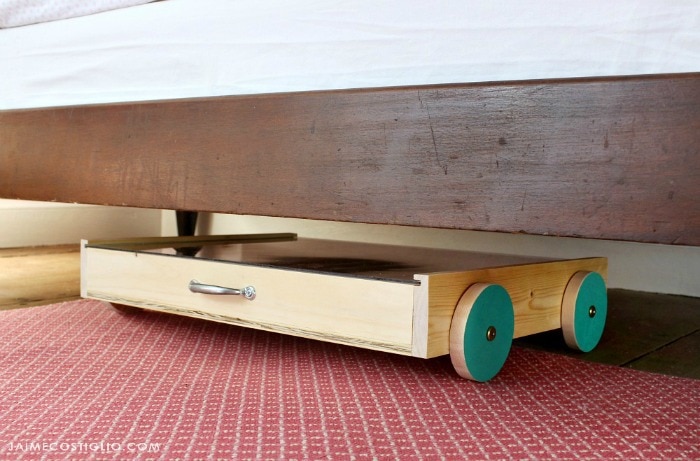
Paint the exterior of the wheels. I used Americana Decor Outdoor Living in adirondack. For the wheel hardware I used 1/4″ connecting bolts and caps.
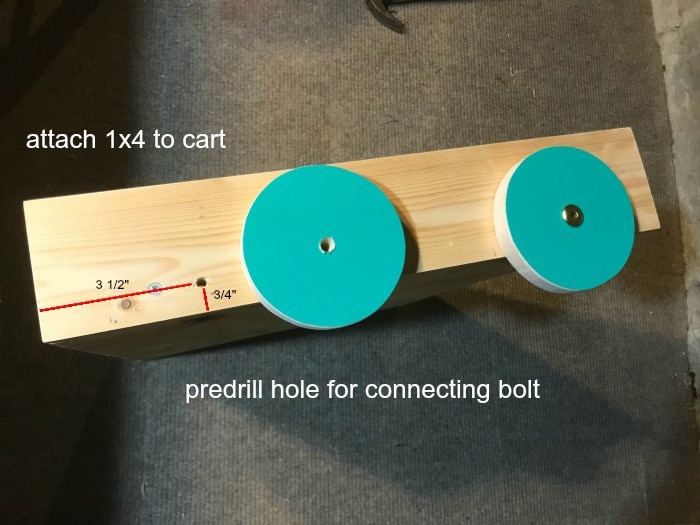
Attach the 1×4 side piece to the cart (countersink 1 1/4″ wood screws under where the wheels will be attached). Predrill a 1/4″ hole for the connecting bolt as per the photo above. Predrill a 3/8″ hole in the center of the wheel for the connecting cap.
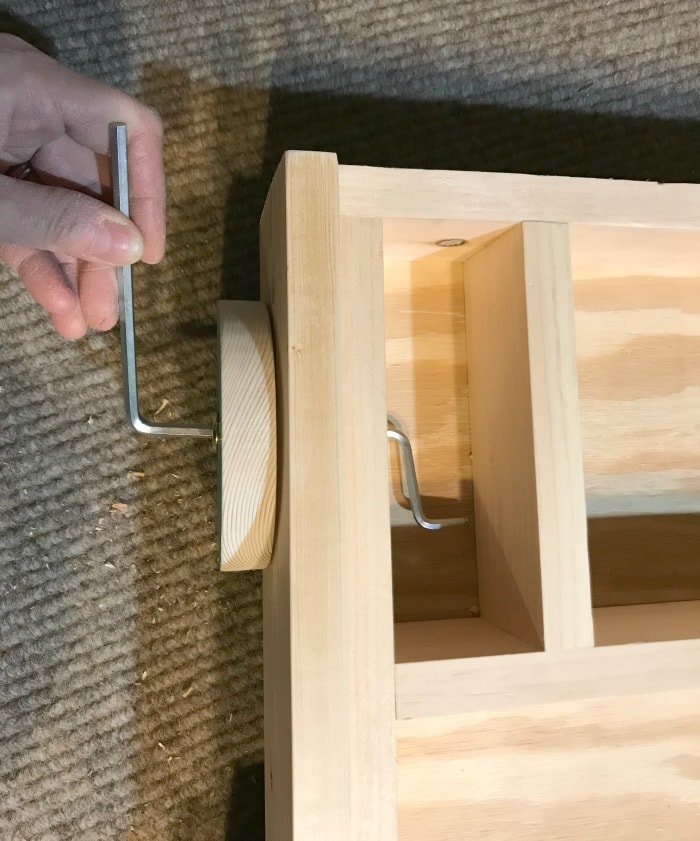
Insert the bolt through the cart and insert the cap into the wheel. Use two hex wrenches to secure the hardware.
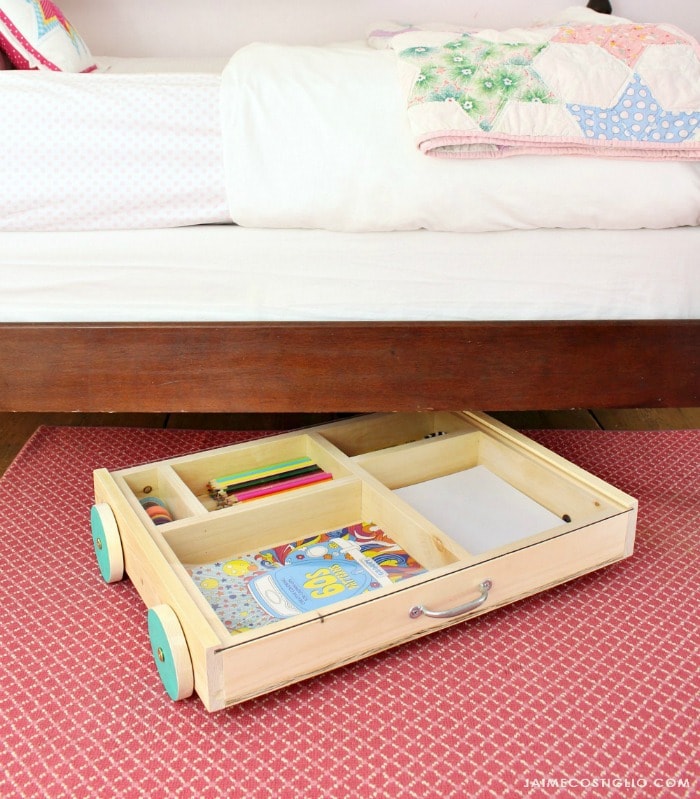
Fill up the art trundle cart with all your favorite supplies and slide on the acrylic top. I hope you enjoyed this gift project plan. Please be sure to come back next Friday for another Handbuilt Holiday gift idea.
SHOP THIS PROJECT:


Oh! I love this! Thank you! But, is there a way to slot for the acrylic top without a router? Unfortunately, I don’t have one.
Thanks Patty. Yes you can also make the channel for the acrylic using a table saw with a dado blade. Otherwise the acrylic does fit on top between the two 1×4 sides and you could add a wood swivel latch on either side to hold the acrylic similar to the latches on this play kitchen here: https://jaimecostiglio.com/2016/11/diy-portable-tabletop-play-kitchen.html