Thank you to Simpson Strong-Tie for partnering with me to bring you this AC louvered screen cover. Looking to hide that unsightly but ever necessary air conditioning unit but building a fence seems kind of intimidating? Believe me I had those same feelings especially because our AC unit is located on sloped ground and the thought of building a fence screen on sloped ground made me put it off. I have a solution for you that you can do yourself.
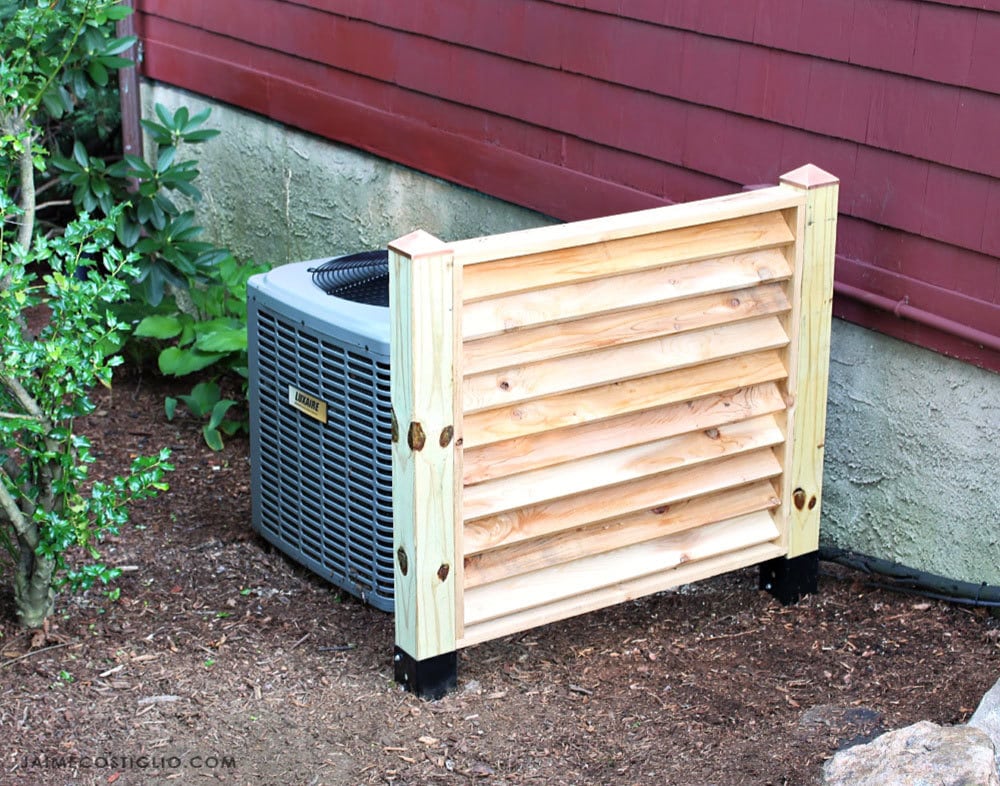
A DIY tutorial to build an AC screen fence panel using Simpson Strong-Tie EZ spikes. Hide that unsightly AC unit with a louvered screen.
This louvered air conditioning unit screen is definitely DIY friendly. It can be modified to fit your space and allows for plenty of service access and air flow. I’m kicking myself for not building this screen sooner! Just look at this mechanical eyesore before:
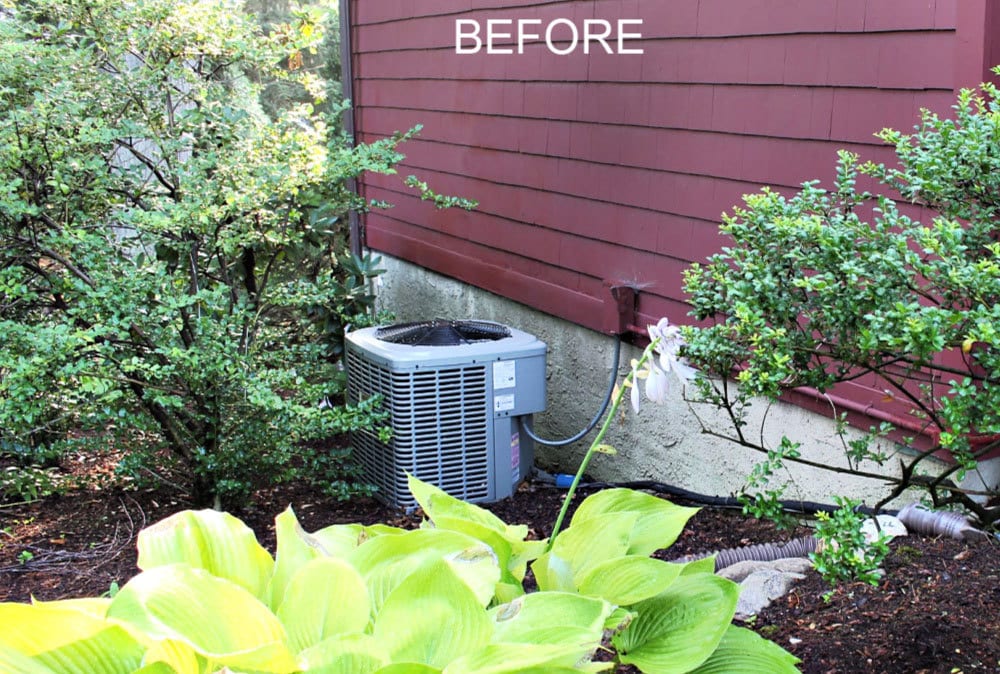
That view above is from our main entry point and everyone who comes to the door got a nice peek at that AC unit. I wanted to hide the unit but still maintain functionality and this DIY AC screen cover serves that purpose. See the process in action in the video here:
A bit of muscle power and a simple build makes this louvered AC screen cover an easy weekend project. This makes a great cover for an AC unit or generator, you could even add an additional panel on the side to create an L shape for more coverage.
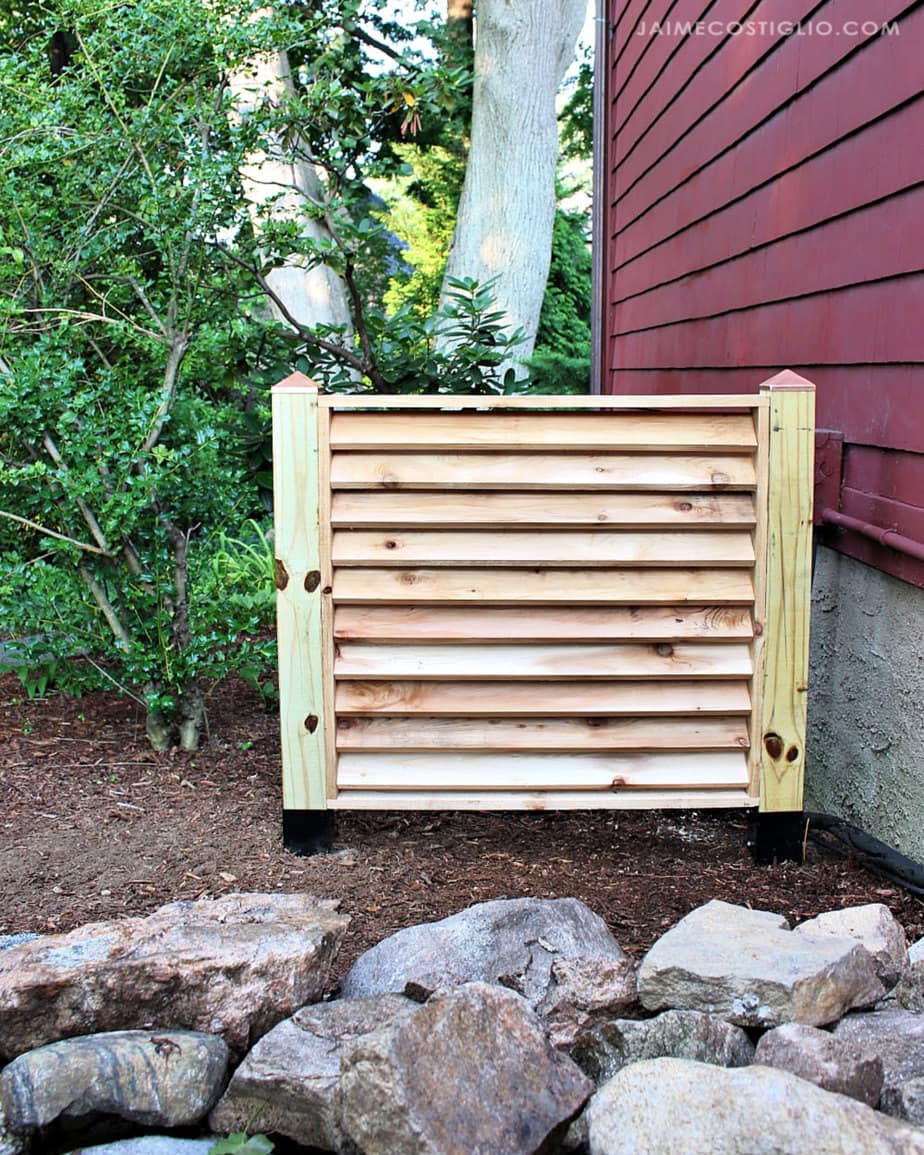
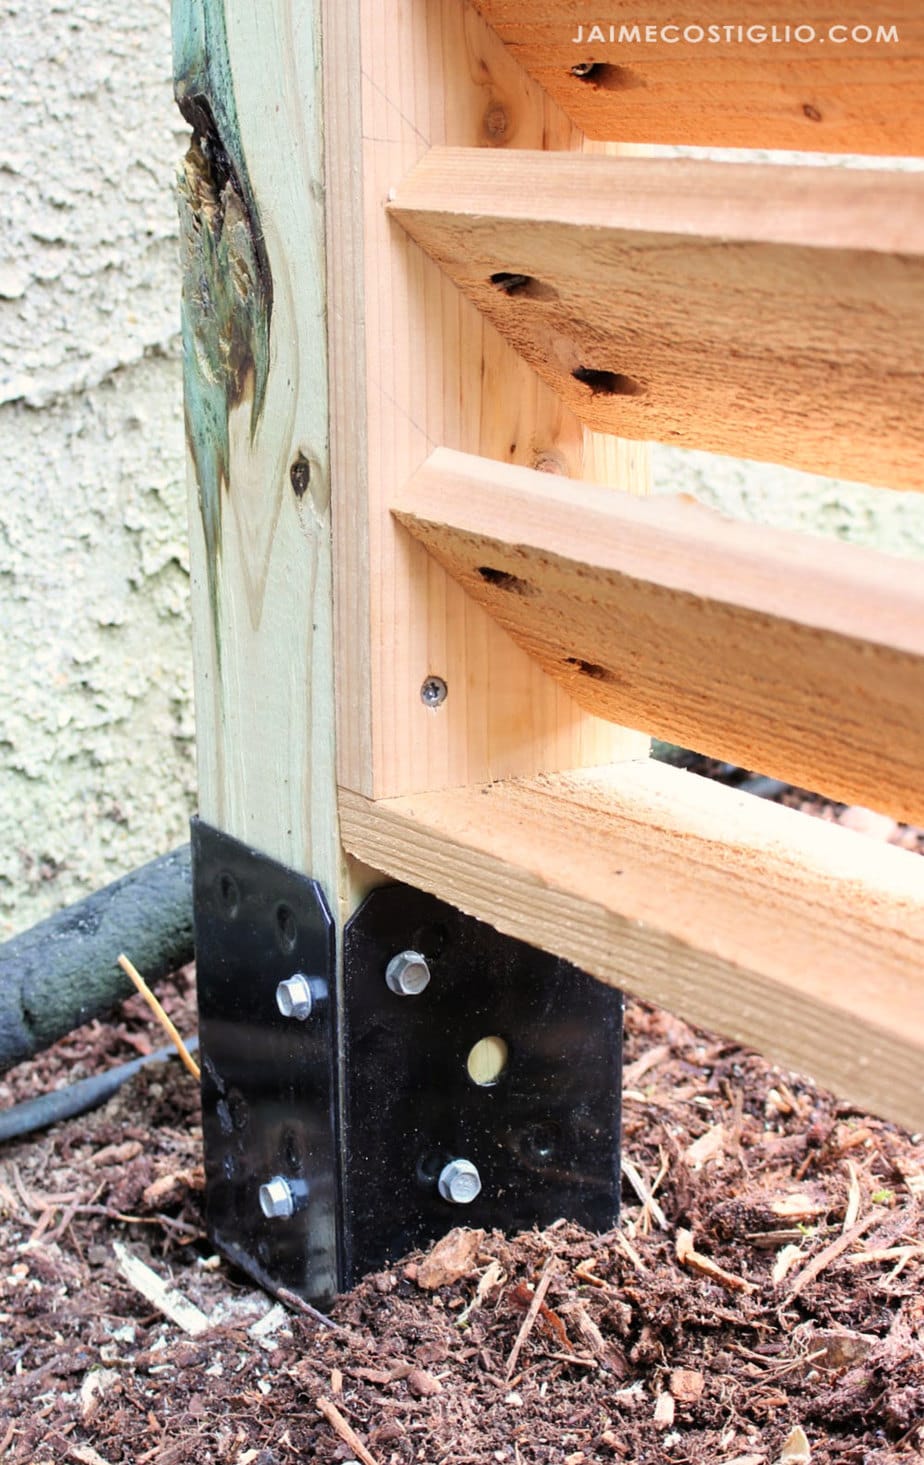
I teamed up with Simpson Strong-Tie for this project and used their EZ Spikes to install the fence posts. The spikes are used with 4×4 wood posts and are quick to install without pouring concrete. They are made from 12 gauge steel and have a beautiful black powder coat finish. You could also use this spike for a mailbox post.
Supplies:
- 1 – 4x4x8 pressure treated post
- 7 – 1x4x8 cedar boards
- 2 – Simpson Strong-Tie E-Z spikes
- 8 – 1 ½” Simpson Strong-Tie strong drive heavy duty exterior connectors
- 2 – copper post caps
- 1 ¼” exterior pocket hole screws
- 2” exterior wood screws
For the complete step by step tutorial including cut list and instructions head over to Building Strong at Simpson Strong-Tie here.

What would have been great here instead of the post was how the panel was built how the angles were determined and spacing kept.
Hi Tom, Thanks for your comment. The details on the build process including the 45 angles of the louvers are in the link above. The spacing between the slats is merely the bottom of one slat is in line with the top of the next slat. This post was sponsored by Simpson Strong Tie which means my focus is the hardware, if you want the specific plans please click the link above to their site for the step by step plans.