*This post is sponsored by DecoArt.
Handmade wood signs rank right up near the top of my favorite things to make and give as gifts. Let’s crank it up a notch and make those signs 3-dimensional with raised letters.
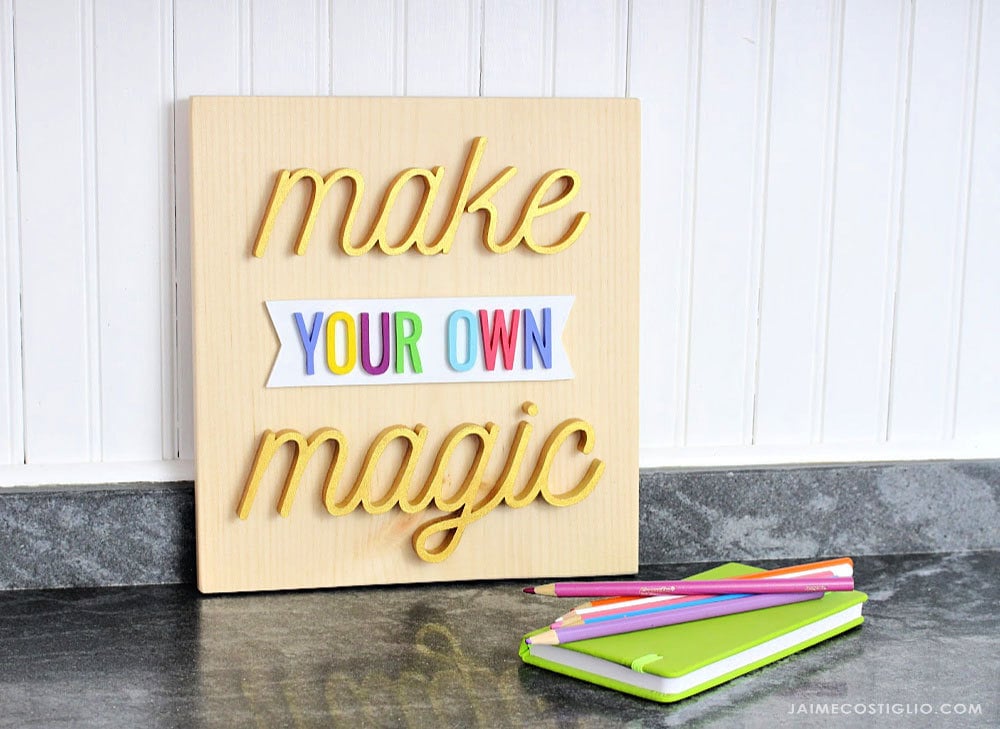
A DIY tutorial to make 3D painted sign using cut out letters and DecoArt Americana acrylic paints. Create your own dimensional sign using this technique.
The raised letters create a depth and dimension you don’t get from a flat sign but the paint colors are what make this sign so magical.
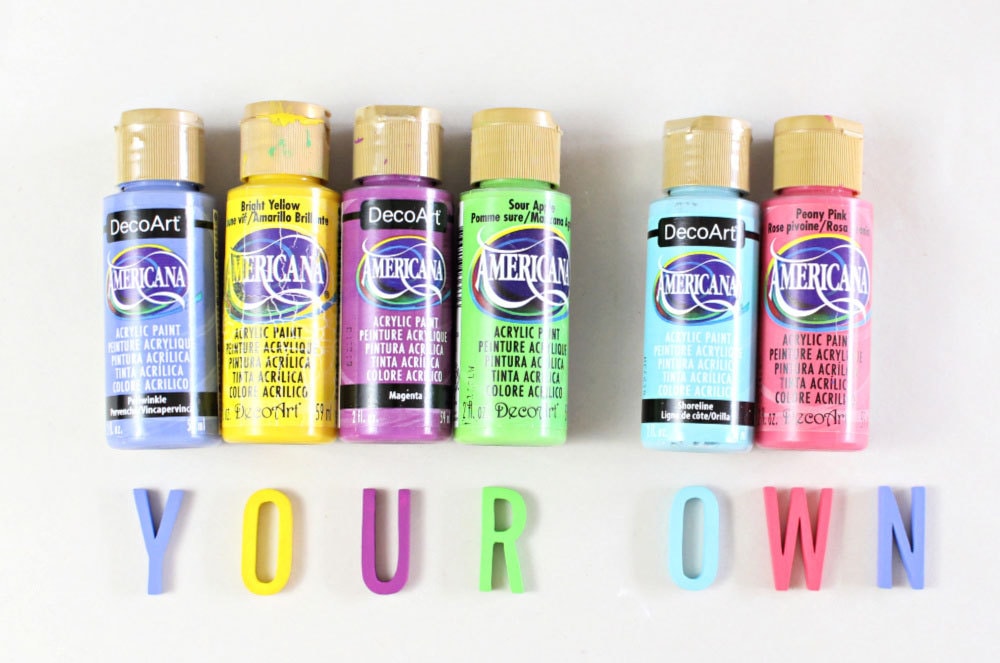
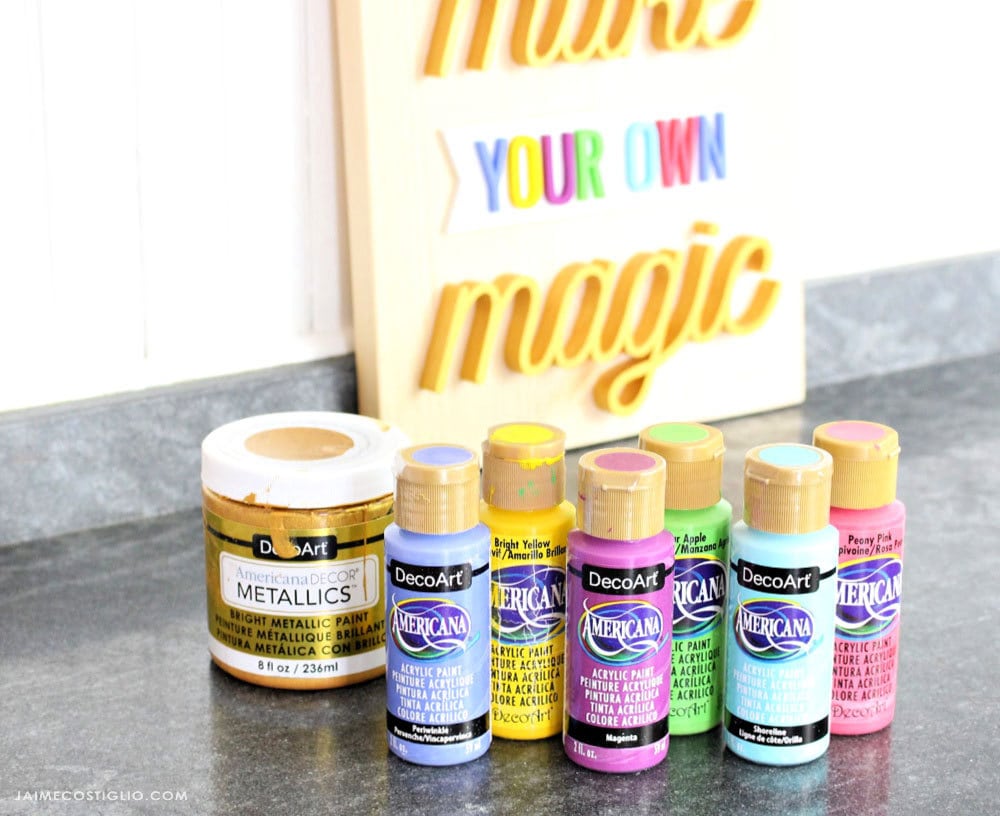
I used DecoArt Americana acrylic paints and Americana Decor Metallic gold for the script words. Americana acrylics are available in 260 colors and they are my go to paints for all home decor and craft projects. I narrowed it down to six bright and fun colors for this sign and combined with the gold bright metallic paint it’s perfect for this wall art.
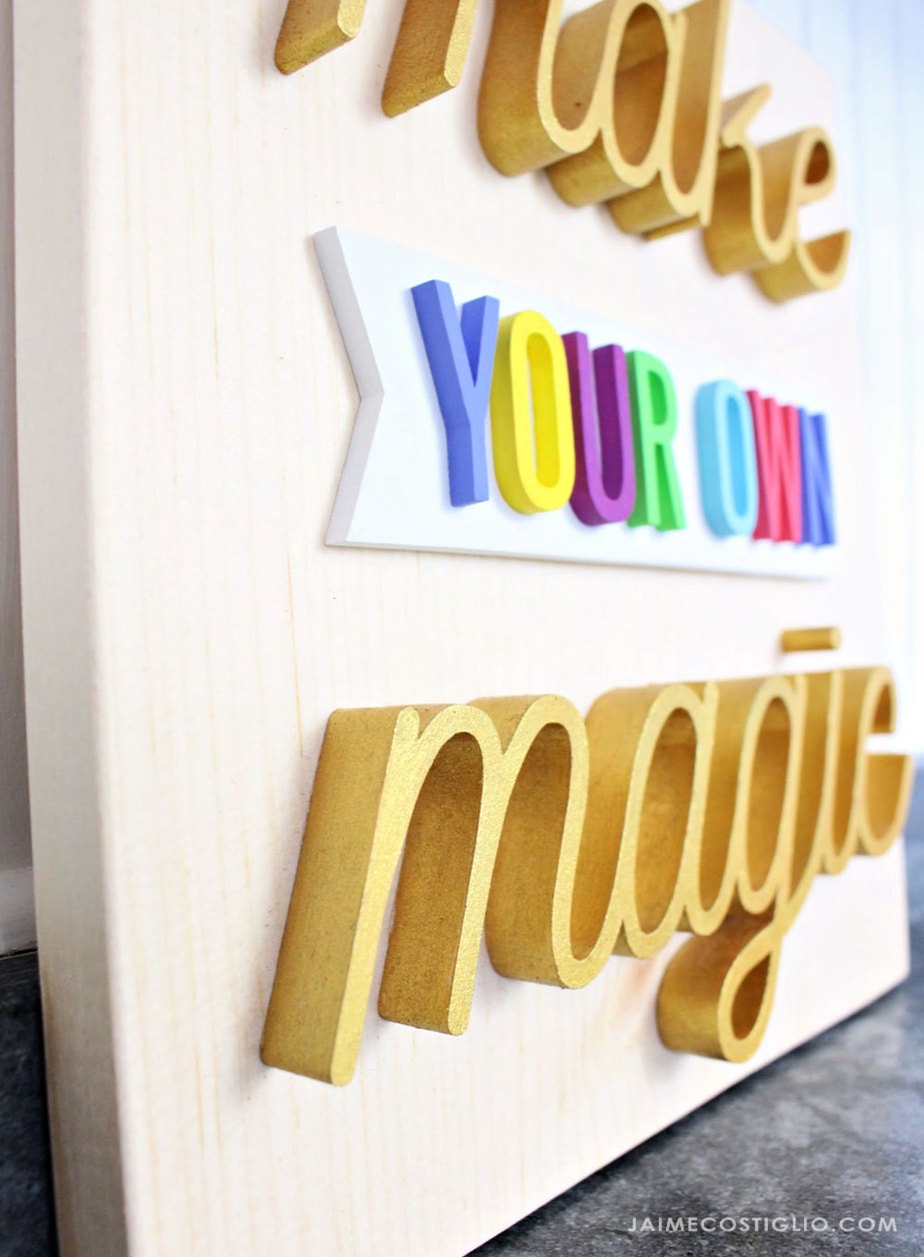
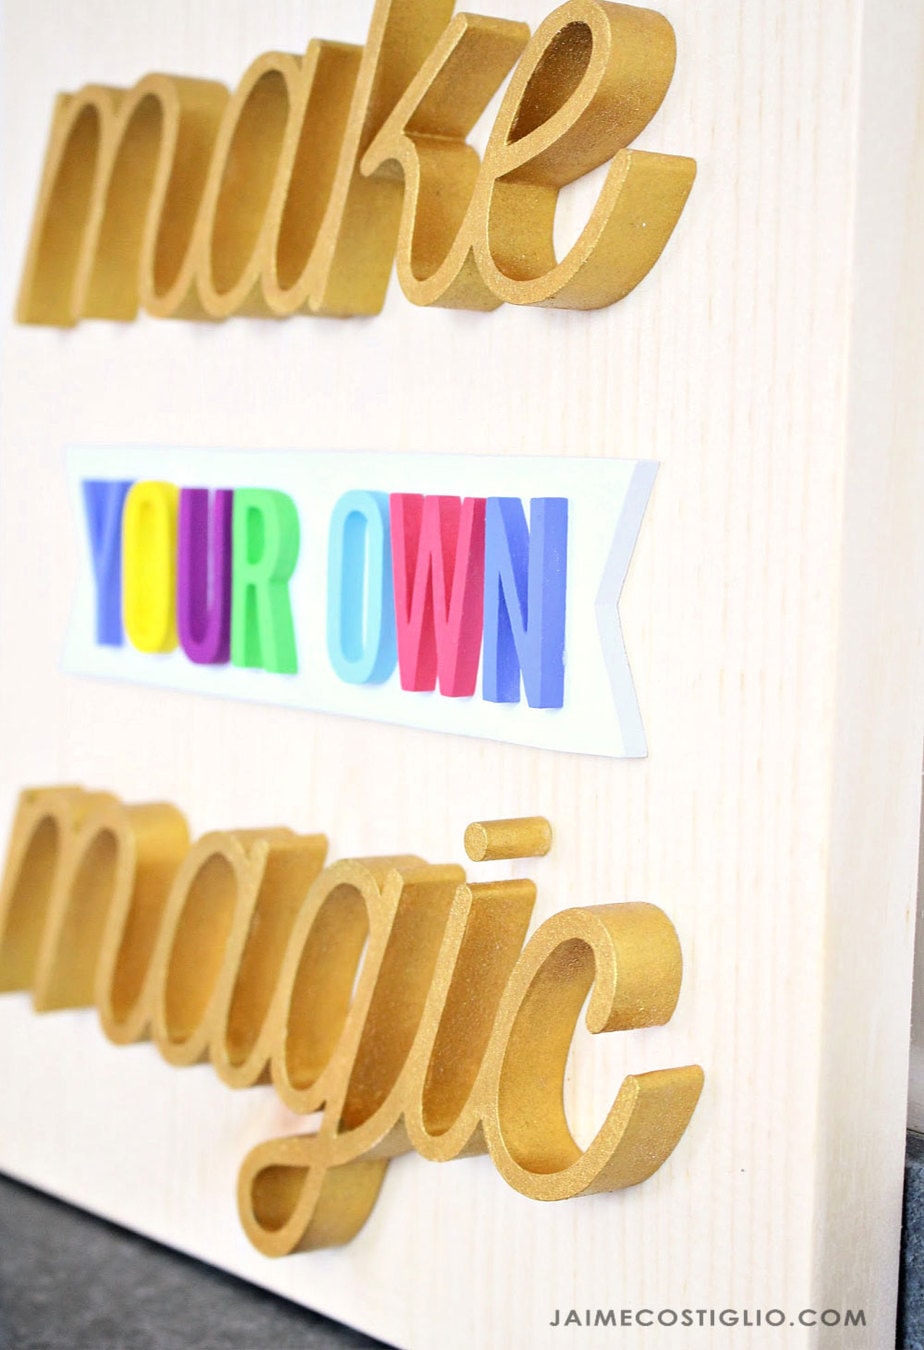
Truly hard to capture the shimmer of the gold paint but I promise it’s shiny gold. It almost feels like the words were cut from a gold bar only slightly less expensive 😉
This 3D wall art is a gift for a teen girl although I think the verse is probably appropriate for anyone. A good reminder to go after the things you want, nobody is going to do it for you.
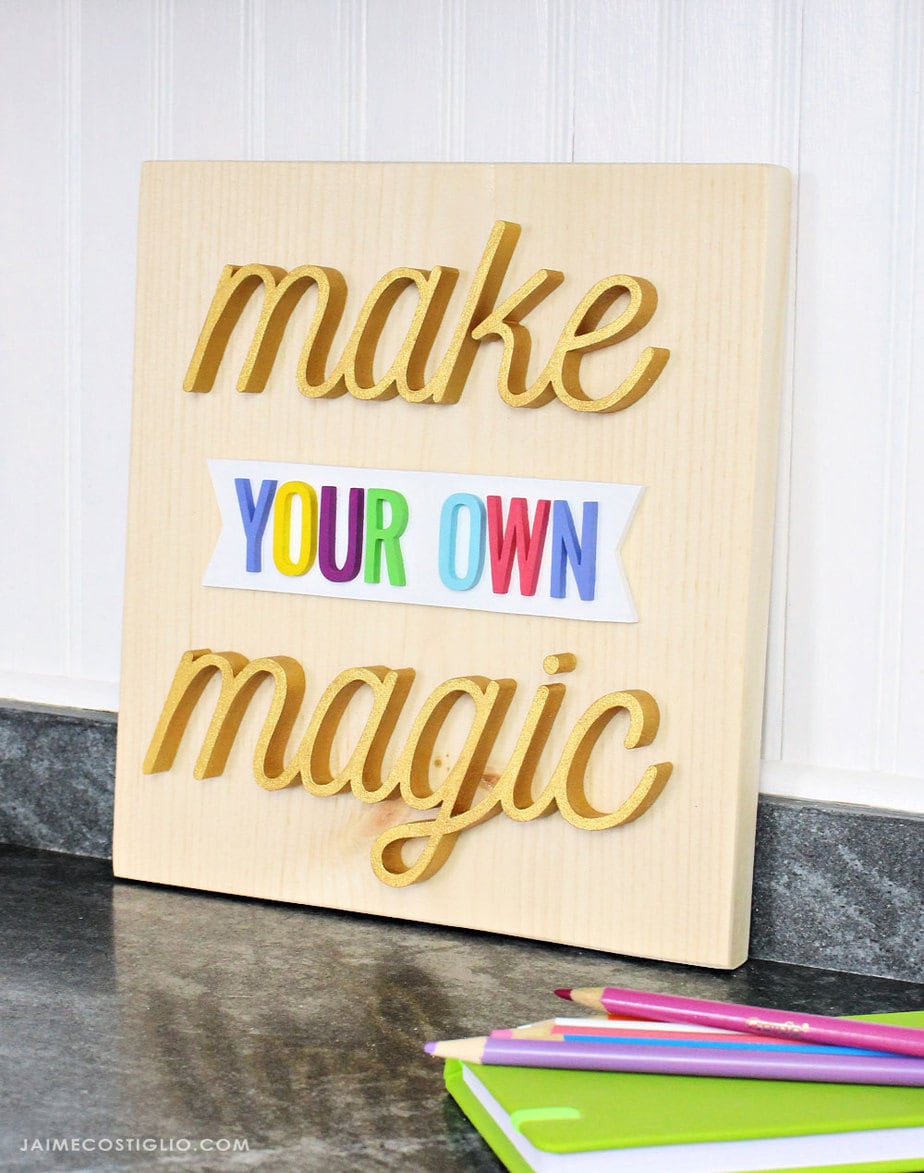
I cut out these words and letter shapes on the scroll saw using my own design I made in PicMonkey but you can also use store bought letters and words for a similar sign. There are tons of wood letters in various sizes precut and ready for paint at the craft stores. Personalize your sign with a saying, a name or monogram.
Click here for a printable PDF file of this design.
Below are the step by step instructions to make this 3D painted sign.
Supplies:
- wood or MDF letters
- pine wood board backing (1×12 @ 10″)
- DecoArt Americana acrylic paints in desired colors
- DecoArt AmericanaDecor Metallics in gold
- paint brush
- sandpaper
- ruler
- super glue gel
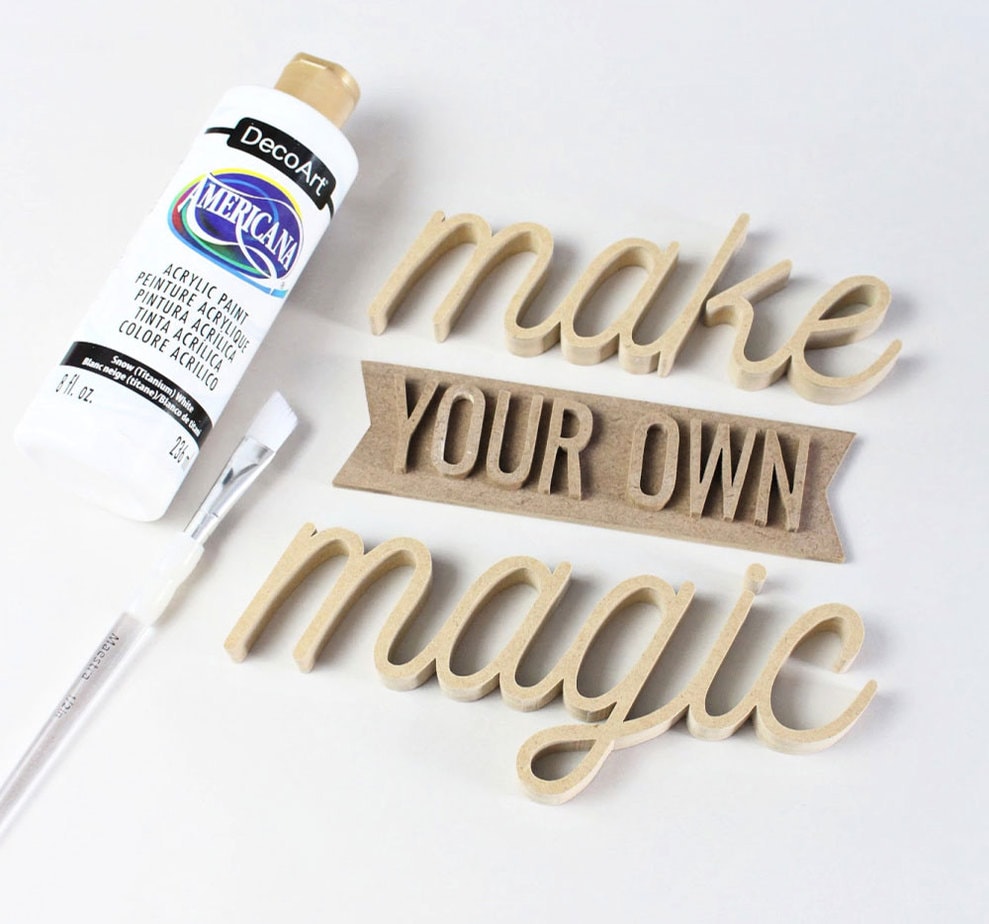
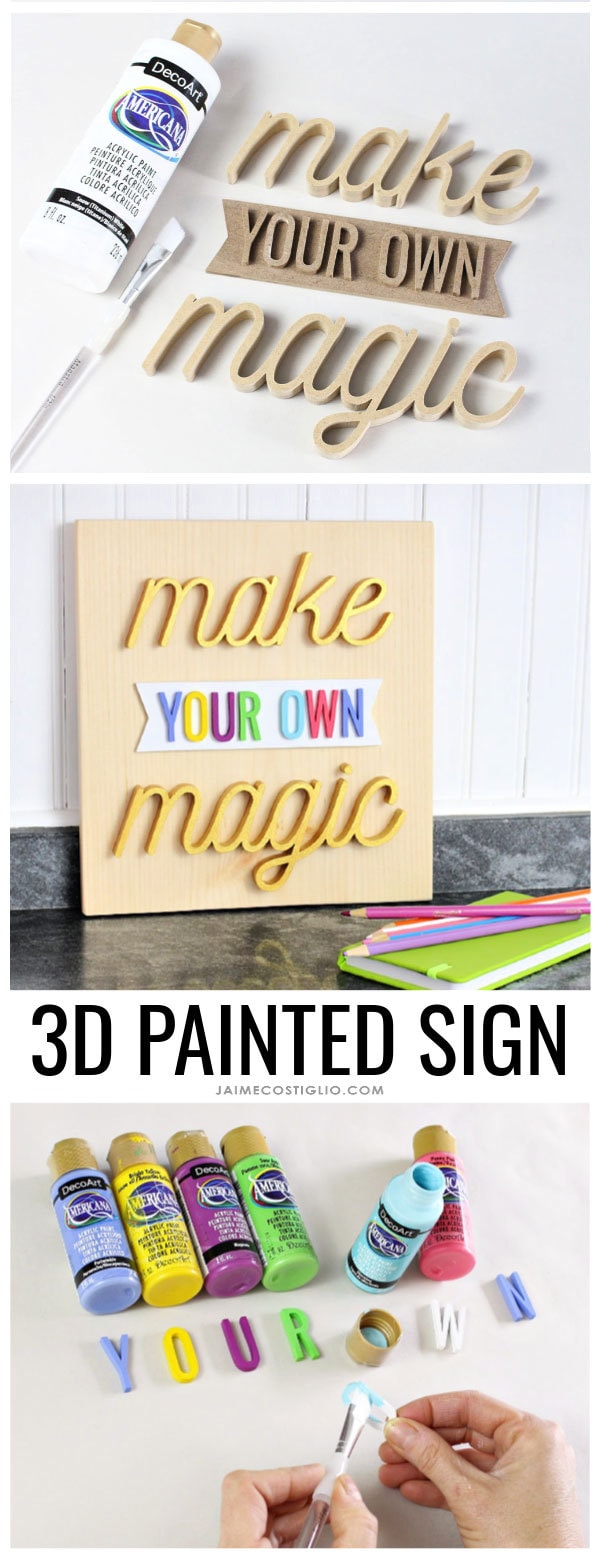
Step 1: Prime the wood or MDF letters. I use DecoArt Americana acrylic paint in white as a primer. It provides the perfect matte surface and most importantly it seals up the cut edges of the pieces. Apply one coat with a paint brush, let dry and then sand smooth.
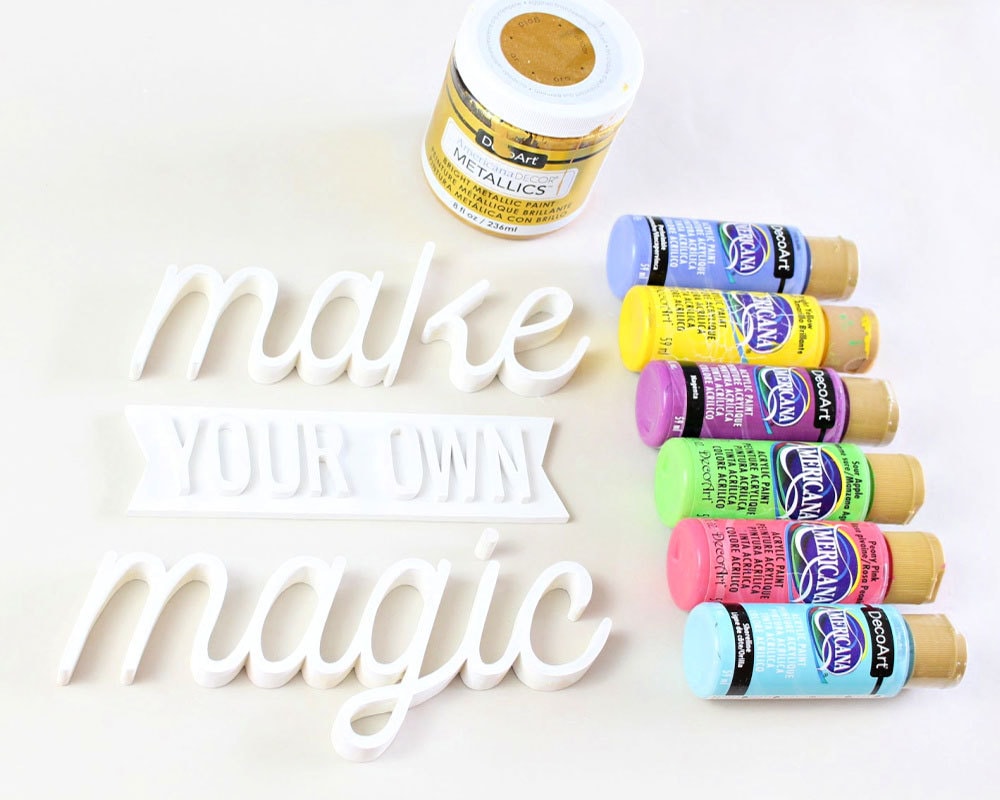
Once the wood pieces are primed you have the perfect white canvas to add all the acrylic colors. The white base coat provides a neutral surface for your colors and they will appear bright and opaque.
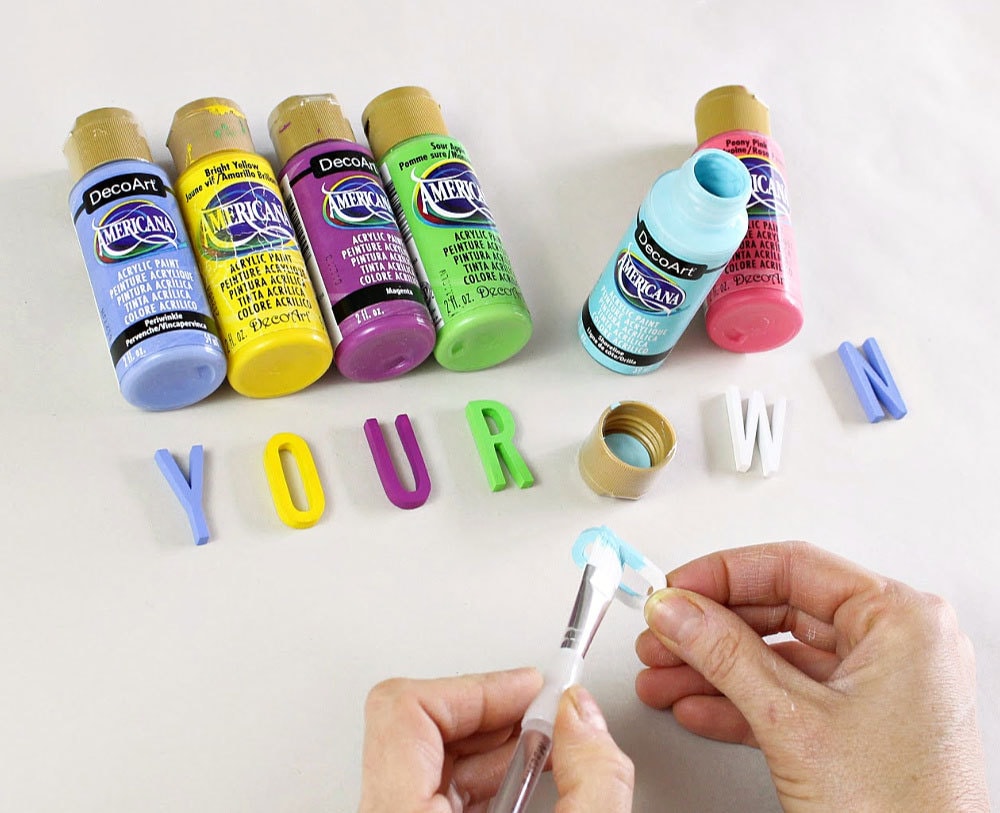
Step 2: Begin painting the colors onto the letters. I do two light coats here with a very light sanding in between coats.
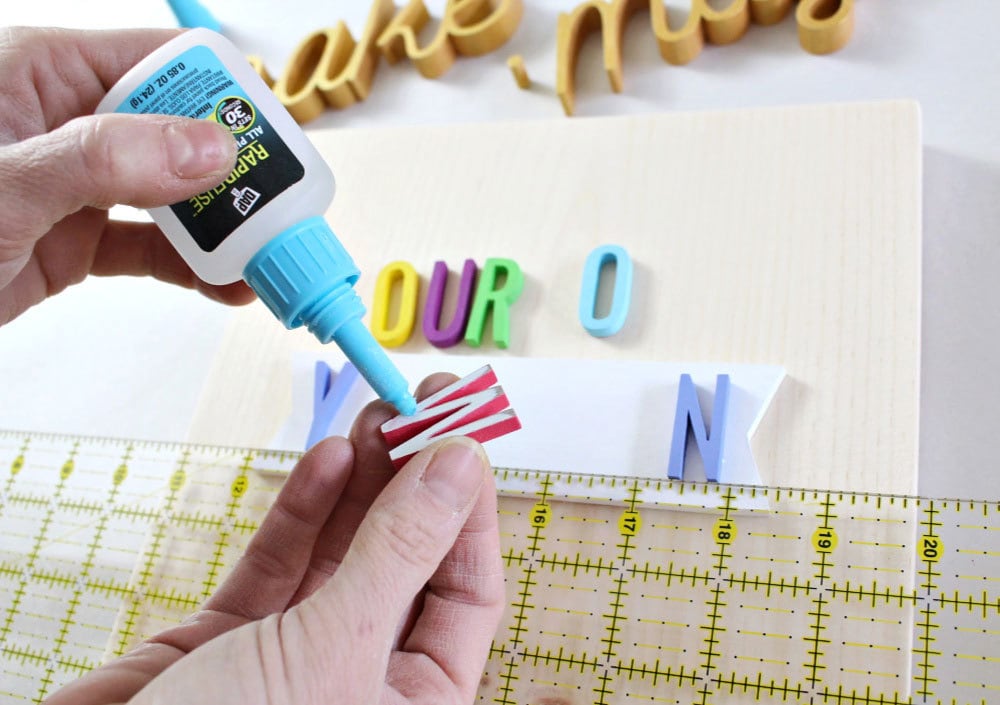
Step 3: Once the paint is dry give the back of the letter a quick sanding to ensure you have a flat surface that will bond to the backing board. Apply a few drops of super glue gel and press into position. I use a clear quilting ruler to measure out the spacing and keep everything lined up.
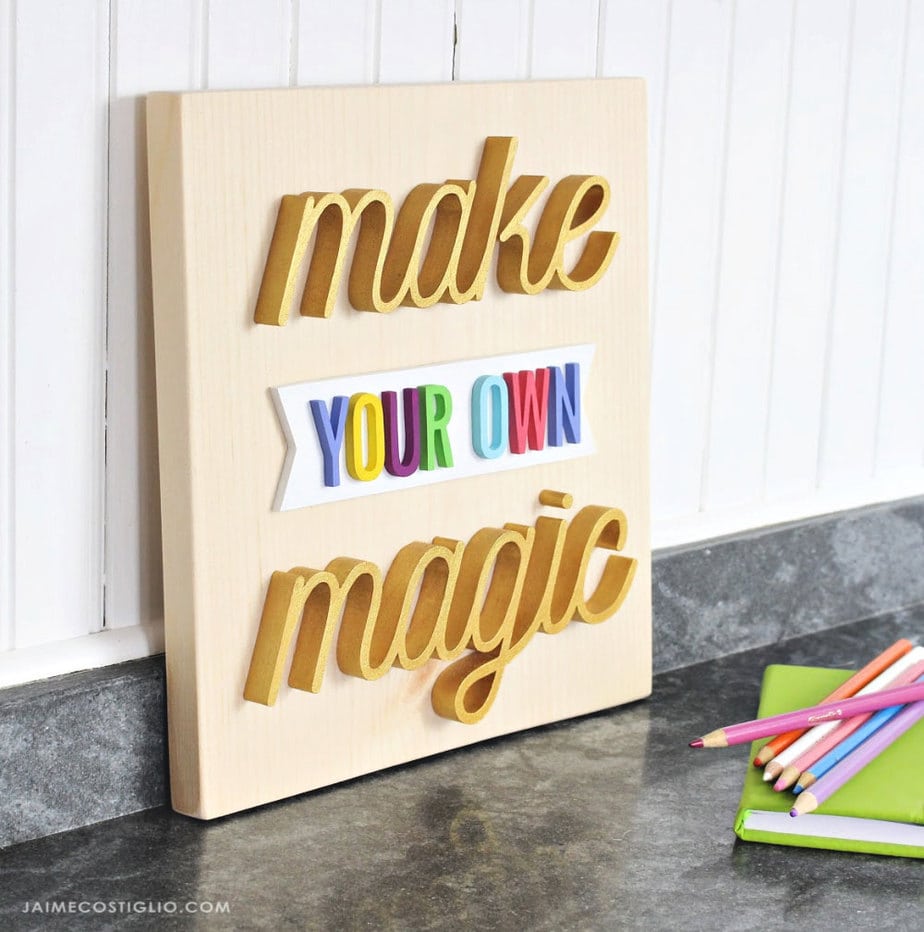
Once everything is dry your 3D painted sign is ready. Add a sawtooth hanger to the center back if desired then wrap up and give to that lucky friend or keep for yourself.
Below you can really see the shimmer of the gold metallic paint, so hard to capture on camera but in real life it’s extremely golden.
SHOP THIS PROJECT:
Thanks for joining me for this 3D painted sign. Be sure to follow along on social media as I share sneak peeks and projects:
Instagram / Pinterest / Facebook / Youtube / Twitter



Leave a Reply