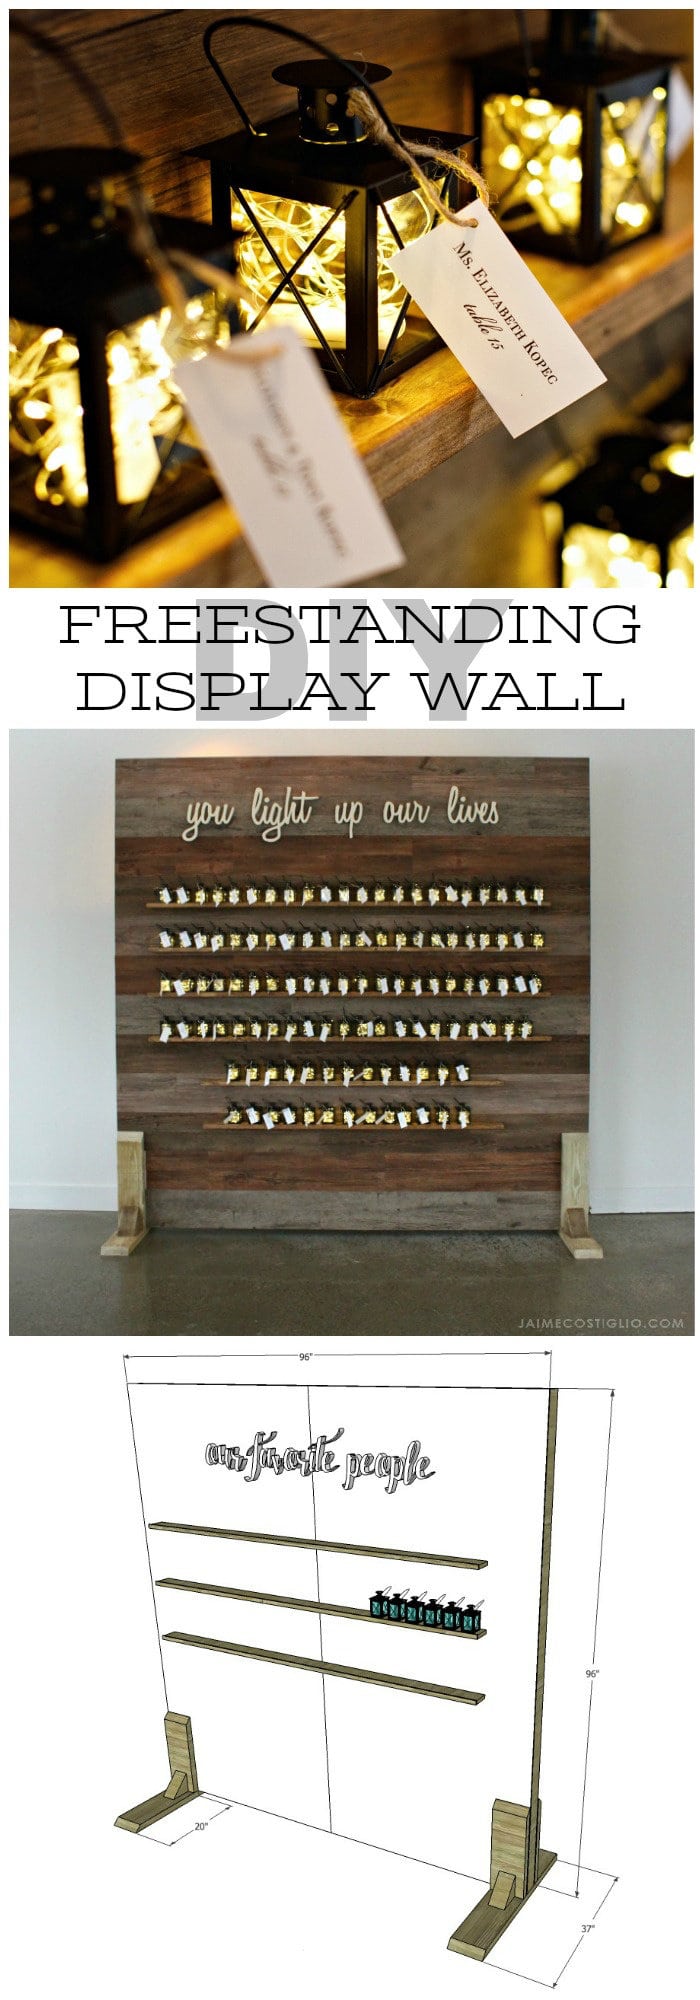
Sometimes you need a freestanding display wall and I’m here to share exactly how I built one. This is a self standing wall perfect for temporary displays for special events. I built this wall specifically for my friend’s wedding reception space as a place to house the guest place cards.
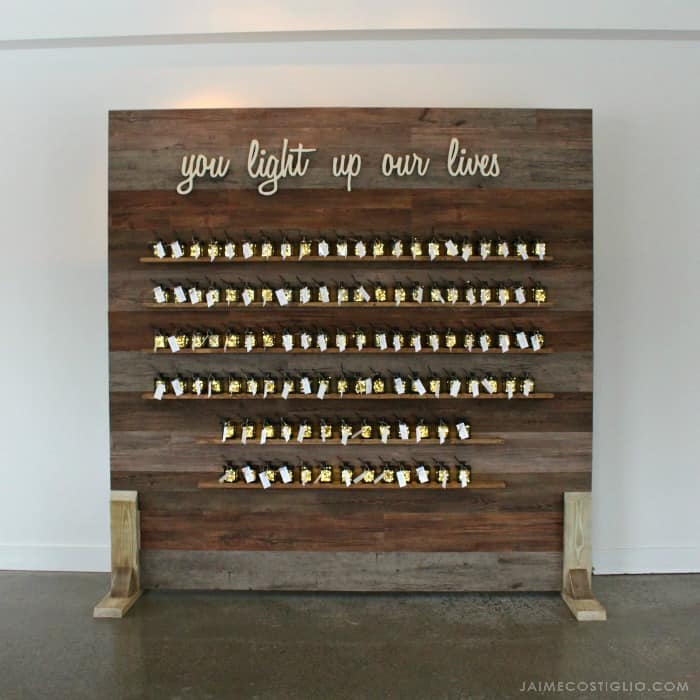
A tutorial to build a freestanding display wall perfect for any event space. Add ledges or other decor to create a stunning focal point.
Ever have an idea in your head and then start googling it to death only to find out what you’re looking for doesn’t really exist? I needed to build a freestanding wall for my friend’s wedding. And as you can imagine there were numerous images that popped up when I goggled ‘freestanding wall’ however the majority involved clunky bases or angled back supports so I created my own version.
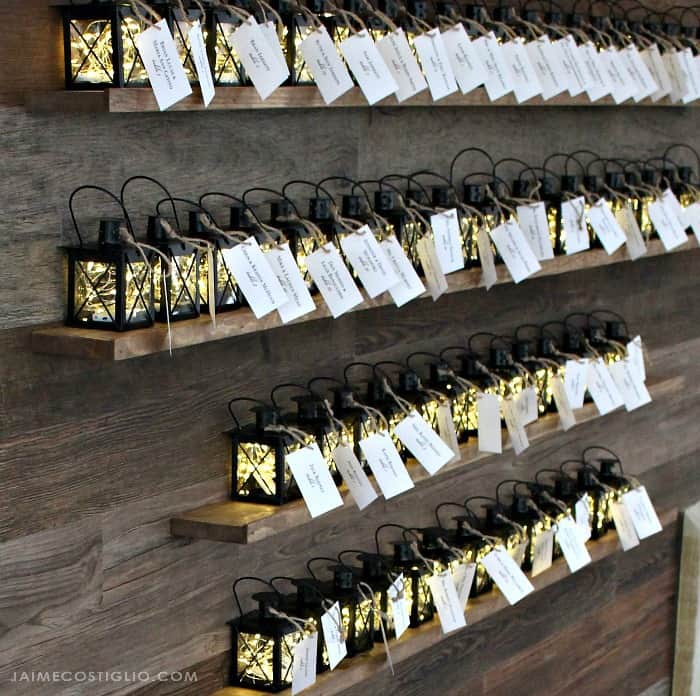
If you’re looking for a simple 8′ x 8′ flat self standing wall then you’ve hit the jackpot! And bonus this wall has display ledges which I used for mini lanterns to serve as both the guest place cards and favors for this wedding.
This freestanding display wall is a very basic build almost anyone can complete. I used it for the guest place cards but it would also make a perfect spot for a photo backdrop. Maybe your event is outdoors and you need a wall to hide something unsightly or you want a wall to create a focus behind the head table. Whatever the situation I guarantee it will be worth the effort.
Freestanding wall ideas:
- create a backdrop
- provide shelving
- create a focal wall
- hide something unsightly
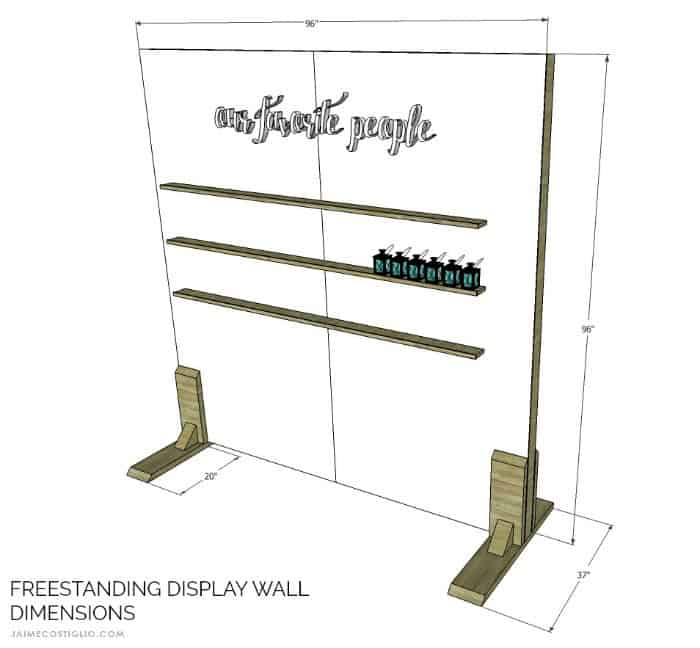
I put together plans to build this freestanding wall display. And if you’re a true visual learner below is a quick video of the assembly process at the event site.
I suggest to build as much as you can ahead of the big day following the step by step plans here. Maybe your wall is painted or has items hanging from it. Whatever the situation I definitely suggest a test run before the actual event to be sure everything fits and connects as planned.
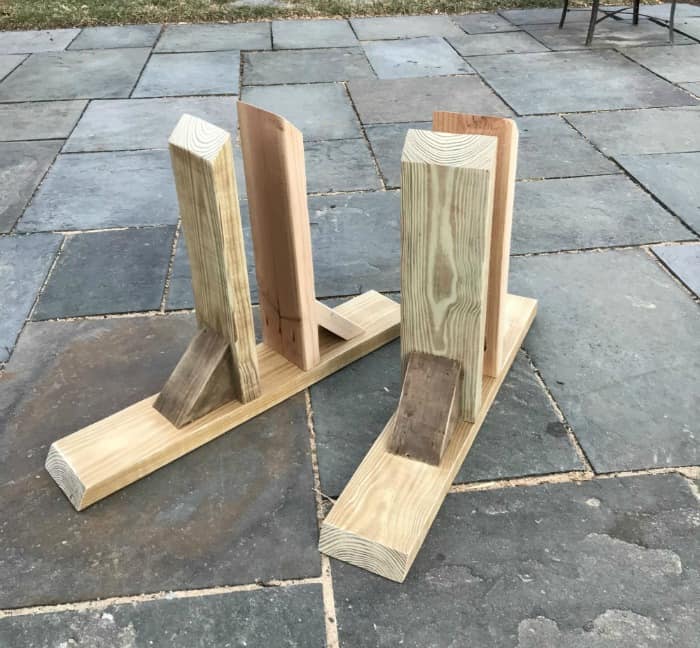
The freestanding wall is supported using 2×6 base supports. I kept the wood natural for this look but you could stain or paint to finish and coordinate with your decor.
Click here for a complete PDF printable version of the plans.
Supplies:
- E-Z wall peel and press vinyl planks
- self healing cutting mat
- blade knife
- T square ruler
- pocket hole jig
- mini lanterns
- fairy lights
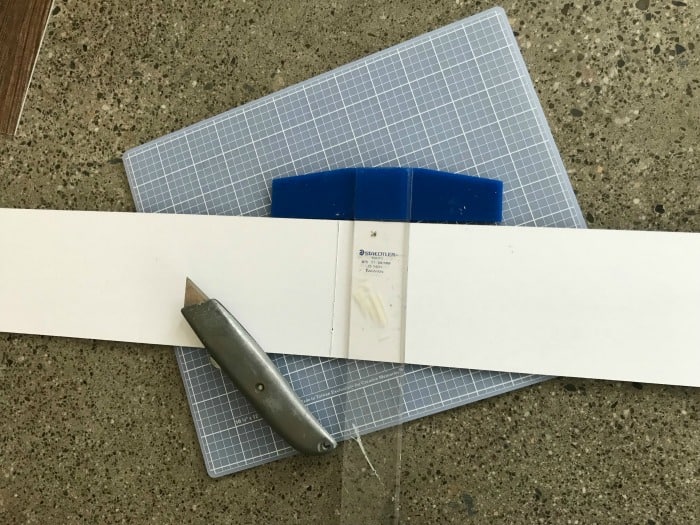
Once the wall portions were assembled and in place I added E-Z Wall peel and press vinyl planks. They go on super fast and cut easily using a blade knife. Then attach your ledges and fill with mini lanterns.
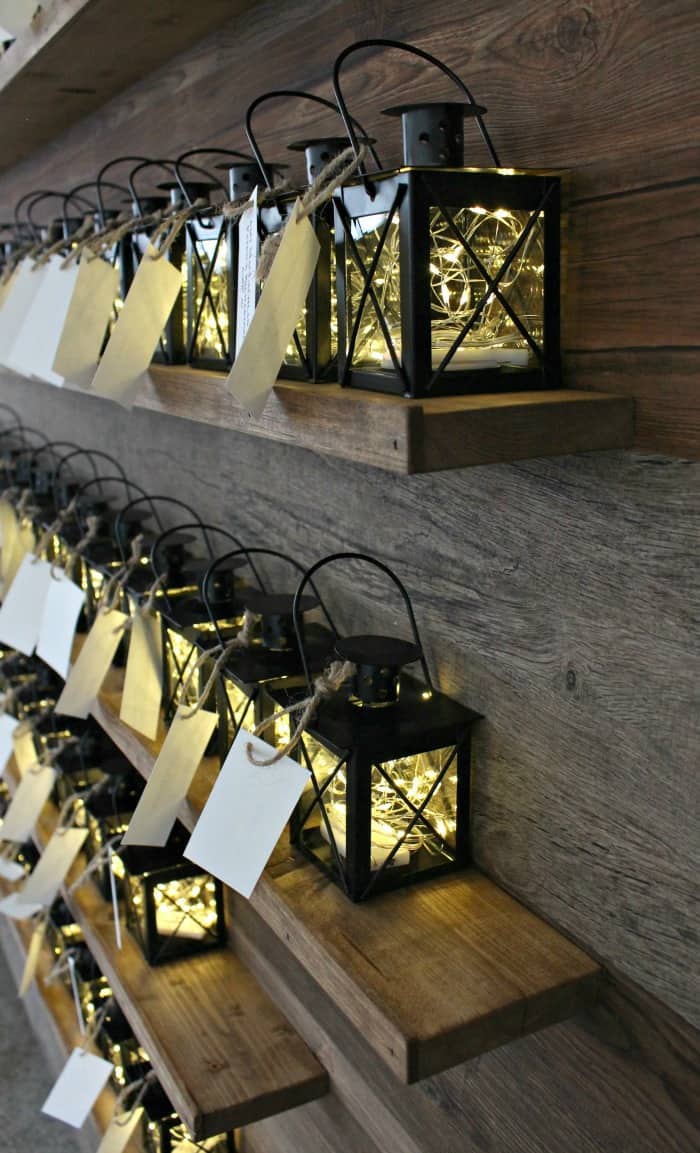
I used black mini lanterns with fairy lights because real votive candles are a fire hazard. It was quite a vision seeing the guests walking around during the cocktail hour with their lanterns. And then once guests placed the lantern at their table for dinner it added an even more warm glow to the dinner tables! Using the mini lanterns as place cards, favors and decor is a great economical solution as well if you’re looking to keep costs in check.
I wish you all the best with your event and happy building! Thanks for joining me for this freestanding wall project. Please leave any questions in the comments below and be sure to follow me on social media for sneak peeks, tools and project inspiration:
Instagram / Pinterest / Facebook / Youtube / Twitter
SHOP THIS PROJECT:

Greetings Jamie! I am using yet another of your wedding ideas with this free standing wall project. I feel like I’m missing something obvious though, so I hope you can set me straight.
Looking at the photo instructions, the wall frame consists of (2) 96″ studs for each side, (2) 93″ studs for interior support, and (2) 43″ studs for top and bottom. However, in the cut list, it says cut 4 of each of these. Why four? What am I missing?
Also, I need this to be a bit more portable. Do you see any reason I can’t add four casters on the bottom of the support base, two on each side? Will that compromise the stability in any way?
Thanks in advance for you help!
Trudi
Oh my goodness! I have looked and looked at this and finally decided to ask and NOW I see why four. Ugh. Two of those together make one wall. See? I knew it was something obvious I was missing! (insert eye roll)
Trudi
Hooray! Yes the cut list is for 2 wall portions which you then attach together to get one giant 8’x 8′ wall. So glad you figured it out. Good luck!
We are going to try to make this for our wedding! Where did you get the letters for the top?
Hi Nicole, Love hearing from others making this wall for their event! The script lettering was cut from 3/4″ plywood on my scroll saw. I’m sure there are Etsy sellers who could customize something similar for you if you prefer not to cut the letters yourself. Or there are tons of precut letters online that may work too. Good luck with your big day, please share pics if you get a chance when it’s all up and done!
Was transporting this difficult? How heavy is board when putting it upright and into stands? How many people did it take to set up? Do the stands make this real stable?
Hi Joanne, I transported this in my minivan. Two wall pieces are 4′ x 8′ each and the stands are separate. It’s heavy but one person can manage installation although it’s nice to have a second set of hands. It’s super stable with the stands. Be sure to watch the video that shows set up: https://youtu.be/ibCuZaMaVH0
I have tried to get the plans but for some reason it keeps saying this project has not been approved. Could you please send me the plans?
Hi Allison, Thank you for letting me know. I have sent the plans to your email. Good luck!
This is great! Thank you!!
What a Brilliant Design! Thanks so much for sharing!
This is perfect for party I am trying to plan. I am not very good at these but I’m sure I will have help. Two questions- is the wall connected to the base supports or do you sit the wall in the space when you are displaying it? Do you think (for easy and transportation) the two panels could have a hinge to fold them when no using?
Hi Jaime, thank you for sharing all of your amazing creations! I would like your opinion. I am going to make the stands to hold a screen door frame. Do you think they need to be as large or could be scaled down? If so, do you have any tricks for determining what size will work to be as small as possible yet keep it from tipping? Thanks!
Hi Julie, If I was making stands for a screen door frame (standard size about 36″ w x 80 ” h) I would build the stands from 2×4 and make the horizontal feet at least 1/3 of the height (so 1/3 sticking out both at front and at back). I’m not an engineer though 🙂 Good luck!
Thank you so much! That’s very helpful.
Hi Jamie,
What did you use for the floating shelves?
The shelves are 1×4 with a piece of trim on front. They are attached using pocket holes from underneath.
THANK YOU! I’m repurposing old shuttered bifold closet doors & really want to keep them foldable for moving. This will allow me to slide them old & use their original hinges. This tutorial was exactly what I needed to get my flea market booth updated.
Hi Laura, so glad you found this helpful. I love that you were able to make it work for your shutters and update your booth! Thanks for leaving the kind words.
Hi thanks for this. What is the material thickness of the board? And the sie of the supports at the back? What is the lenght of the protrusions of the stands?